Letters from Home Quilt Pattern
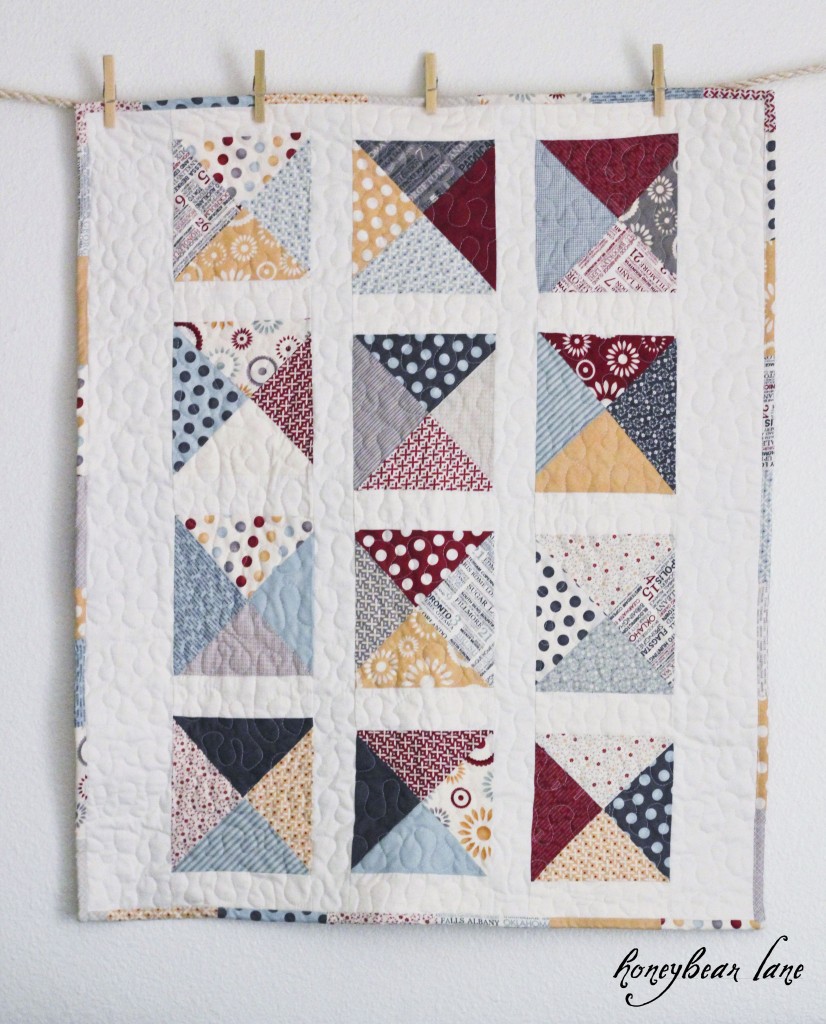
Here is how I made the pattern for this quilt using the adorable Hometown by Sweetwater fabric generously provided by the Fat Quarter Shop:
This quilt uses two charm packs of Hometown by Sweetwater
and approximately 1 yard of cream quilters cotton. The quilt ends up being about 28″x33″, a baby quilt
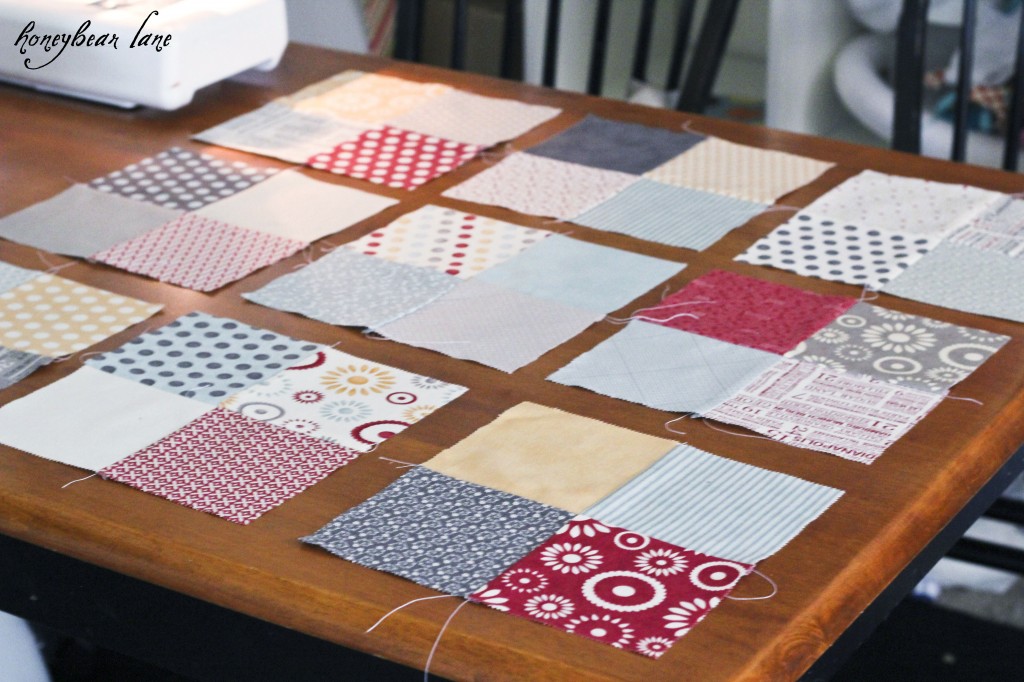
First separate out your charm pack into groups of 4 and piece together, ironing the seams flat. This picture only shows 9 sewn squares (36 little squares) but to get the right size you need 12 (48)
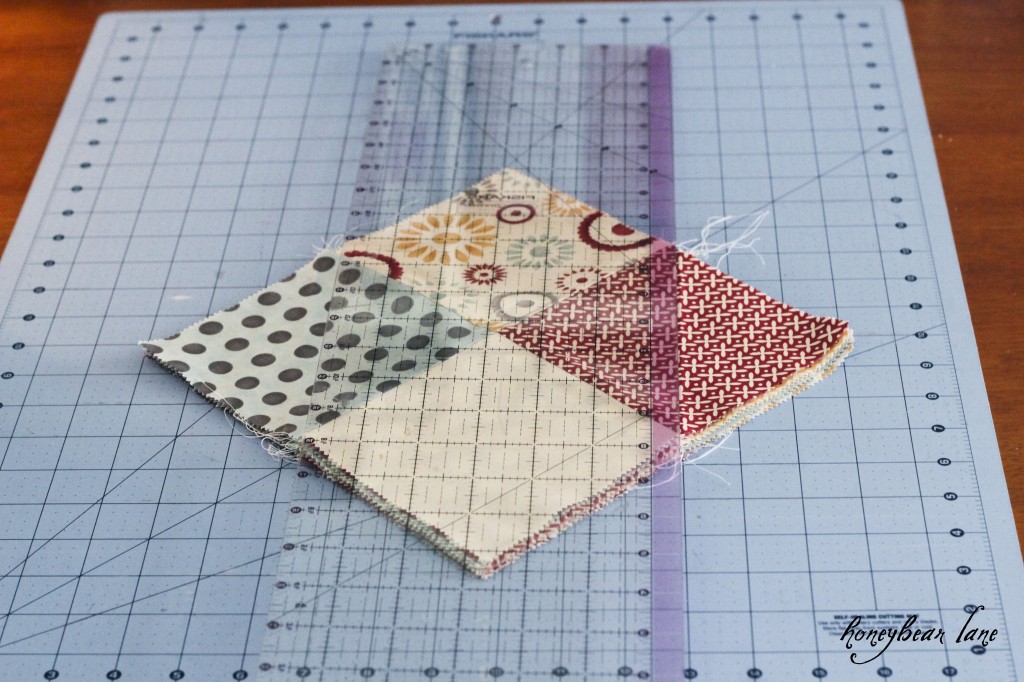
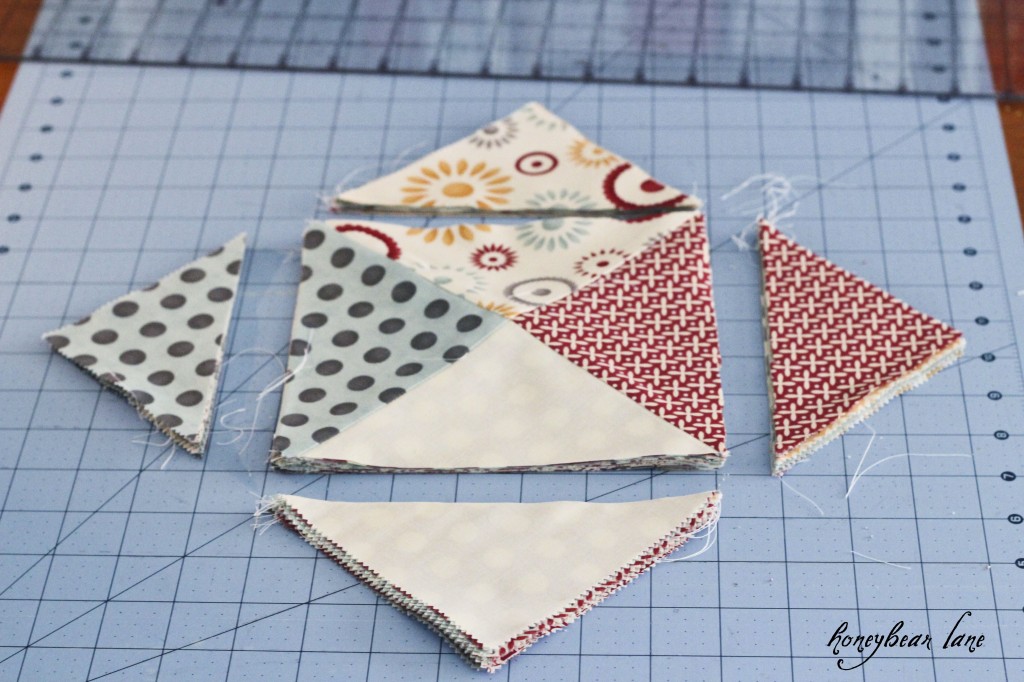
Then I stacked up all my (approximately) 10×10 four-squares and turned it diagonally to cut off the corners.
Here’s an important tip: make sure that the squares are truly square so that they are 7×7.
And here’s something that’s going to happen…the corners are probably not going to all line up perfectly, unless you decide to cut each square individually. But I liked the slightly wonky look.
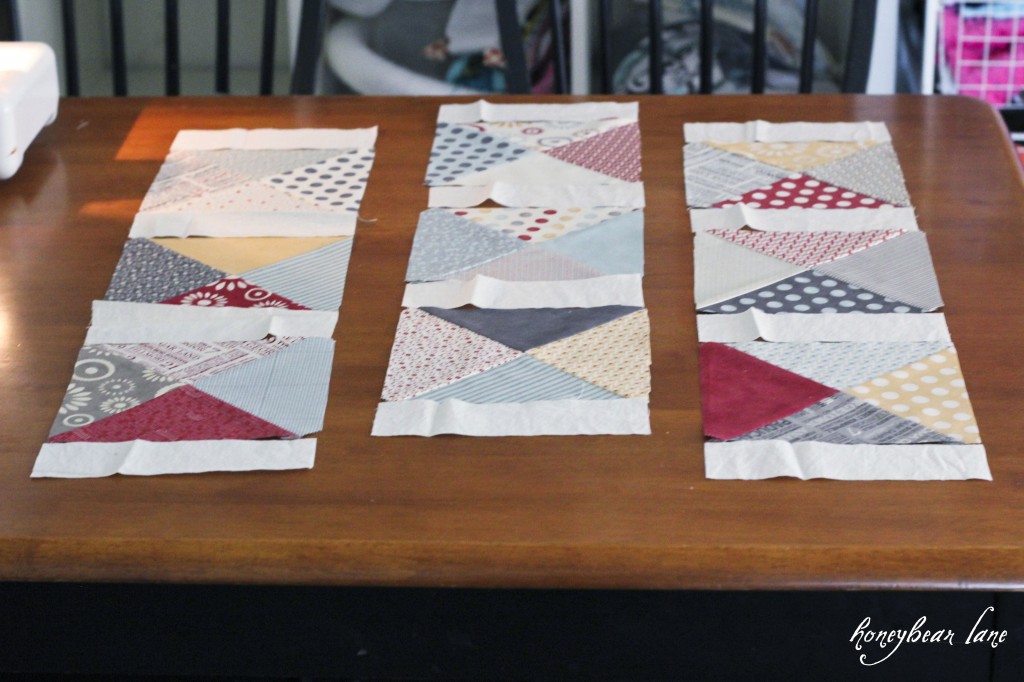
Lay out your squares how you want them and for the sashing, cut 15 2×7 pieces of the cream and lay them between it.
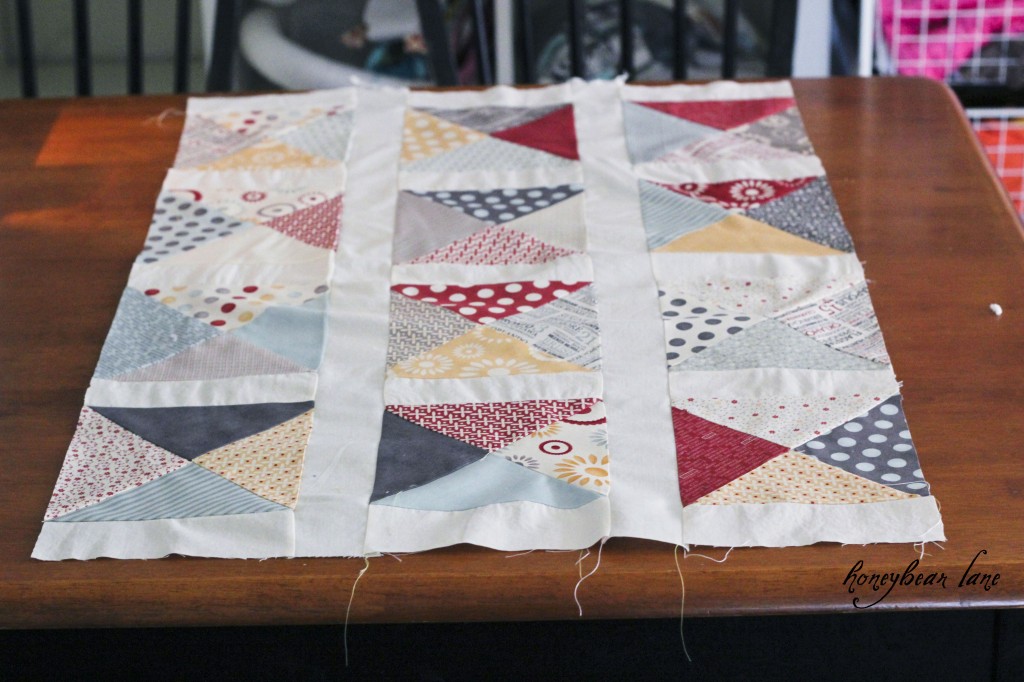
Okay here’s where you’re going to be a little confused. I actually added one more row of squares and sashing because I thought it was too small. Remember that previous picture of the 9 squares? You should do 12 THERE not here. I ended up sewing together the triangles I clipped off and they were smaller so I had to trim all my squares. Just extra work for me, so don’t make my mistake.
After you sew in all the in-between sashing, cut two strips that are 2″ wide and whatever length your squares are long. Like this:
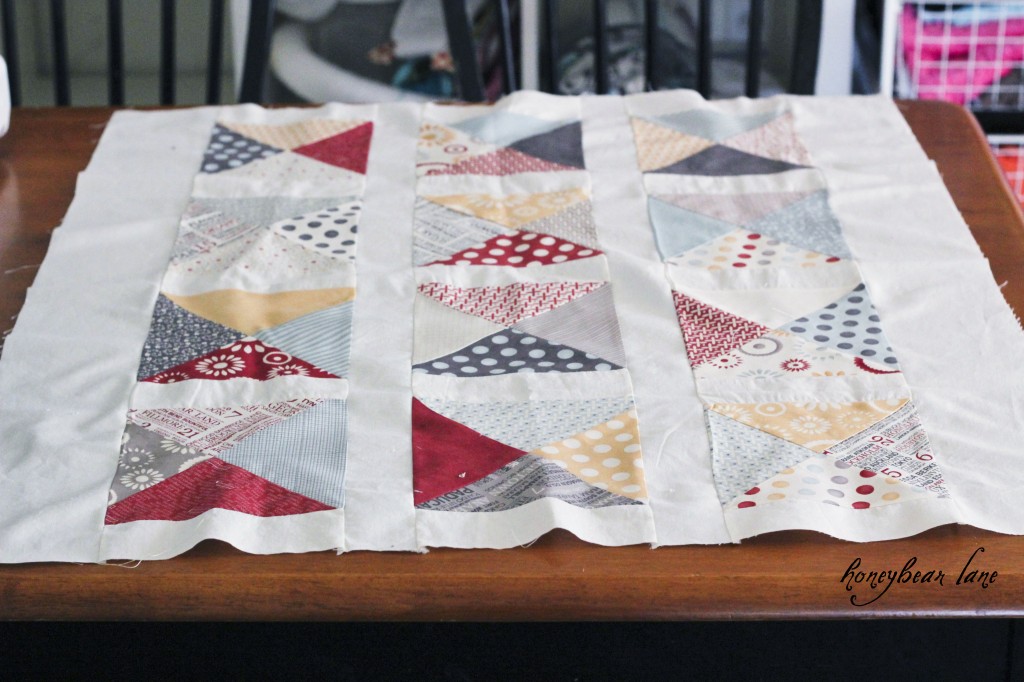
Then I added two more sashing borders on the sides that were 4″ wide rather that 2″.
And that’s the whole top!
The rest is basting, backing, quilting, and binding. I used the rest of the charm pack to make the binding. If you don’t make a billion last minute changes like I did, this top should come together very quickly.
Linking up to

I really like this for a fast baby quilt. Very nice! I like the slight wonkiness, too. Thanks for the tute!
just curious, but did you do anything with the little scrap triangles?
I wanted to but I have so many other projects and craft supplies that I ended up just throwing them out! (Cringe!)
maybe use for border?
After cutting off all of the corners – the 7′ block that you’re left with is the perfect size for a potholder! Since I’m making potholders for my dearest friends for Christmas gifts this year, they won’t all have to be the same – in fact the’ll ALL be different now! YAY! Thank you!
I don’t understand how you can sew five inch squares together with a 1/4 seam allowance and end up with a 10 inch square. I’m new to quilting so maybe I’m missing something. My final squares ended up smaller — I think 6.5.
To tell you the truth, when I posted this pattern I was extremely new to quilting as well so I probably didn’t add something up right either. I think once you square it up, it should be close to 10 inches.
Also I might not have used a 1/4 inch seam, it could have been 3/8th which was my preference at the time.