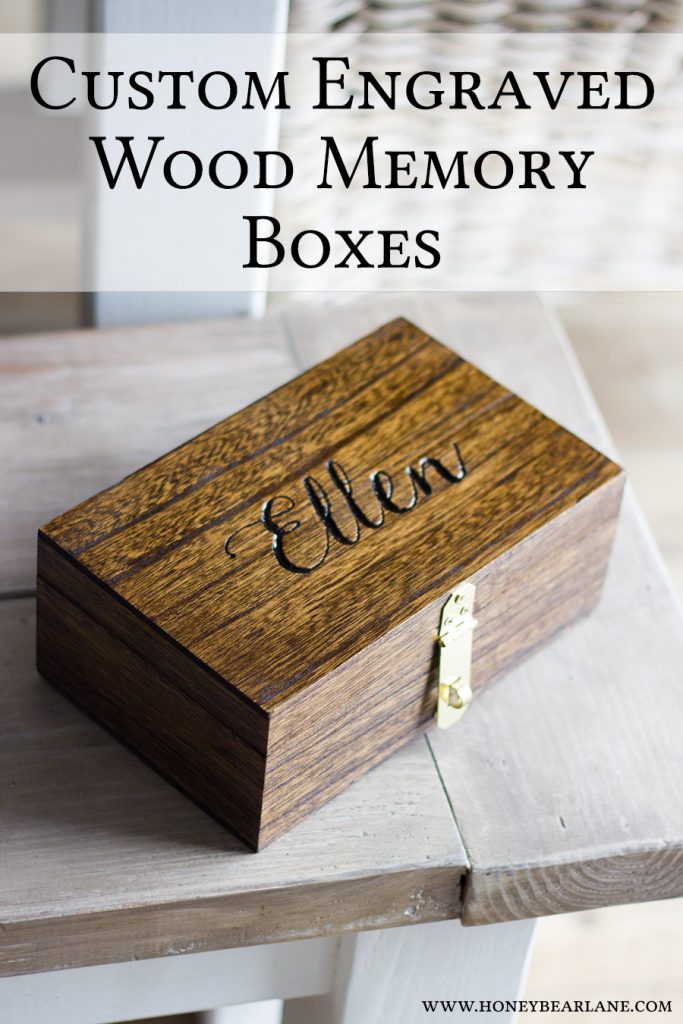
Custom Engraved Memory Boxes
My kids are getting to the age where they have a few special items that they want to keep safe and away from other siblings. And they just don’t seem to have a super safe place because certain younger siblings who like to snoop seem to get into their drawers and whatnot.
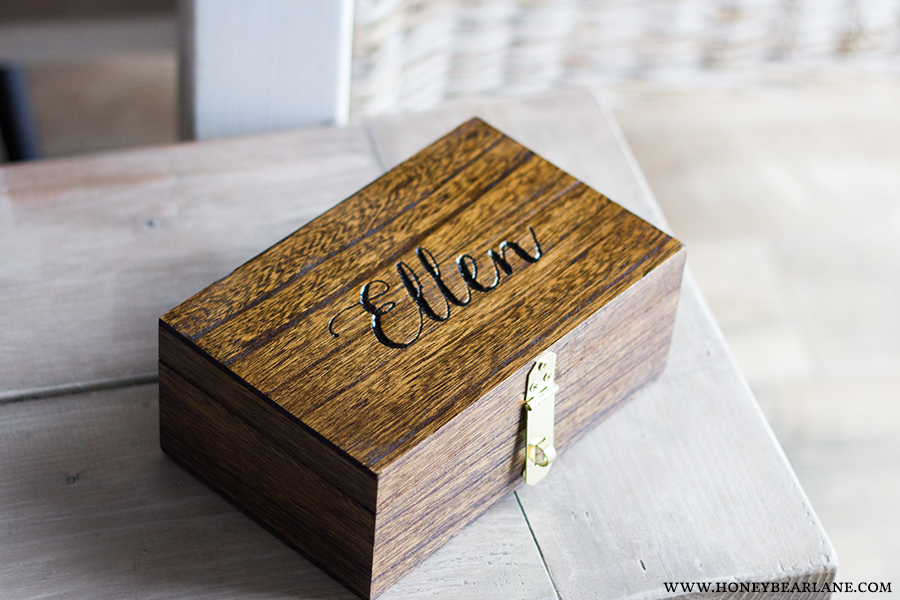
So when I was invited to be a Dremel Maker and make something with one of their tools, I saw their engraver and had the perfect idea: I was going to make custom engraved memory boxes for my kids–ones that lock.
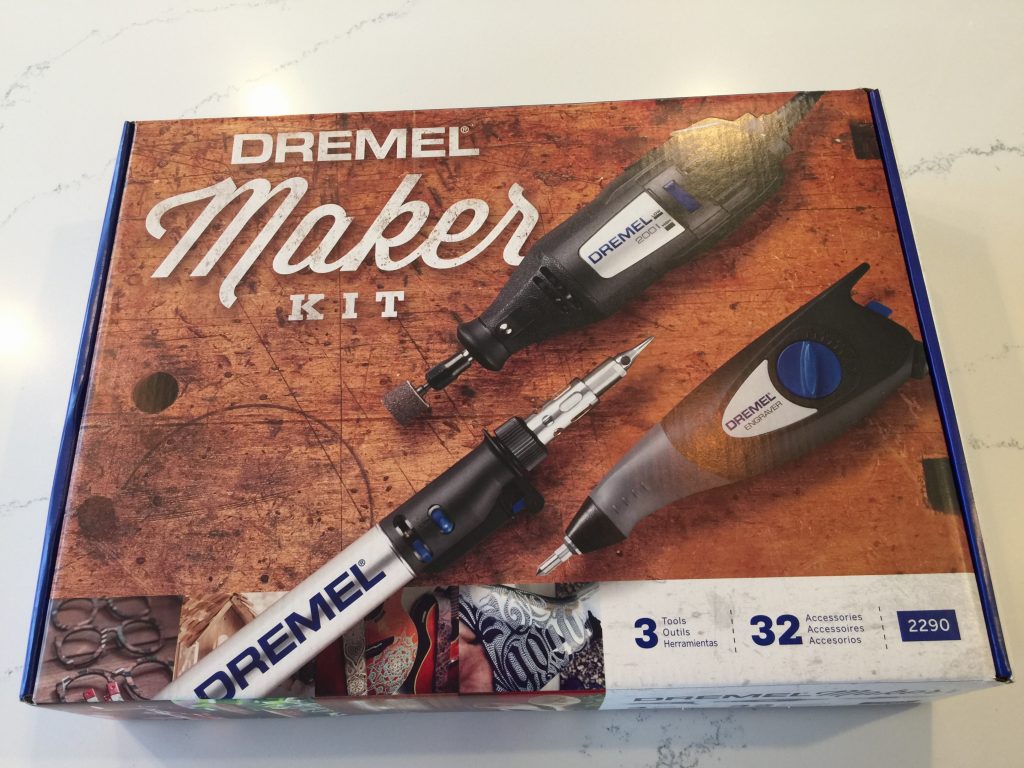
They sent me their Maker kit and I was so excited to get started! It included all the tools I needed to do an amazing job engraving.
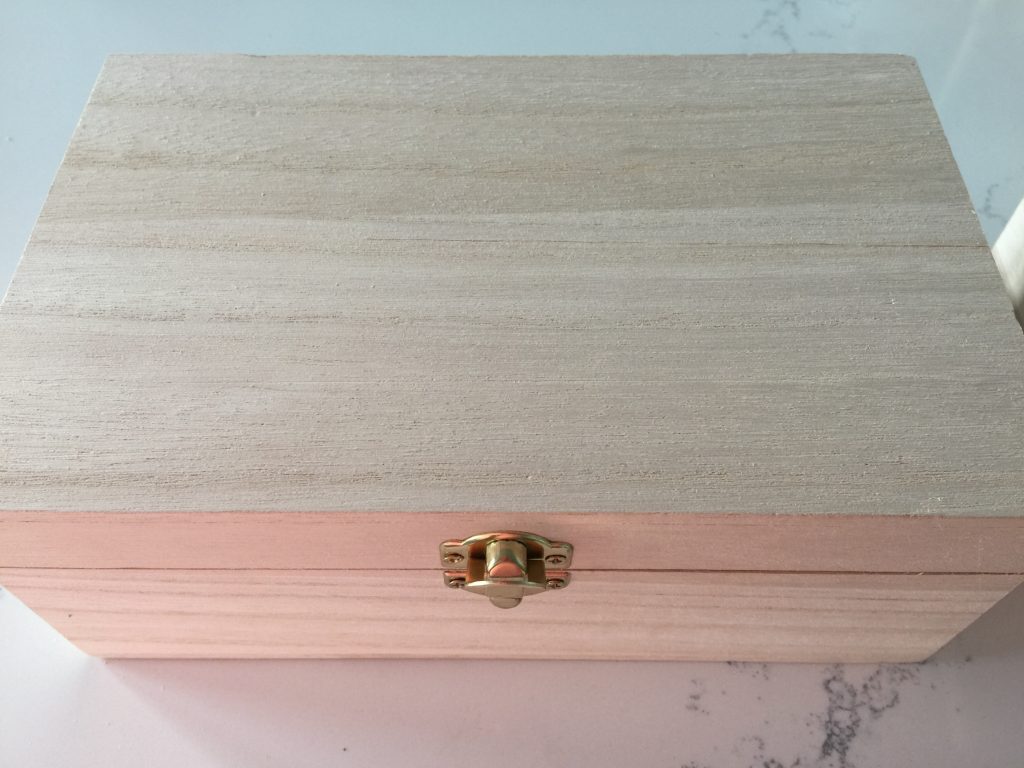
I started with this cheap hobby stock wood boxes from Michaels. I could probably have built my own but I was short on time and these worked really well. I was concerned they wouldn’t engrave well because the wood seemed super soft and not really like…well, real wood. But it engraved perfectly!
Anyway, this is the process:
Supplies (affiliate links, see disclosure here)
- Dremel Maker Kit
- or
- Dremel Engraver
- Dremel 200 Rotary tool with fine sanding bit and carving bit
- Craft wood box
- Minwax Stain in Dark Walnut
- Minwax Polyurethane in Gloss
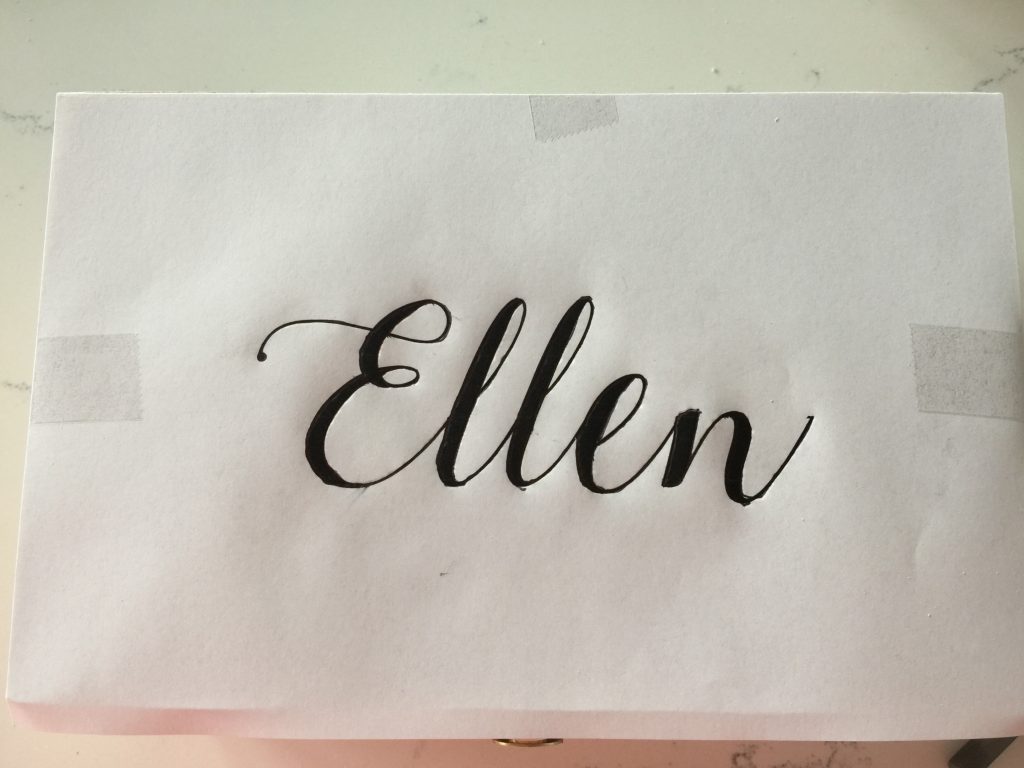
Step 1: Create and print your design on a computer. You can do this on most any program, even Word. I used Photoshop because I use Photoshop for everything. I just printed it to be the exact size that it would appear on top of the box. I just chose to do my kids names. One thing to note: You will want to make the design larger and less intricate, especially if you are a beginner.
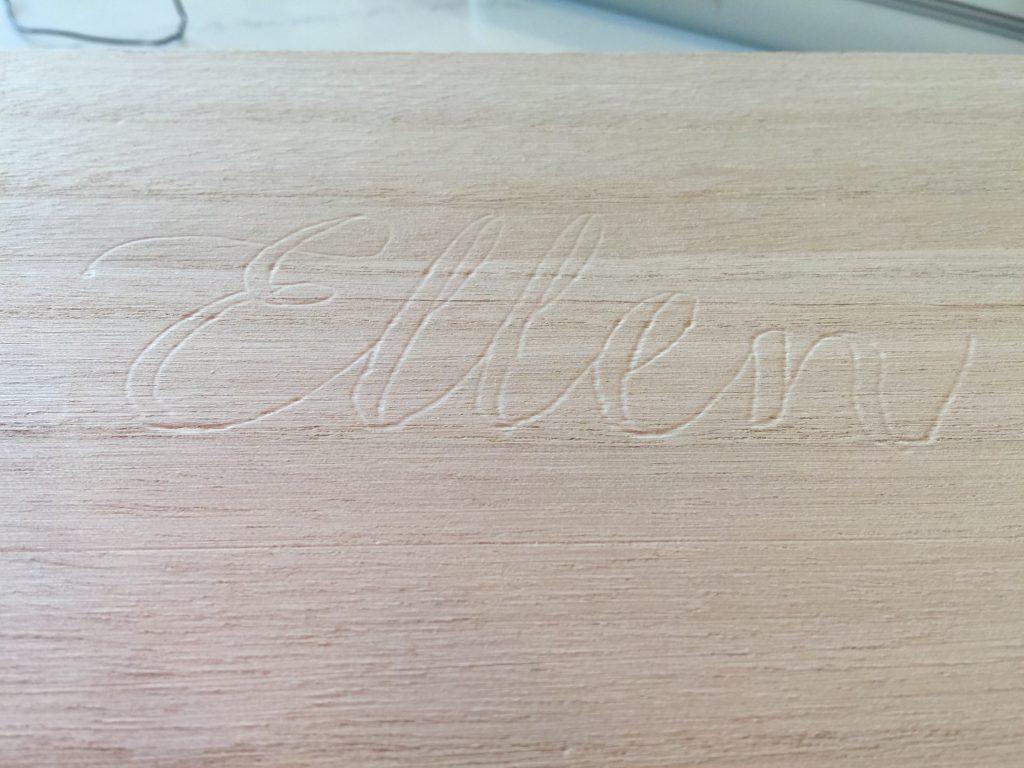
Step 2: Tape the paper to the place where the design will be (for me this was the top.) Then use a pen or a sharp, fine tipped object to trace the design/image and press hard so it creates an indent in the wood. This worked great here because the wood I used was so soft. If you find this isn’t working, I would recommend doing a pencil transfer method (you color the back of the paper with pencil and then trace it and the graphite will transfer onto the wood.)
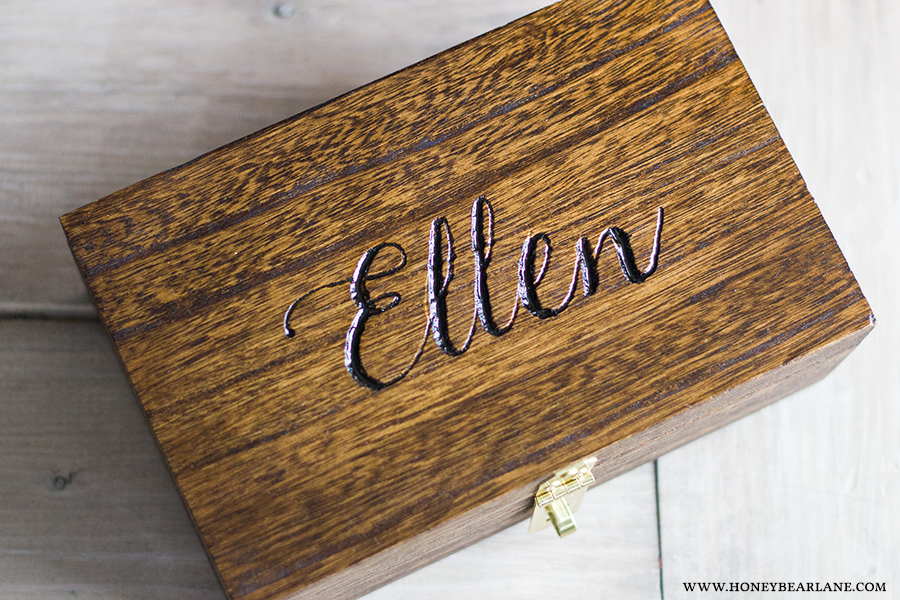
Step 3: Use the Dremel Engraver tool to trace over all the lines and make them deeper and more pronounced into the wood. You can set the dial to your desired depth of the cut. Go over the lines a couple times back and forth to get a good defined line. Just do the outline for now. You can leave it like this if you want that look, but I wanted the thicker parts to be more engraved.
Step 4: Using the Dremel 200 rotary tool, I used a fine carving bit to carve out the thicker sections of my letters. I had to have a very steady hand for this and just took my time, removing a tiny bit of wood at a time.
Step 5: Trading out the carving bit for a tiny diamond sanding bit (it kind of looks like an eyeshadow brush that comes with the eyeshadow) I then went over everything one last time with this bit and smoothed everything the best I could. Using this tool also created a bit more dimension, like a bevel.
Here is a video to show you the entire process:
Don’t you love this? I’m so excited for all the possibilities this new tool holds. I can make signs or other personalized gifts. I could even engrave other materials, like glass and stone and maybe even metal? I’ll have to check on that one. 🙂 In the meantime, I’m hoping my kids love their new locking customized engraved memory boxes!
I’m so excited to be partnering with Dremel for this project. This post was sponsored by Dremel but all opinions are my own.

How did you change the bit on the engraver? I tried and couldn’t get a different one inserted so that it would turn.
I wish I had more time to create something like this. A custom engraved memory box is a wonderful gift idea. My sister would love something like this for her birthday. It’s in a couple of weeks. It would be really nice if I could find somewhere that offered engraving services.