Brick Wallpaper and Accent Chalkboard Wall
‘‘.
This is a sponsored post written by me on behalf of Devine Color for IZEA. All opinions are 100% mine.
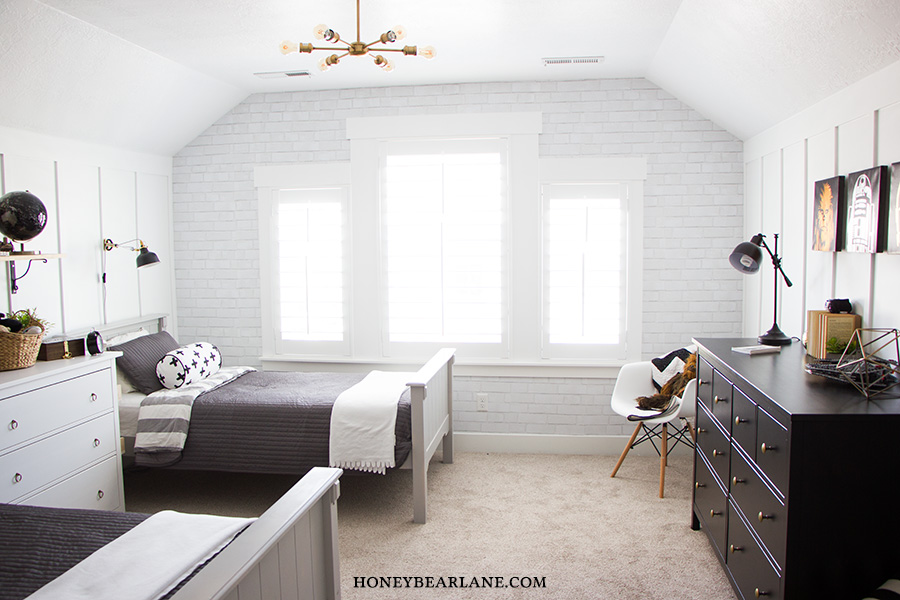
In my latest project, my industrial farmhouse boys room, the biggest DIY projects were the wall treatments. Since I was doing this as part of a complete overhaul, the board and batten (and painting the board and batten and the ceiling) took the longest. After I finished those, I set about completing my accent chalkboard wall and my brick wallpaper accent wall. These two walls went relatively quickly and could totally be done in a weekend.
I was super impressed with the Devine Color + Target DIY products. They have some super cute wallpapers to choose from, as well as a bunch of other colors of paint, both chalkboard and regular. And while I was at Target, I found a bunch of other accessories for this room that really just pulled it all together–namely the black globe, the wall art, and the cute bolster pillows. Target really does a great job coordinating their decor to go with Devine Color.
How to Apply Brick Wallpaper
Supplies for Brick Wallpaper:
- Devine Brick Wallpaper (3 rolls) exclusively found at Target
- Paint scraper (or other type of squeegee)
- Razorblade
- Ruler
- Scissors
Before: 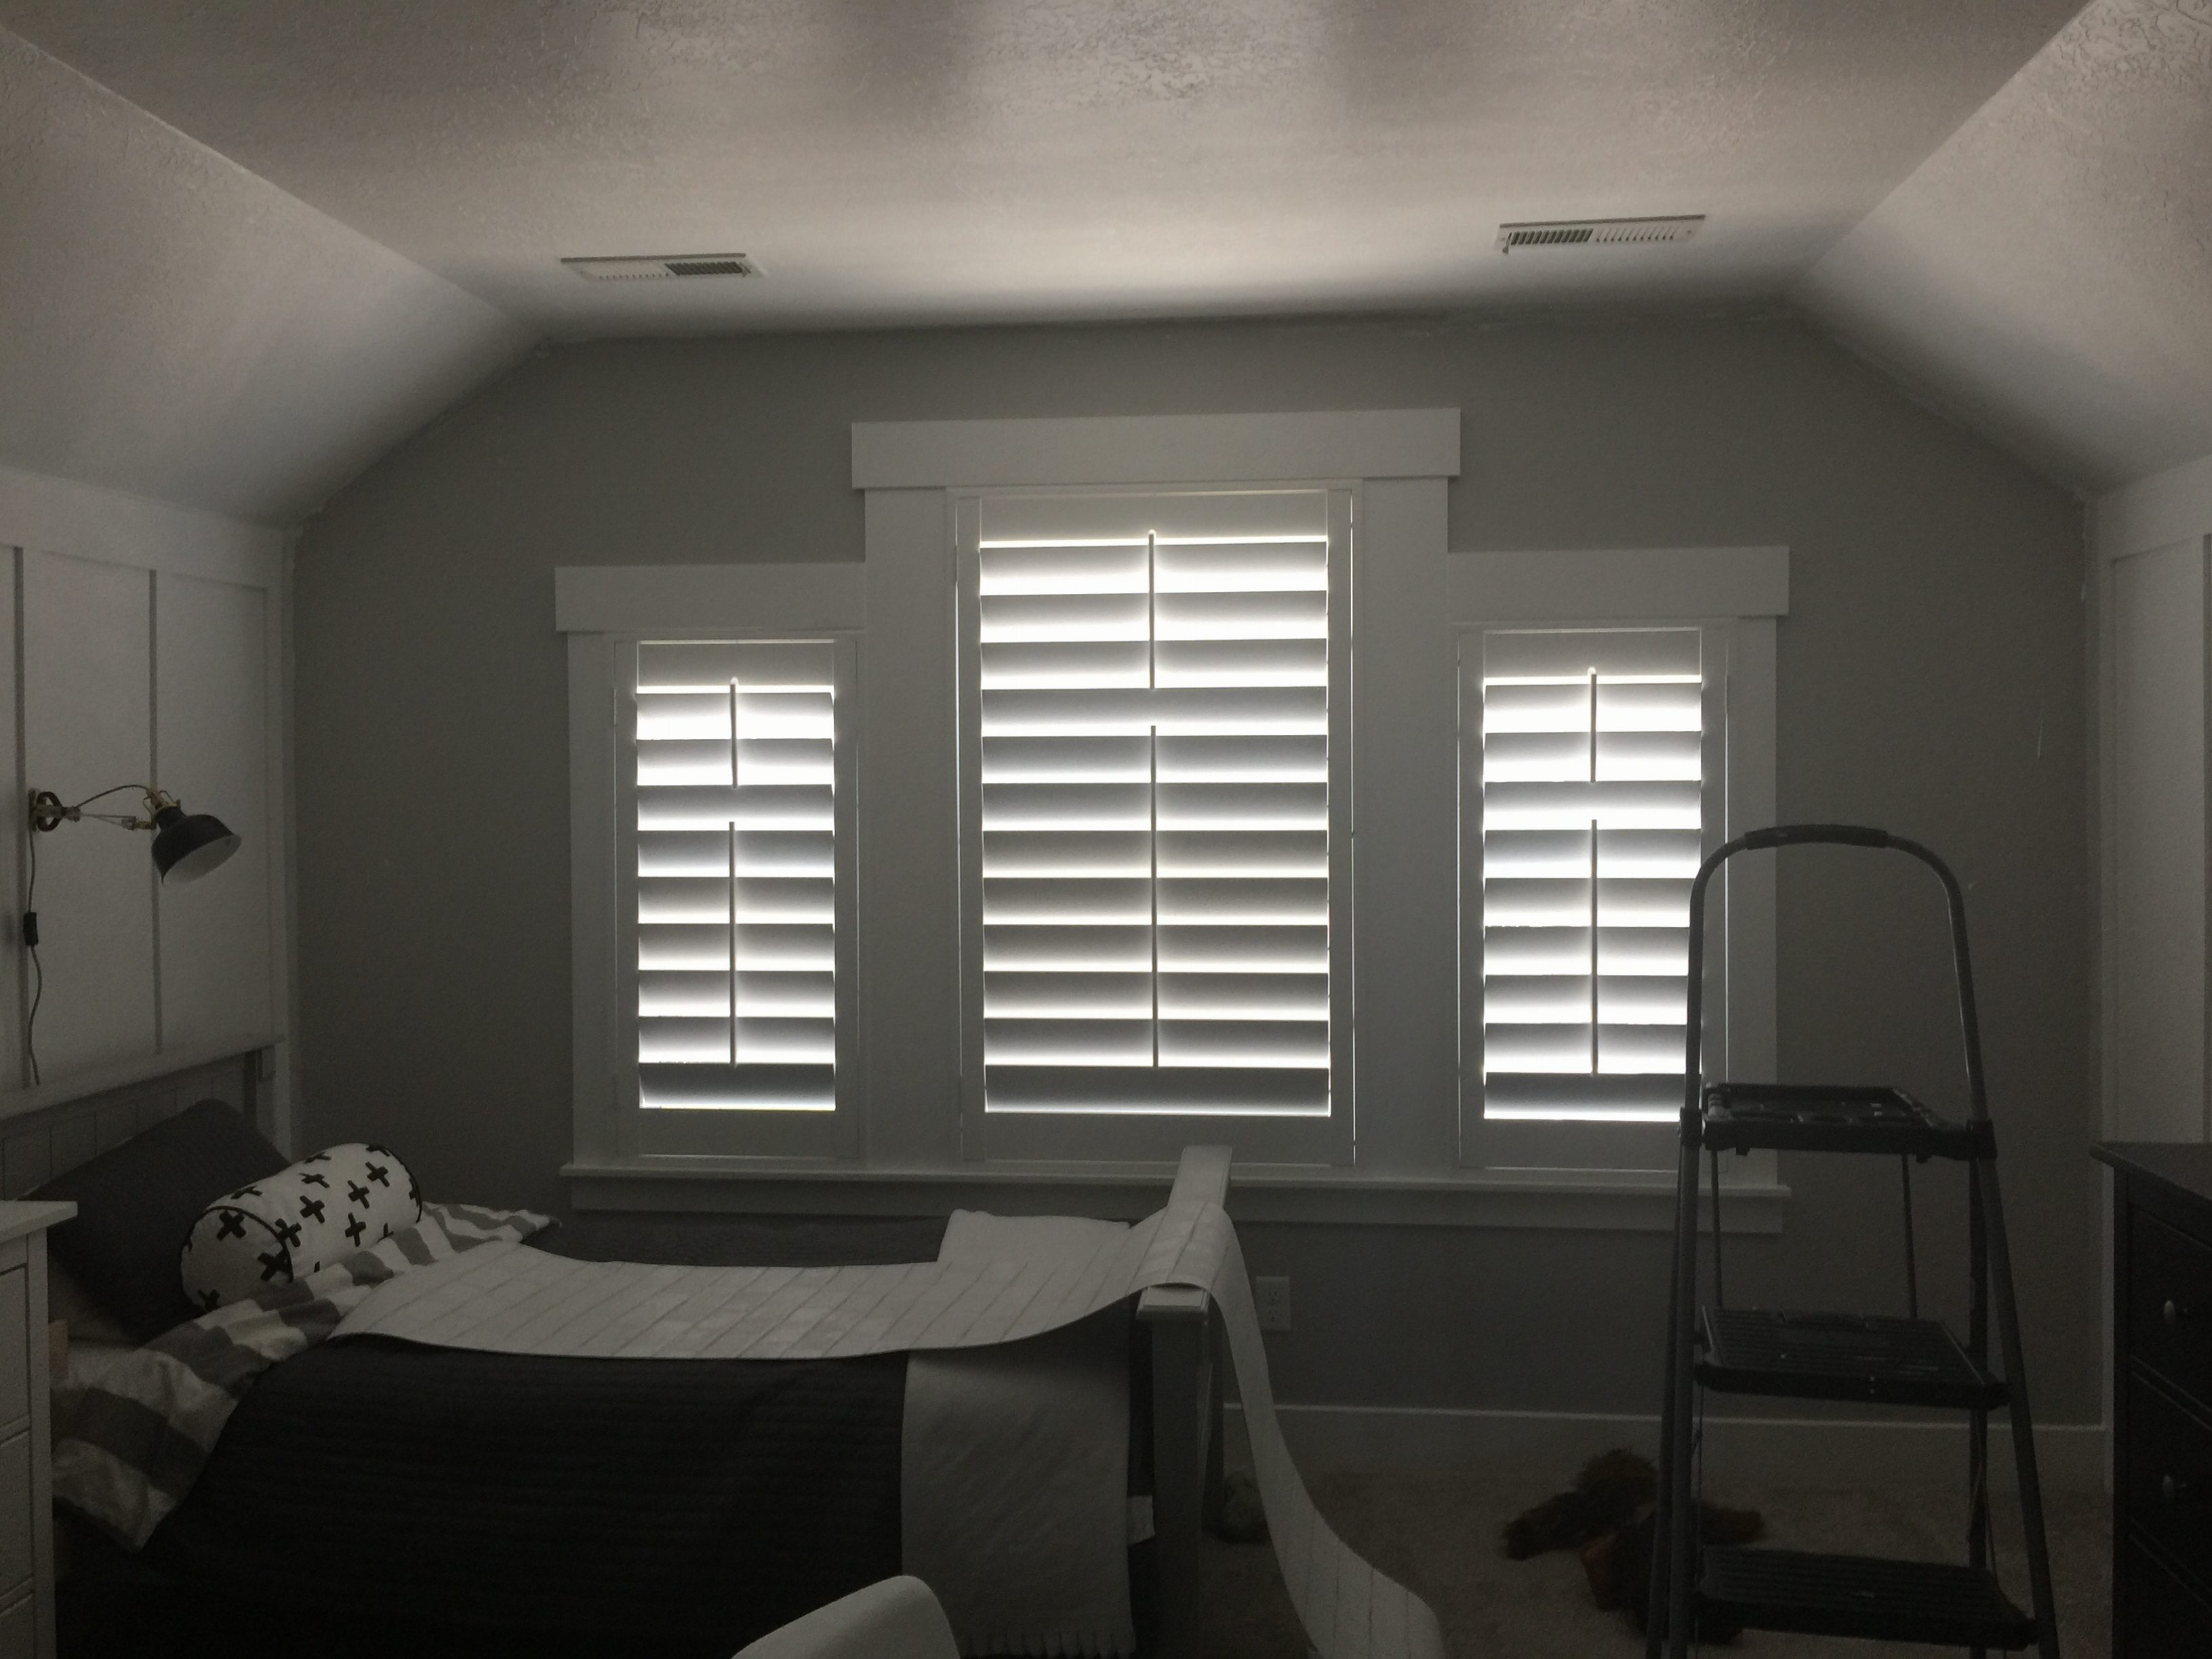 First I cut a couple strips the height of my wall. Since I was doing a wall with lots of windows, I didn’t cut all my strips first. I had a lot of obstacles to cut around and this particular type of wallpaper made it super easy to lay strips in more of a patchy way.
 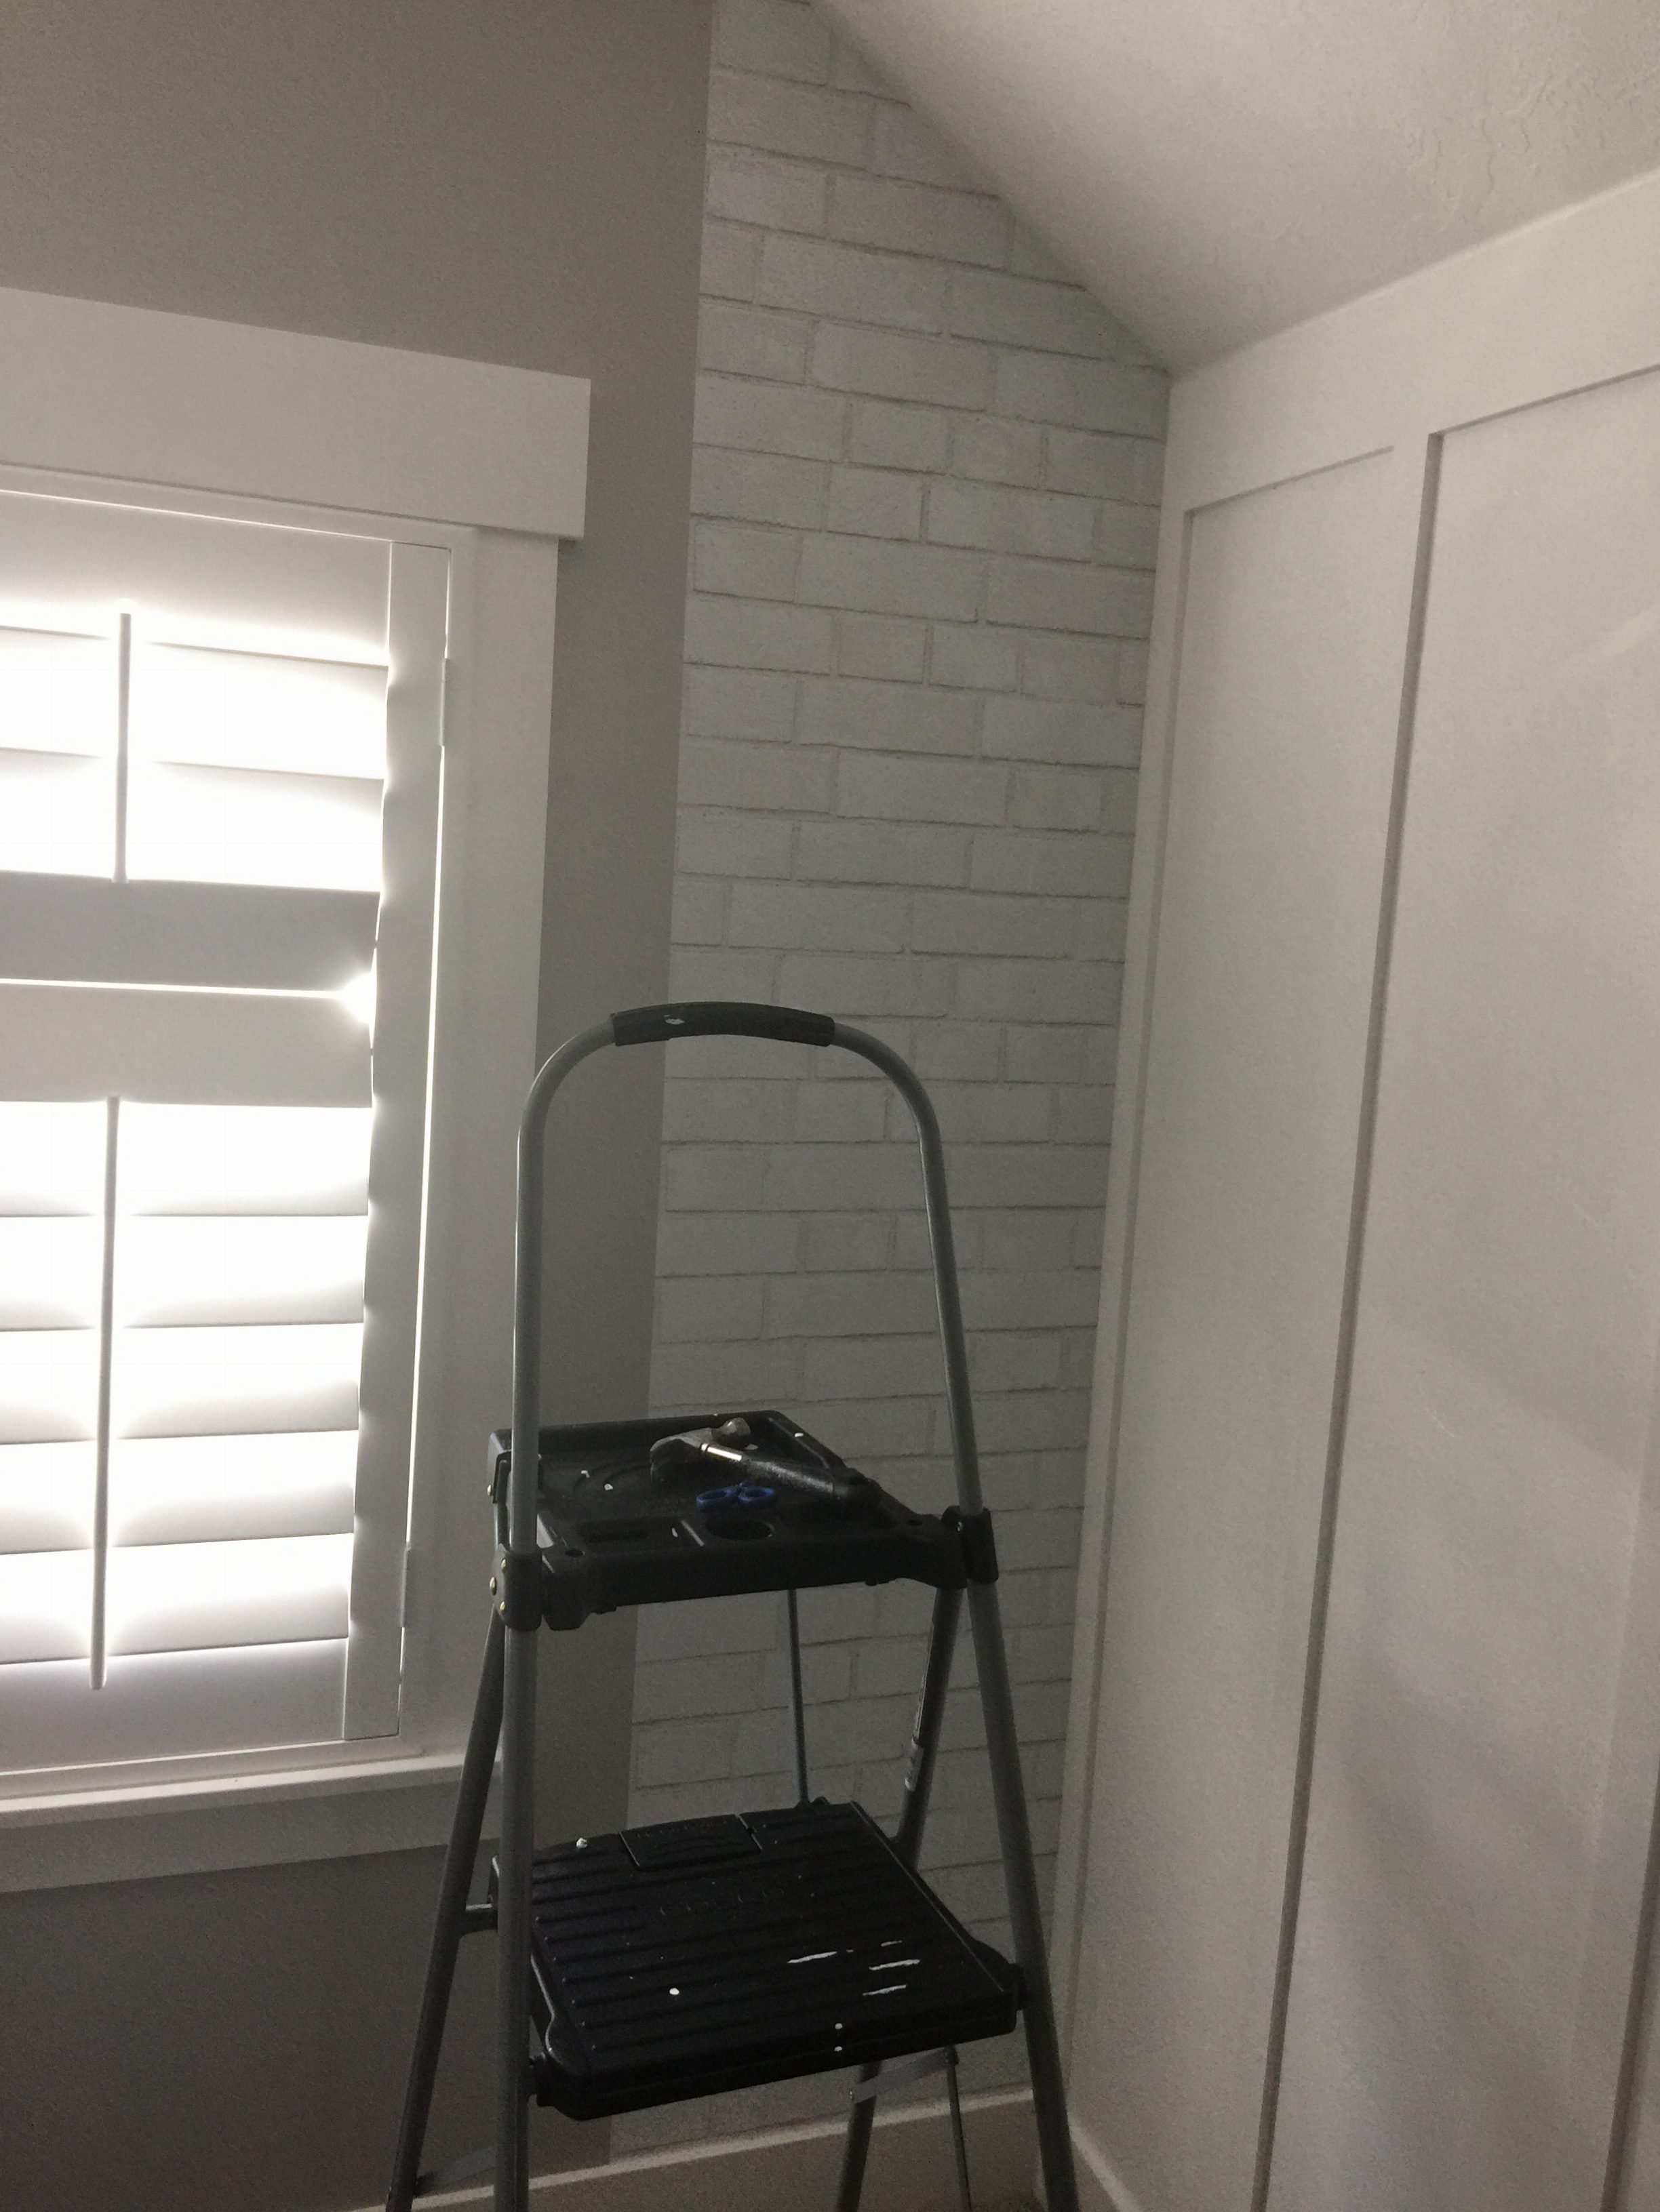 I started from the ceiling and worked my way down, letting gravity work in my favor. This wallpaper is so great because you don’t need to get it wet or activate any glue or add any paste. It has a backing that peels off like a sticker and if you stick it to the wall and need to adjust it, just carefully pull it off and adjust it and it still sticks with the same adhesion power. I don’t have a ton of experience with wallpaper, but I’ve heard it was a pain. This was definitely more doable.
 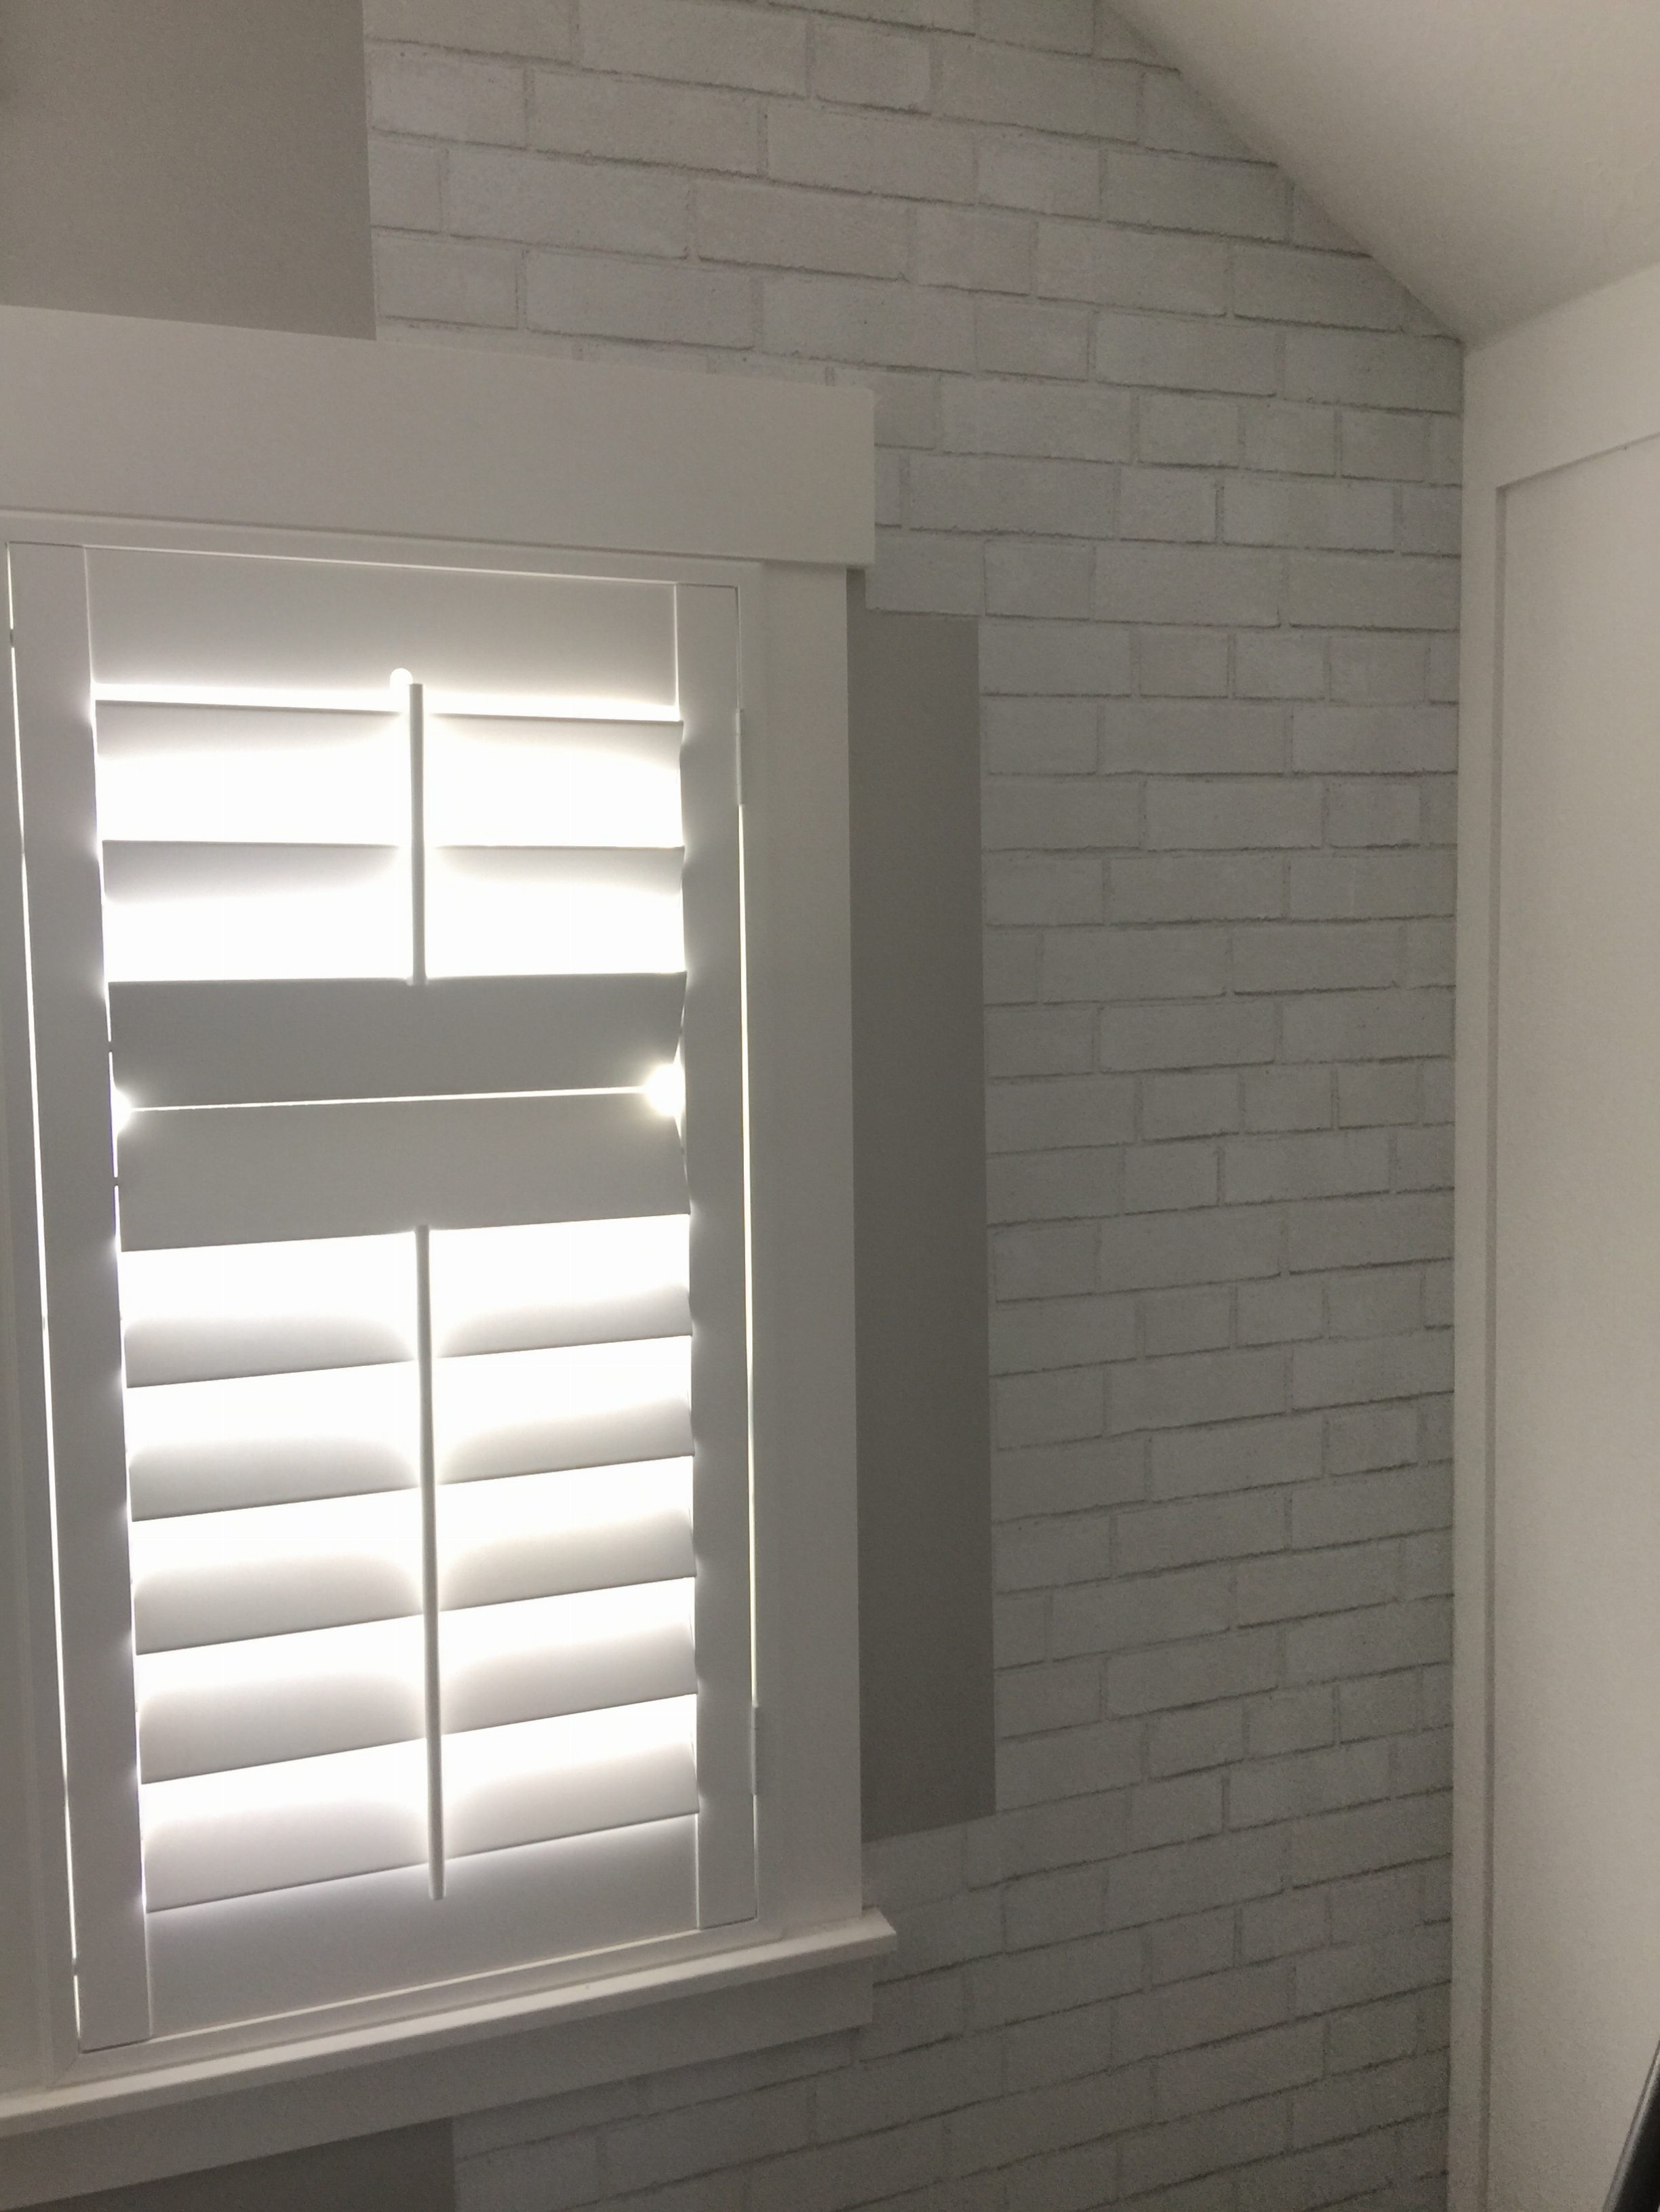 I used the squeegee (paint scraper) to work from the center of the wallpaper to the edges to remove bubbles. I also used it to push the wallpaper flush into the edges of the wall, ceiling, baseboard, and window trim. Then I used the razor blade to cut off the excess and leave a very finished edge. It took some patience but overall a fun project and so super exciting to see the end result! And I’m not going to lie, after dealing with paint for a week straight, it was nice to do a project that wasn’t super messy. Also I was worried it would be hard to hide the seams but the brick pattern was actually very forgiving. I just tried to line up the mortar lines as best I could and I honestly love the end result!
How to Paint a Chalkboard Wall
Supplies for Chalkboard Wall:
- Devine Chalkboard Paint exclusively found at Target (I used 2 quarts but I probably could have made it work with 1)
- Thick Mat Paint Roller
- Roller Paint Tray
- Edger
- Chalk
- Wet Rag
Before: 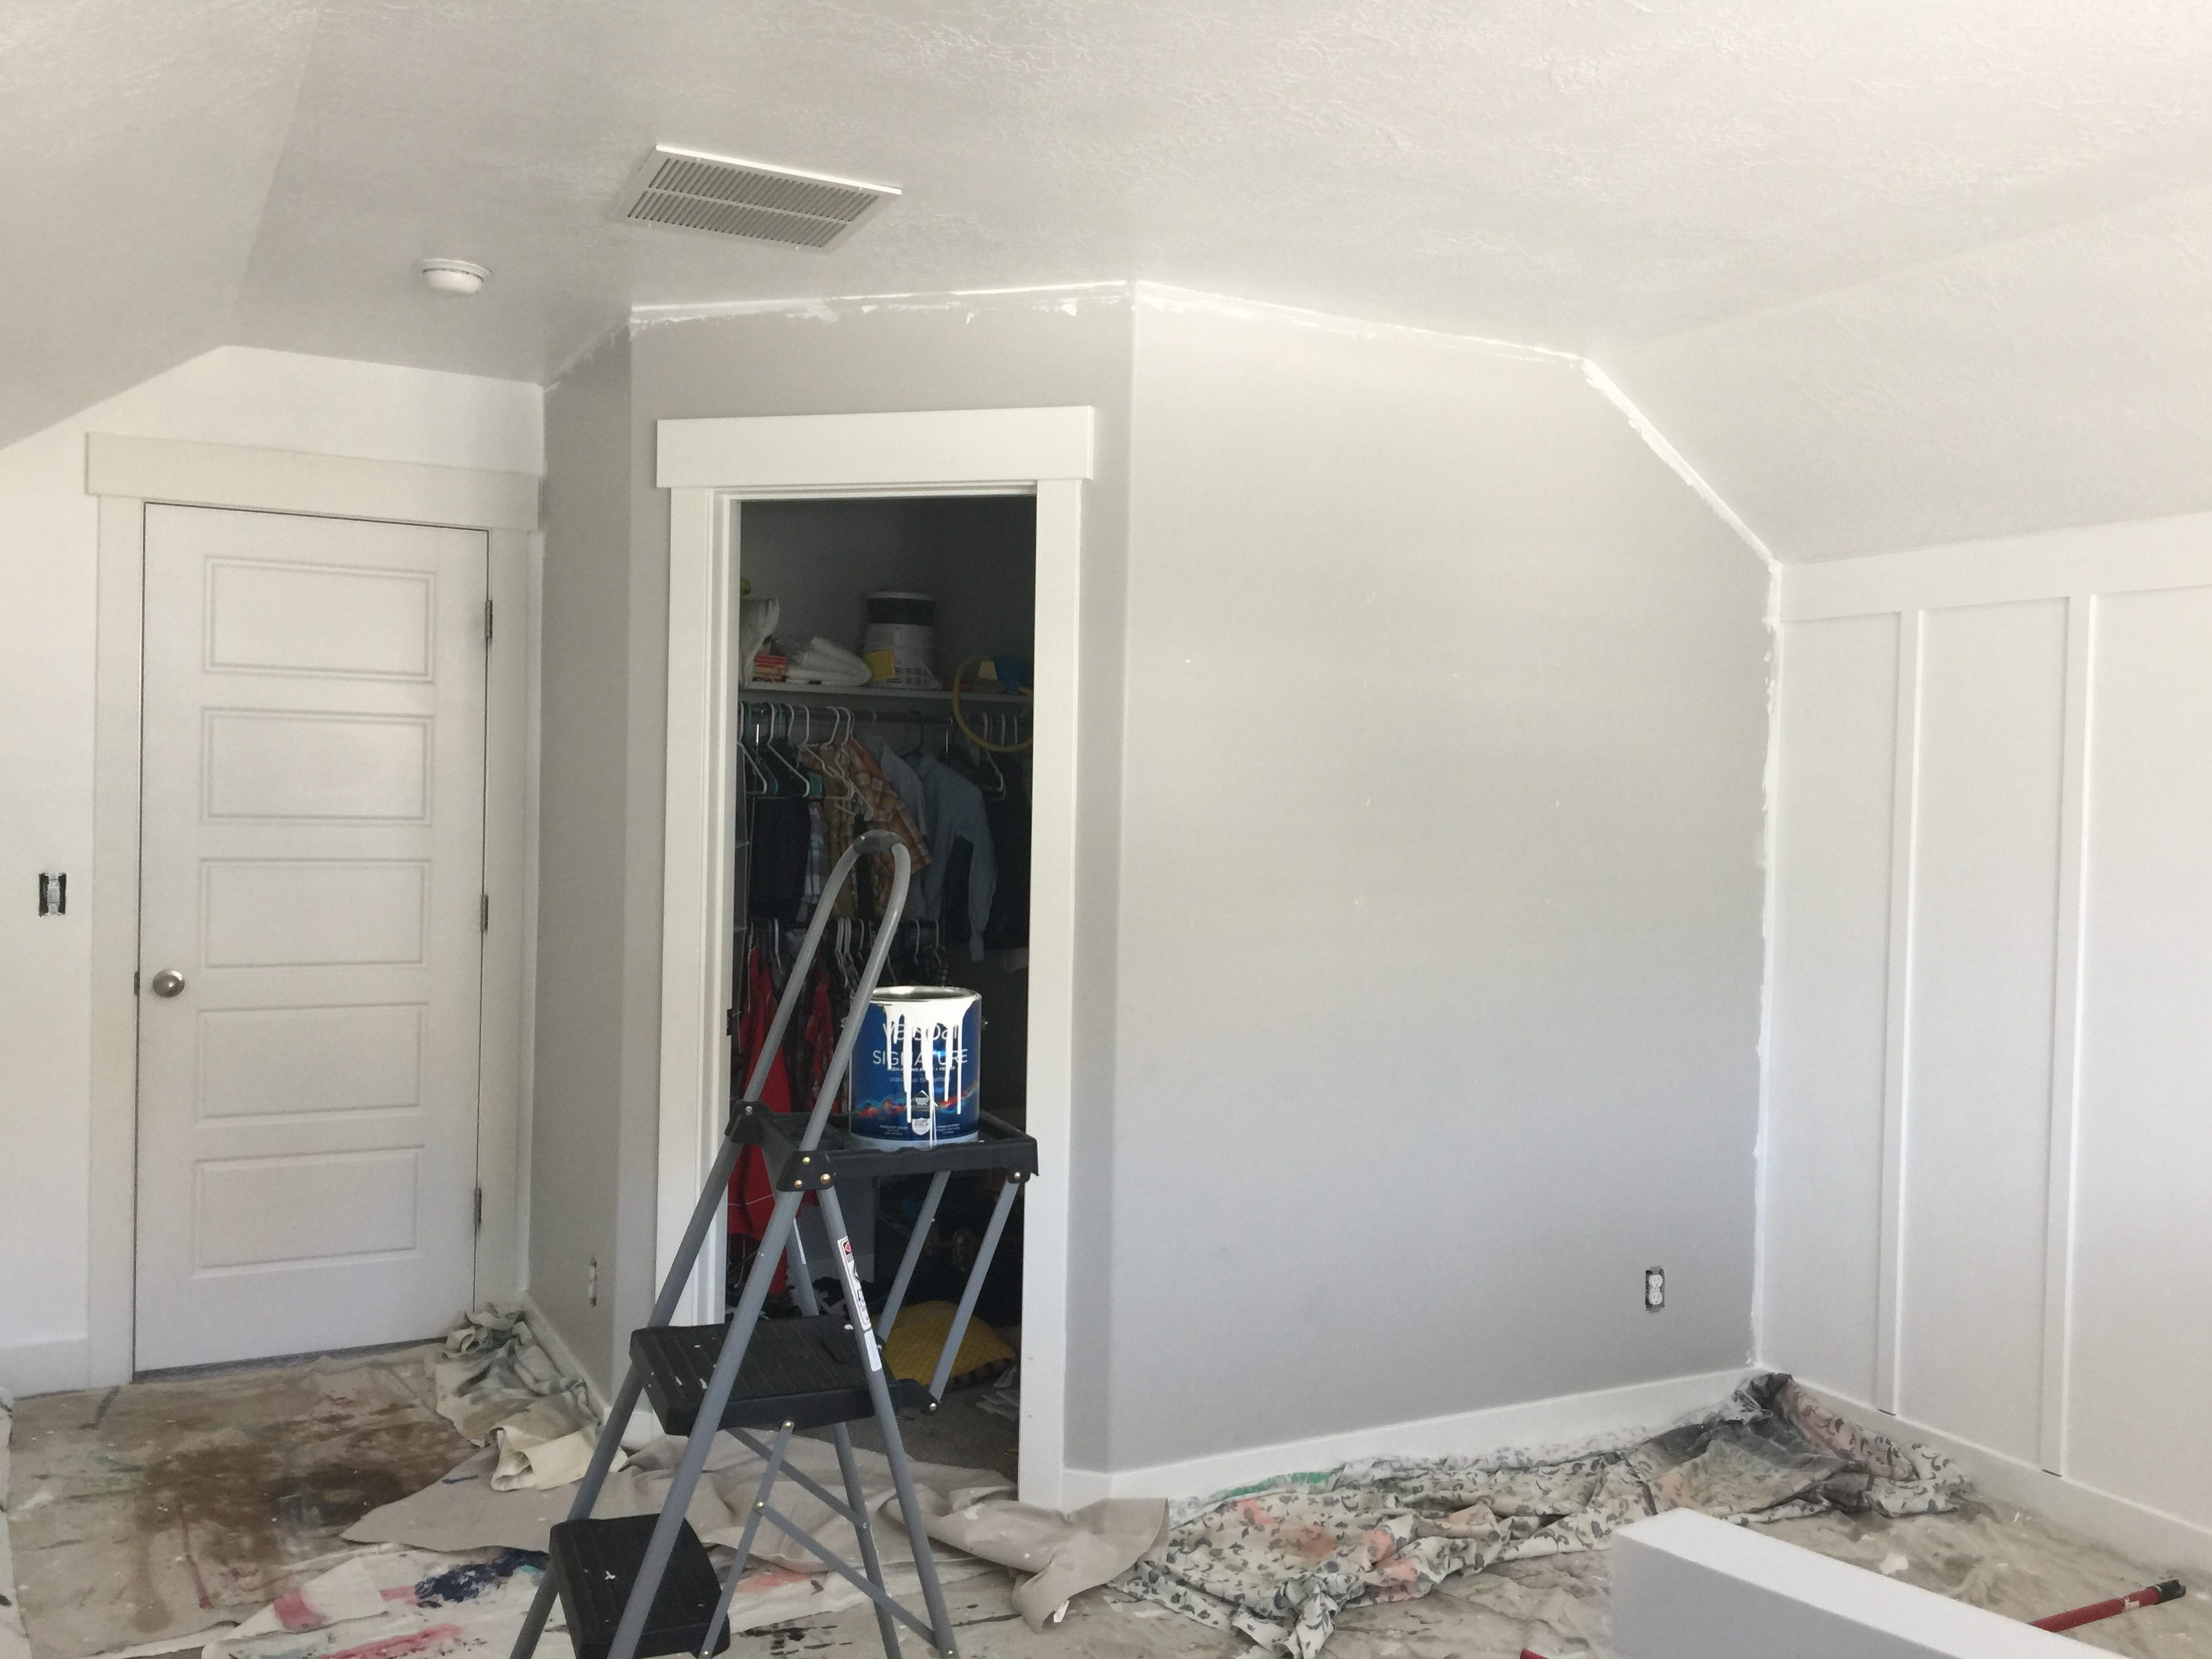 This project helped me discover the beauty of a paint edger. If you buy those little rectangular brushes just for edging and then barely dip it in the paint so the sides don’t get paint on them, it saves SO much time with cutting in. At first I tried cutting in with a small brush but my lines were wobbly and it was painfully obvious next to a white wall. So I pulled out a brand new edger, dipped it in the paint just a bit and then spread the paint across the edger by rubbing it on the dry part of the tray. Then I slowly dragged the edger across all the edges (where the ceiling meets the wall, walls meet walls, trim and baseboards, etc.) and ended up with this (ignore the messy closet please!)
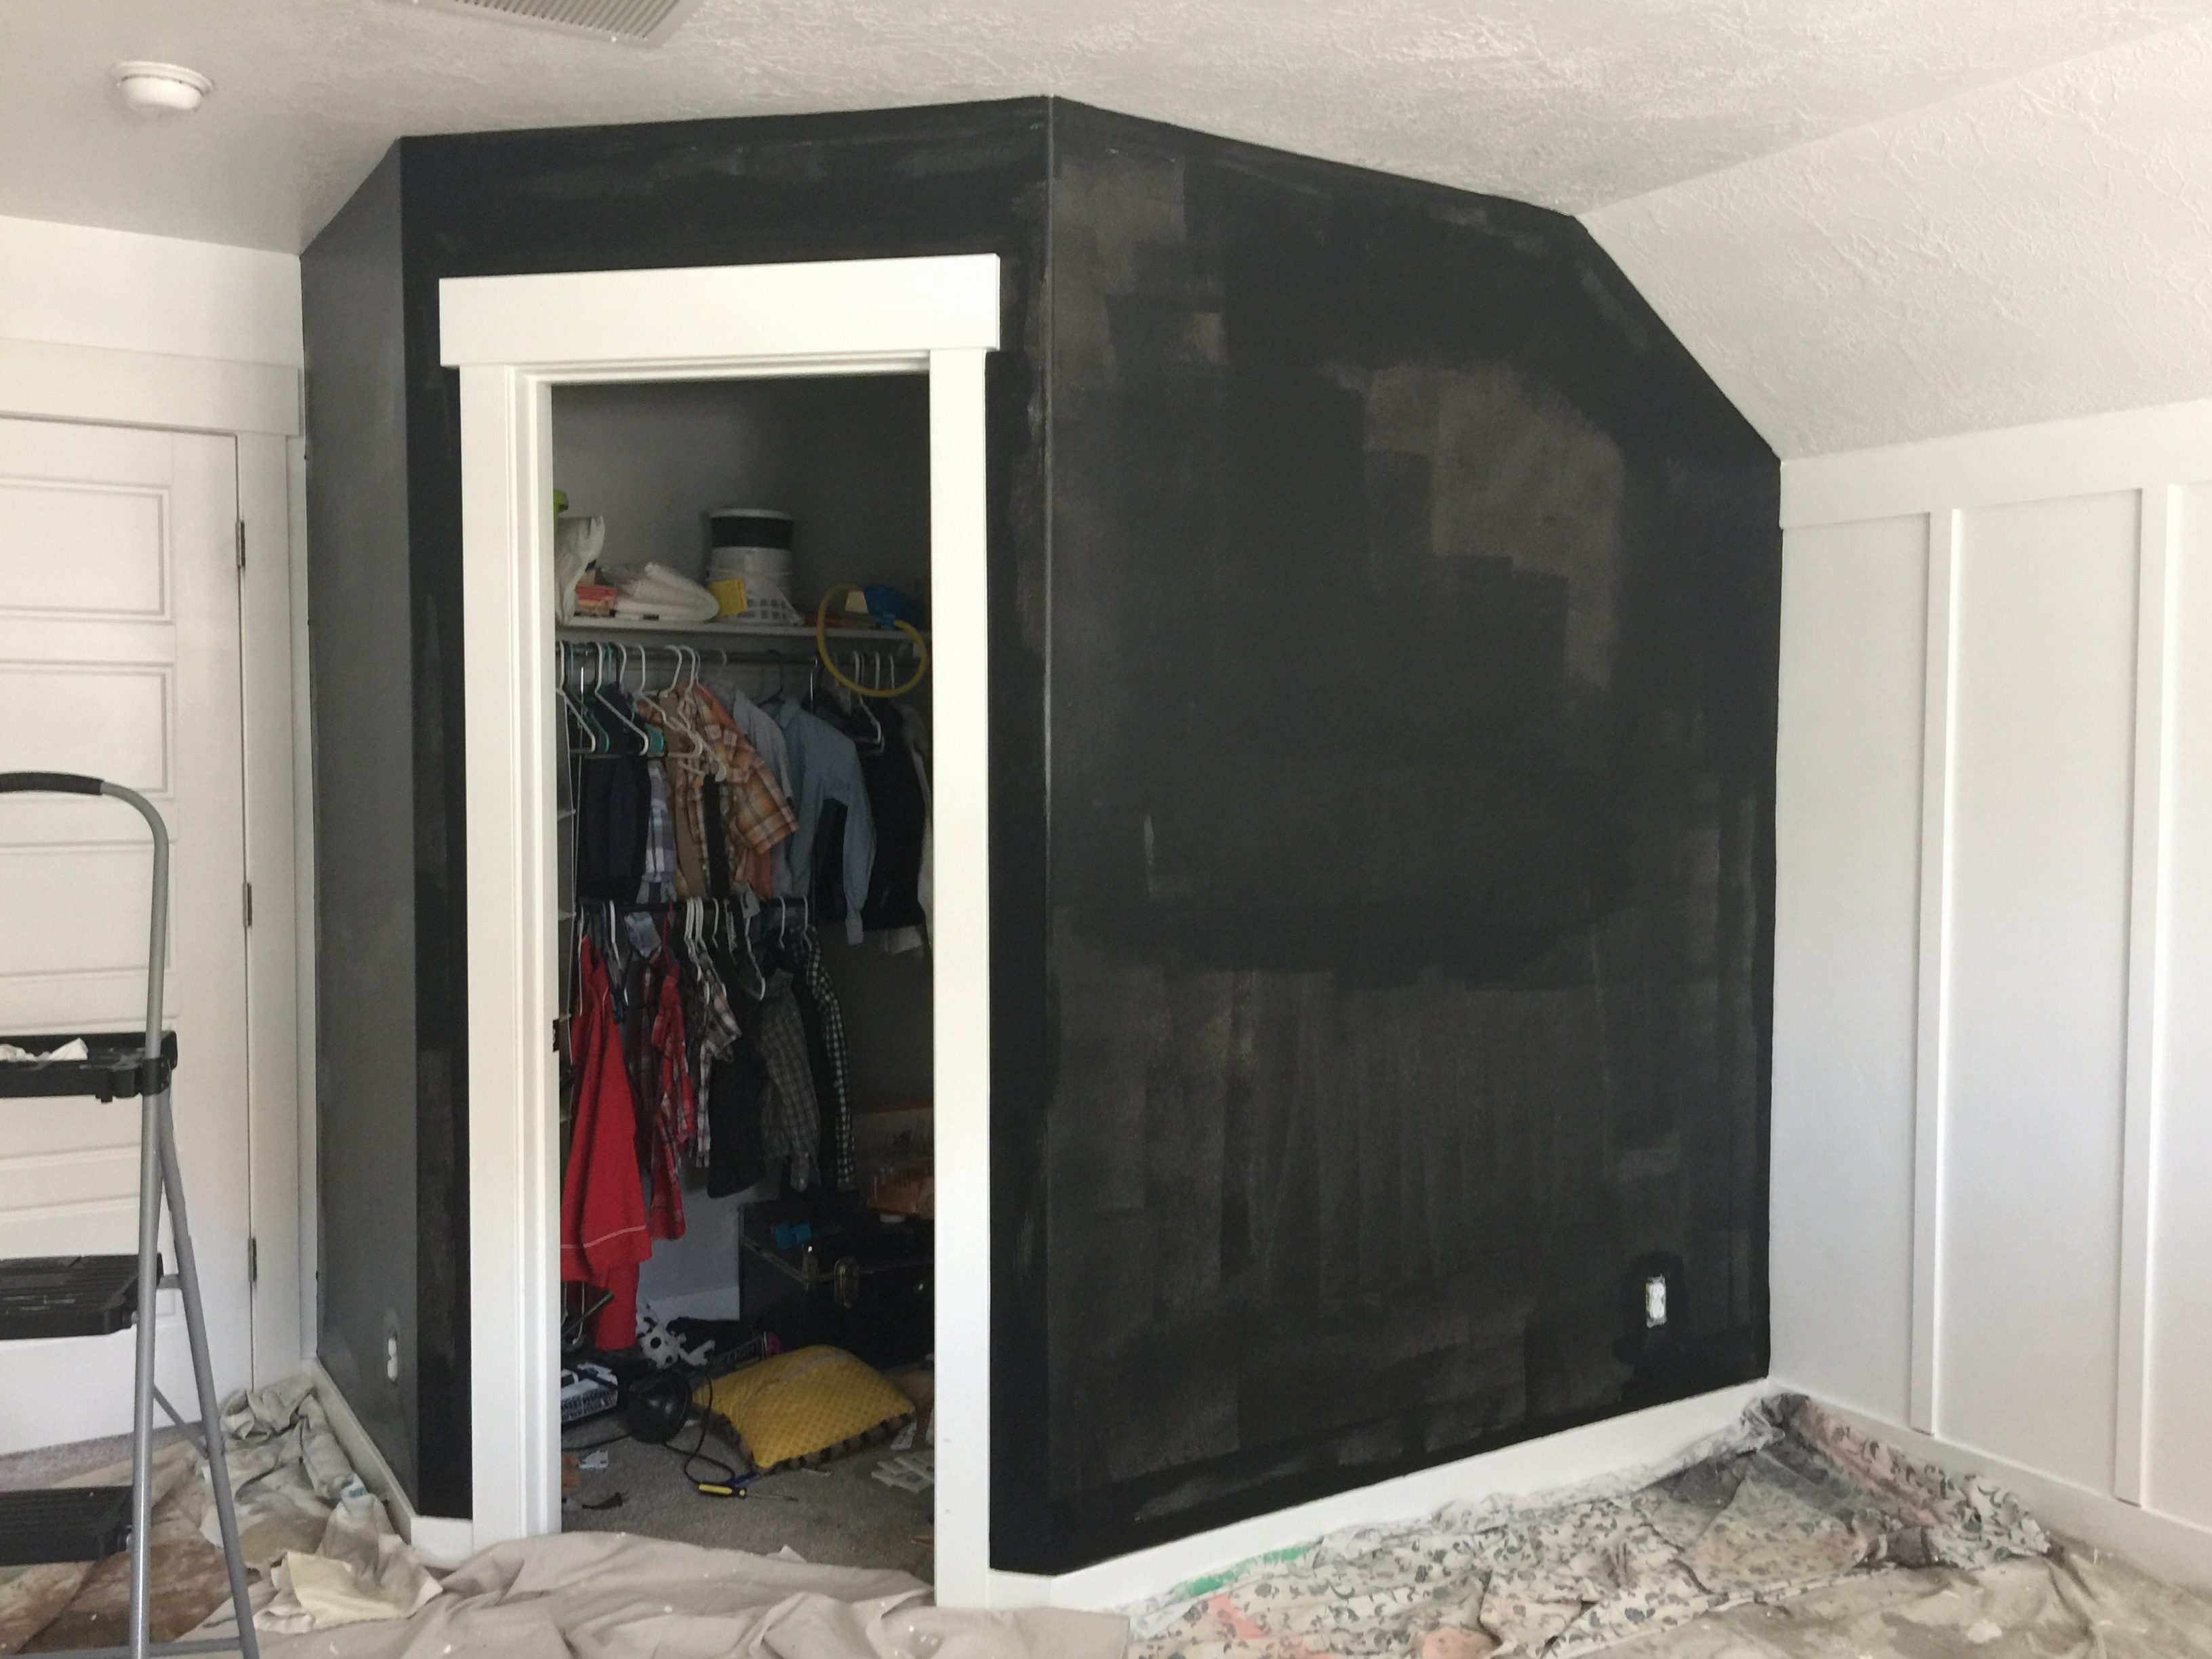
 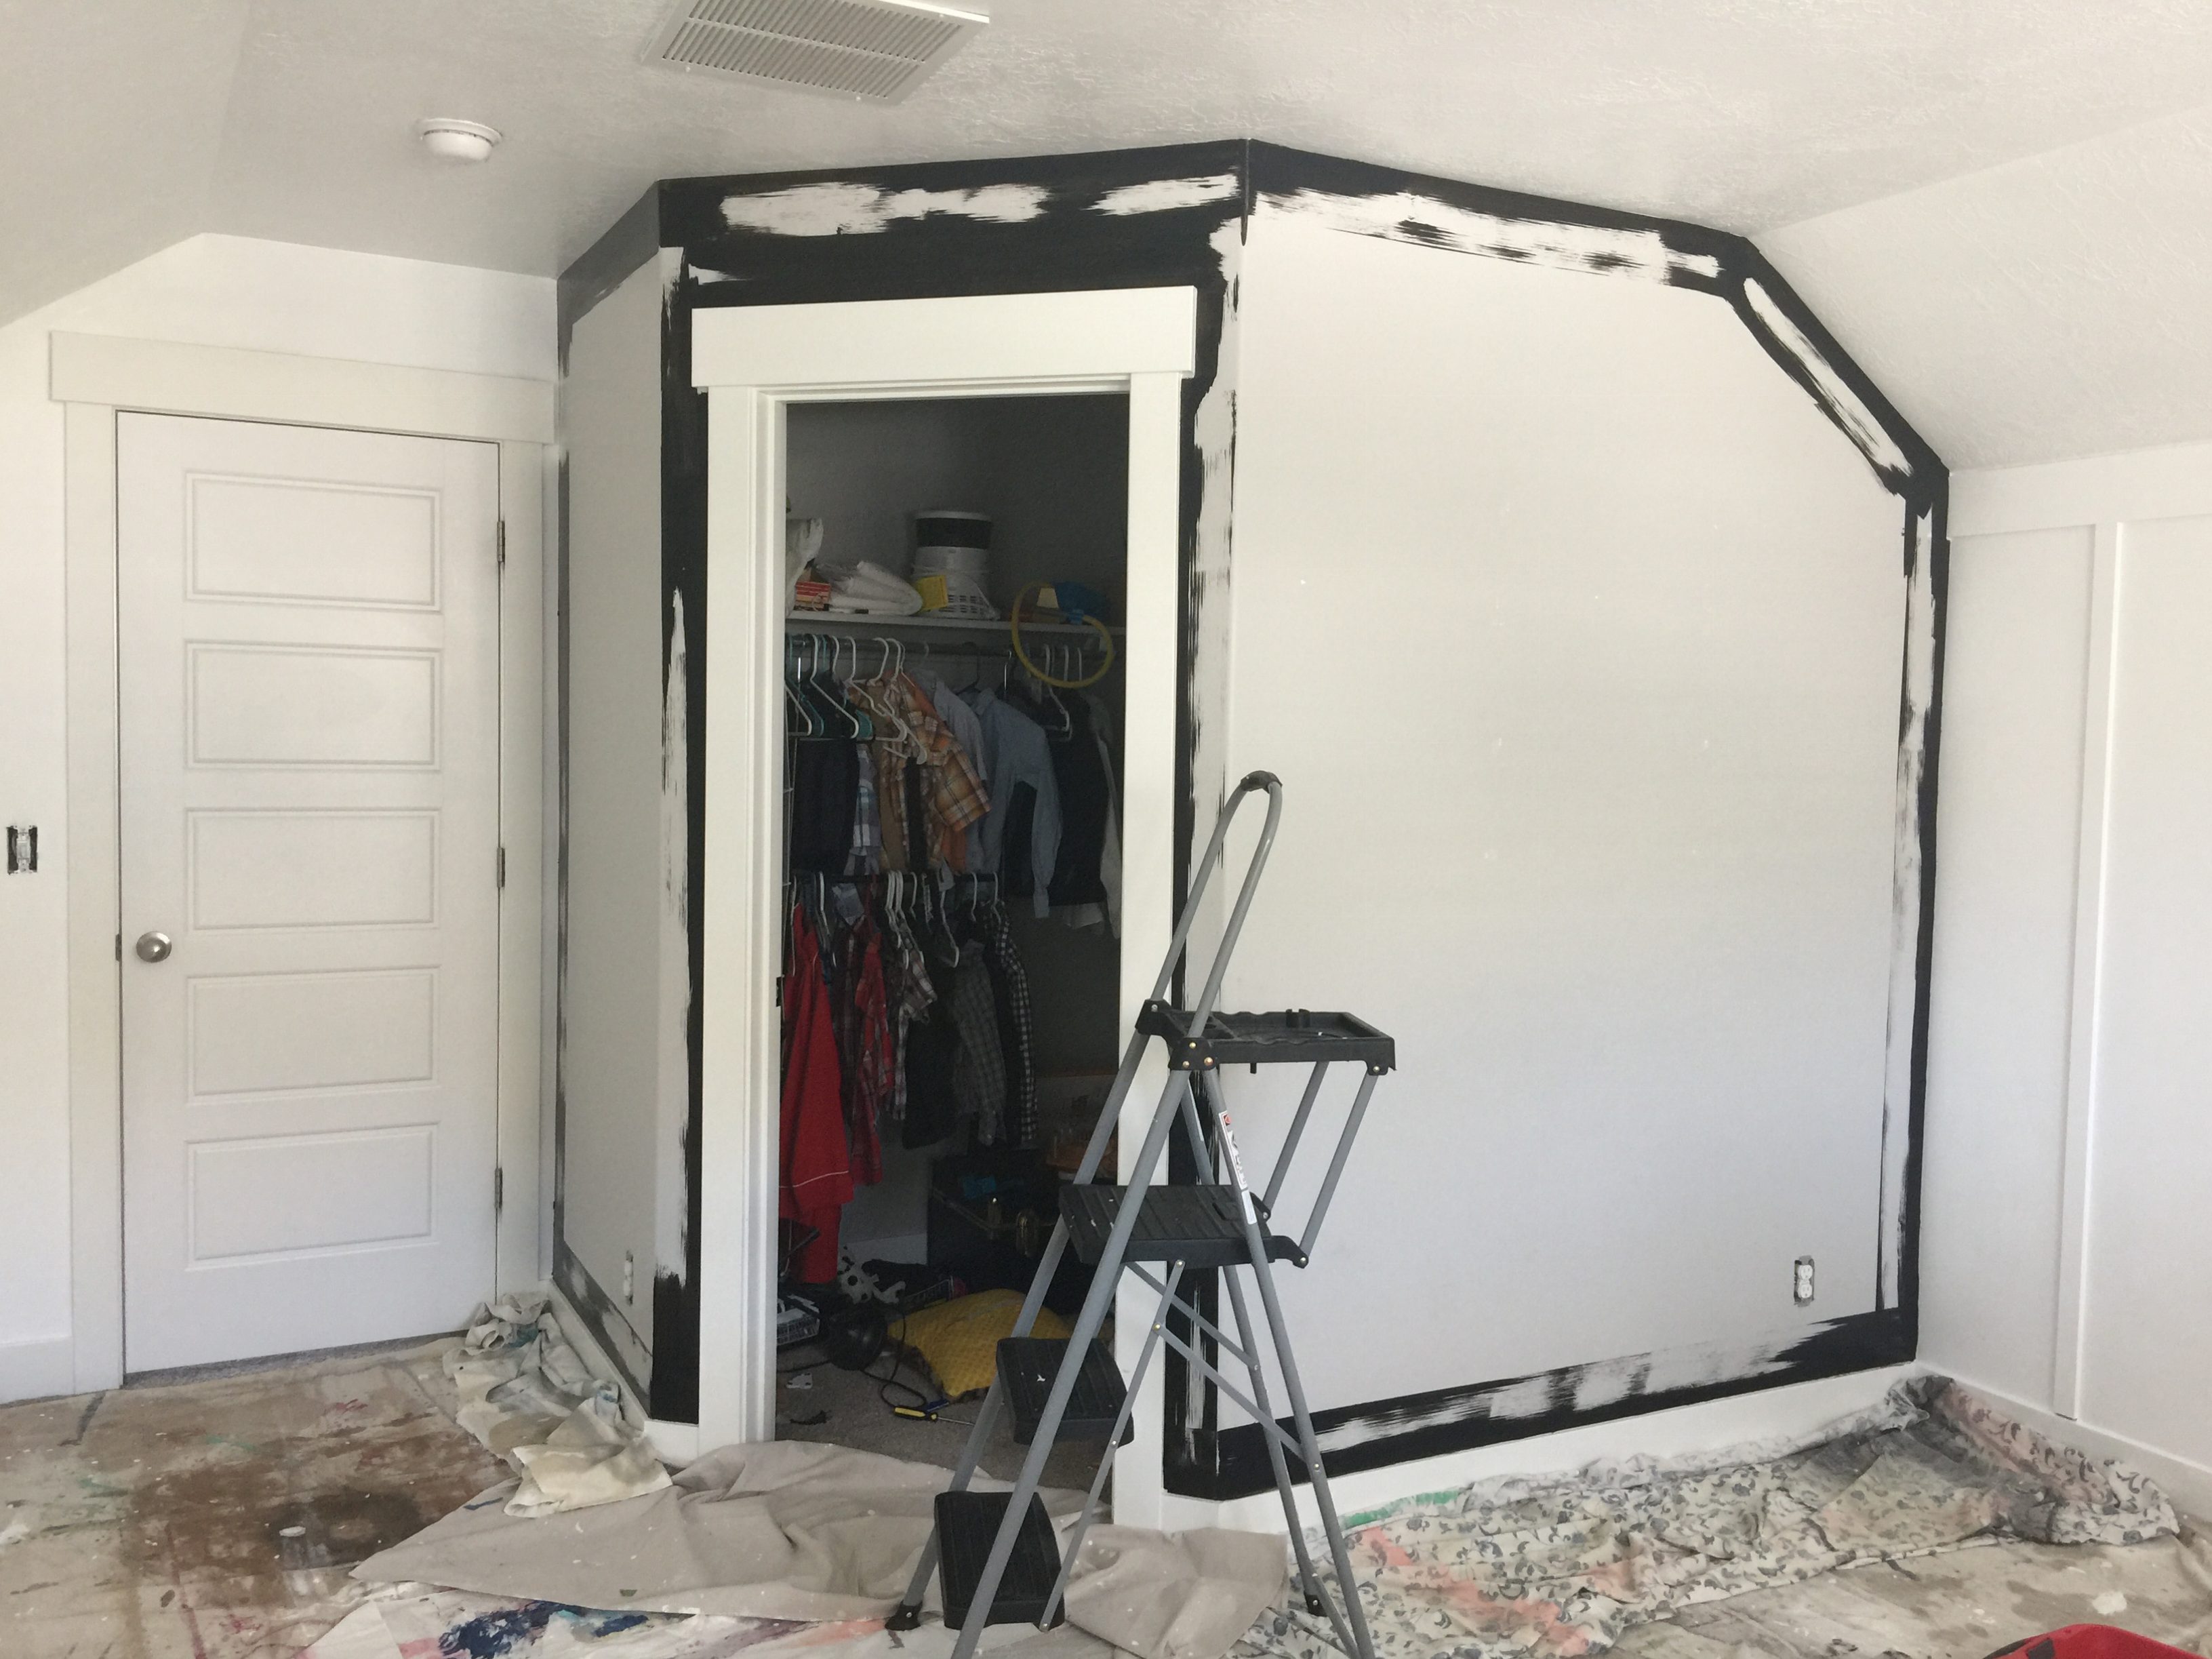 And let me tell you, I speak from experience that taping does not do nearly as good of a job as this edger did and in half the time! So let edgers be your friend. After I cut in all the edges, I rolled the paint across the rest of the wall. I was SUPER impressed with the coverage of this paint. It was so thick that I only needed two coats and this was taking a very light wall to a black wall (read–usually need TONS of coats.) I was having flashbacks to painting my newlywed apartment wall red when it took like 50 billion coats just for one accent wall and I wanted to cry. The picture below was after one coat:
  After it was all painted, I let it cure overnight before writing on it with chalk. And my kids got super excited about drawing on the wall so I let them season the wall for me. You have to drag chalk all over the paint first before using it to prevent ghosting (where you can forever see what you first wrote on it). So we all helped season and then used a wet rag to wipe it off. Then my talented husband drew the cool moon on it.
 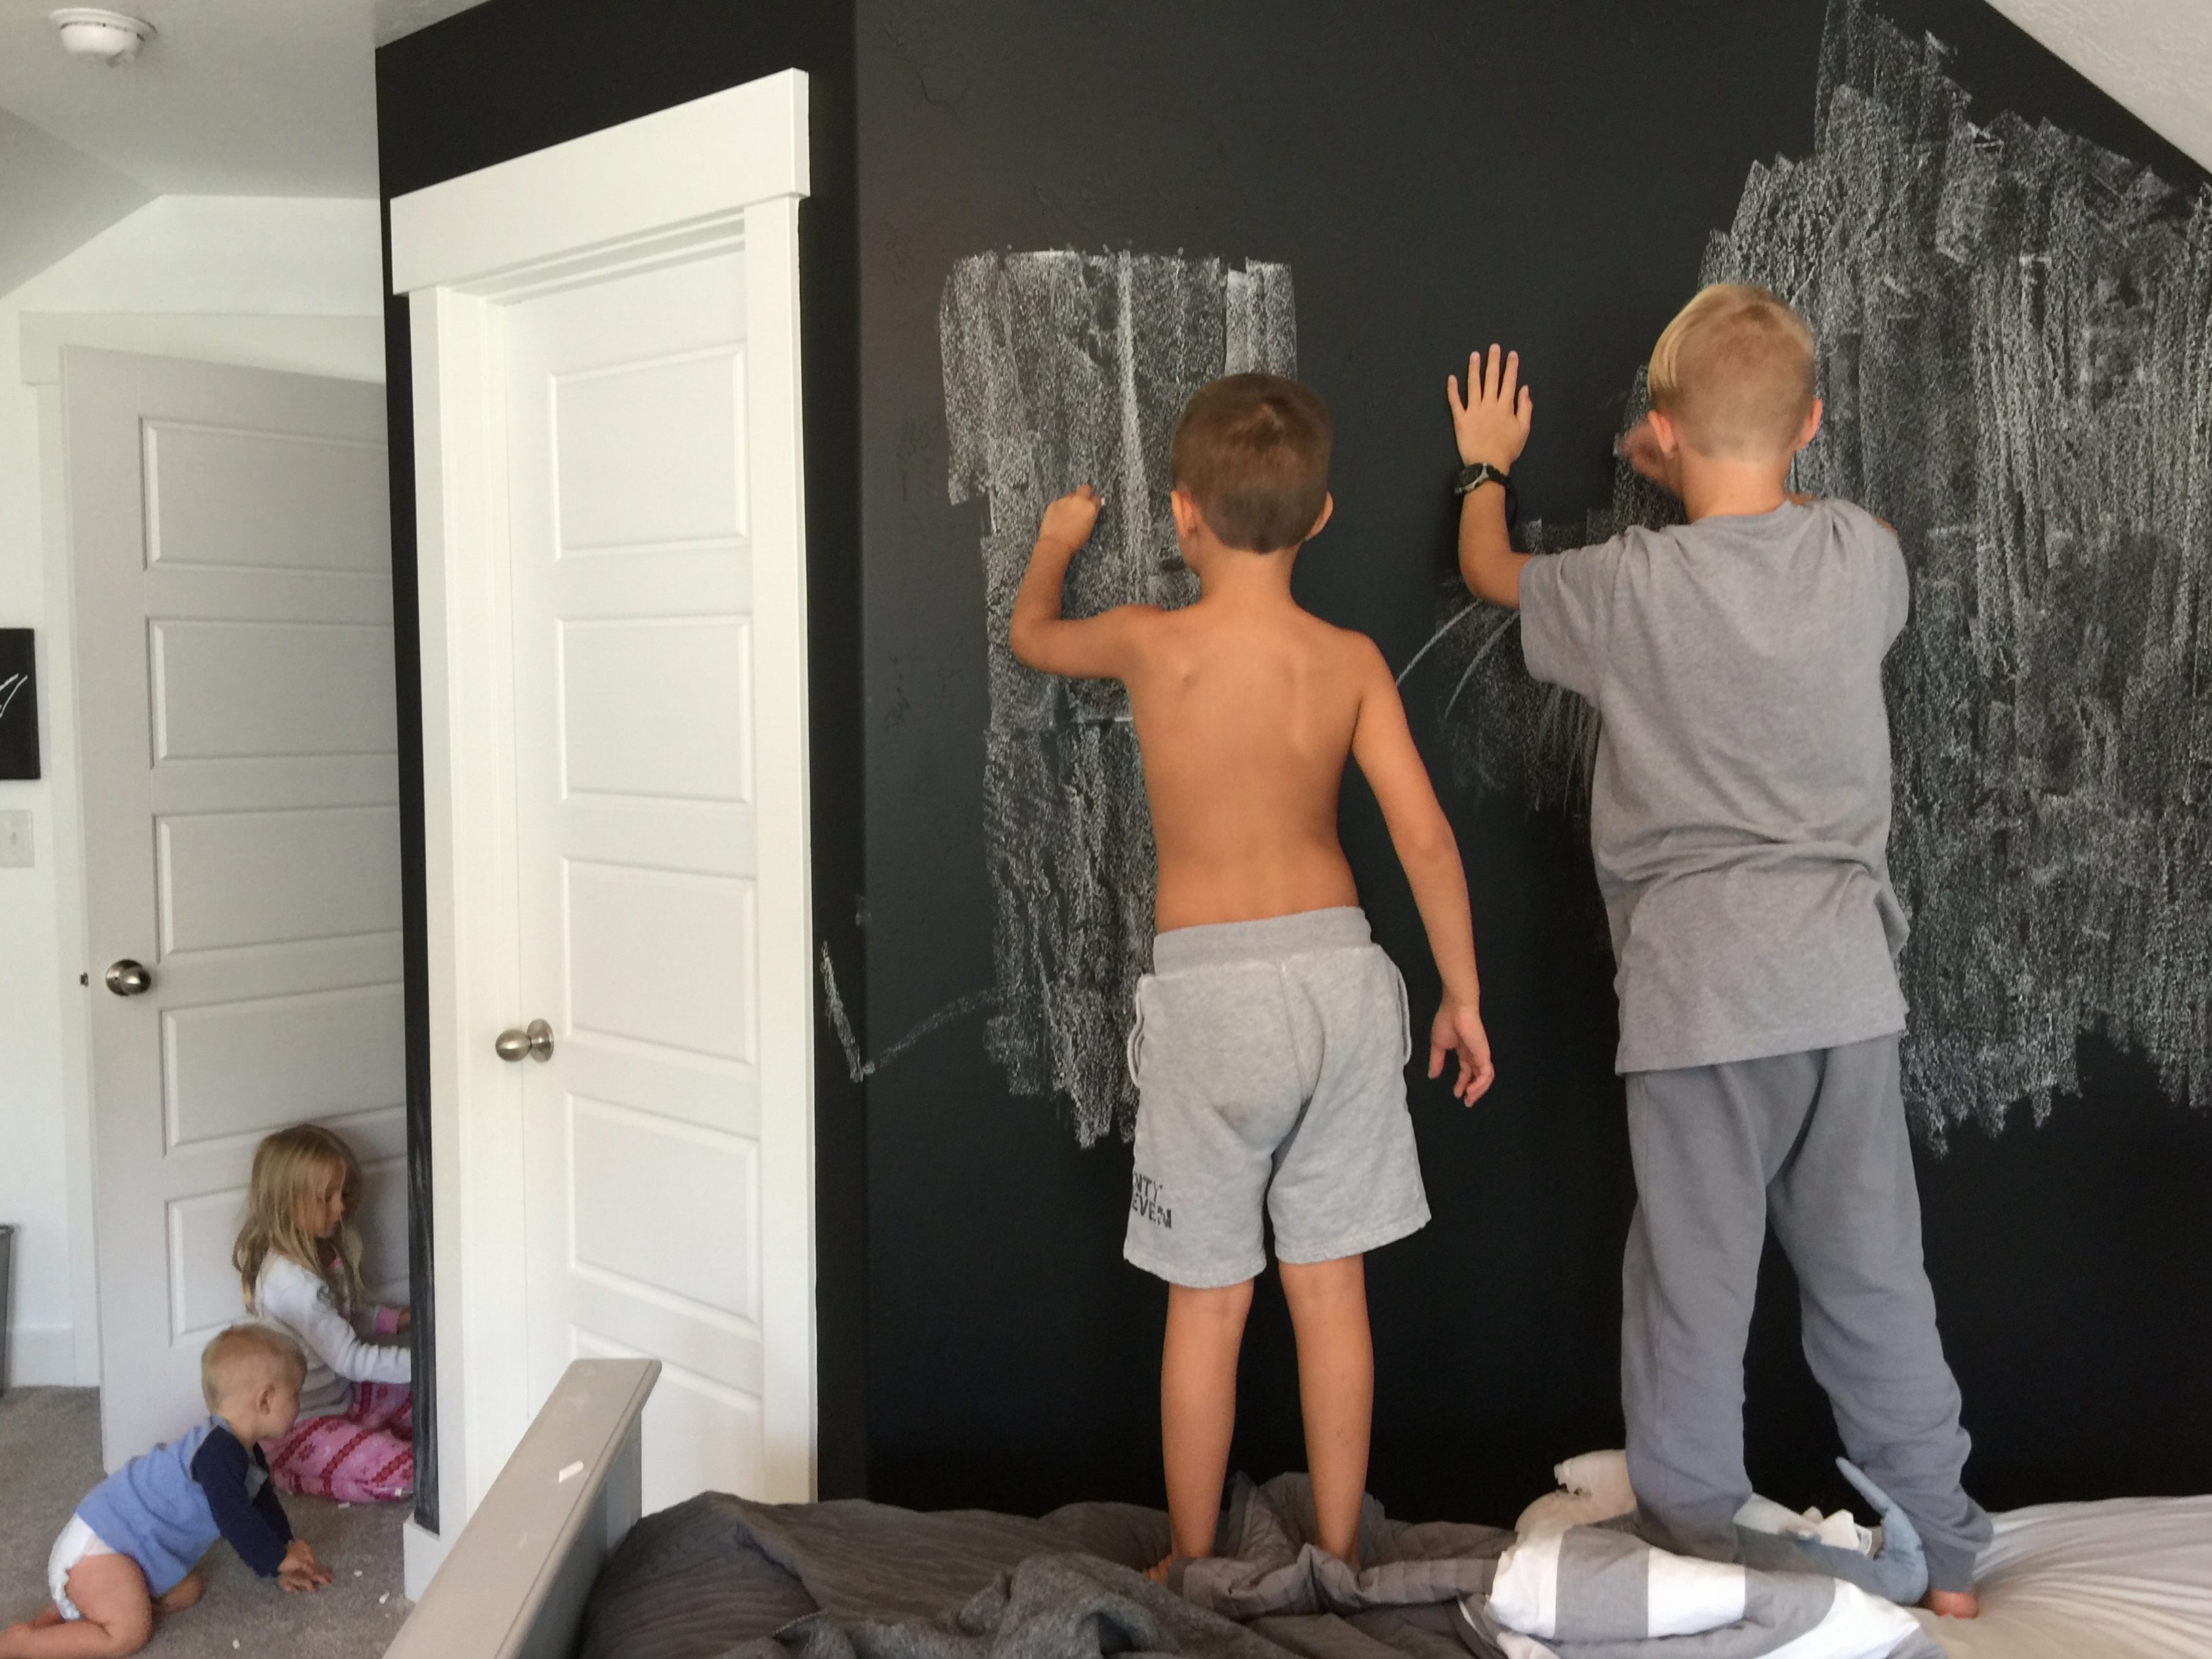 My kids love having the chalkboard wall and I think it added just the right impact on this side of the room–as well as adding a whole other element of ‘space’ on it, since the room has kind of a galactic theme.
 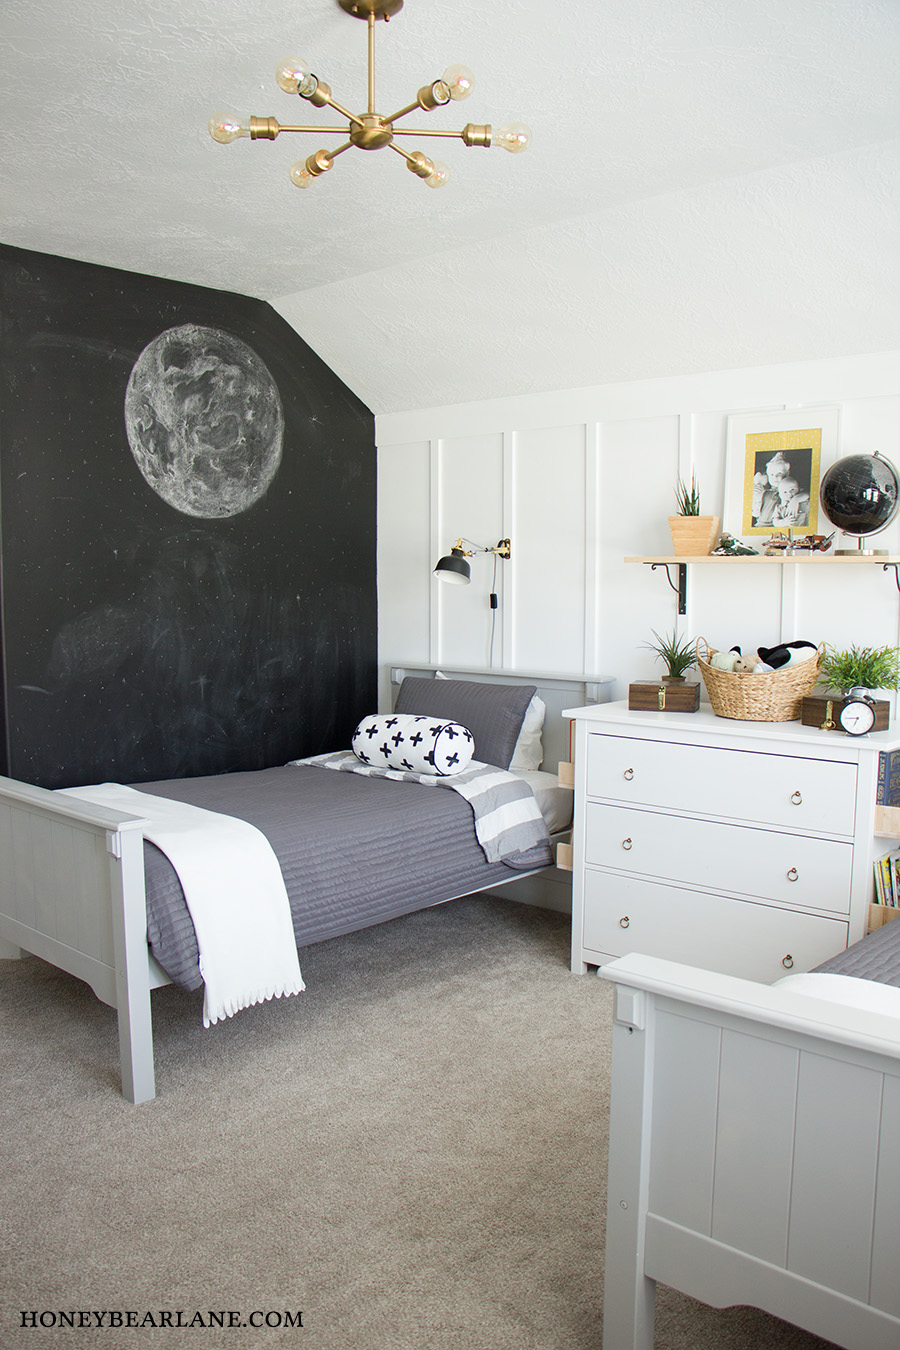 I love this new boys’ room! Big thanks to Devine + Target for working with me on this project! Be sure to follow Devine Color on Instagram

Gorgeous!! The faux brick looks wonderful!! Honestly, I’m looking at my walls, debating which one needs to be “bricked”! Haha! Great boys room. Love it!
Thank you so much!
That’s a great idea to use the whole wall as a chalkboard! I didn’t even know this kind of paint was possible. My son would love to have a whole wall to draw on. I have to go and check it out myself now. Thank you so much for shairing this!
Thank you! It’s definitely fun and easy to do!
That brick wallpaper wall looks fantastic!! I never would have thought of it. So creative!