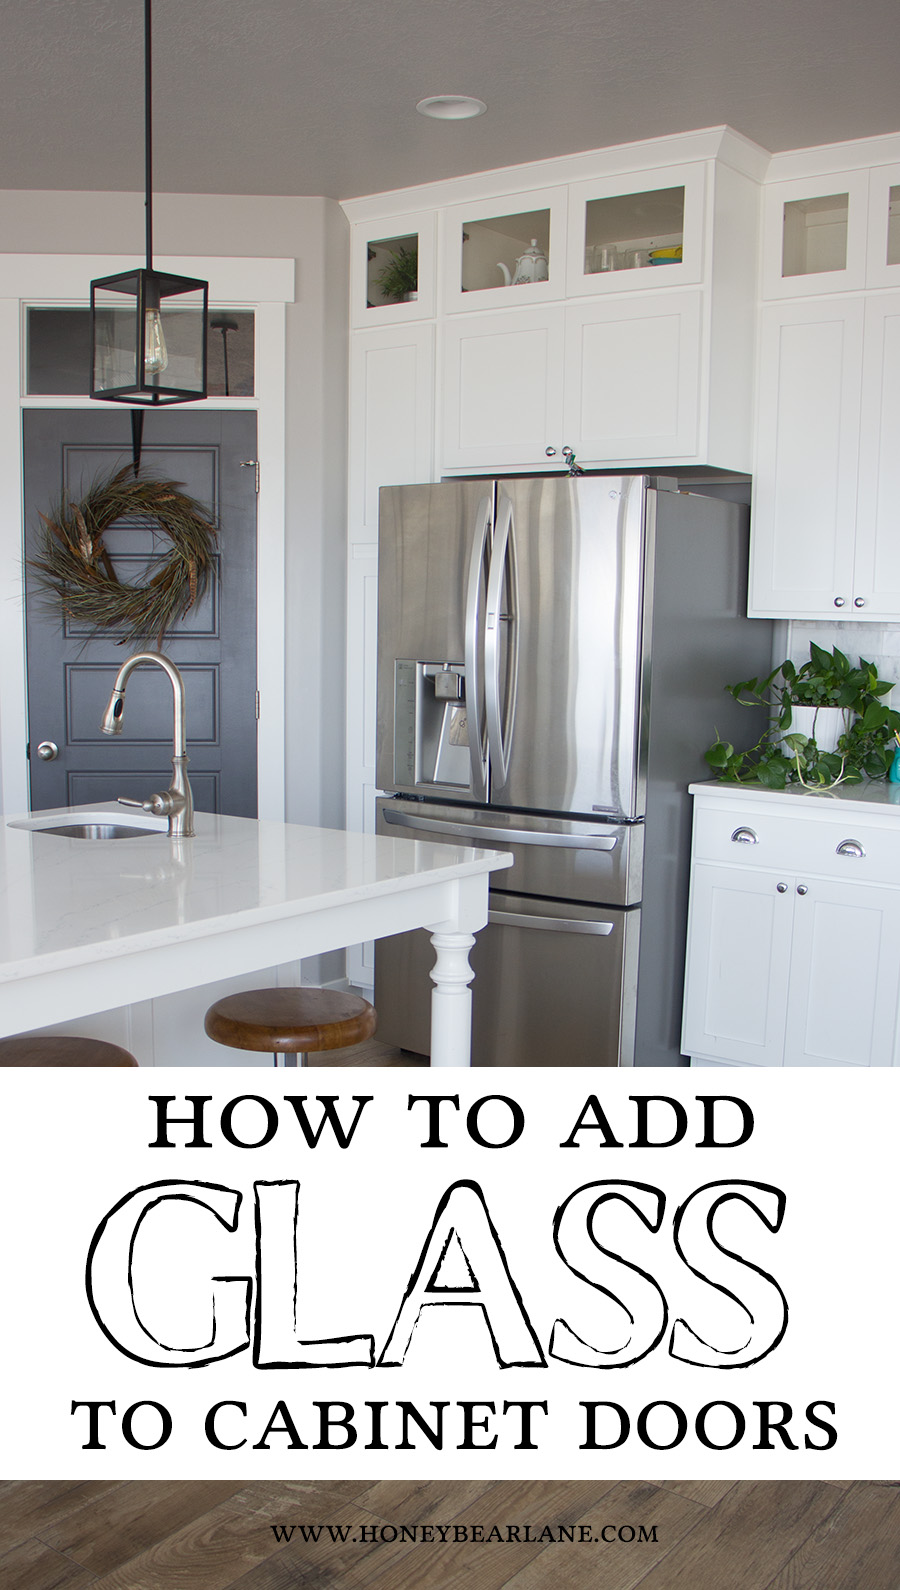
How to Add Glass to Cabinet Doors
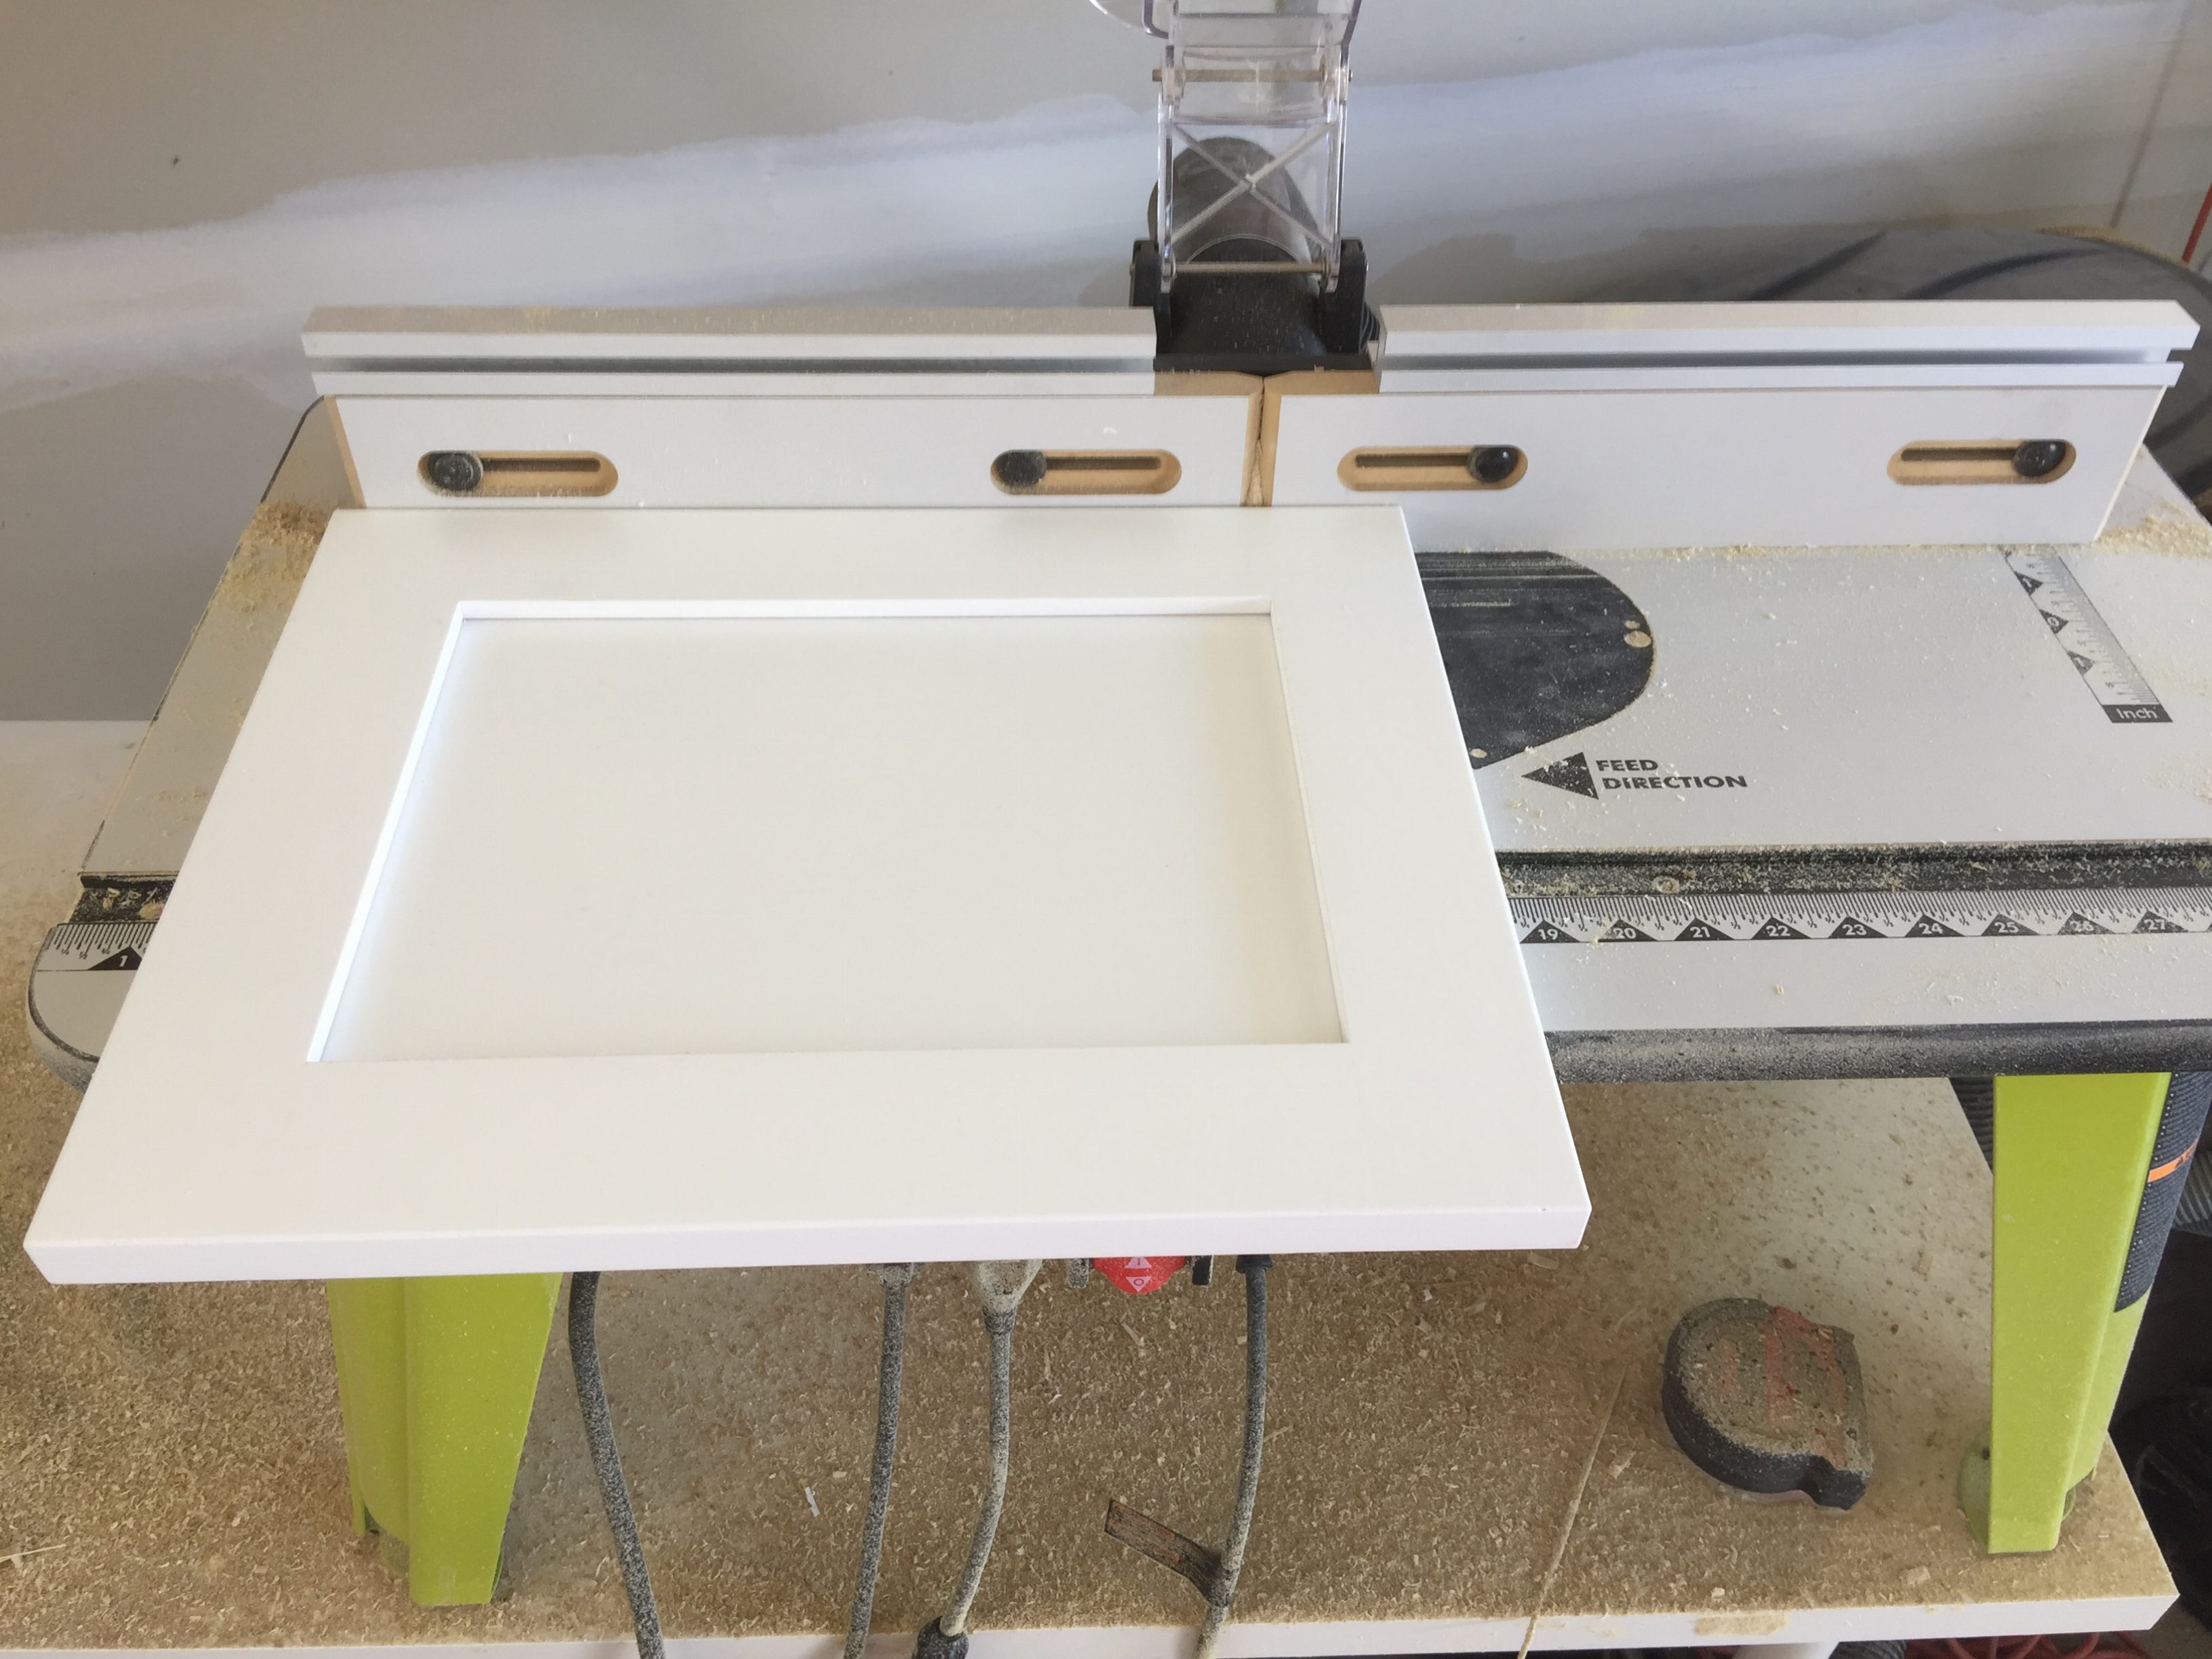
I got a new tool–one I’ve had my eye on for years! It’s a router. I got the Dewalt Router with the plunge base. Then as I was watching a YouTube video on how to use it and with a little playing around with it, I realized I needed a router table to really make use of it. So I purchased the Ryobi router table from Home Depot. It took some fiddling around with it to get this table to work with the router but we made it work finally.
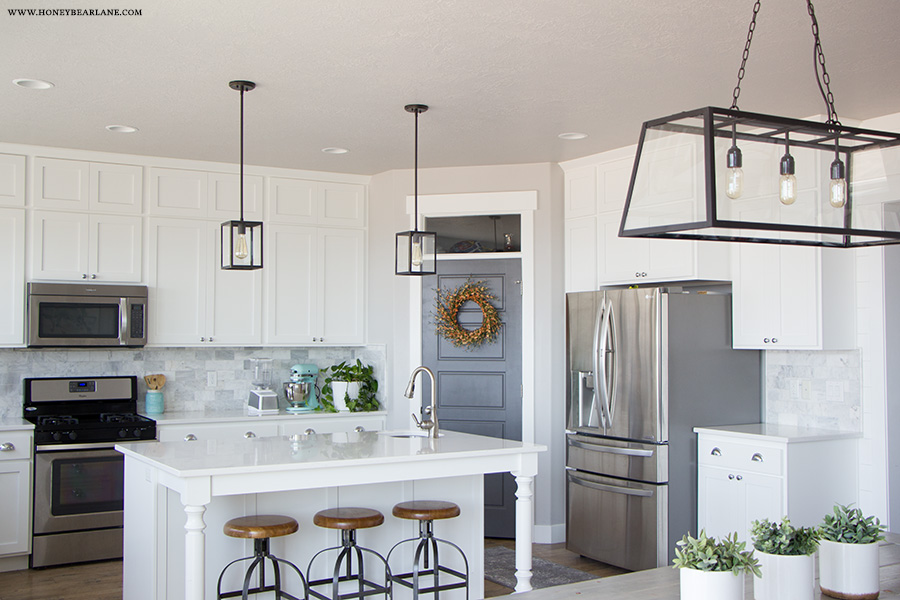
Routers are great little tools and I’m still really inexperienced with it. But one project I wanted to use a router for was putting glass in my high upper cabinet doors. Here’s the before:
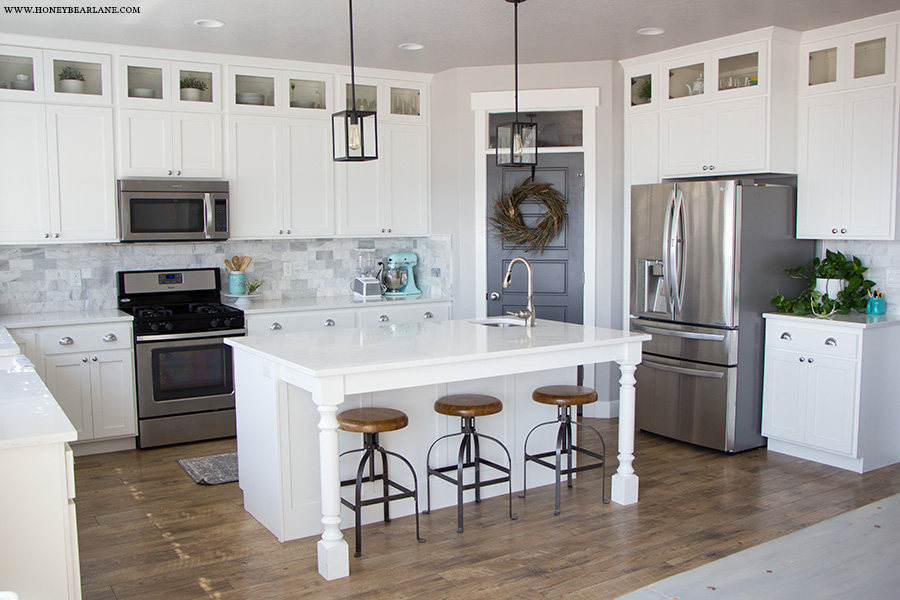
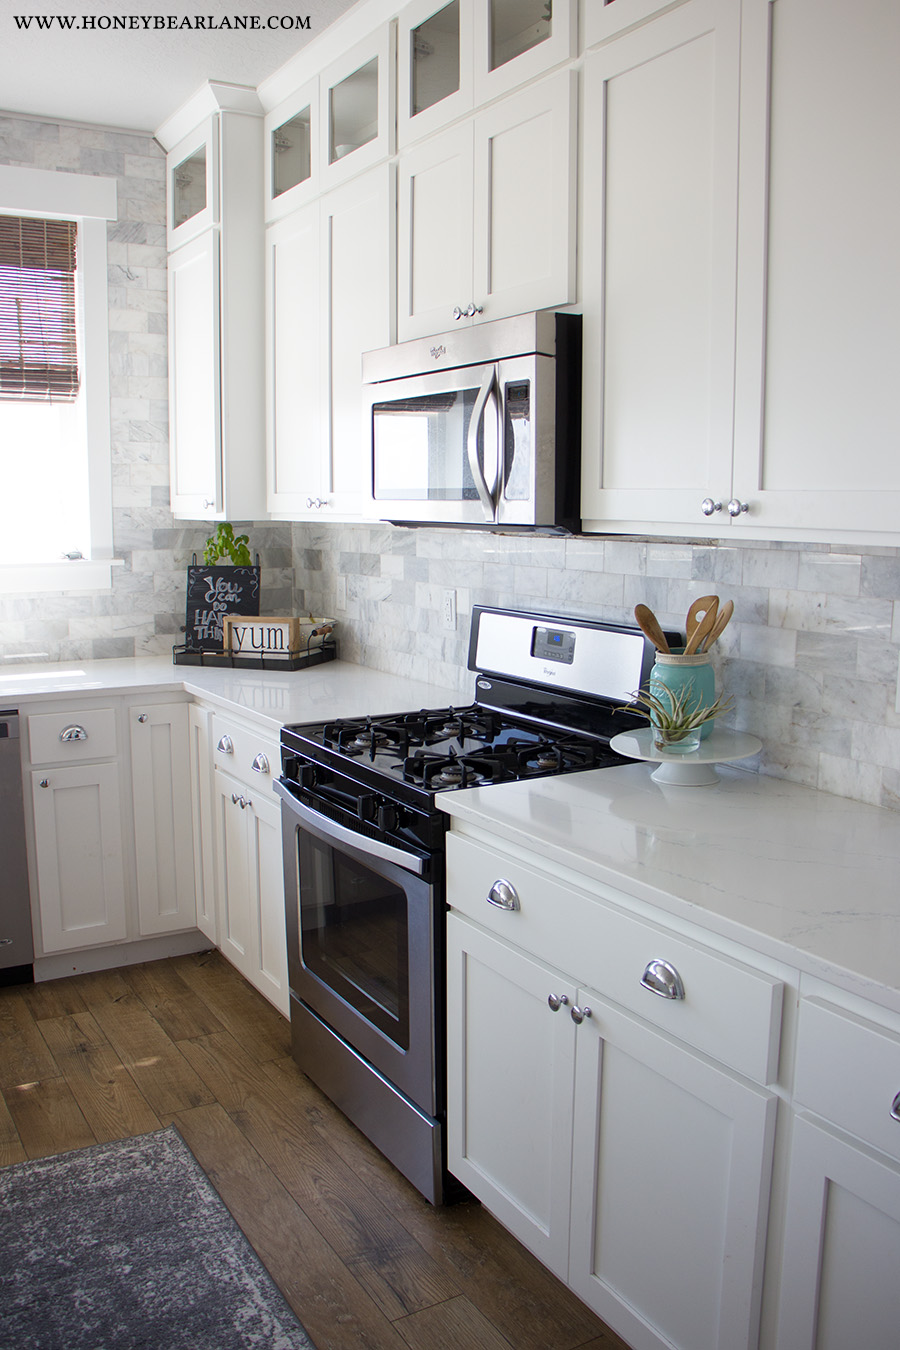
And the after…
I actually love that before picture, haha! But the glass doors make the kitchen feel taller and more open. Plus it’s so much easier now to know what is in the cabinet! But the best part is that we put lighting in the cabinets so they add some great light and glow to the kitchen…and I’ll share that in a post soon!
Back to the DIY project–how to add glass to cabinet doors!
I had purchased a couple of As Is doors from IKEA to practice on. So once I practiced using the straight bit I was able to cut out a rabbet which allowed the center panel to come out from the door.
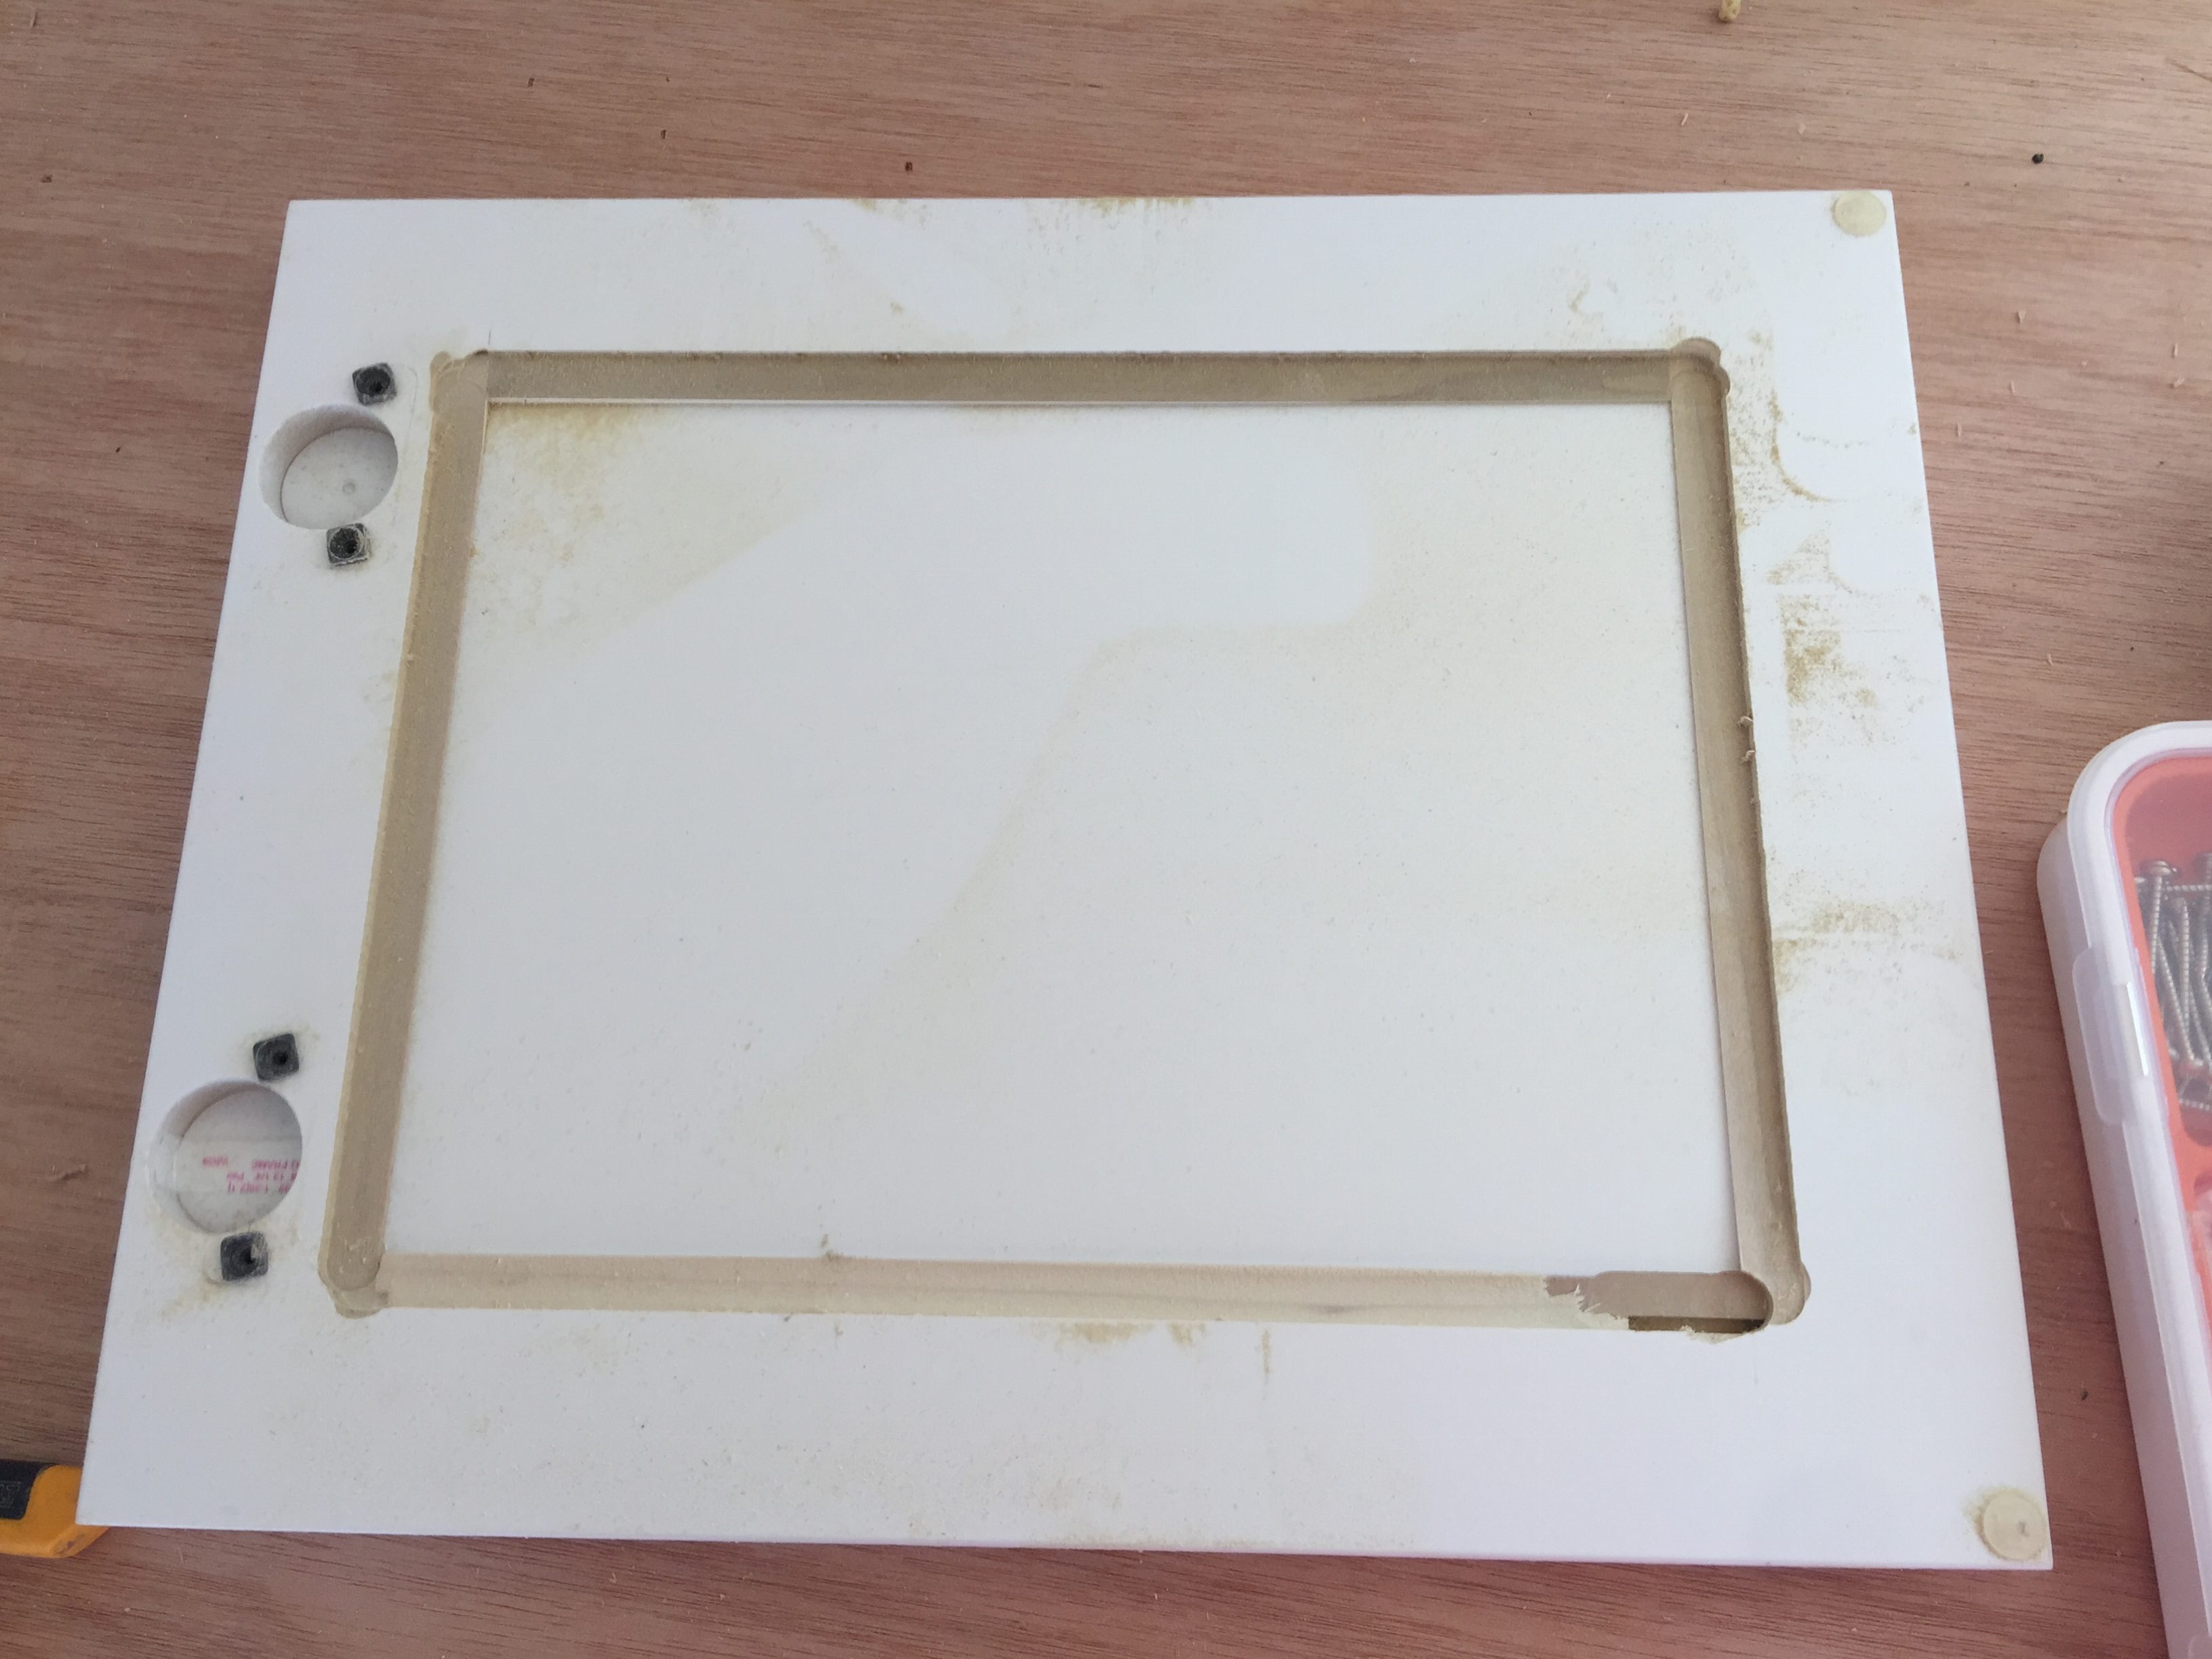
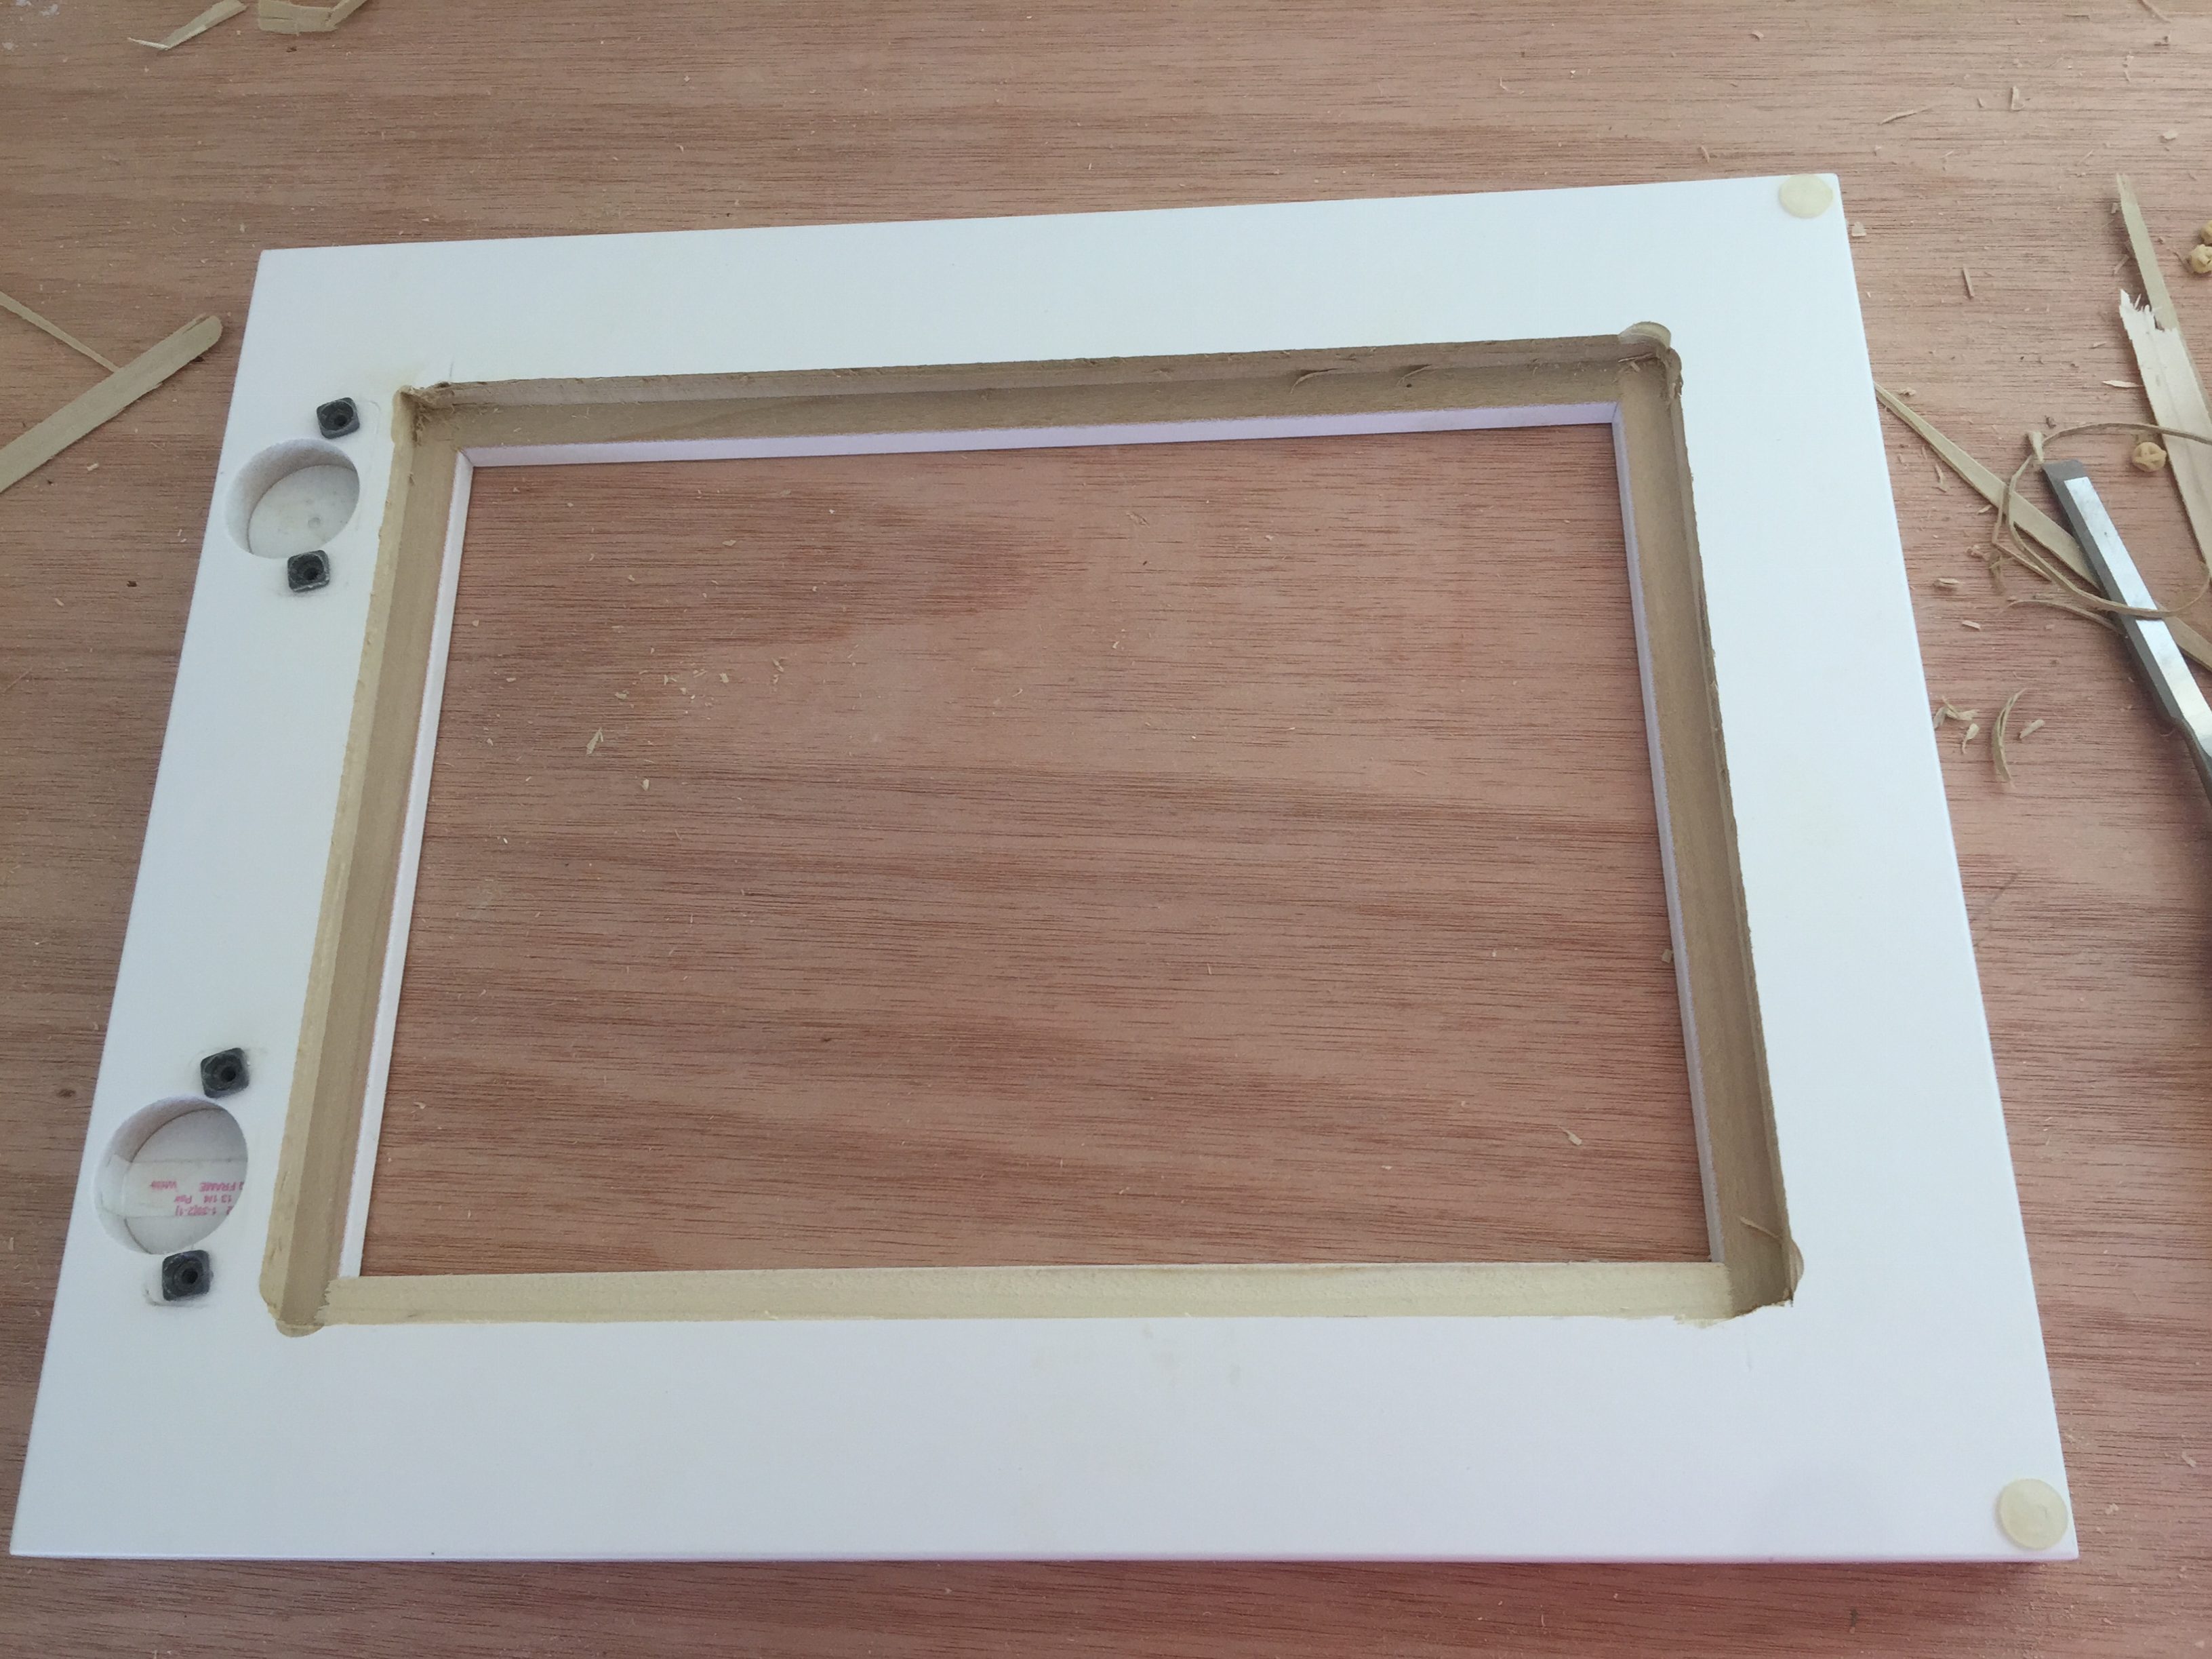
After a little practice, I took down all my top upper cabinet doors (labeling them all) and routered out the center panels. It was fun! I discovered that I felt better when I didn’t have the router go all the way to the center panel because routers get a little stressed removing too much wood at a time. So I routered down to a very thin layer of wood, then I tapped the center panel out with a mallet and used a chisel to remove any extra wood. 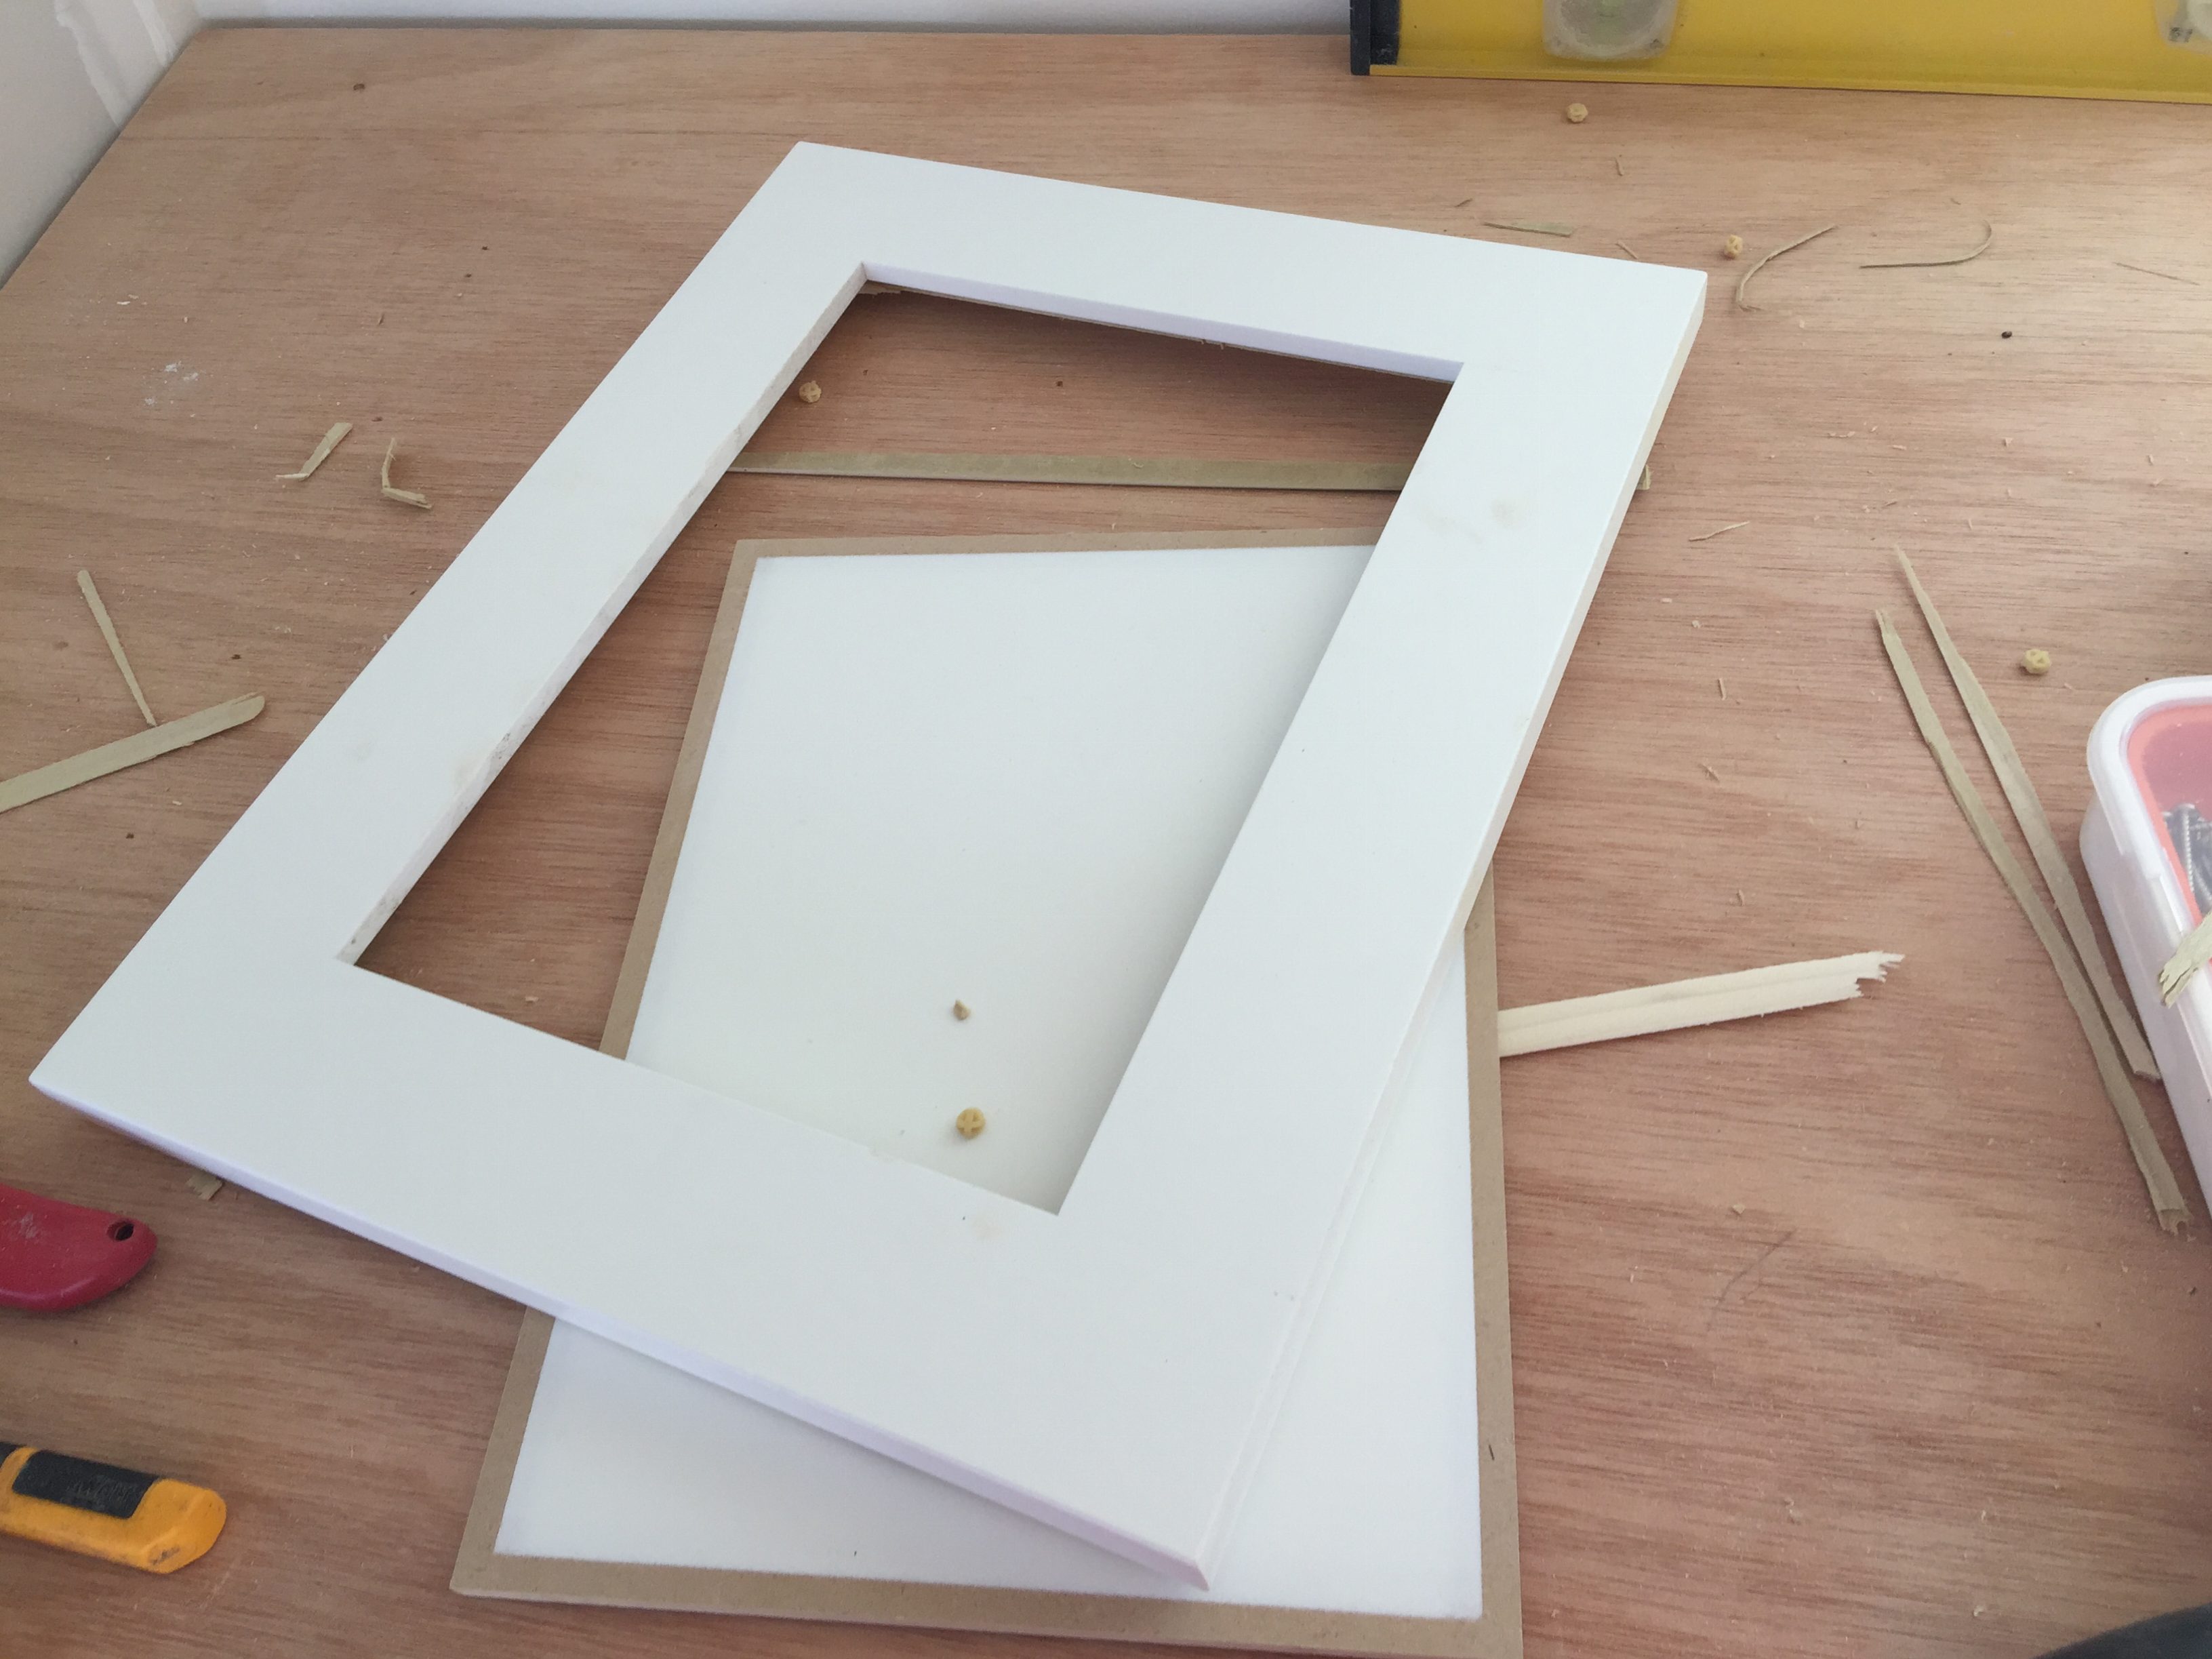
See all those little pieces of wood?
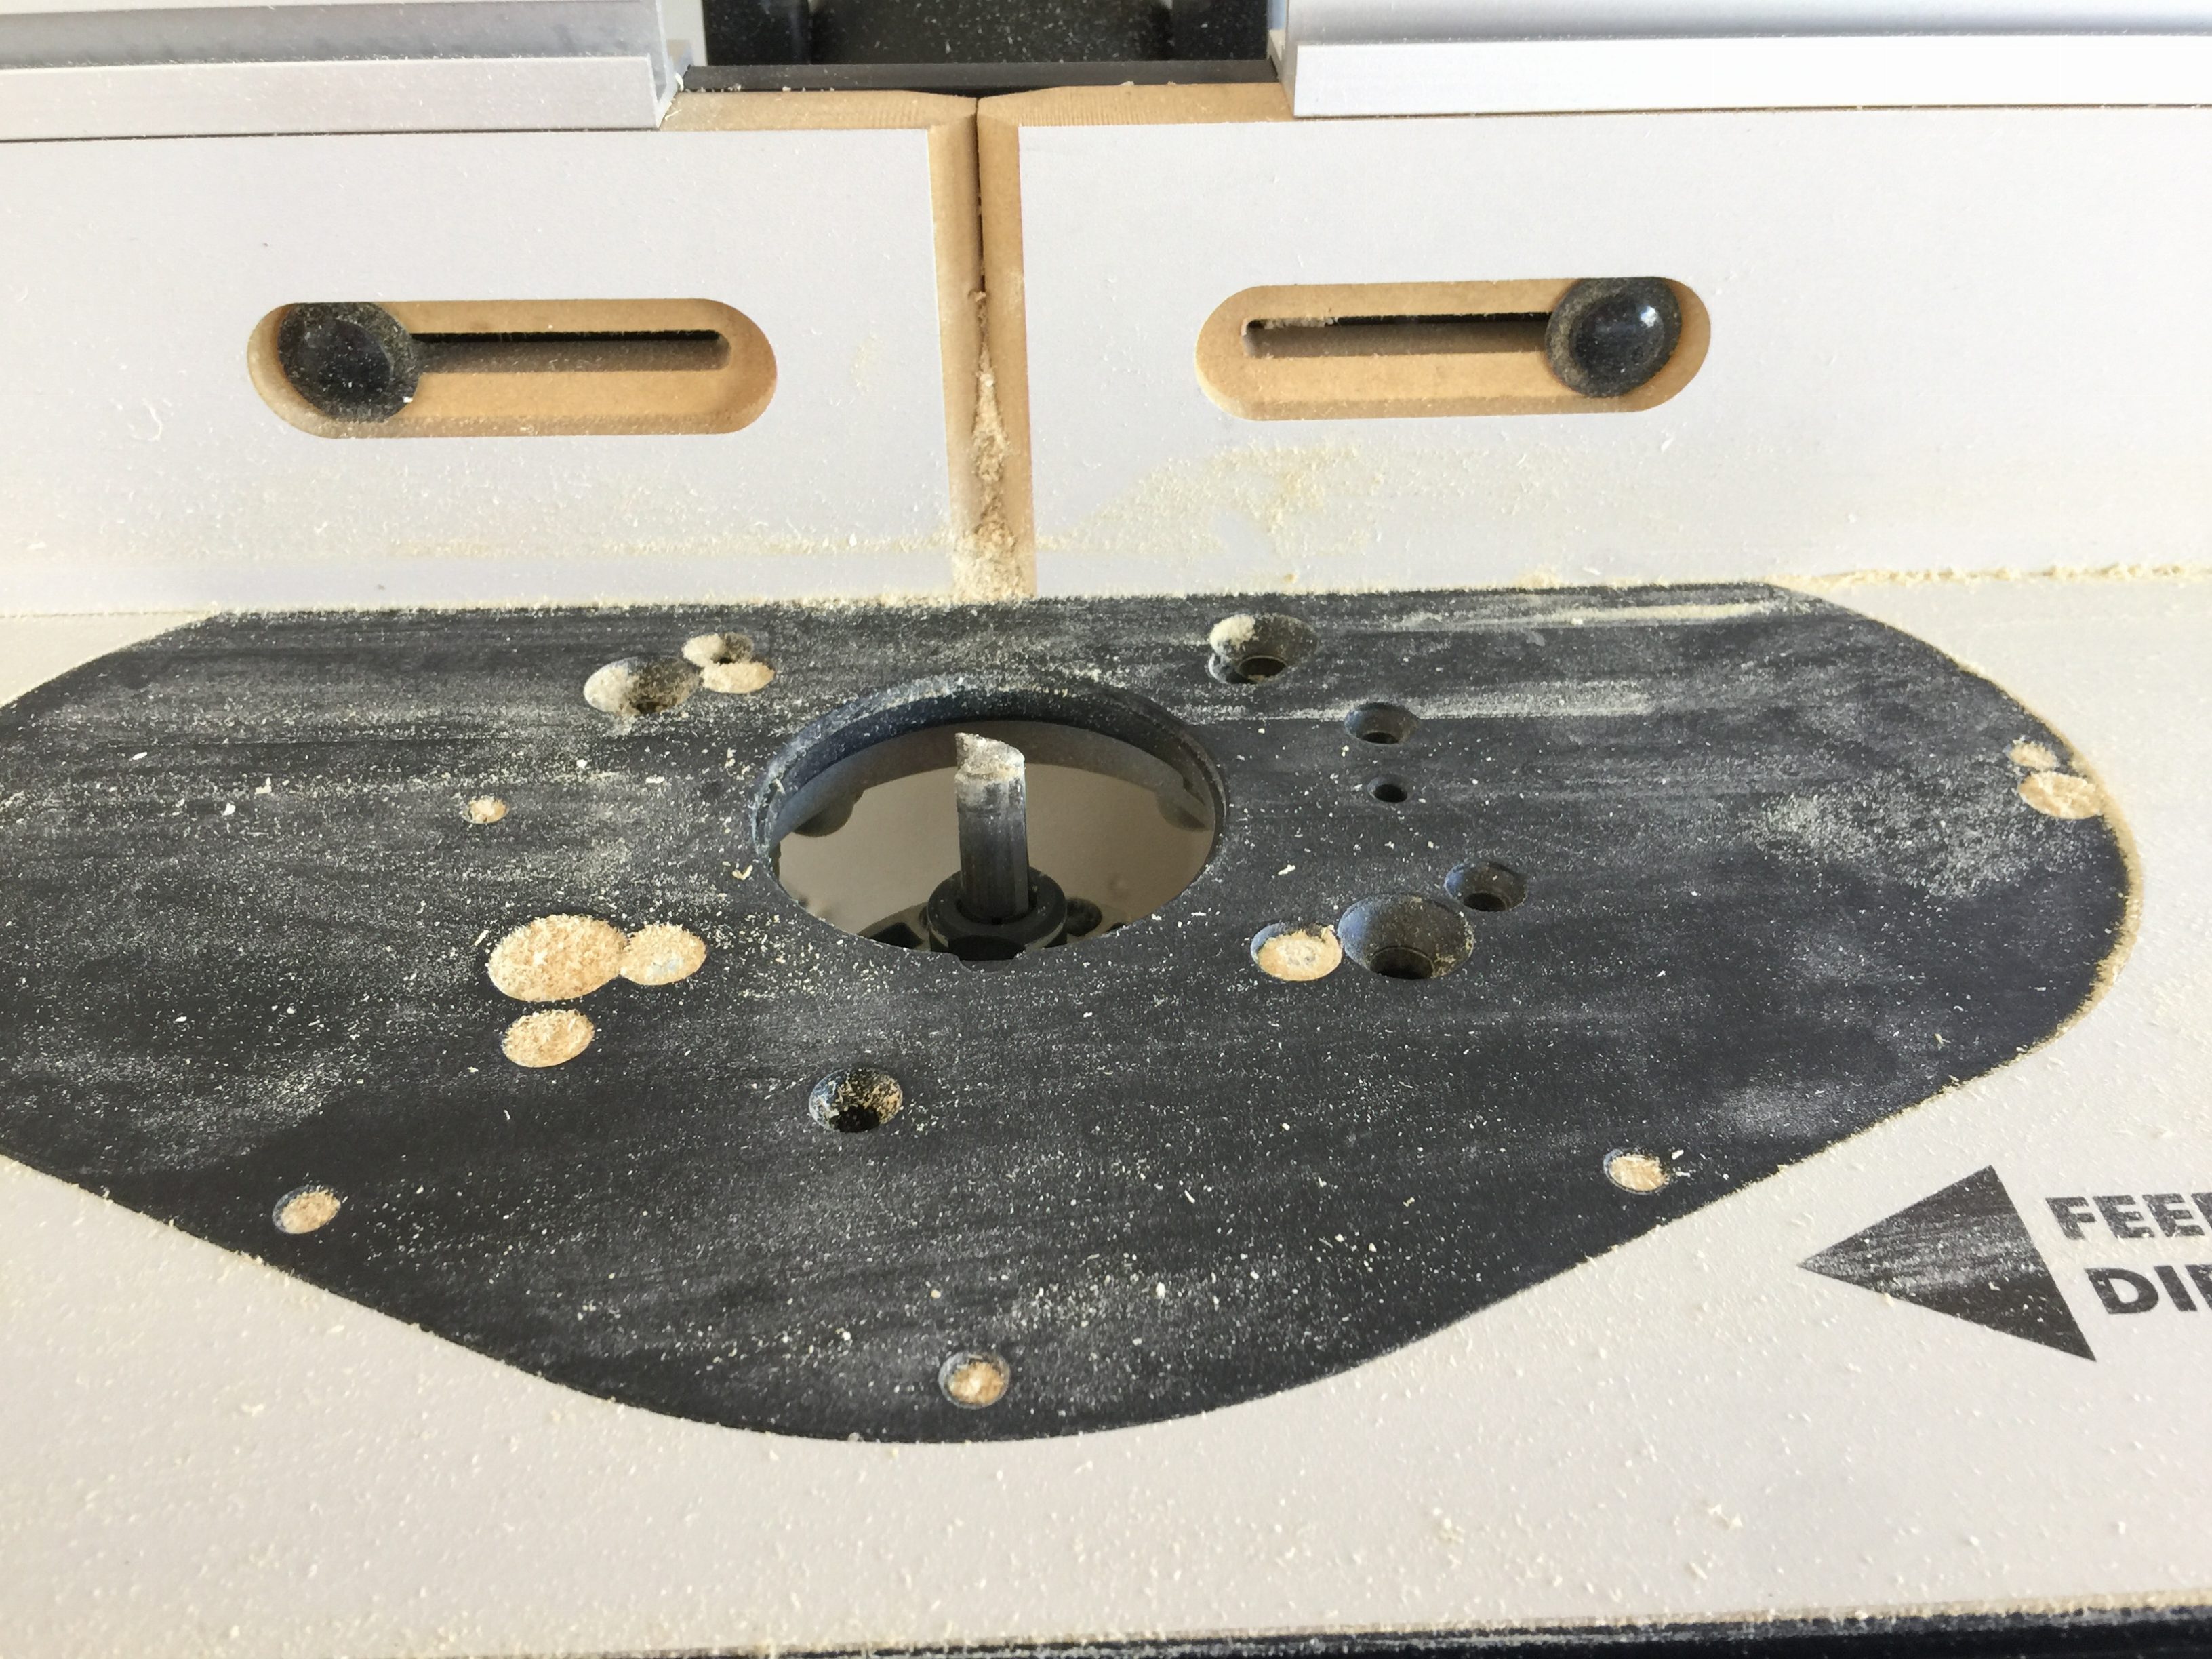
Notice how the corners are rounded? I found that the best way to remove the center panel was to turn on the router and slowly lower the cabinet door down until the bit hits the door and starts carving it out. Then you move the door to the left until you get to the corner. I lifted the door and turned it and let the door drop into the previous corner I just routered out while guiding it to the left. Once the fence is set to the right spot, it’s really pretty straight forward.
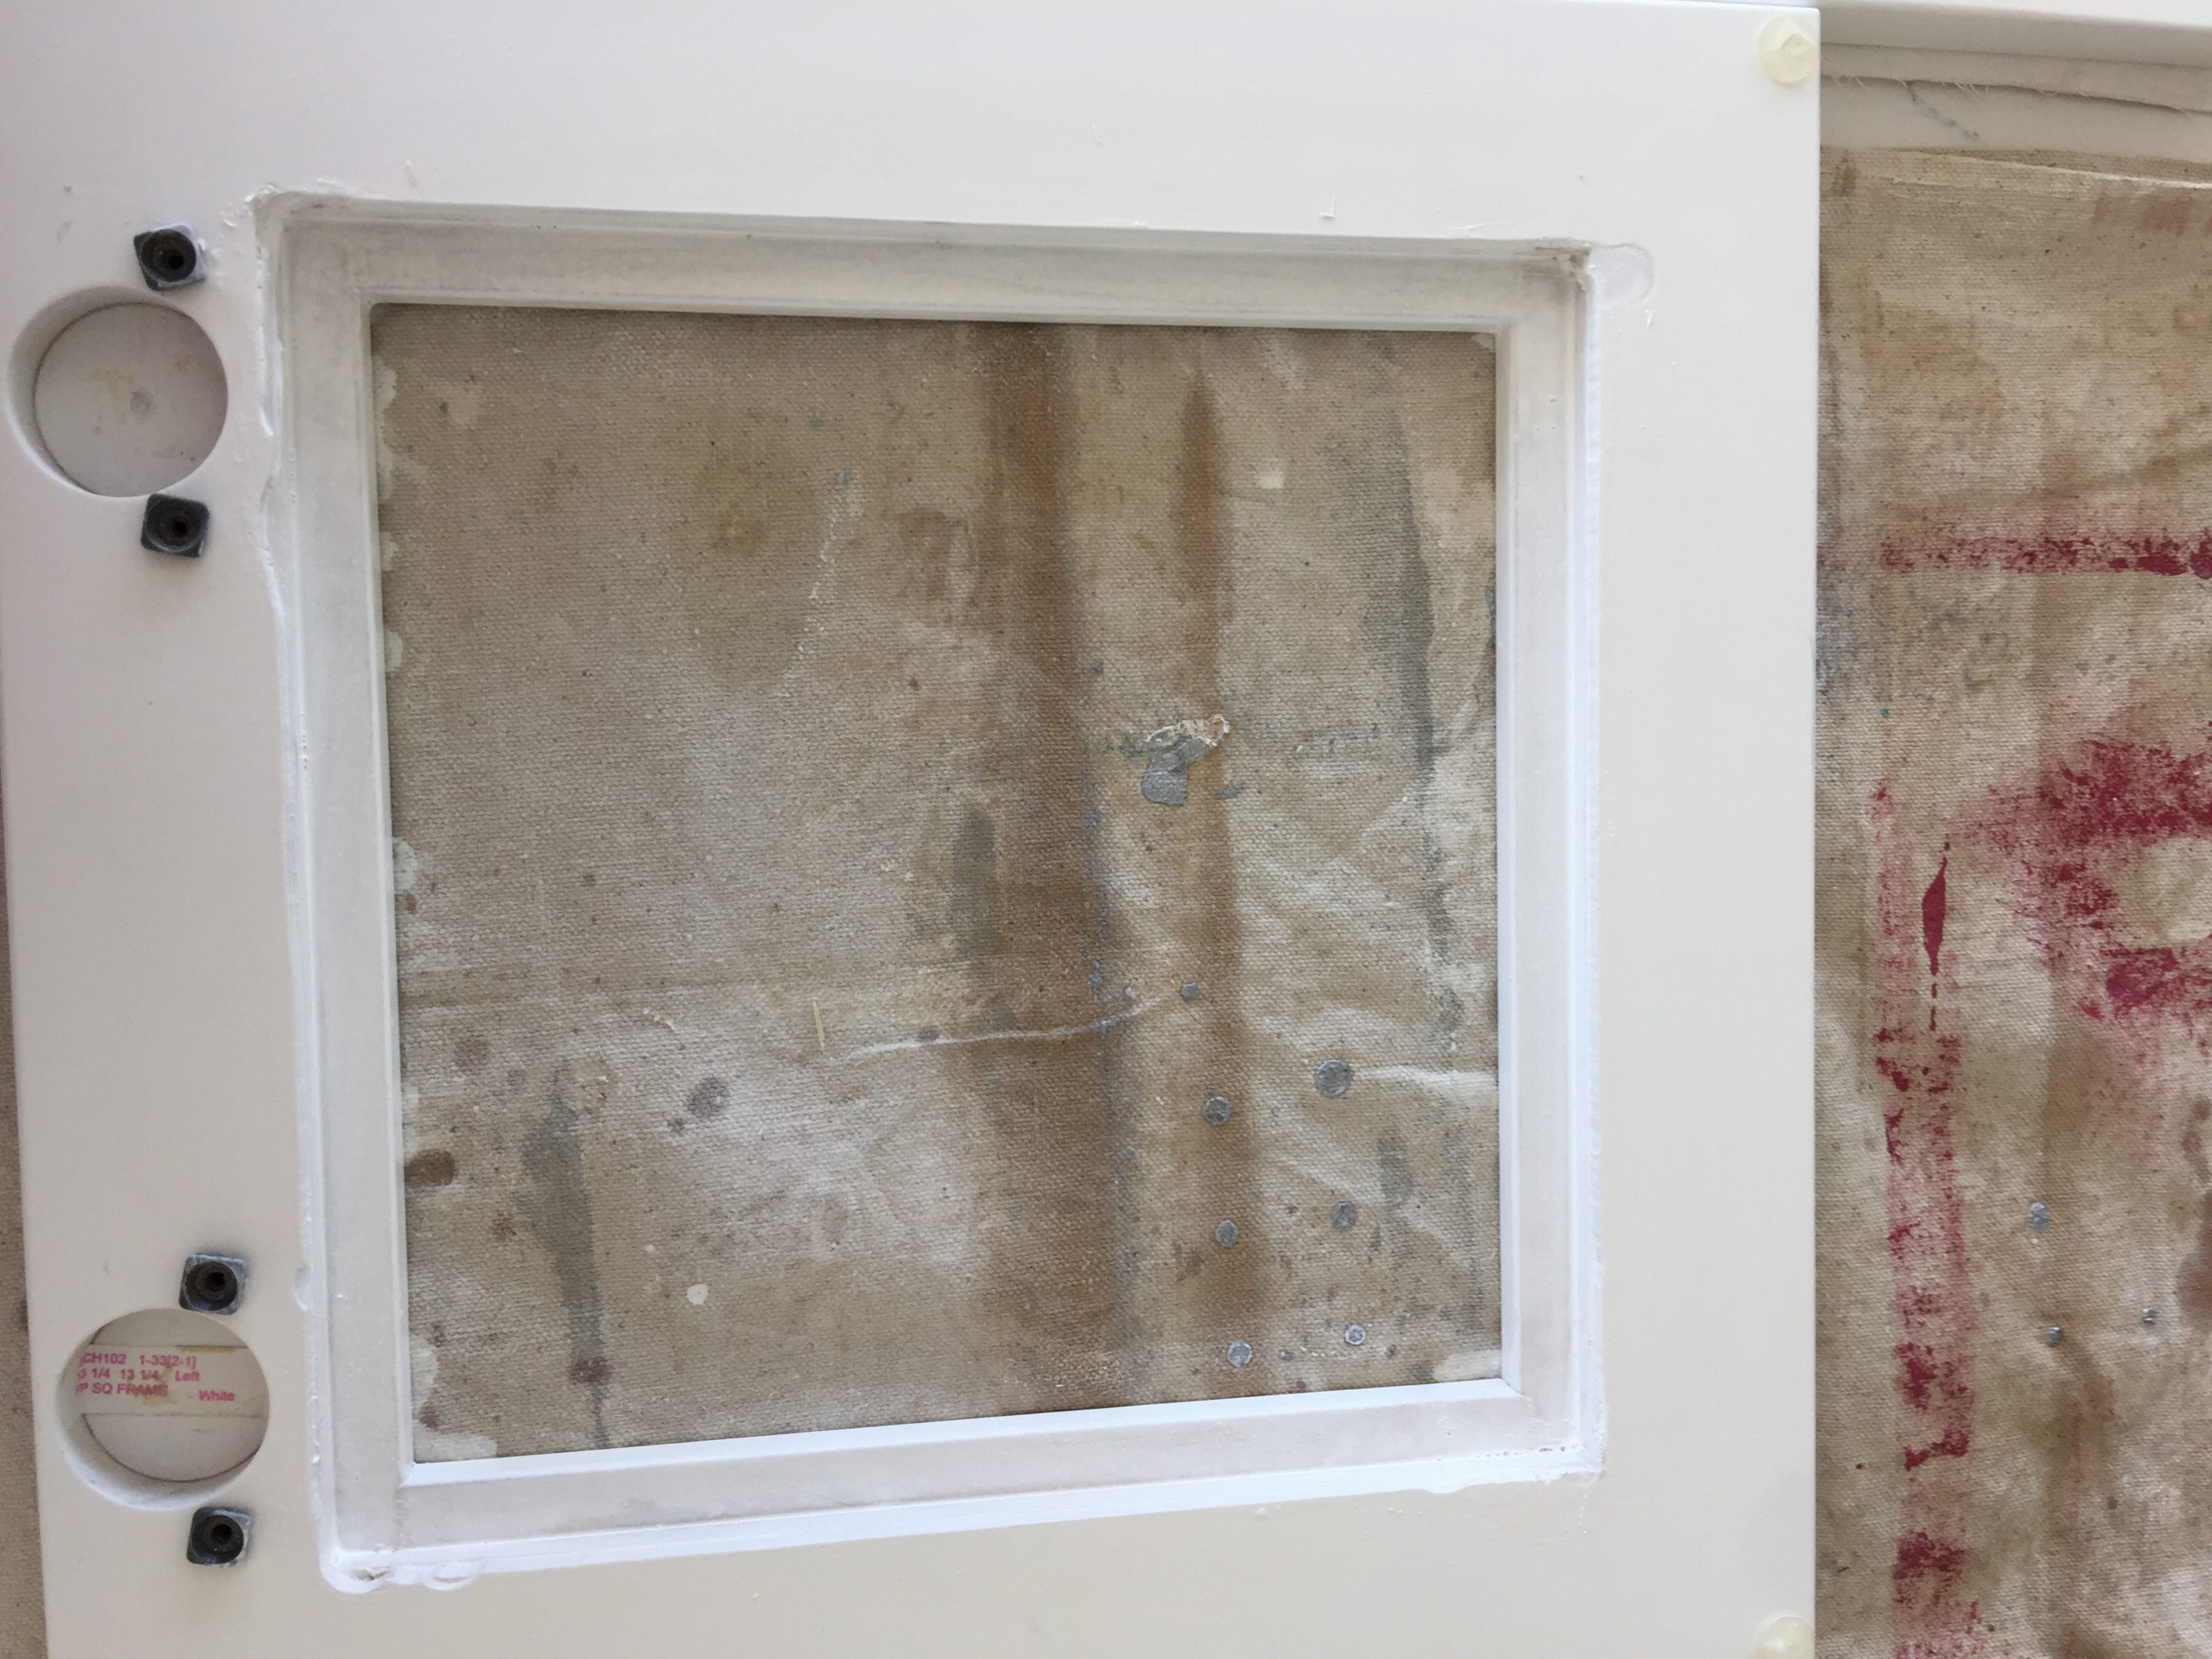
After I got all the center panels out, I sanded and painted the newly revealed wood with the cabinet paint we had (the builder left some for touch ups.) Then I ordered glass panels from Jones Paint and Glass and all the panels only cost about $76. Given that the builder wanted to charge us $100 per door which would have cost us $1400 just for 14 glass doors, this was an awesome savings!
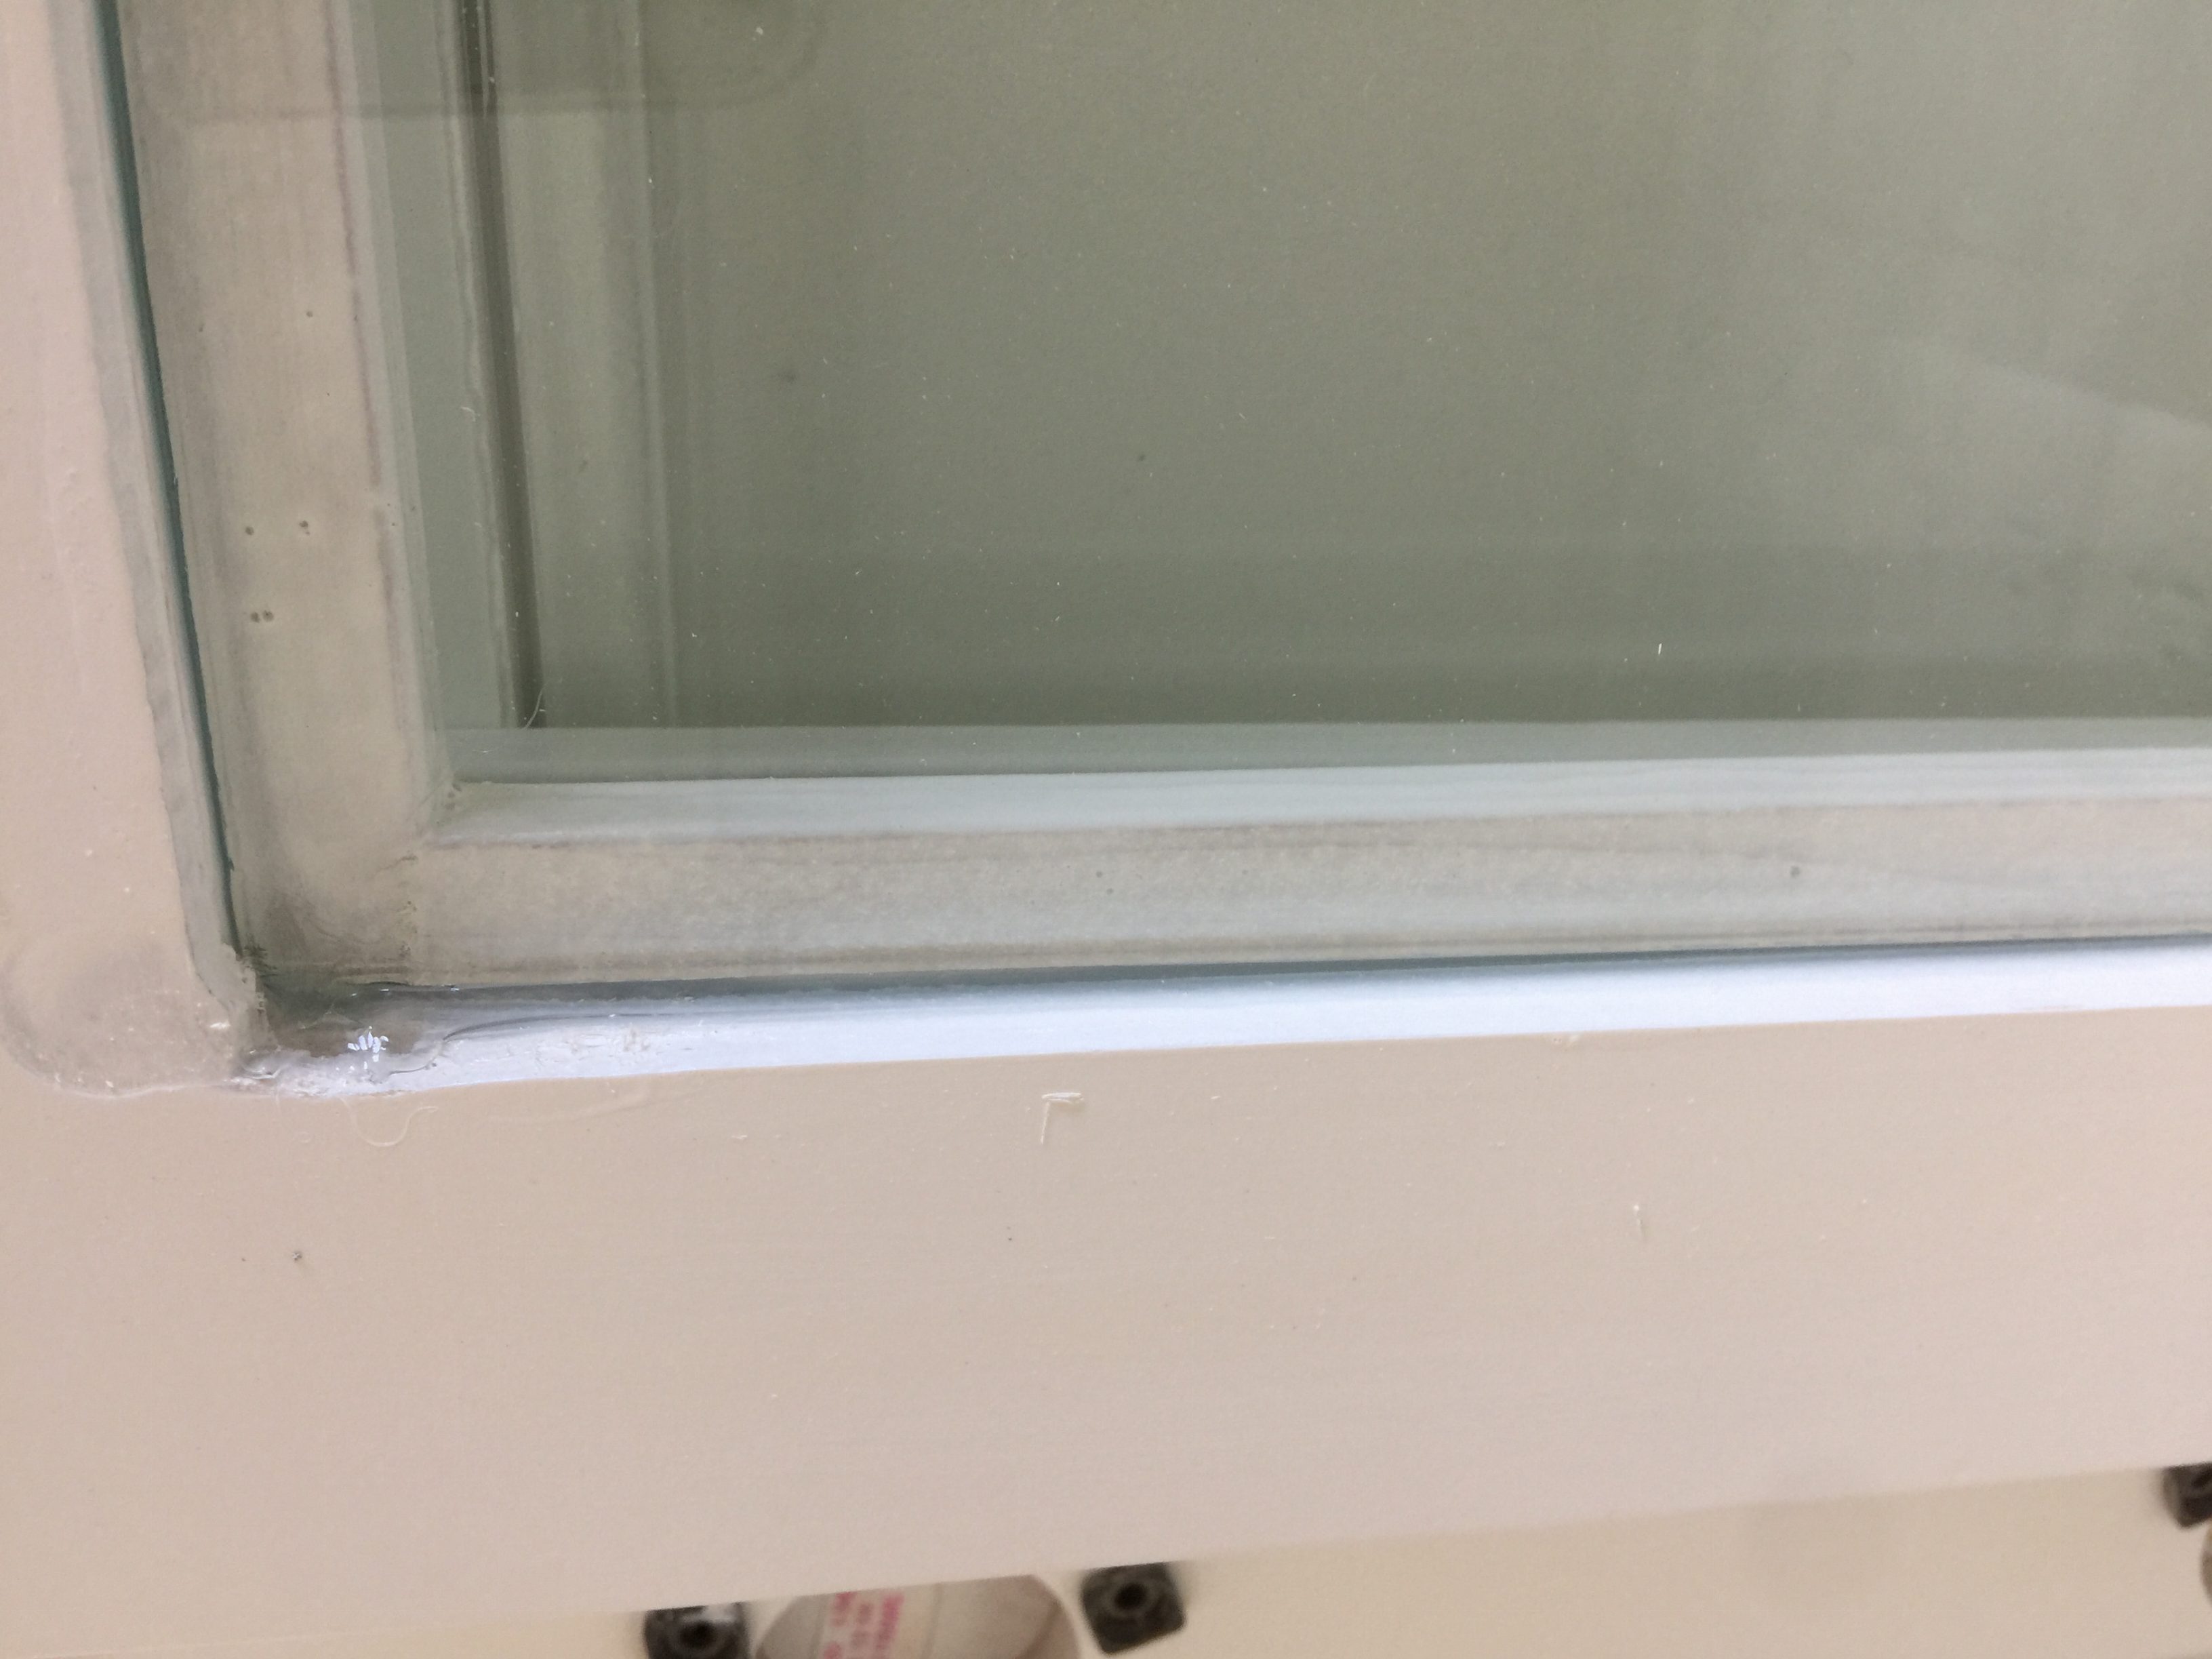
To add the glass, it was simple. I dropped the glass into place and used silicone glue to run a bead around it. I used my finger to push it in, just like with caulk. However the first time I did this I didn’t feel like it was secure enough so I did a second round of silicone and let it dry 24 hours.
Then I put all the doors back on and voila! Beautiful and luxe for a fraction of the price.

$100 per door?! That’s crazy! Way to be self-sufficient! The glass doors look so light and classy!
Love it!! Thanks for sharing. Good job too.
Great job, has always!!! Admire & love all of your projects!!!