Pink and Blue Girls Room Reveal
I’m finally ready to share my pink and blue girls room!
Back last year, I think in November, I posted my plans for re-doing my daughter’s bedroom. I totally had high hopes for getting it done before her birthday. But her birthday is right by Thanksgiving and with Christmas shopping, decorating, and preparations, it just didn’t happen. And then I got pregnant and all that entails. Somewhere in the middle of my second trimester, I was finally feeling good enough that I decided to work on it.
Here was my initial rendering…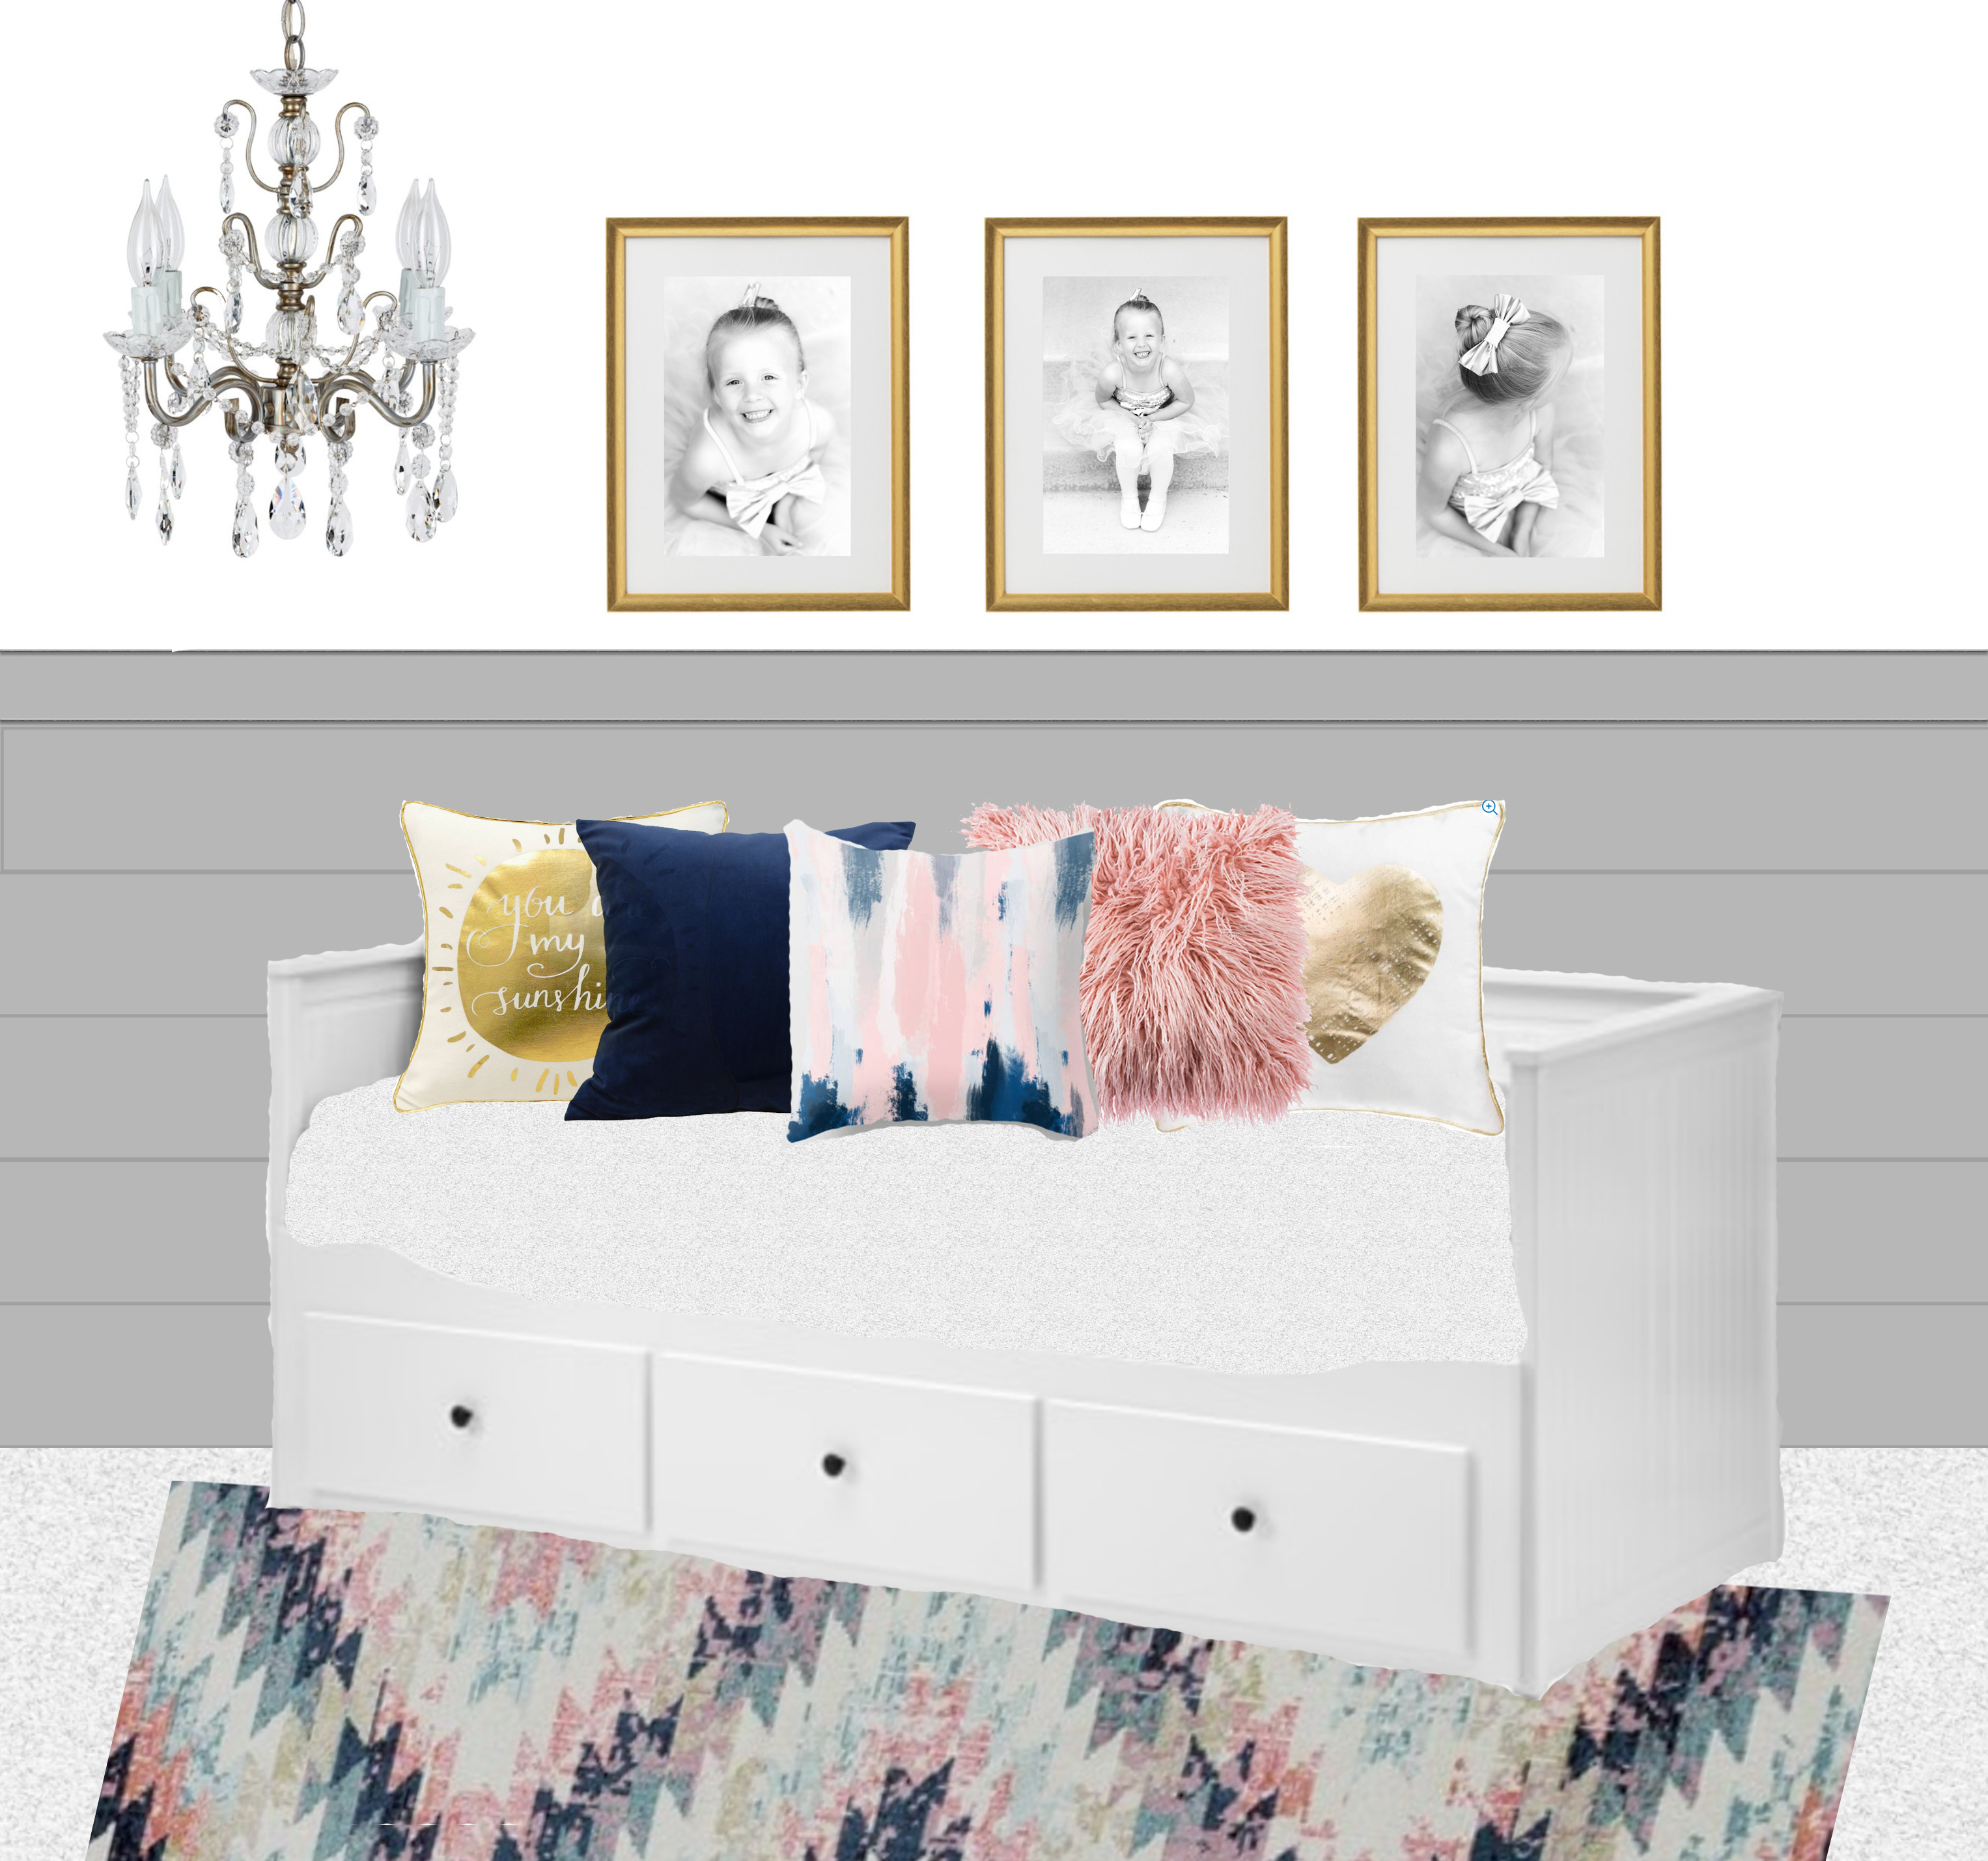
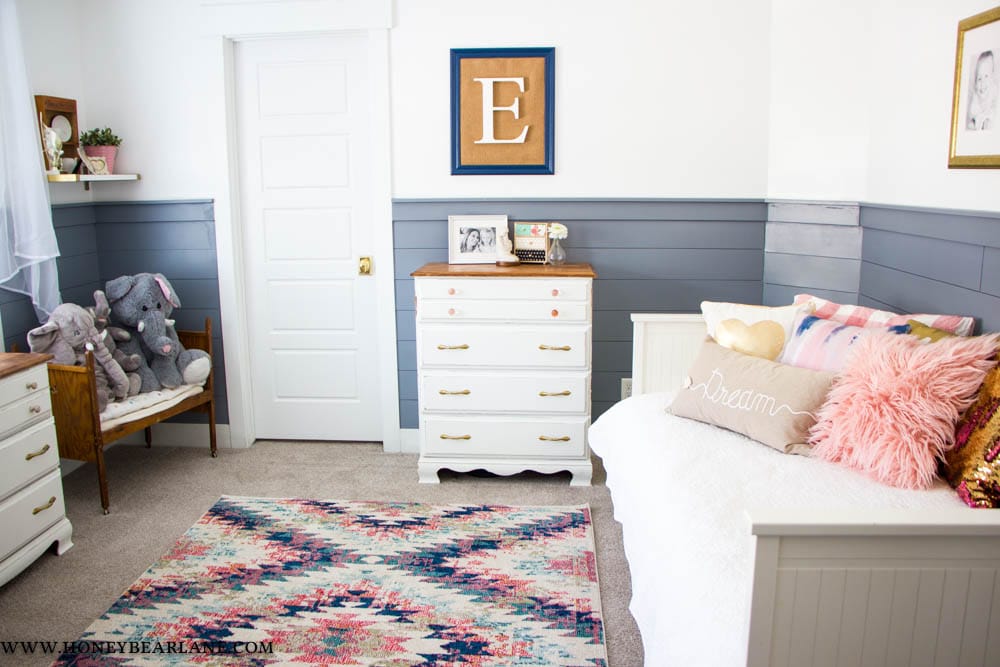
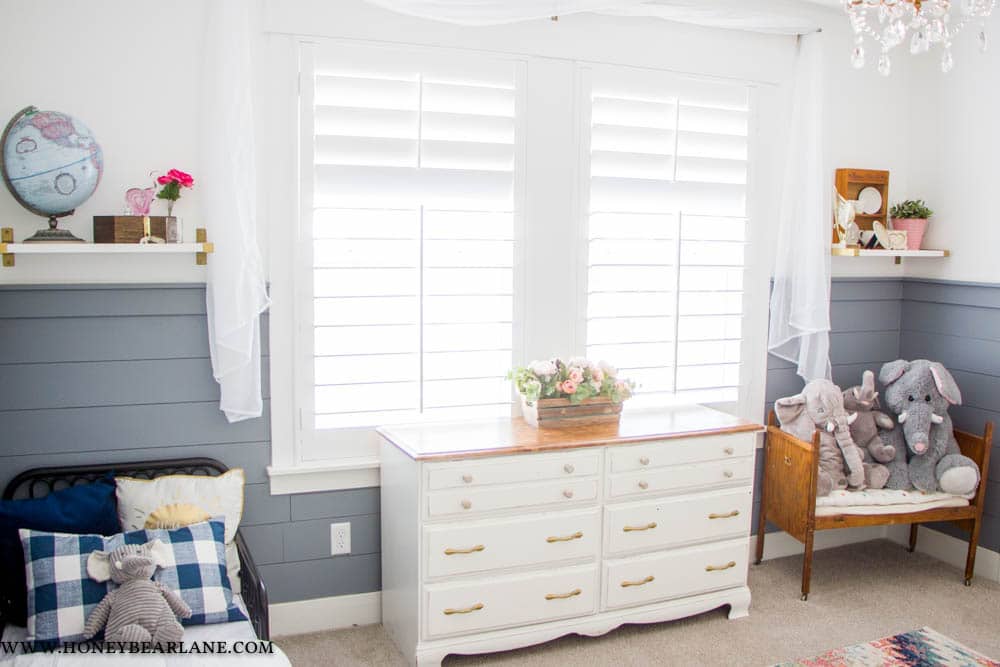
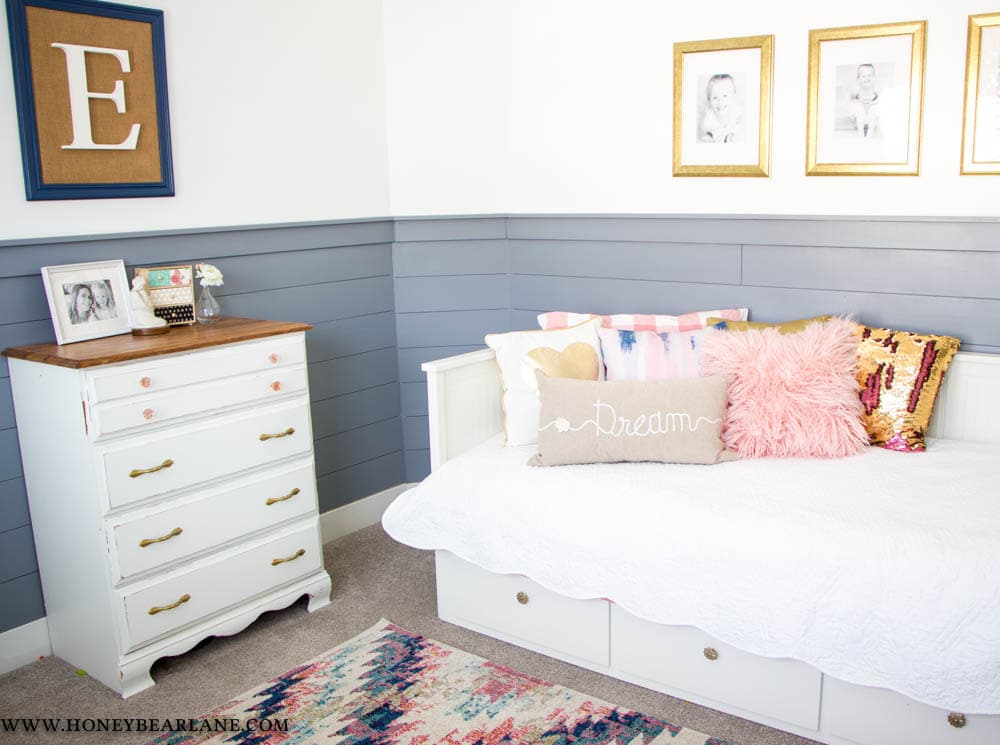
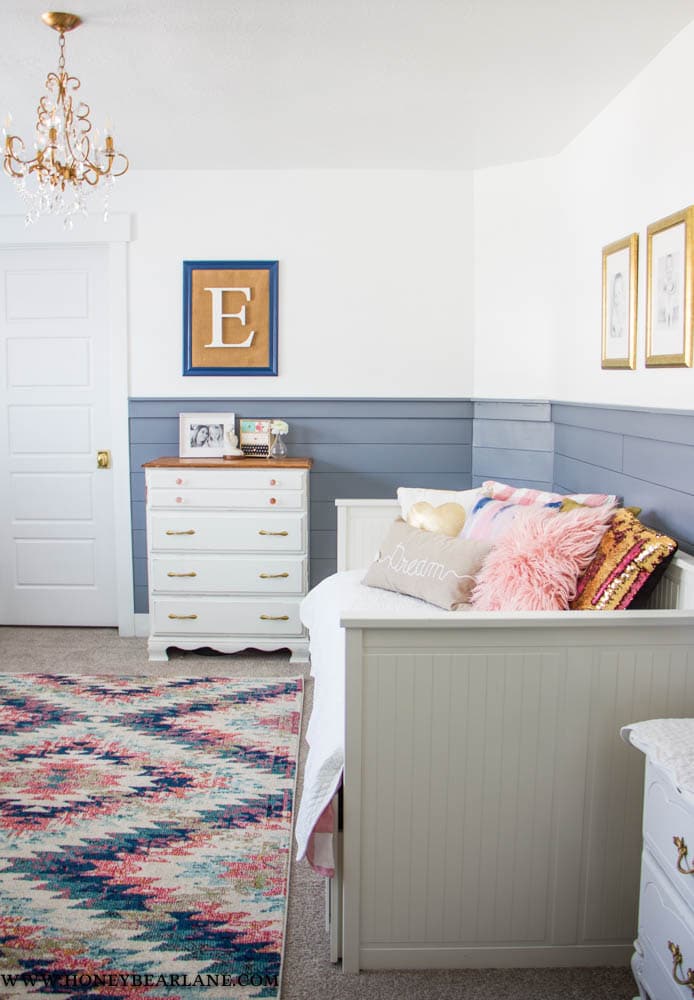
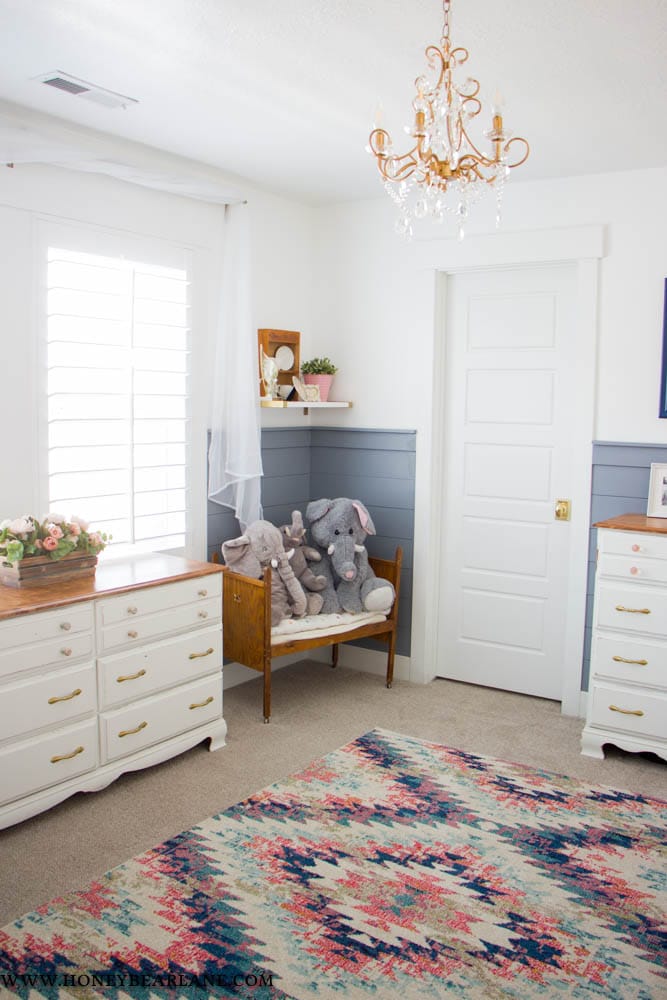
And here’s what it turned out like (it’s super hard to take a similar shot in the actual room!)
It turned out really close to what I had envisioned. Actually it turned out way better! Seriously I do not think these pictures do the bedroom justice…it was just really hard to shoot this room for some reason.
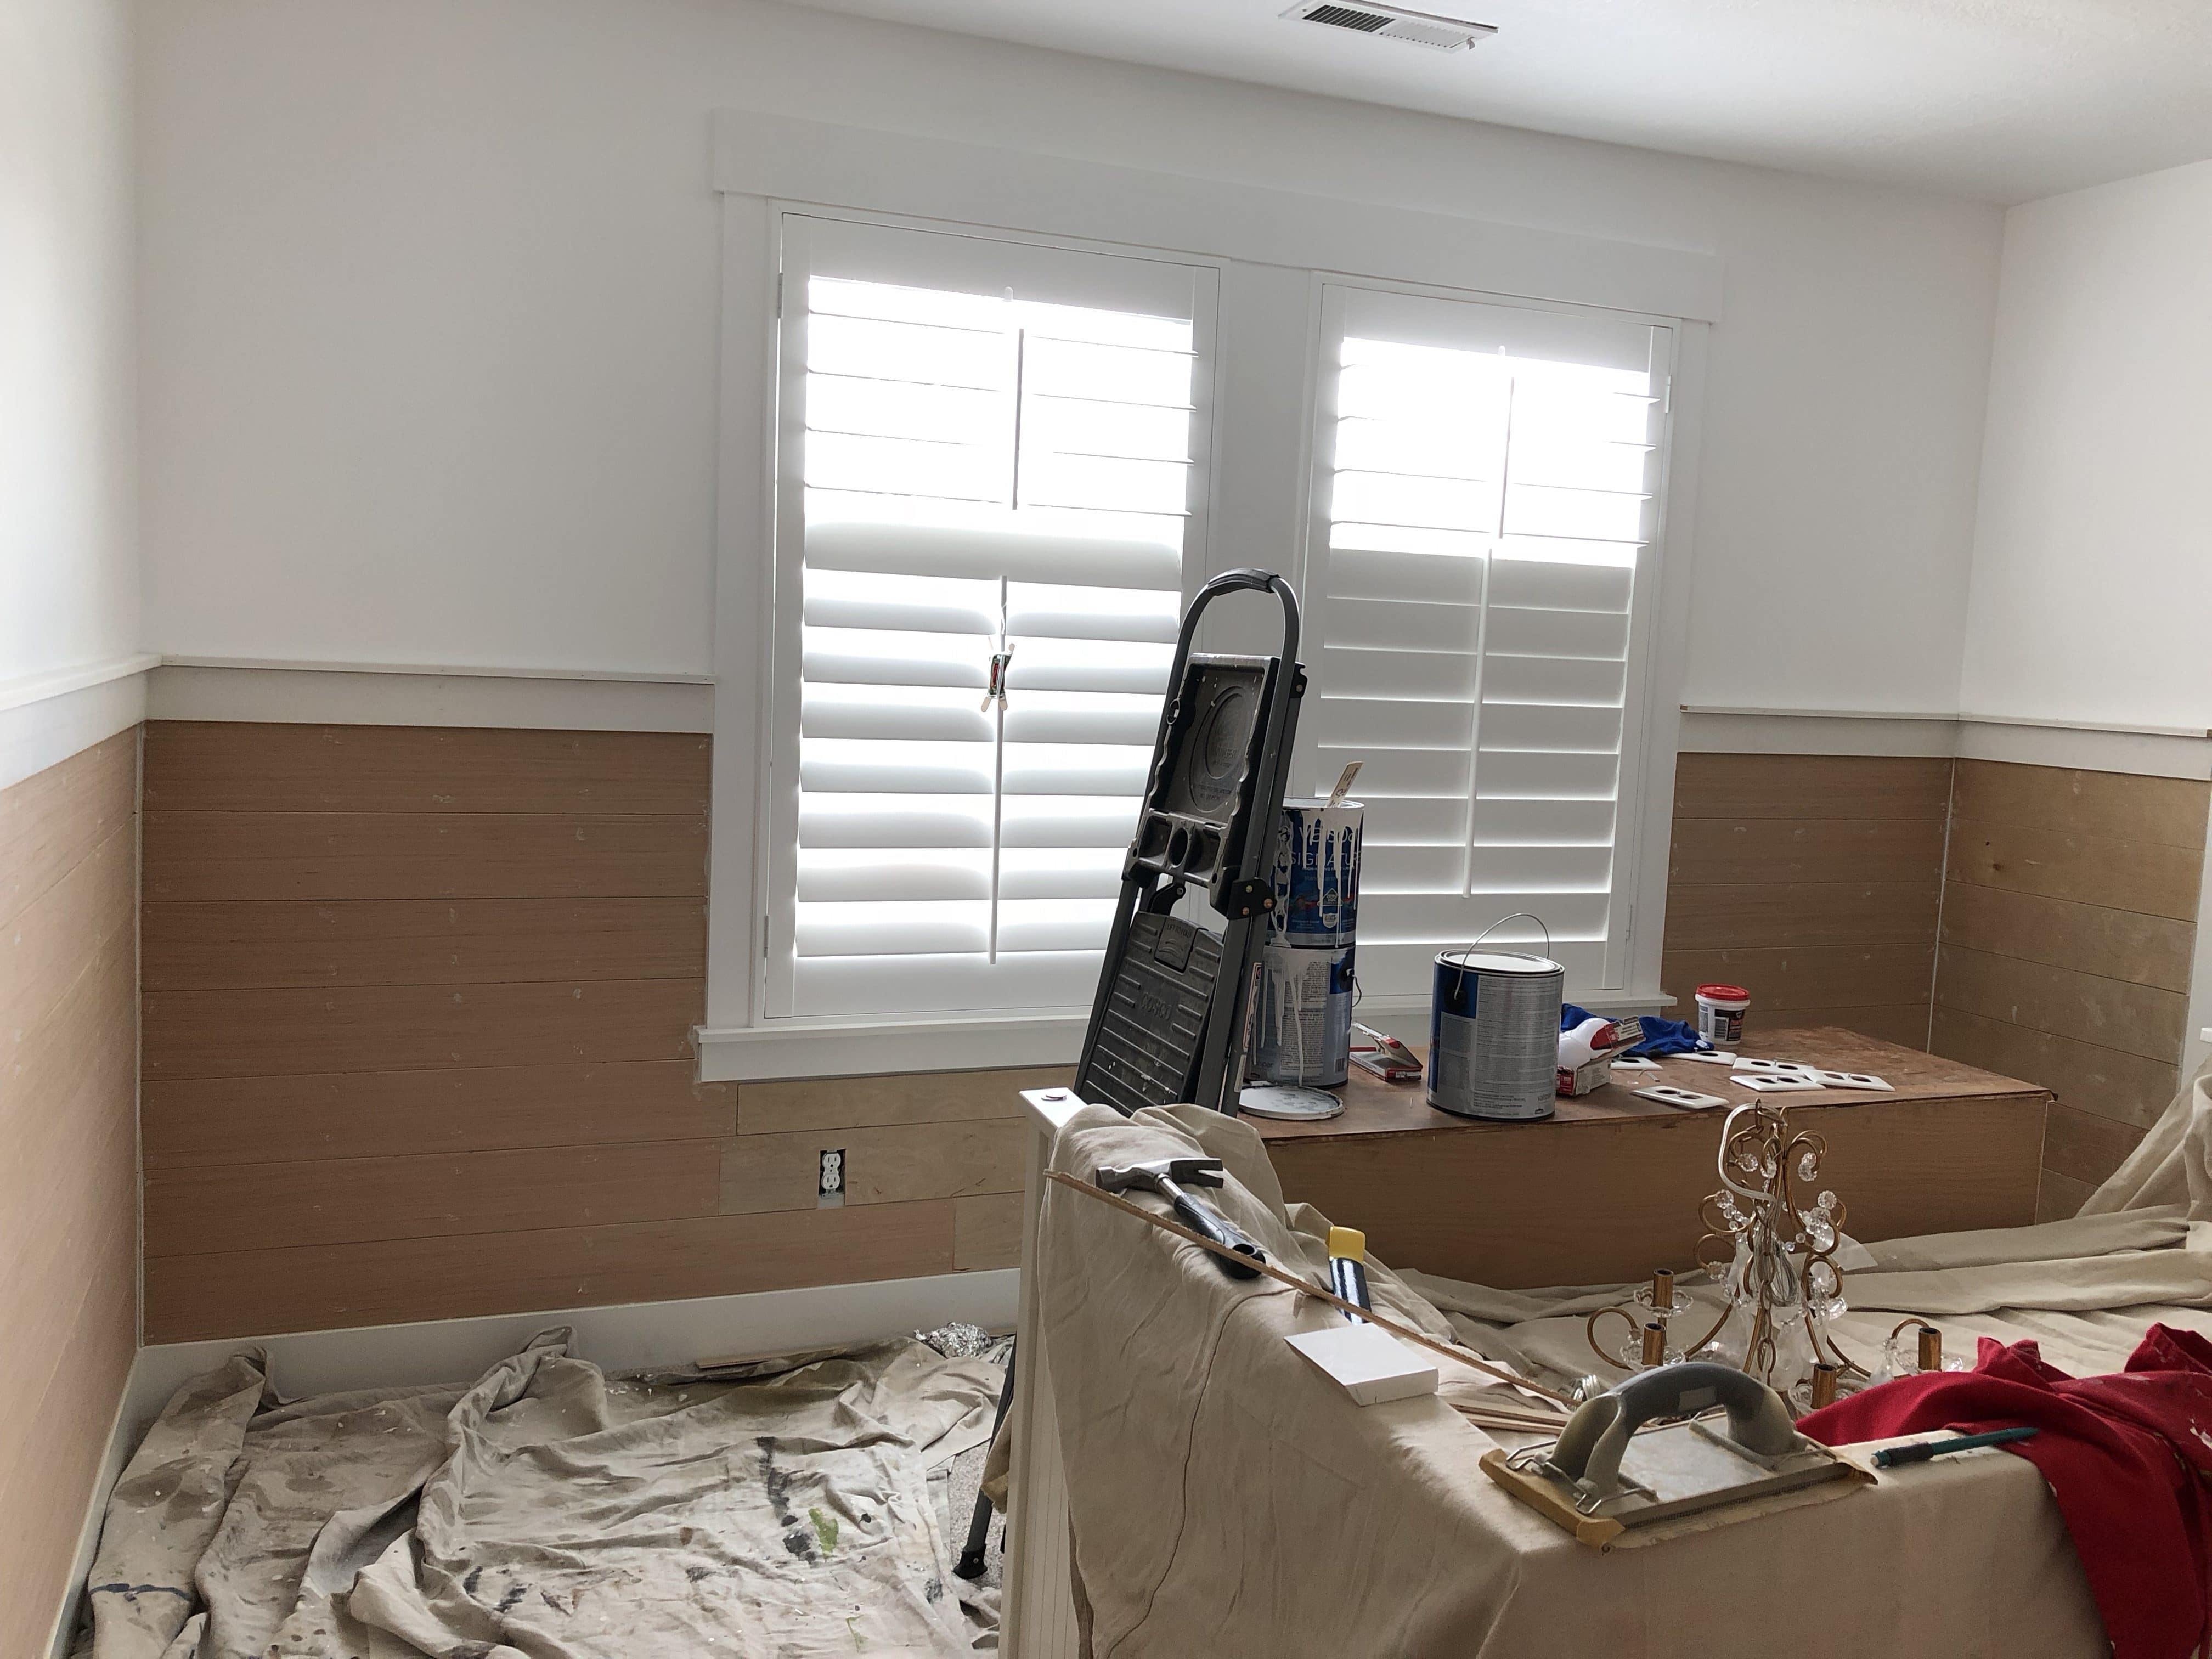
First I painted the upper half of the wall and the ceiling white. I really hate painting ceilings and white is a hard color because I feel like it takes so many coats. But it was definitely worth it for that clean, crisp look!
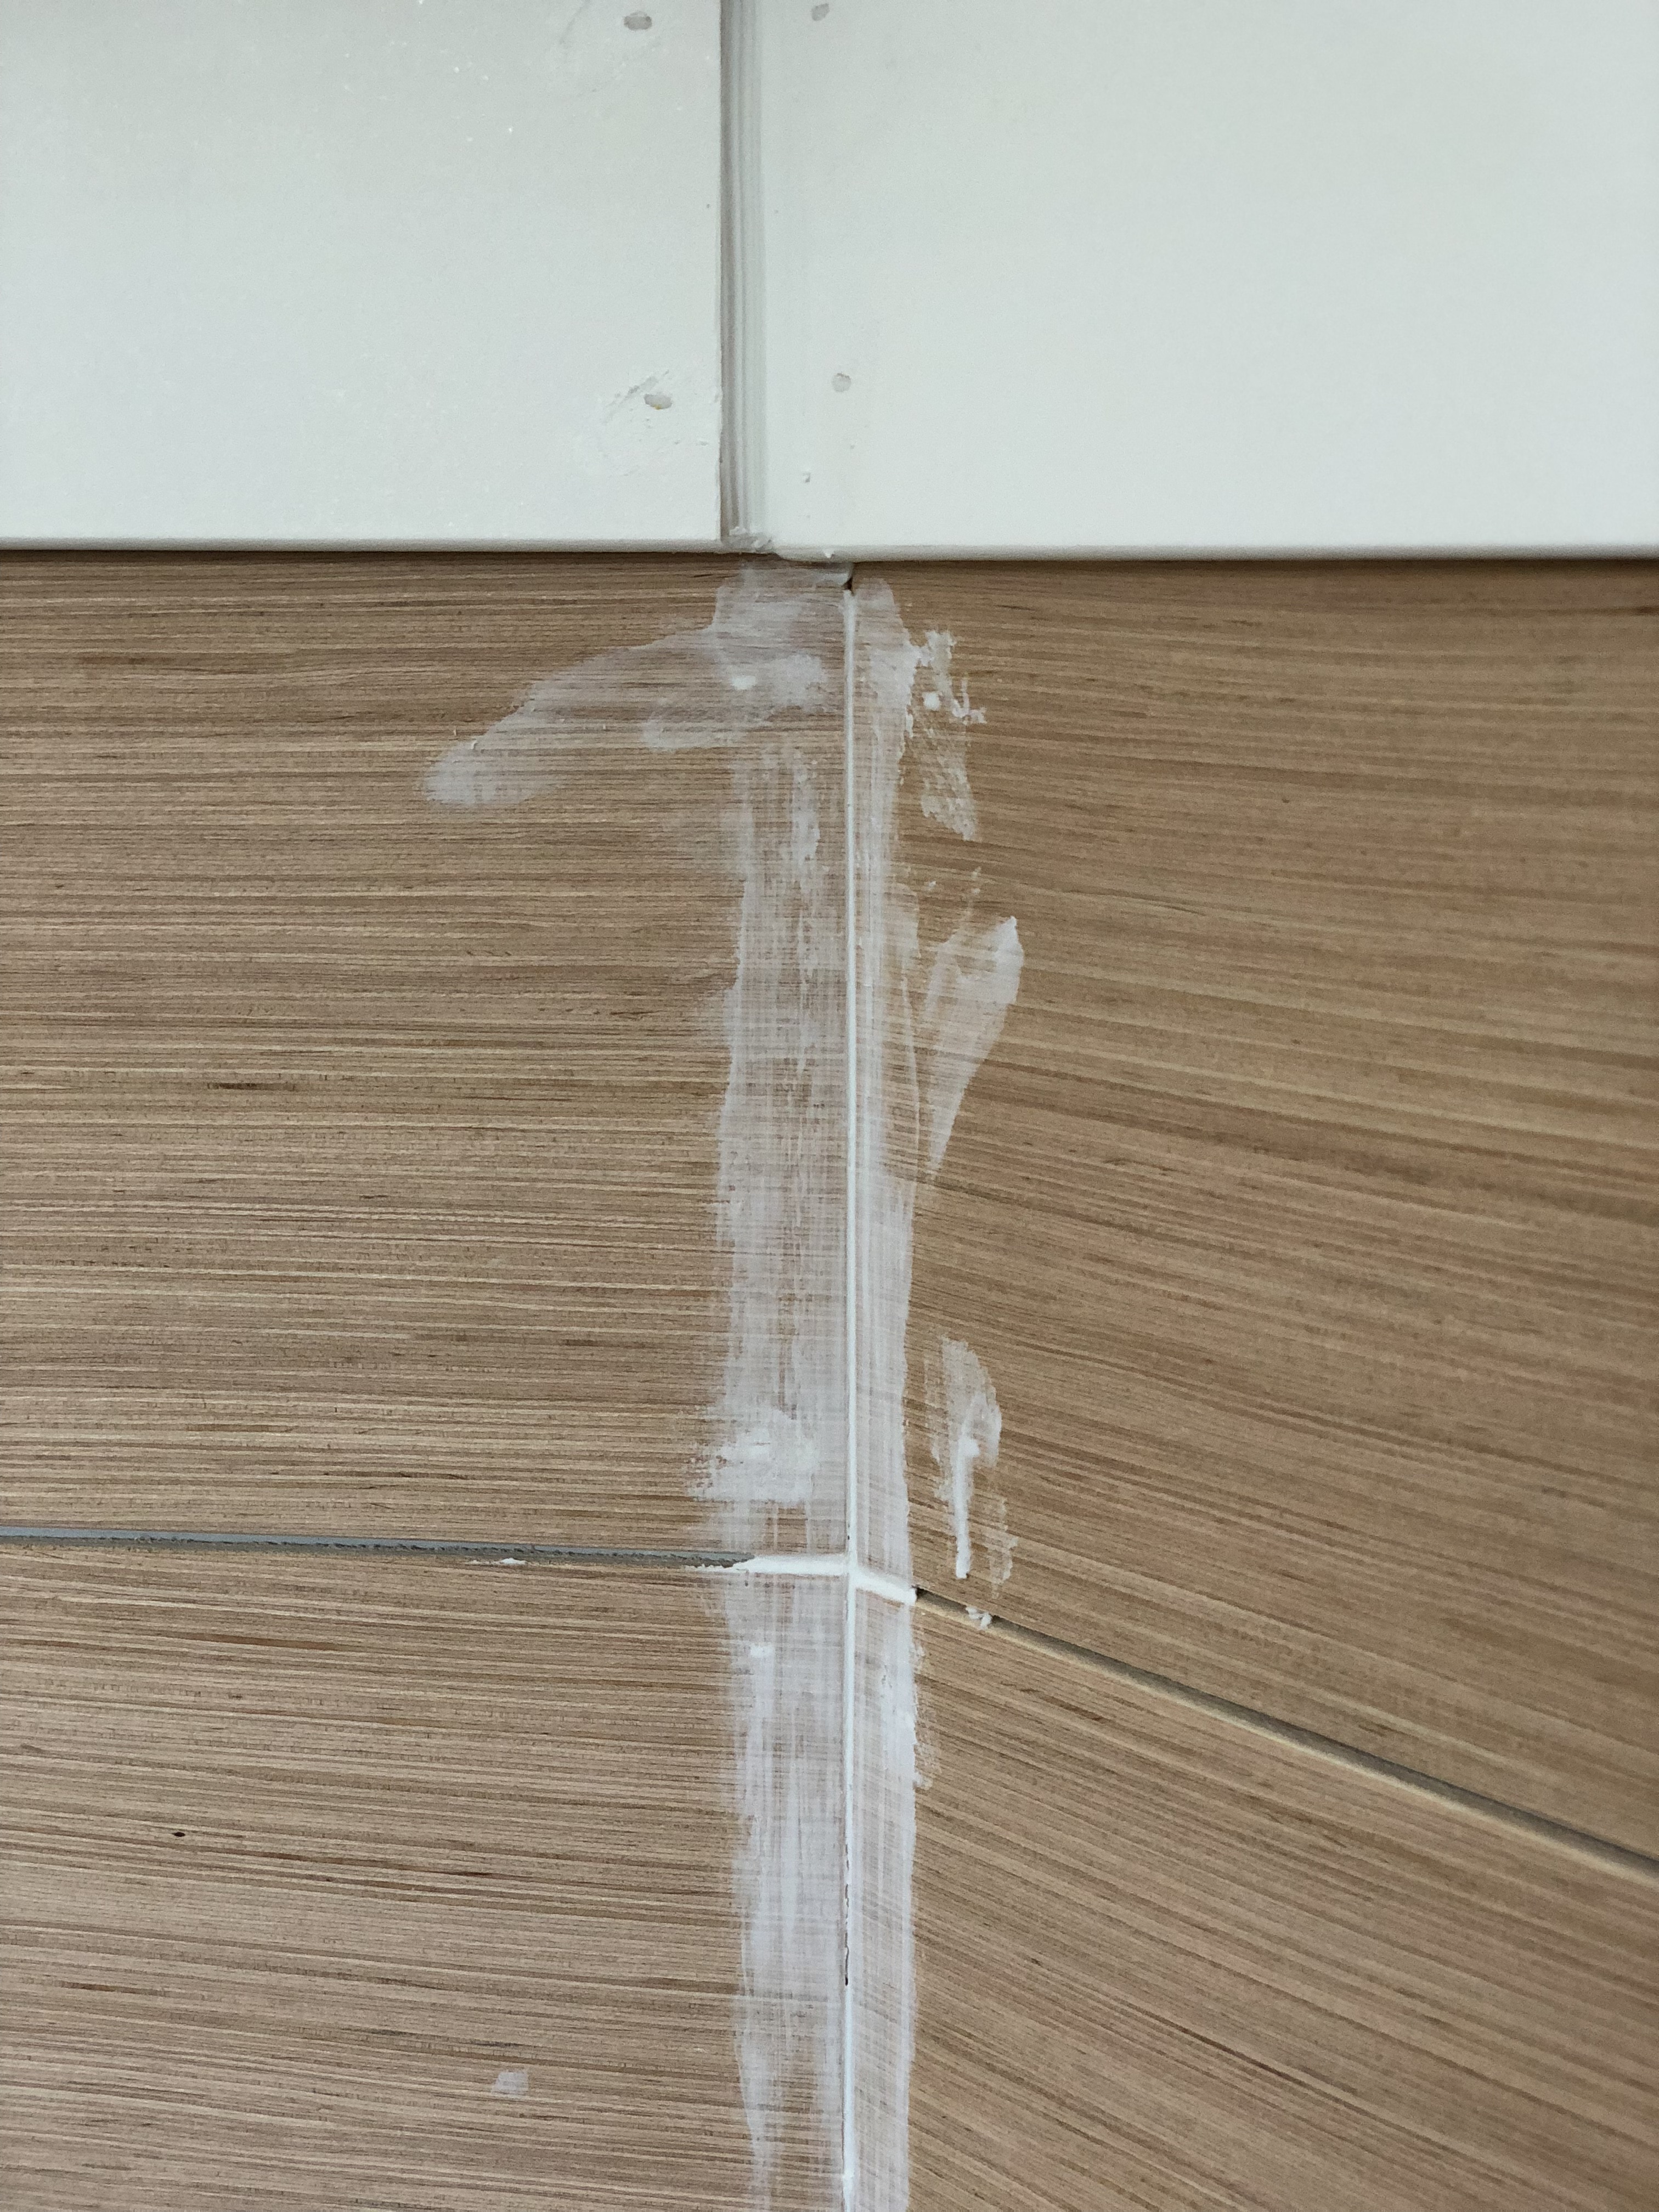
Next I added the shiplap. I did it the same way I did this wall, I find it to be the most cost effective. It definitely takes a little more labor, but you can’t beat getting 8 strips of shiplap for like $12. Since I did this back in April, I don’t really remember how many sheets I used. I only went halfway up the wall. Basically all you do is put a plank on the wall (after sanding the edges really well) and shoot nails into it and the wall studs behind it. Stagger the joints and use quarters, pennies, or nickels to act as spacers between the planks. Use a jigsaw to cut around outlets and obstructions. I topped the shiplap with a 1×4 primed MDF piece and then a little 1×2 cap.
The trickiest part is getting the corners to line up. This can be tricky because some of the planks aren’t cut exactly the same. I get them cut at Lowe’s to save time. But honestly I’m not a perfectionist and a lot of mistakes can be hidden with caulk and paint. When you caulk make sure you wipe away the excess before it dries…it does not sand off easily.
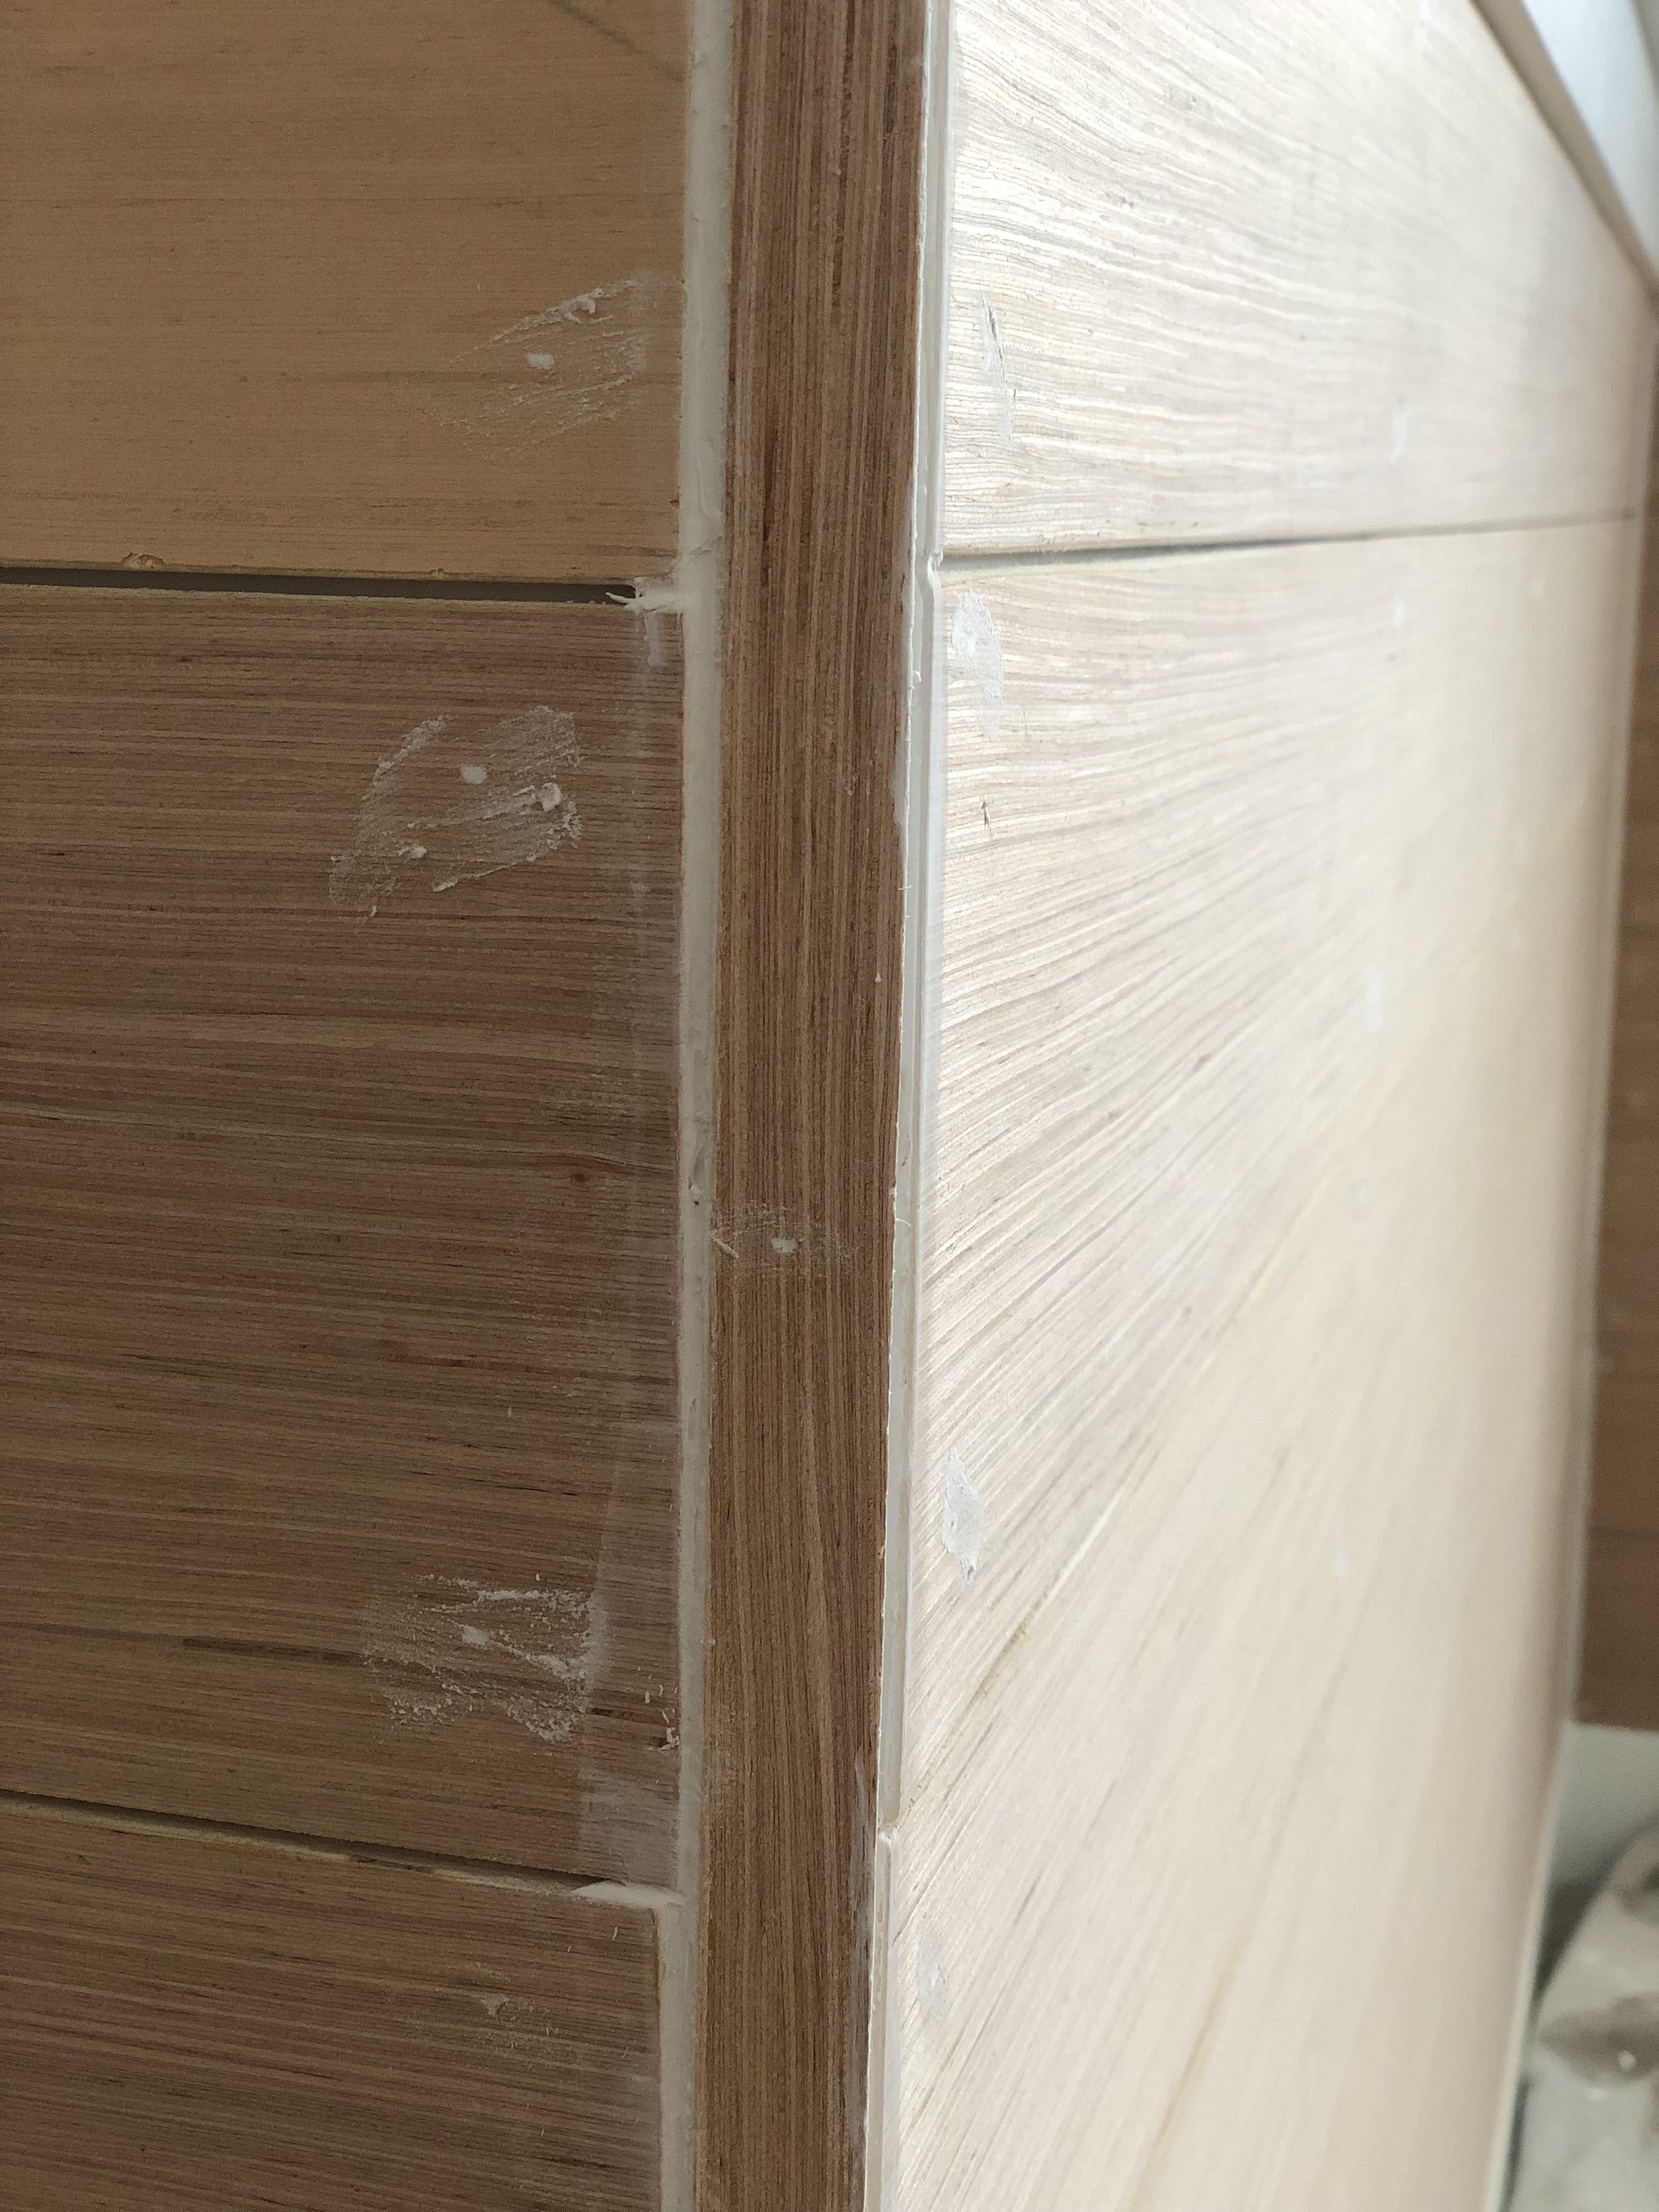
For the rounded corners I decided to try this method:
Basically I just had some really narrow strips that were about an inch wide and I sat it on the corner and shot nails into it. I would have ordinarily just cut off the baseboard and done a pretty straight corner but with the shiplap being gray and the baseboards staying white, it wouldn’t have worked. This was easier anyway!
After I all the shiplap done and ready, I painted it a dark gray. I used a Sherwin Williams paints and I was so pleased at how few coats I needed! I used my HomeRight sprayer to get in between the cracks and then I did a top coat with a large roller for a nice even finish.
The finishing touches are always my favorite part, although I’m not wild about hanging shelves and curtain rods. It took me a long time to finally get around to doing it all!
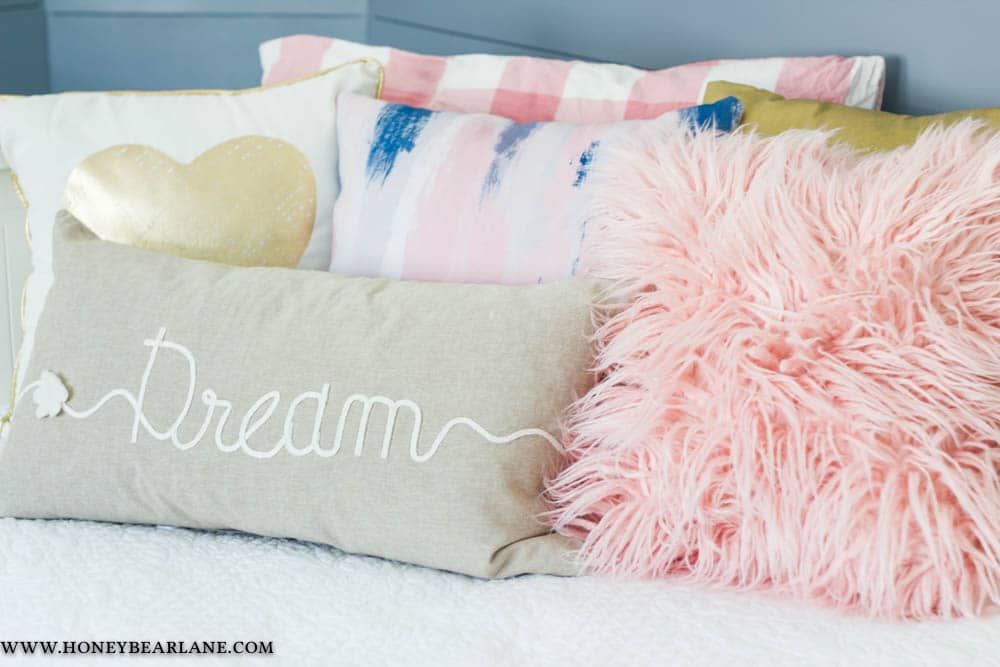
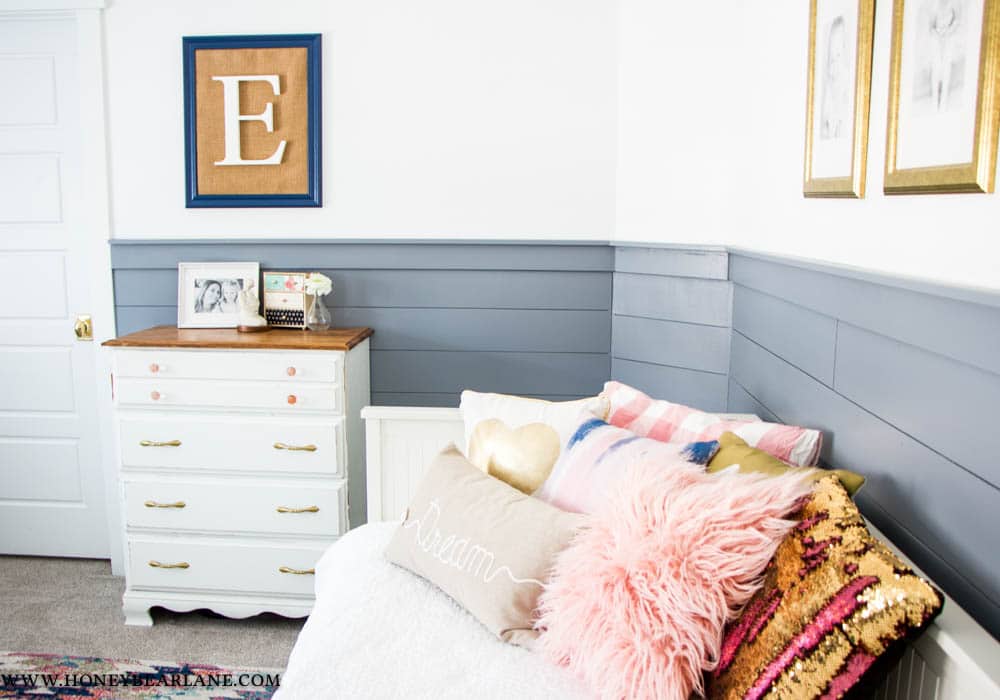
I added gold accents everywhere, gold frames, gold hardware, gold pillows. My favorite accessory is the gold chandelier which we got on Wayfair.
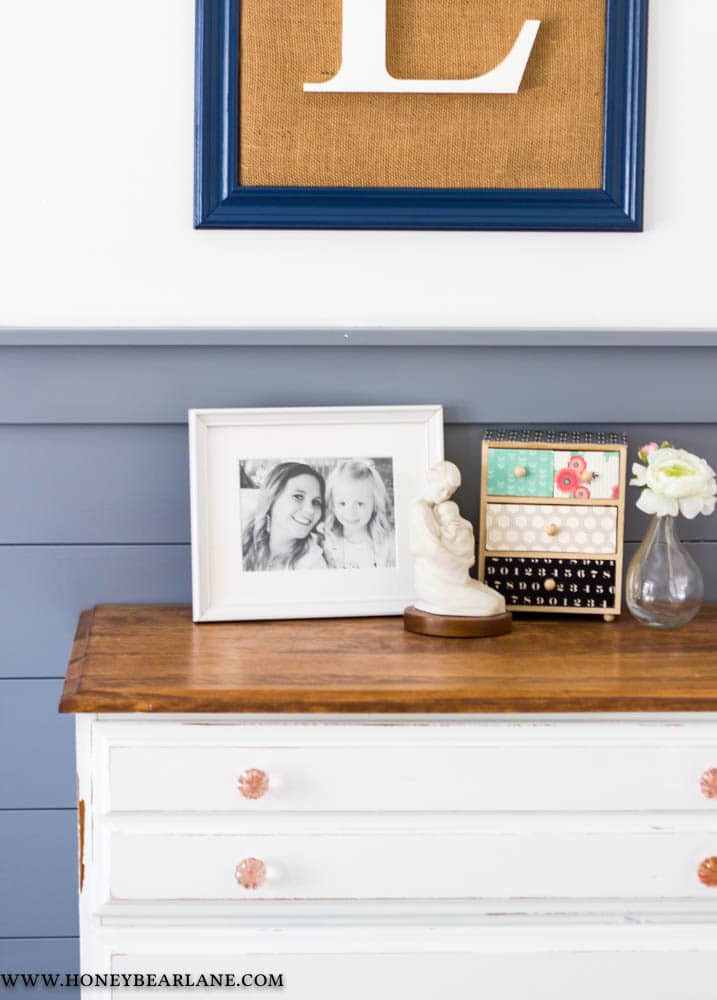
But I added in more navy blue and pink with pillows and some other accessories. I love these little pink glass knobs which I found from Hobby Lobby.
The pillows I got from all over…Walmart, Target, Amazon, Etsy. I got her white quilt from Etsy also and I love having it because it doesn’t get wrinkled and look bad. She still has a duvet under it so she’ll be warm and toasty in the winter. For now she actually sleeps on top of it with another blanket.
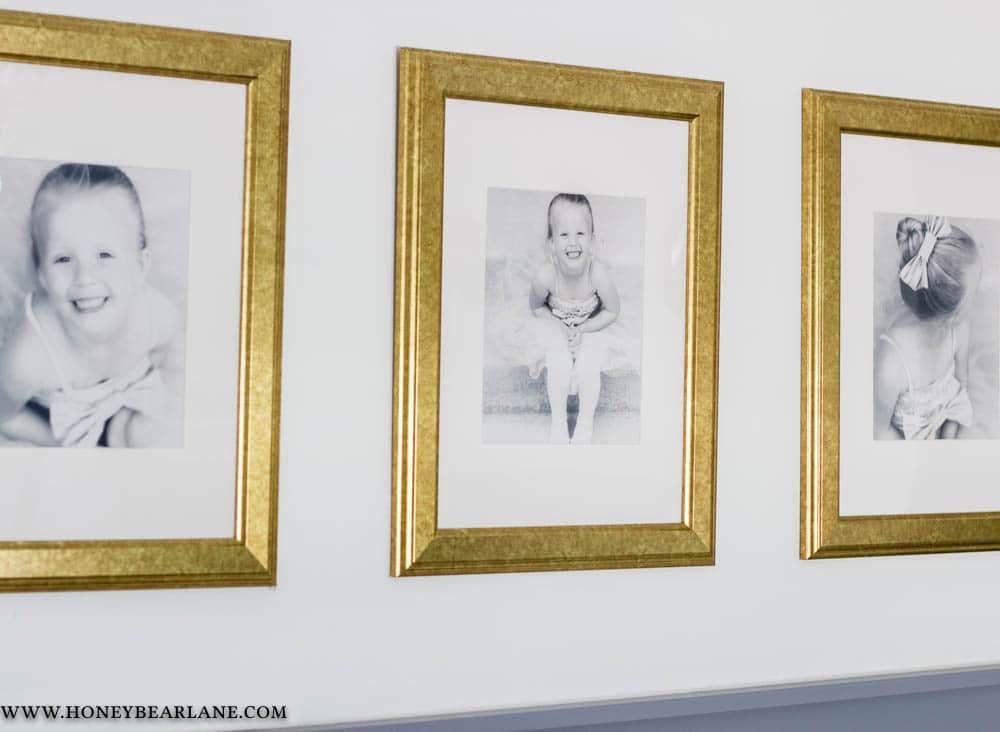
I found these gold frames from IKEA and printed out some black and white dance photos. Ironically she doesn’t love dance but I love these photos of her!
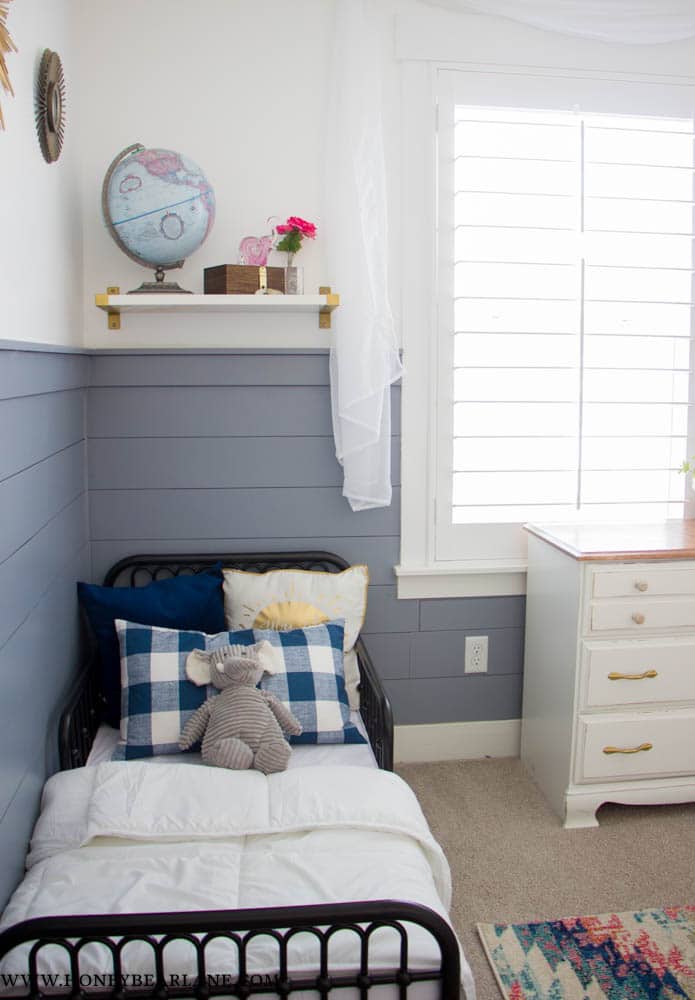
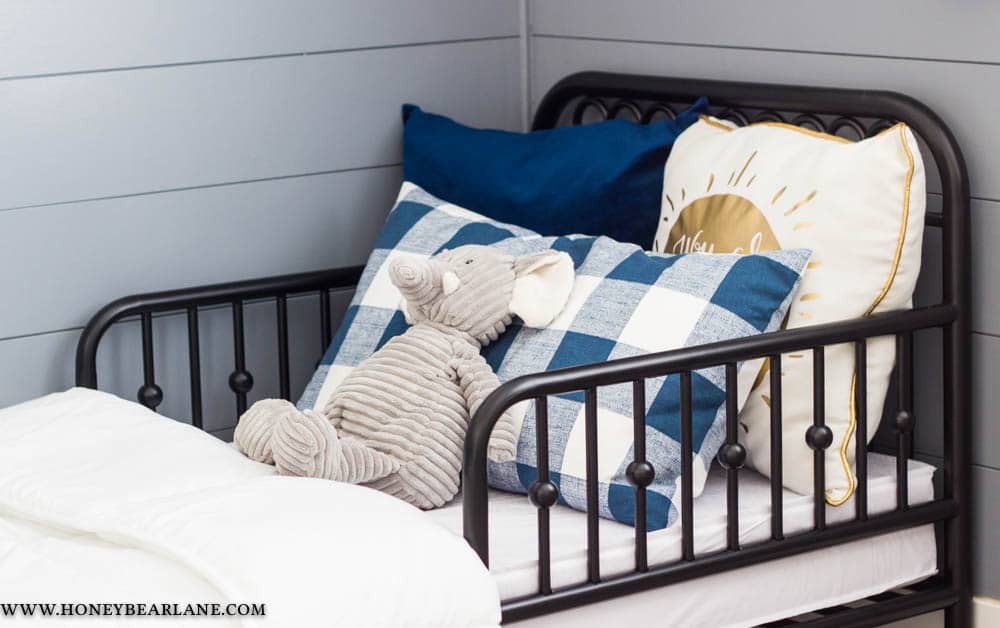
With a new baby on the way, we had to clear a space for my 2 year old to start sharing a room with her! I found this cute little iron bed on Wayfair and a little toddler size comforter on Amazon. He hasn’t switched to it yet because I’m afraid he will stop napping once he does, but it’s ready for him! He’ll only be in this room for a couple years so I didn’t really feel the need to make it a gender neutral bedroom.
It was easy to put together and just the perfect size for a 2 year old.
My daughter loves her pink and blue girls room. I love that I made it old enough to grow with her as she grows into a teenager. It’s more of a big girl room now. I still plan on buying some white corded Christmas lights to put behind the sheer curtain swag. She was the most excited about that part!
The shelves I got from IKEA and spray painted the silver brackets gold. I opted for the extra deep shelves so you can put more stuff on it…she loves to display everything. The crib in the corner holding her elephant stuffed animals is an antique I bought many years ago and removed one side so it’s more of a bench. The rug I got from Overstock for a great price and it’s the perfect thing to tie all the colors in the room together!
See that bright gold and pink sequin pillow? We just picked that up at Ross the other day for like $8. She has always wanted the flip sequin pillows and this one actually worked okay in her room. They are fun, I can’t deny it!
Sources:

Adorable room!
Thank you!
First of all, I want to say congratulations on the little one to come.
This room looks so gorgeous! I am loving everything from the rug to the chandelier.
Thank you so much!
It came out beautiful Heidi! Can you share the specific name of the gray paint? It’s lovely. Thanks!
Great job Heidi, it is so cute. I love the elephants they’re one of my favorite and the rug is perfect.
Thank you so much Diana!
That’s amazing! Very nice transformation and accents! I am aware of how difficult interior painting projects can get, but seems like you handled it like a pro! Congrats on the baby!