How to Make Arched Bookcases Perfectly
One of the features I really wanted in my latest build–my builtin window seat with bookcases–was to have an arch for the bookcases. I’ve never created an arch out of wood but it honestly didn’t look too hard. What I learned was that it really isn’t too hard, but I ended up creating them in a completely different way than I planned. So in this post I will share with you how to make arched bookcases the right way.

The first step is to draw out the arch; which means you are basically drawing a semi-circle. To draw a perfect circle, you have to find the center point of the diameter of the circle and create some type of radial drawing setup. In layman’s terms, you tie a string to a pencil and attach the other end to a screw which is on the center point.
So the tricky part about this is that in order to screw it at the true center, you need to have your piece of wood larger than you need for cutting. Imagine you are cutting a nearly a full circle…maybe about 3/4ths of a full circle. That’s how much stock you will need so you can place your screw in the true center and not an inch above the center like I did. I wanted the sides of the arch to be as wide as a 1×3 piece of wood so I could attach legs to my arch for the bookcase face frame. Since I had already cut my piece of wood, I couldn’t place the pivoting screw in the center because it just wouldn’t hold in place. I played around for awhile and finally got it to work.
Attempt #1: Using a Jigsaw
My first and most obvious thought was to use a jigsaw to just cut out the semi-circle I had drawn. However I don’t have a super steady hand and frankly am not the best with the jigsaw. I still attempted to cut it out and it just looked SO bad. The cut was wavy and uneven. There was no way to hide this.
I knew there would have to be a better way, because I’d seen plenty of arched bookcases and they were in a word…perfect. In order to get anything perfect in woodworking, you have to have some sort of a jig or fence. There is simply too much room in human error and most of use won’t be able to freehand cut a perfect line or half circle. That being said, I have actually seen people do this successfully. I just don’t have a steady enough hand.
Attempt #2: Using a Router with Jig
I ended up first calling my brother who, although has not been woodworking as long as me, seems to have developed a lot more knowledge and know-how in a show amount of time. He purchased nine acres of land in Massachusetts and proceeded to start clearing the trees off the land to start an orchard farm. He has taught himself SO much about the entire process that now he literally will build a bench or a hutch from wood that came from a tree he cut down, milled, and planed himself. The best part about that is that all of his wood is gorgeous and valuable oak. You can find his website here and order custom pieces from him.
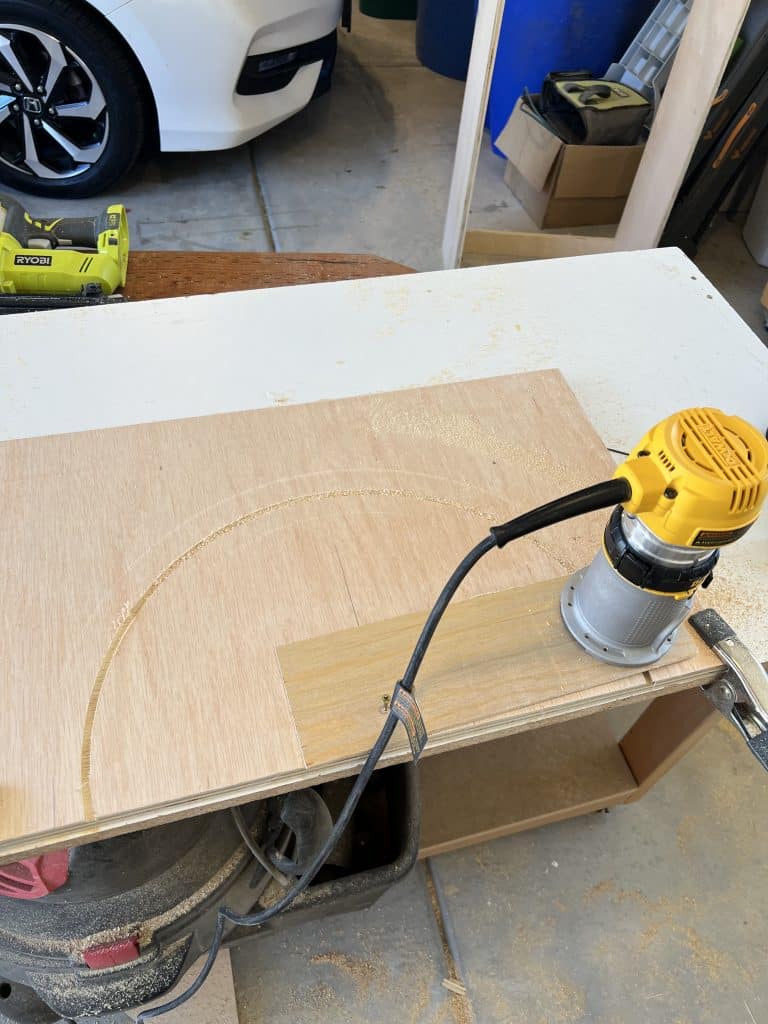
Anyway, he told me about this idea of creating a jig for my router. You basically cut a 1/4″ thick piece of wood the length of the radius of your circle. Then you make it to replace the router base plate so you can screw it directly to the bottom. Then you can screw the other end to the center point of your circle (where you screwed in your first screw.) Don’t screw it in super tight, you have to be able to move the router through the path of the circle.

The router bit I used was a 1/4″ straight bit. You place the bit into the router and have it only extend about 1/8th” out. It’s also a good idea to do a test run on a scrap piece of wood, or you could move the screw so the semi-circle is smaller. After I did a test run and fixed the screw to be back in the correct position, I started on my semi circle.
Using a router takes several passes to remove all the wood in one go, but it is SO worth the time and also quite satisfying and fun. After each pass, you adjust the router base so the bit comes out a little more. I have a video which you can see here or on Instagram but it is a little more explanatory.
Here is the link to the exact router I have and really like: DeWalt Router
Here is a link to a good router bit set that includes the straight bit: Kowood Router Bits
If you’ve never used a router before, it does take a little bit of getting used to, since it doesn’t work like your standard triggered tools. I definitely don’t feel like an expert, but I always enjoy using my router! Watch a few YouTube videos and play around with it and you will be less intimidated by it.
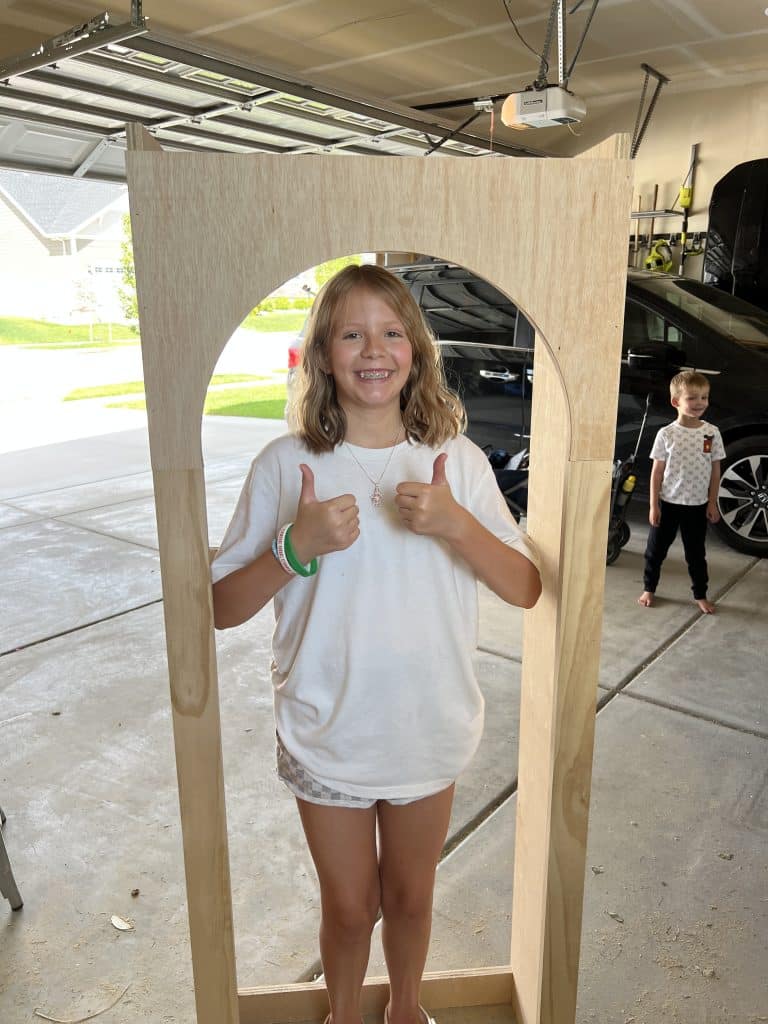
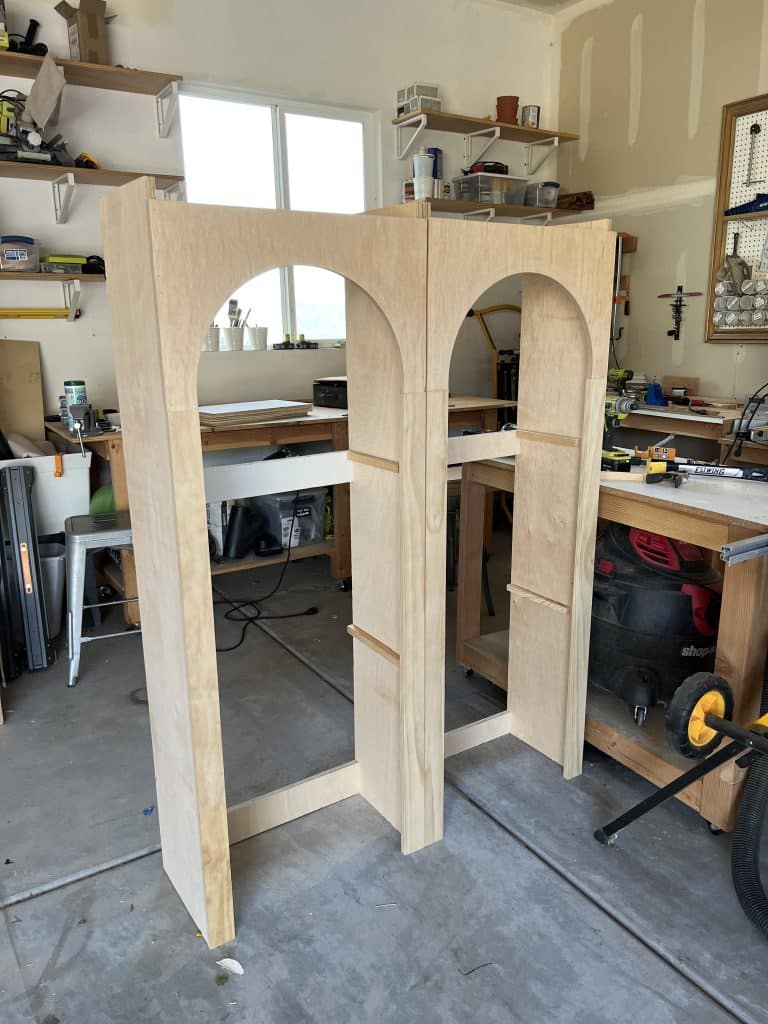
After I made the arches, I ironed on the banding to cover up the rough edge. This was also kind of tricky but I made it work. Then I sanded the edges smooth. It looks so beautiful! Finally I attached the “legs” of the arch–two 1x3s of select pine–attached with pocket holes.

I attached the entire face of this to the bookcases with brad nails and glue. Stay tuned for the next step of this build: trim and paint!
