Teapot Rhinestone Onesie–Silhouette Deal!
You might have seen the latest gorgeous rhinestone Silhouette projects going around this last weekend. Well I got a chance to review the Rhinestone Starter Kit using my Silhouette and believe it or not, it was one of the easiest Silhouette projects I’ve ever done! Also turned out very cute, if I do say so myself!
Right now you can get the Silhouette Cameo and the Rhinestone Starter Kit for only $269.99–regularly $399! Use the code HONEY at checkout to get this deal! This deal ends June 28th so hurry hurry!
Do you just want the Rhinestone Starter Kit? Get it for only $29.99!
All you need for this project is a Silhouette, the Rhinestone Starter Kit, and a onesie of choice.
The Rhinestone Starter Kit comes with the following:
- 2 sheets of rhinestone template material
- 2 sheets of transfer tape
- 2 backing boards
- rhinestone positioning brush
- 400 10ss clear rhinestones
- 400 10ss black rhinestones
- 400 10ss pink rhinestones
- exclusive download card good for 10 rhinestone templates and a rhinestone alphabet
- idea booklet and instruction guide
- instructional DVD
The Rhinestone templates you download with the included card doesn’t include the teapot. But it’s only .99 cent so you can just buy it at the Silhouette store.
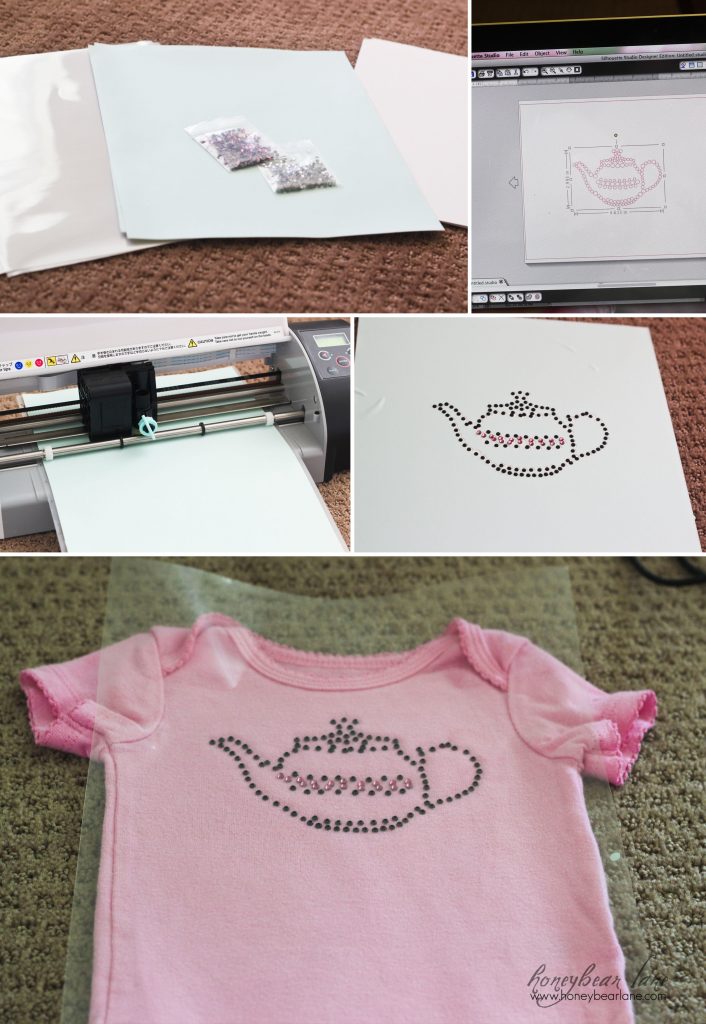
Download the Rhinestone teapot from the Silhouette Studio store.
Place it on your Studio software page, and DONT resize it.
Send to Silhouette.
Place the rhinestone template paper on a cutting mat, green side up and load. I have the original Silhouette, not the Cameo so I used the yellow tip to cut. I selected the specific setting for Rhinestones.
It cut so easily, but don’t get worried you’re not seeing the cuts because they ARE there. I ruined one of my sheets because I thought it didn’t cut and ended the cut prematurely.
Peel off the green sticky paper, leaving all the dots behind and put it on one of the backing boards. Then pour on a small amount of rhinestones and use the brush to get them to settle into the dots. I ended up using my fingers to make final adjustments and to add in the pink.
Then use the clear transfer paper to place over the top, smooth down, then peel back up. The rhinestones should stick. Put the transfer onto your onesie. Put a thin cloth over the top and iron on the ‘wool’ setting for about a minute. I had to go over it a few times. Then I kind of turned it inside out and ironed it from the back which pulls the glue through.
I carefully peeled off the transfer paper and then turned it inside out again to iron it well. All done!
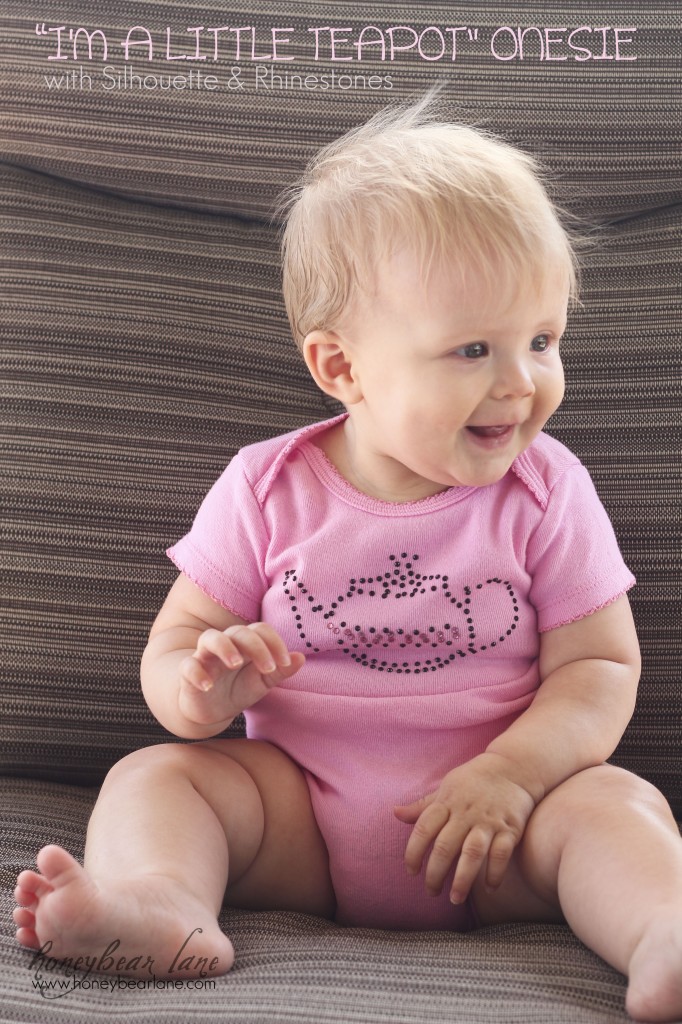
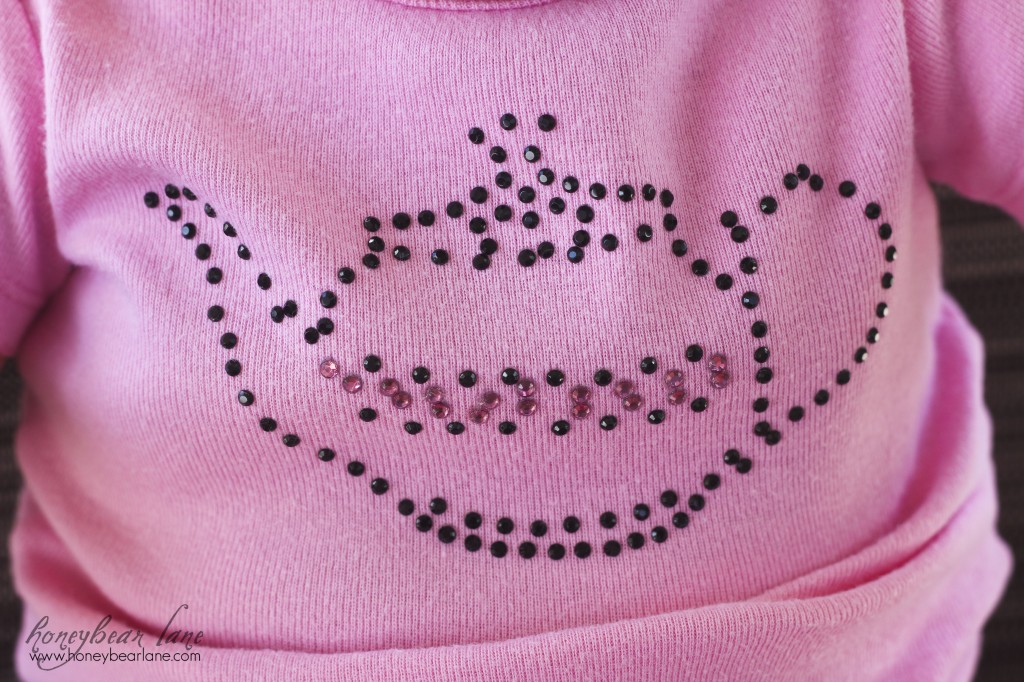
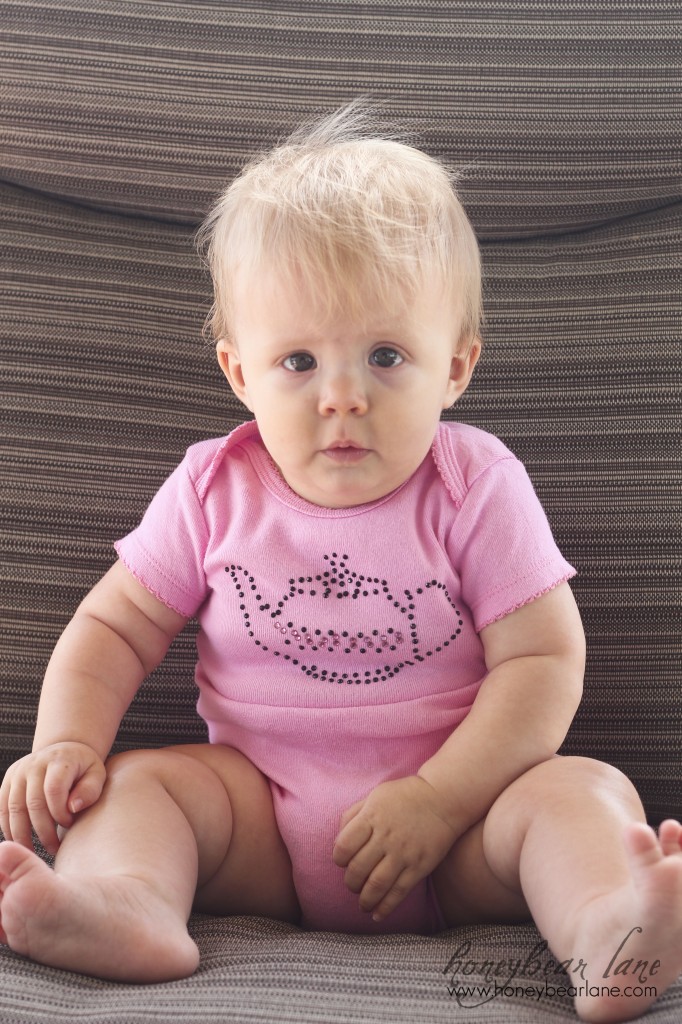
It turned out really well and the project was so easy to do! I love that I picked the teapot–the perfect blend of dainty and diva.
And of course my baby girl is adorable too. I actually have the perfect bow for this shirt but sadly it’s packed away, not to be seen for probably a month.


One Comment
Comments are closed.