Make a Slipcover in 5 Minutes!
**********
Remember that sad day at Goodwill when we lost my son’s Froggy? Well there was one (or seven or eight) awesome things that actually came out of that trip. First off, I snagged this wing chair in amazing condition for $20!
It was rather spontaneous, definitely not something I was planning. I’ve always wanted a more substantial chair in my living room and this fit the bill. I wasn’t sure how I was going to change it, but I was GOING to. But I’m a busy woman! When would I have time to slipcover or reupholster this? And I certainly didn’t want this mismatched piece sitting in my living room. What to do, what to do?
Create a 5-minute slipcover!!
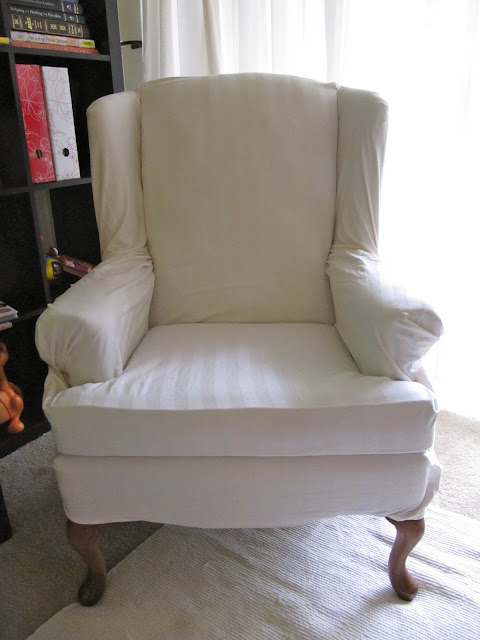
Here is how I took one queen top-sheet and several straight pins to make my temporary slipcover.
 |
| First I threw the sheet over the chair, making the satin stripes run vertically down. I started tucking like mad! |
| Looks pretty good so far! |
| Since the chair back wouldn’t be seen, I just pulled most of the excess fabric back like this and safety pinned it together. |
 |
| Not bad for tucking and pinning, right?! |
 |
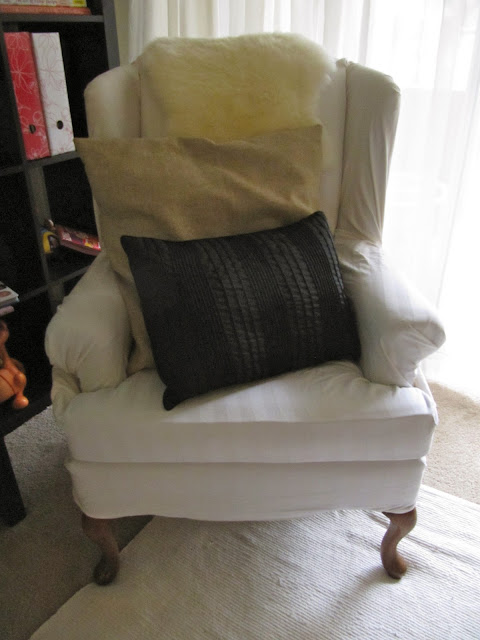
| And just throw some accessories on the chair and no one’s the wiser! (At least until they see the sides and back…) |
This worked great…except that it was staring me in the face every second, just taunting me to make a REAL slipcover! I literally stared at it for hours, thinking about slipcovering. Then I read this post and she encouraged me to just DO it! She made it look super easy. So you will get to see my fabulous slipcover tomorrow!


Hey Heidi I LOVE this post. I am in the process of buying my first house and needed something for my furniture and this will work great for the time being, it will also help me decide exactly how I want my furniture to look and help hide the eyesore (my couch)
I featured you over at my blog http://hobbied.blogspot.com.
Love your site
Keep posting =)
why in the world did you ruin a perfectly good chair? it just looks like you put an old sheet over it and threw some old pillows on it. why????????? what a shame. poor chair.
wow.. lalli,
poor you, for not being resourceful or open minded..shame…
Heidi, I think you”re a genius!! You are not afraid to be creative, curious, or explore other options, life is too short, go big, go bold, or go home!! You’re my kind of gal!! So happy I stumbled across your blog!
your newest fan! : )
Aw Thanks!! It’s nice to be appreciated for something as silly as a sheet thrown over a chair. 🙂 It was clearly just a temporary fix!