Making Scrappy Fabric
Thank you to everyone who filled out my survey! It totally reinvigorated my purpose for this blog and even sparked a creative idea! I will share the results with you soon, just in case you are interested in that type of thing. 🙂 I love doing surveys, don’t you?
I really want to make the two mothers in my life a special gift for Mother’s Day since last year (due to me having a baby!) they kind of got the shaft.
{{And if you are one of those mothers reading this, you can just go ahead and stop here.}}
I decided to make them an apron, the style that I made formulated after a pattern.
But I didn’t want to buy more fabric. I have WAY too many fabric scraps and no more $. I need WAY too much money and no more fabric scraps. So part one of this projects is this:
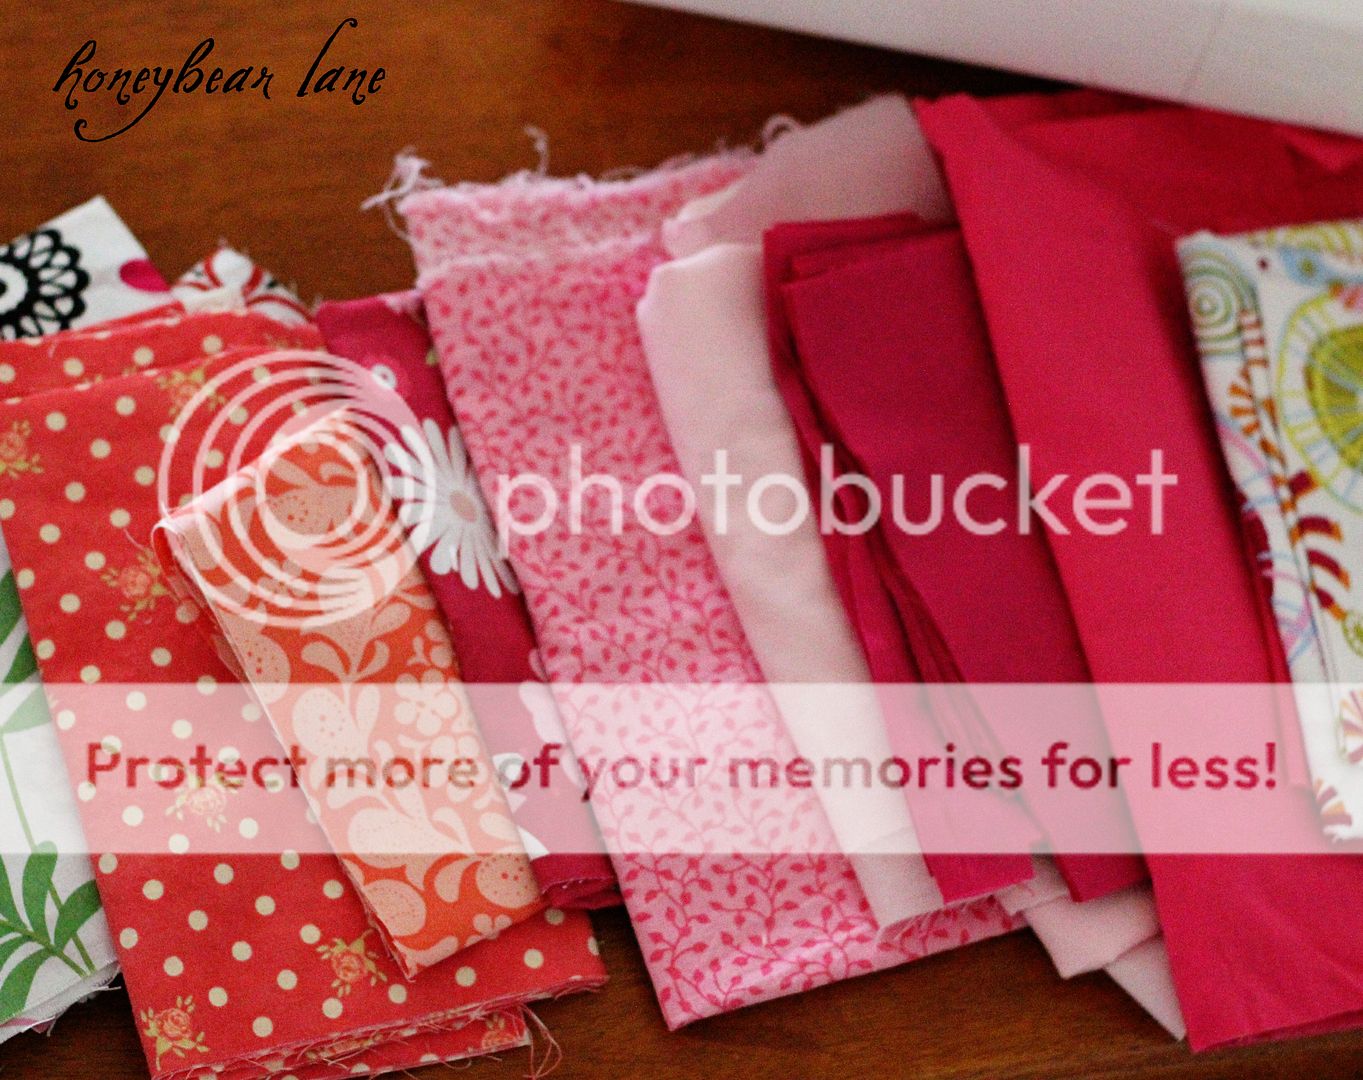
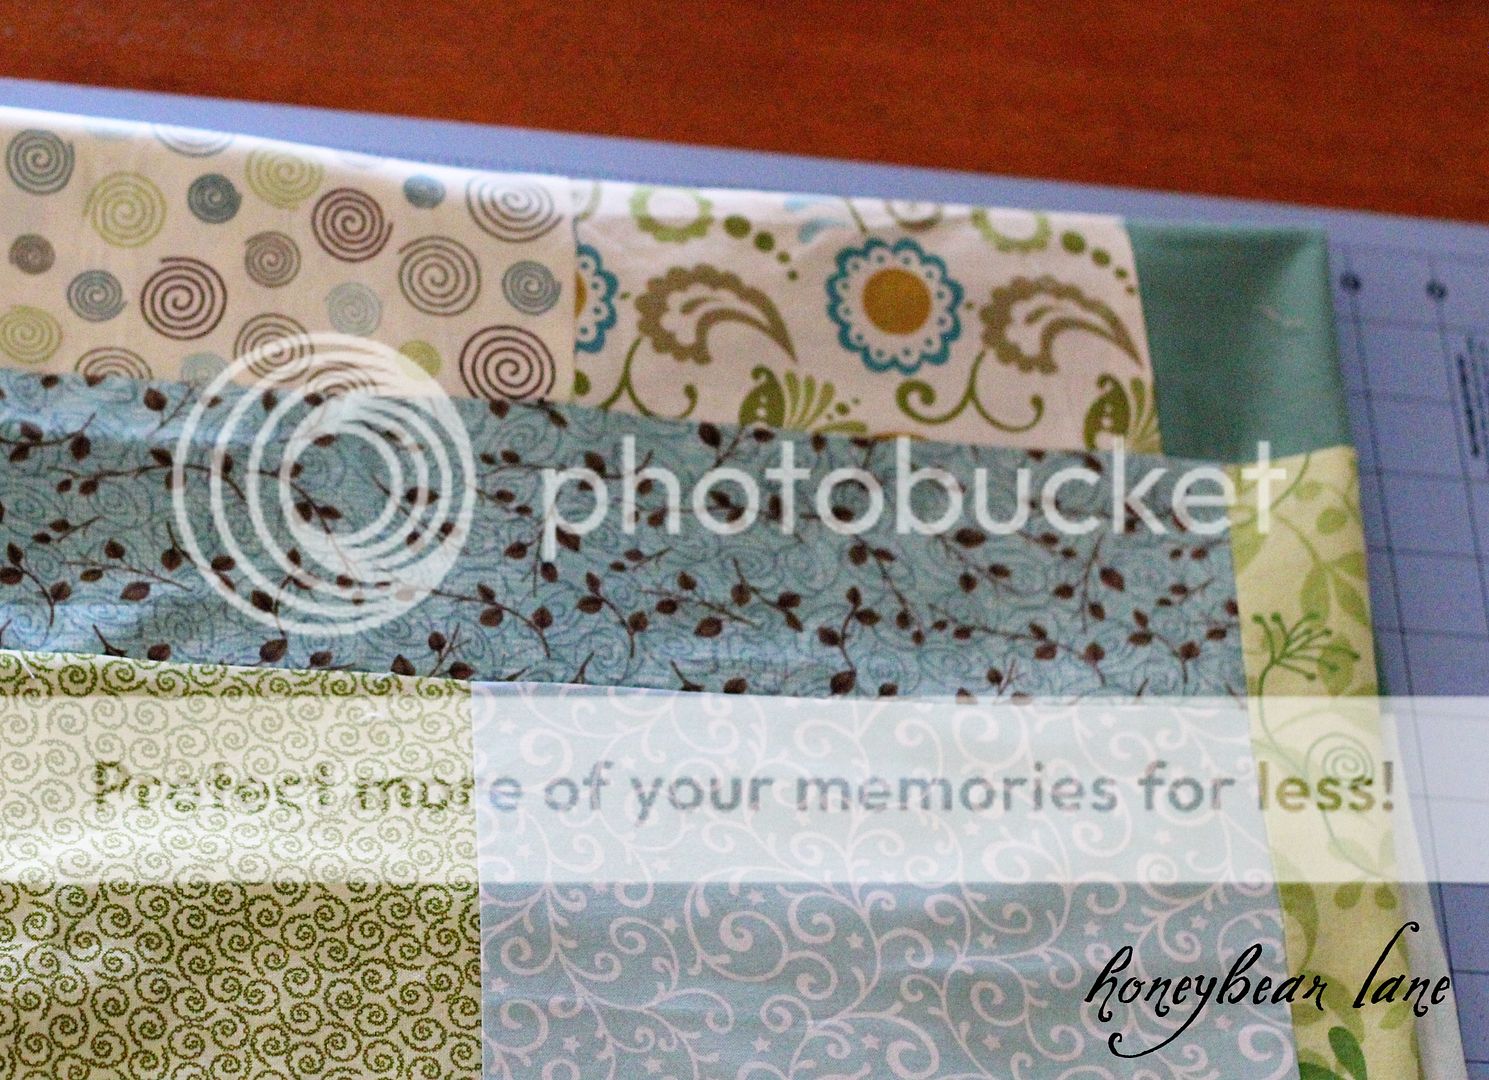
Step 1: Go through your scrap collection and grab all the scraps you want to use. I grabbed a bunch of pinks and a bunch of greens/blues for my other one.
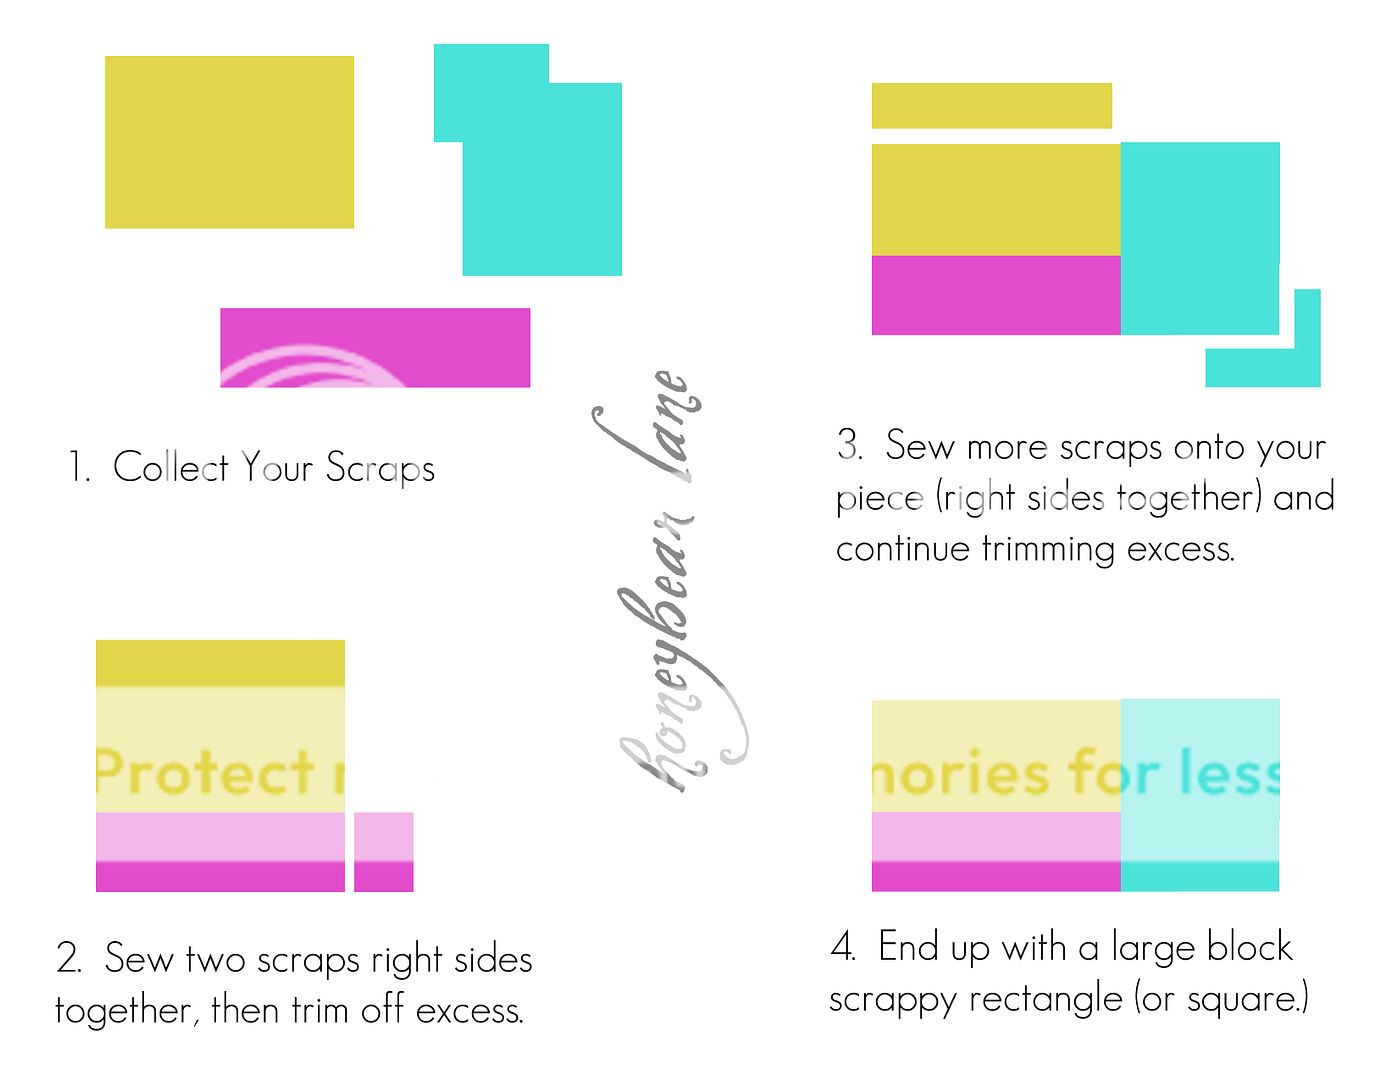
Step 2: Sew your scraps together! Follow this handy-dandy illustration here. PS…I was COMPLETELY unprecise about this…didn’t get out my rotary ruler once. I just winged it. You might want to have straighter lines if you aren’t confident that you can eyeball it.
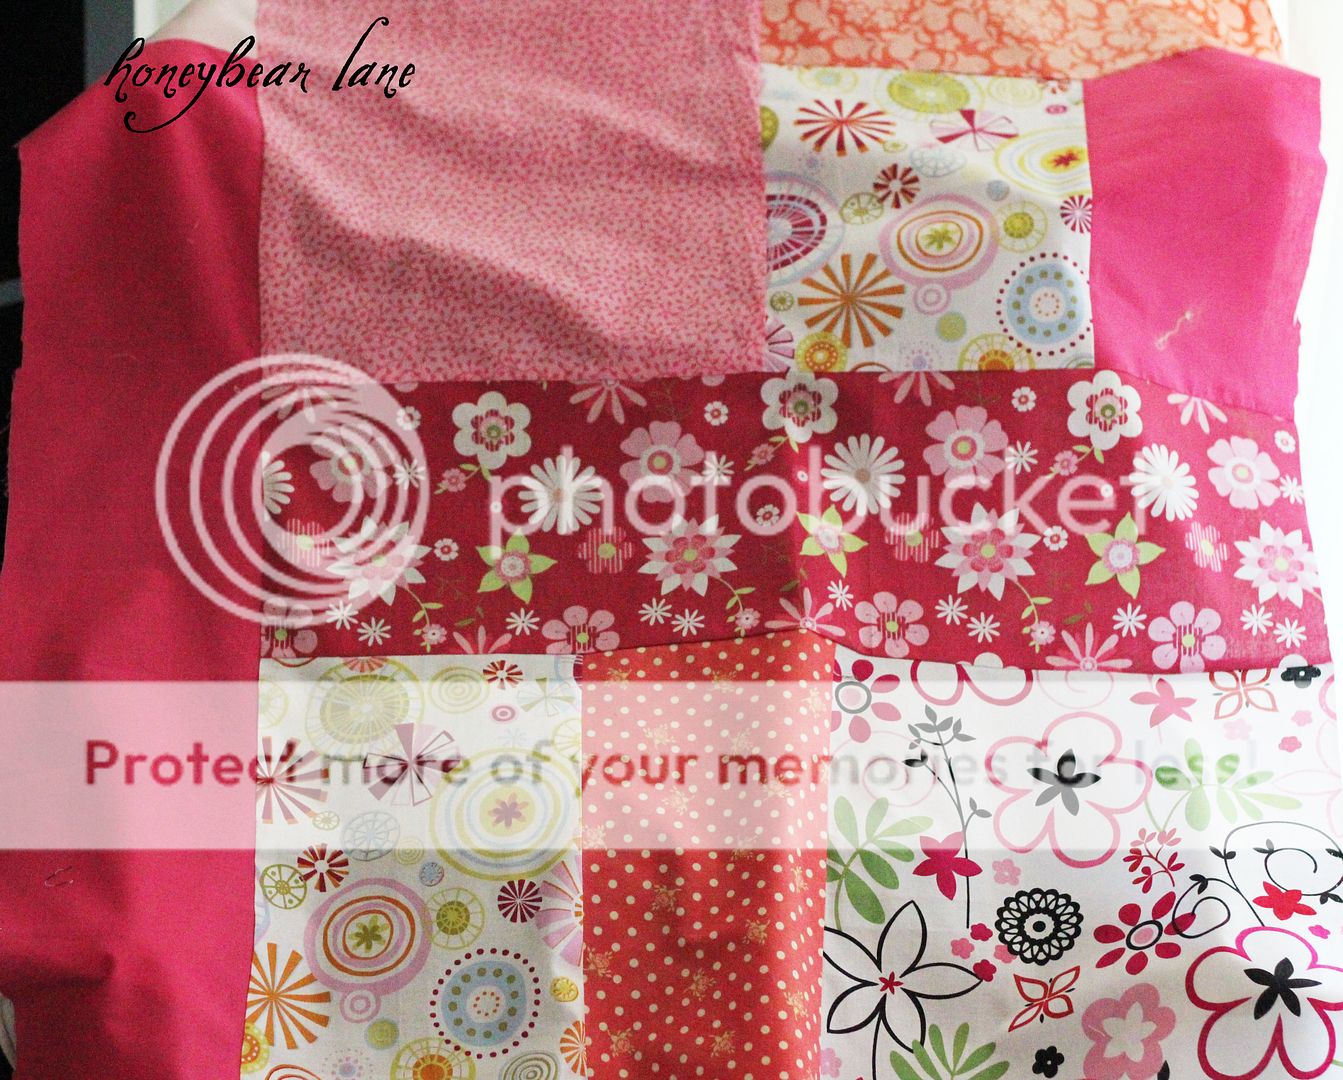
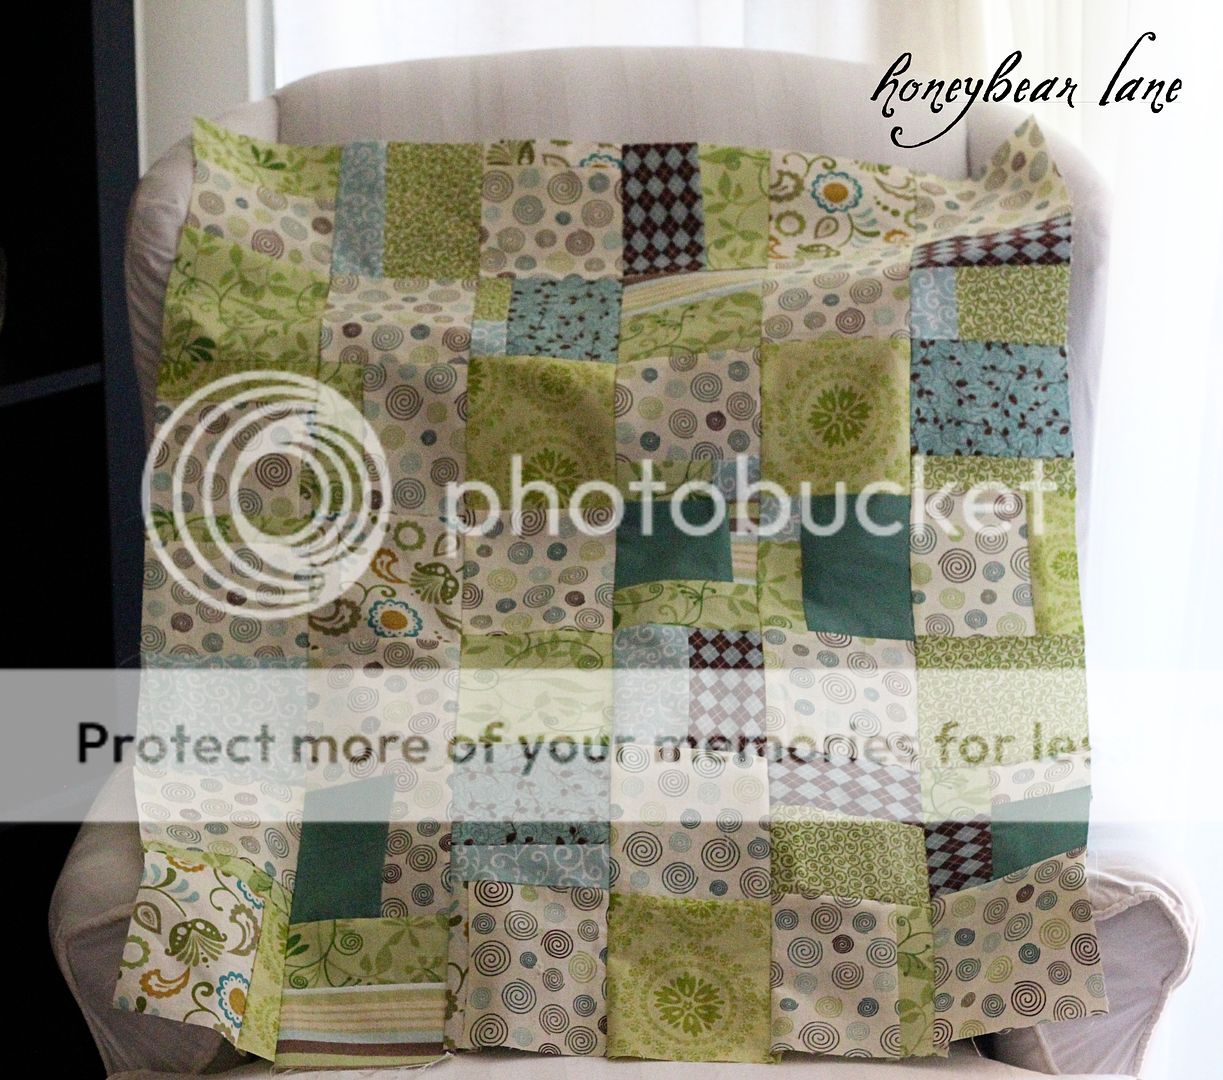
Step 3: Now you will have a large scrappy block fabric square. Iron all your seams flat so you havea nice crisp piece of fabric. You can leave it like this if you want, BUT I think it’s SO MUCH CUTER to take it a step further.
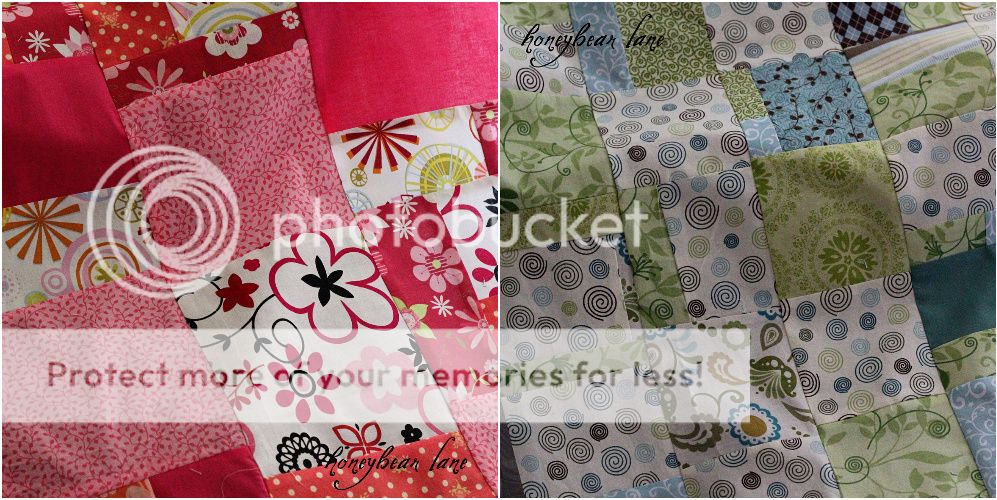
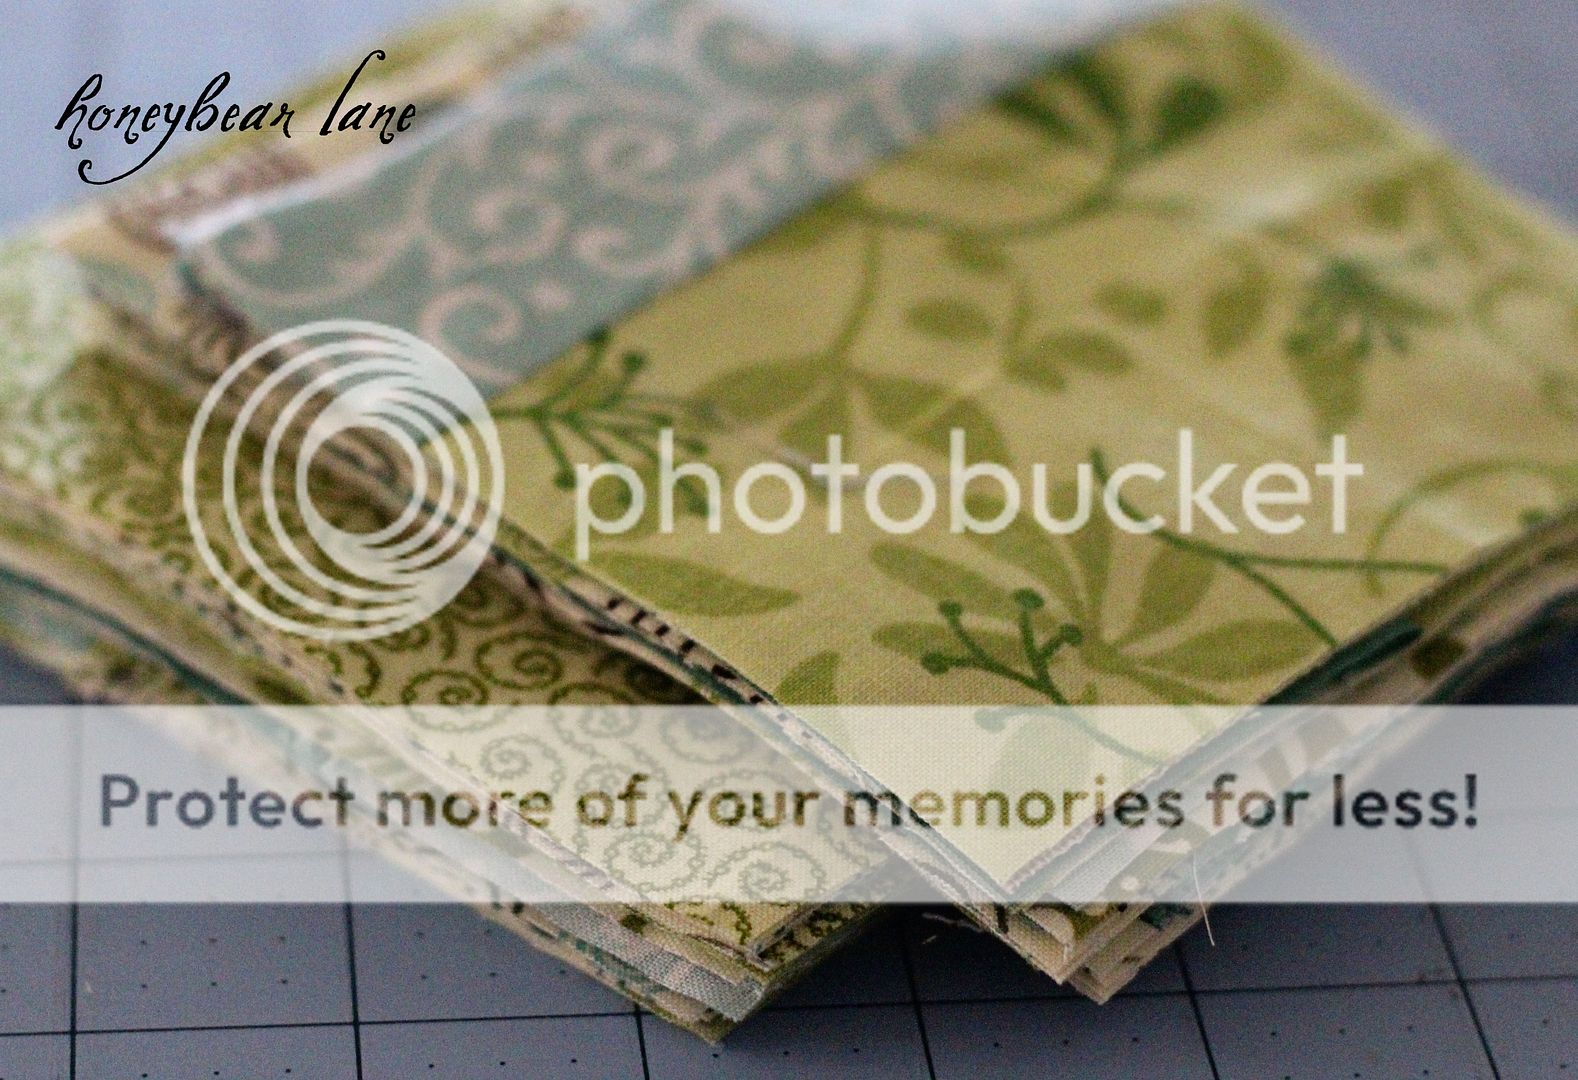
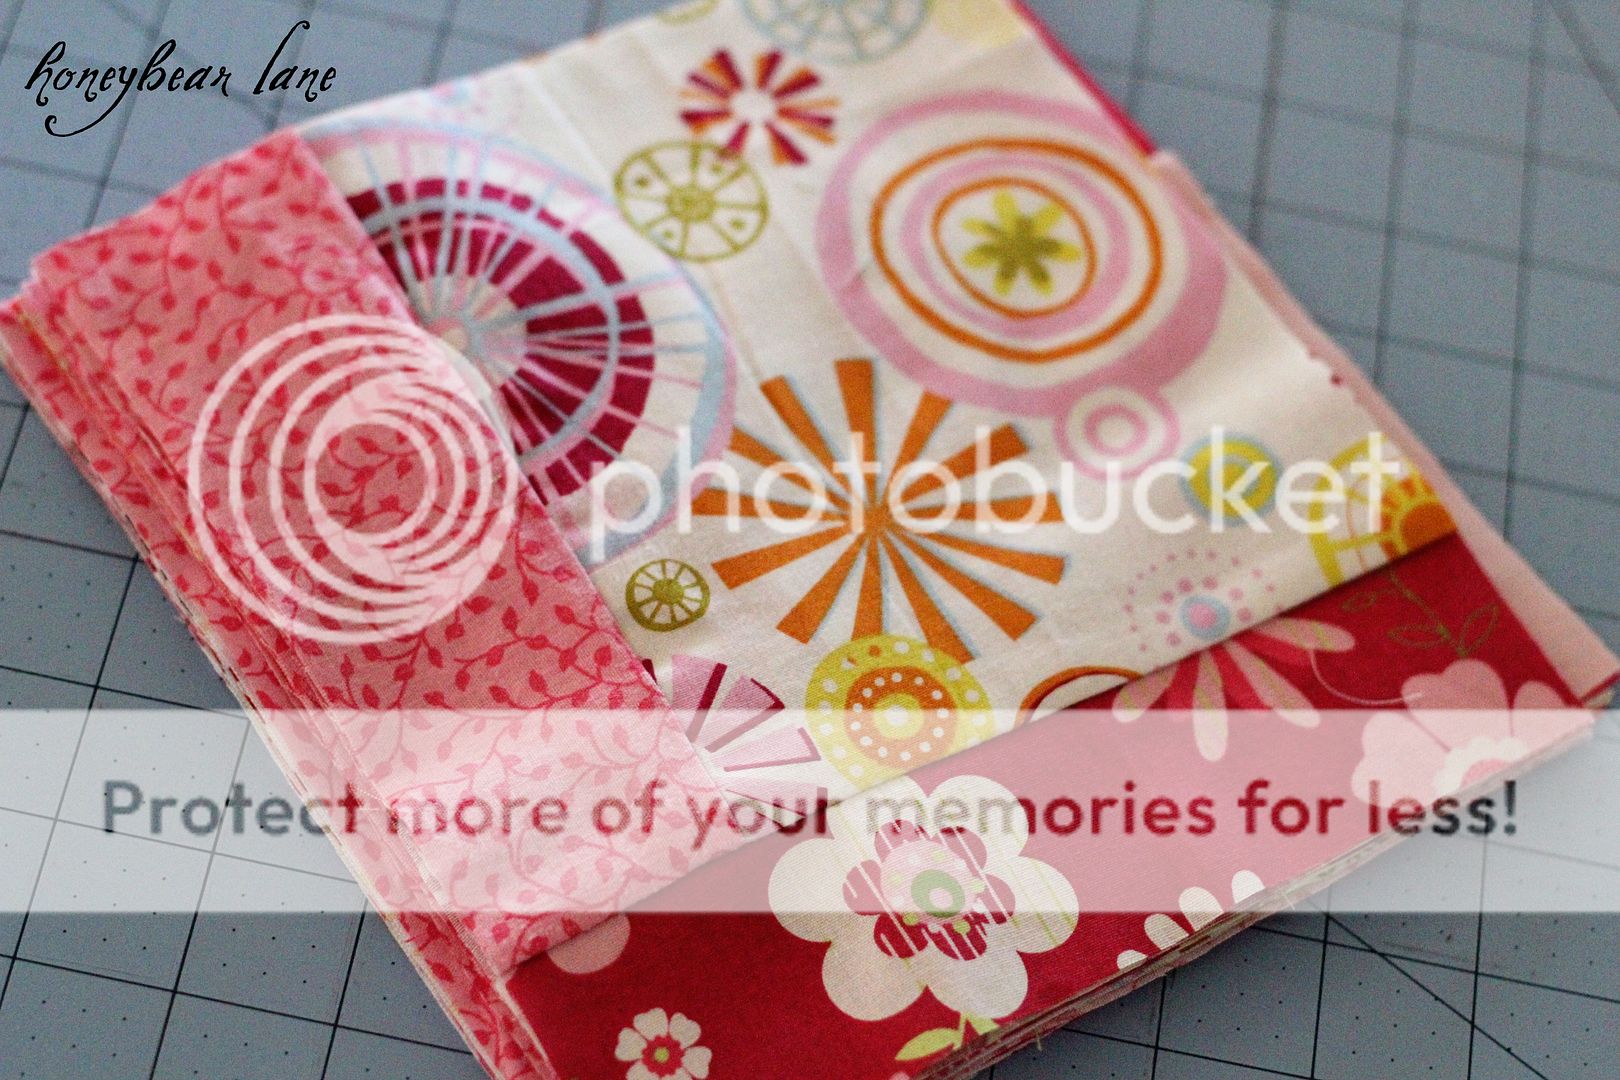
Step 4: This is where I got out my rotary and mat and ruler. I folded up the fabric and cut it into smaller squares, not caring where the seams were, just cutting my certain size.
I cut the green/blues on auto-pilot and made them 5″x5″…too small I think. Most of my squares ended up being whole blocks of the same fabric and I kind of defeated the purpose of the first piecing step.
But the pinks I did 8″x8″ and they were much better.
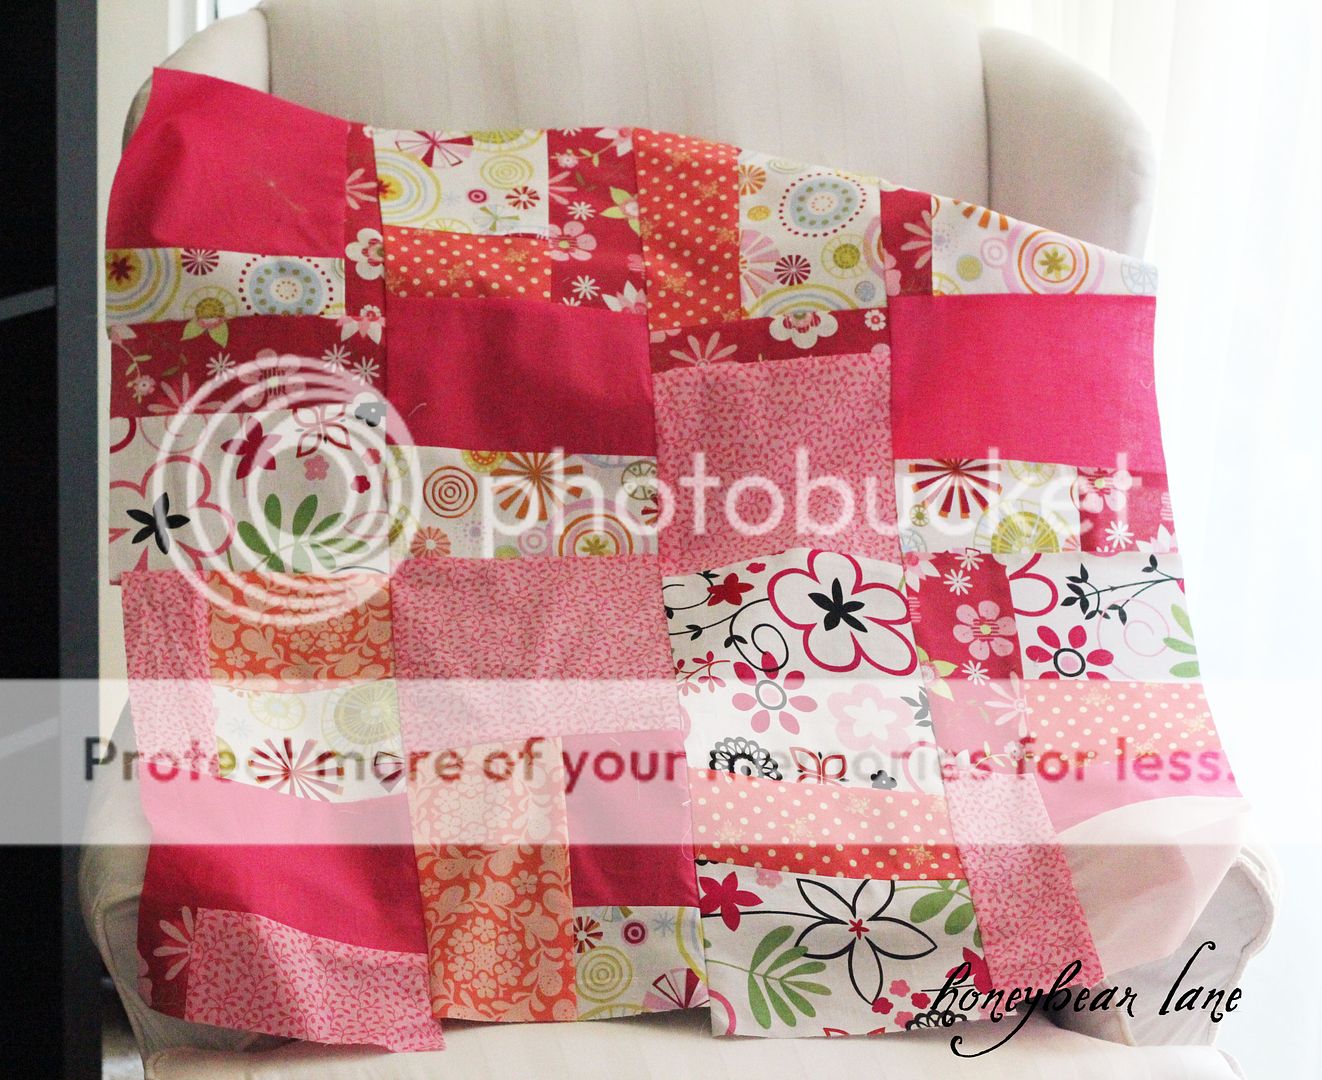
Step 5: Lay out your blocks again the way you like and then piece them together again. Piece in rows and iron all the seams in each row before sewing the rows together. Sew the rows together, iron again. Then you’re done!
See? Much cuter and more visually interesting. And completely haphazard with not much rhyme or reason. GREAT way to use scraps!
Now you can use this fabric for whatever…make a blanket, make a skirt! In my case, I will make an apron that I will share with you soon!



I love your color combinations! And doesn't it always just feel great to get rid of scraps?
xoxo
thanks for sharing this! my scraps are taking over, and i was thinking about doing a table runner or something with them but wasn't sure how to piece them all together. now i have a better idea….thanks again!
Your sewing skills amaze me! They look cute! (and they aren't even aprons yet 🙂
Wow! Looks great!
Wow, I can't believe you pieced it together twice!
Great job, they are beautiful!
Oh, boy. I think I just might spend my whole wedding anniversary Day doing this…with croupy kids…and a working husband…this is JUST what I needed! THANK YOU!!!
What a great idea. I love this!
Great way to use up fabric pieces and it looks beautiful!
I definitely need to do this to use up some of my stash! Thanks for sharing.
Jamie
It’s a great way to use up the stash and you can make anything from it!
This is just what I was looking for….thank you for taking the time to post this and the apron tutorial. I have lots of batik scraps left over from making wedding pennants for my daughter as well as table runners. I made napkins for the immediate family from the table runners. She loves aprons so I want to use all the wedding fabrics for this adorable apron.
Awesome–I’m sure she will love it!