10 Minute Sweater Pillows
I’ve always loved the idea of sweater pillows. I went to DI (a Utah thrift store) and bought a bunch of sweaters and shirts for my Christmas projects this year. I wanted to bring in some cozy and soft fabrics that are a little more ‘natural’ looking. I love glimmer and glitz and you definitely will be seeing that in my decor but I also love natural and rustic. And yes, my Christmas tree is already up. It’s been up two weeks before Halloween. Am I crazy? No, I’m a blogger.
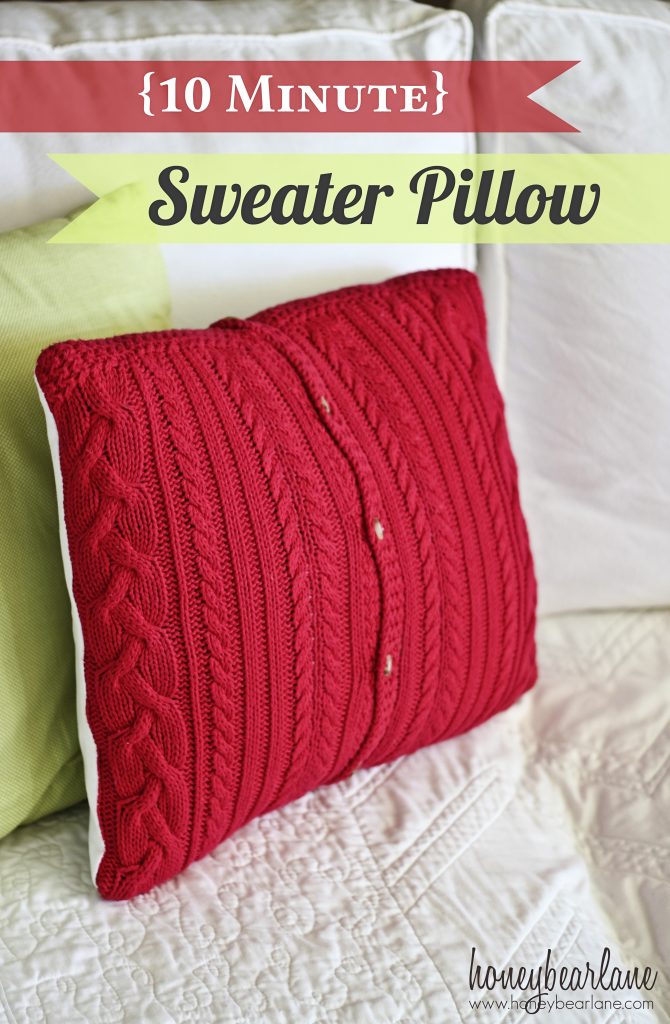
So from one of the sweaters, I made a sweater pillow. I know this isn’t a groundbreaking idea, but it is a VERY simple one and one that anyone can whip up in minutes. Ten minutes, to be exact.
List of Supplies:
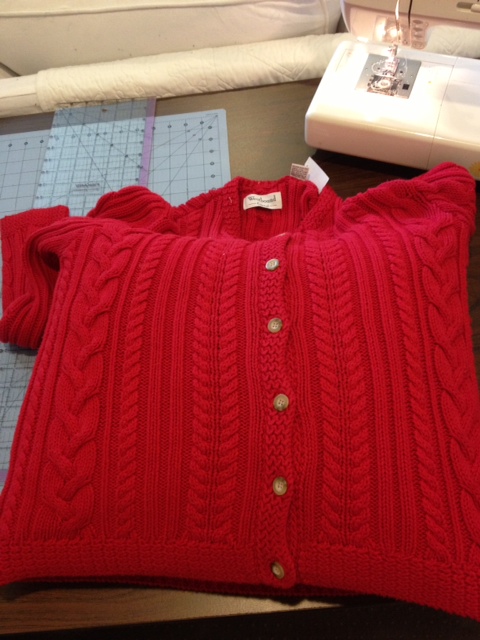
- 1 old Sweater–I like the kind with buttons, like a cardigan.
- 1 fat quarter of fabric for the backing (a fat quarter is 18×22)
- 1 16×16 pillow form
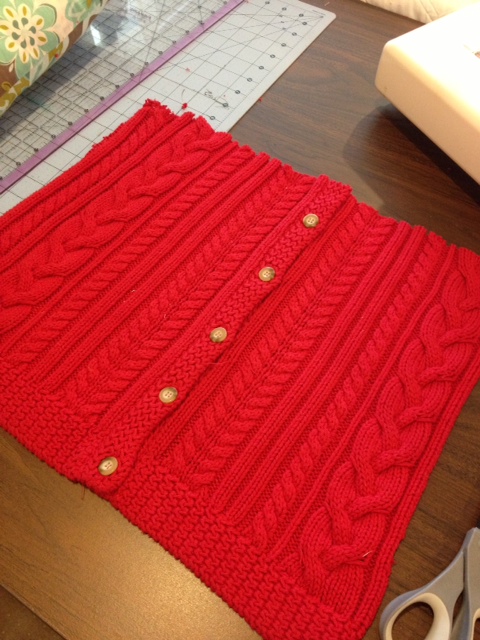
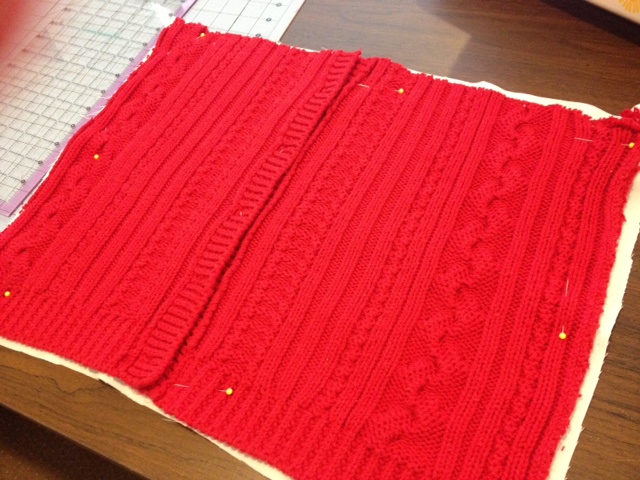
Step 1: This tutorial is for a 16×16 pillow. However if you want to cover a pillow you already have, just measure by putting the pillow inside the sweater and marking where to cut. Cut the front of your pillow by laying your sweater flat. Cut off the arms and a straight line across the top, below the neck. Cut a 17×17 square for a 16×16 pillow. Mine is a little more rectangular so it’s more like 17×20.
I liked the hem of the sweater so I incorporated it in.
Step 2: (I don’t have a picture of this but you can refer to the 10 Minute Pillow Case tutorial.)
IF YOU DO NOT HAVE BUTTONS ON THE FRONT –>Then cut your fat quarter in half so you have two pieces that are 17×11. Hem two ends like in the 10 minute pillow cases tutorial. Then overlap the two hemmed sides so it measures 17×17. Pin in place and you can sew the overlap so it stays put.
IF YOU DO HAVE BUTTONS ON THE FRONT –> Cut your fat quarter to 17×17.
Step 3: Put your back and front right sides together and pin all the sides. Sew around the edge. This might be tricky because sweater fabric is stretchy and thick. I used a nice sturdy needle with a wider seam allowance. I knew the sweater front would stretch to fit the pillow.
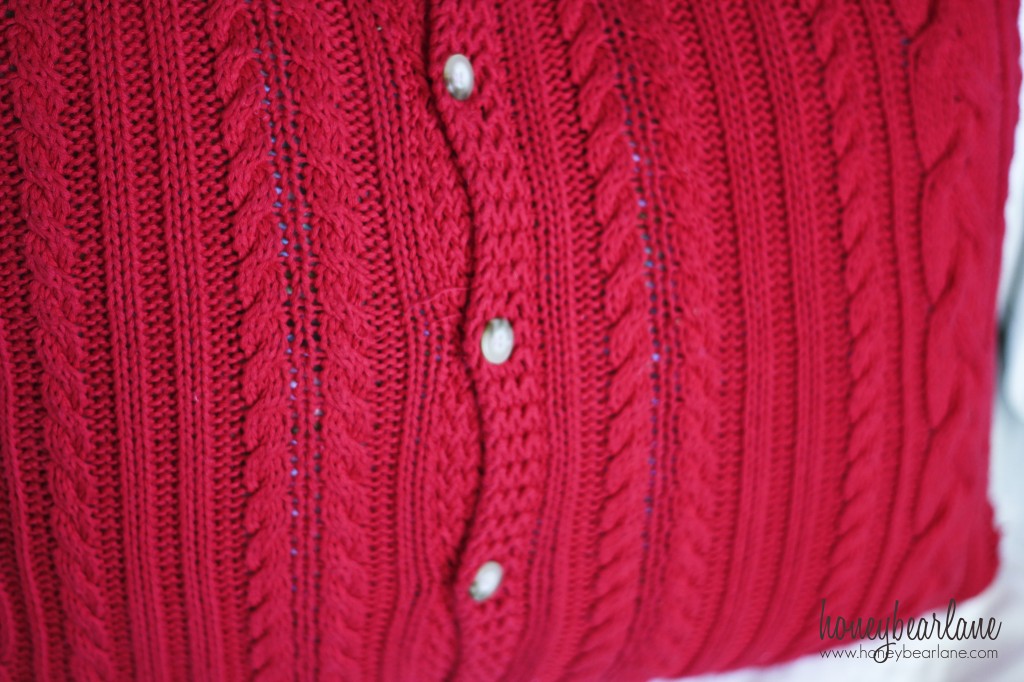
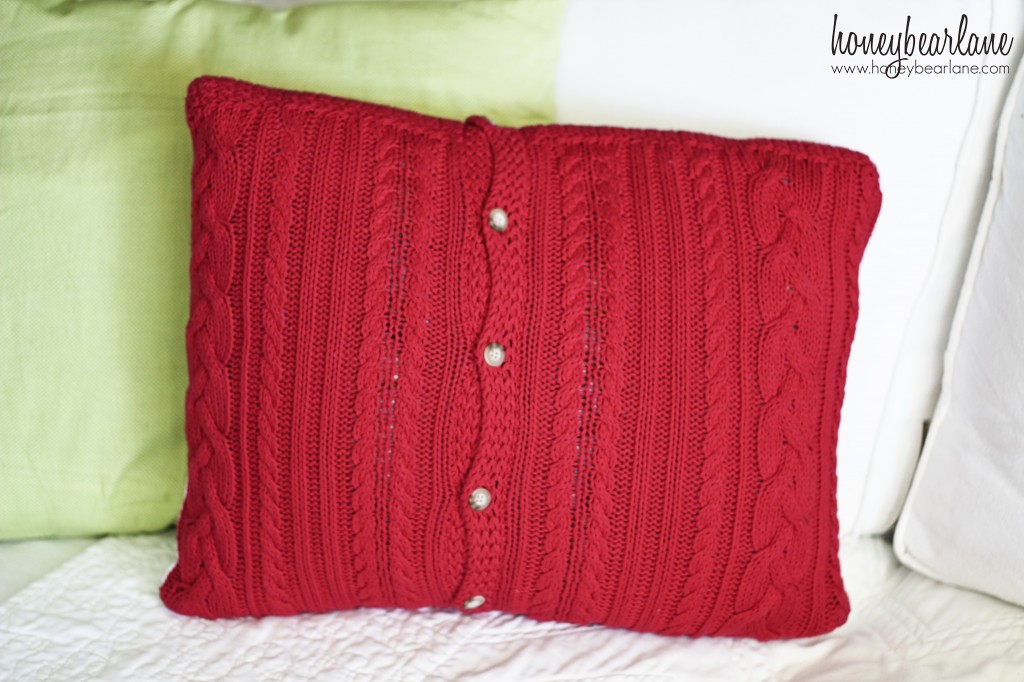
Clip the corners and flip right side out. If you have buttons on your sweater, this will be achieved by unbuttoning them, flipping and inserting the pillow form, then buttoning back up. If you don’t have buttons you can flip as normal with the envelope opening on the back.
All done! Look how pretty and wintery and festive it is. I love it.
Like this post? Want to see it everyday in your RSS feed? Sign up Here!

these are so cute. Think I’ll clean out my closet and see what sweaters I have that I don’t wear anymore. Would be great gifts for Christmas, too. Thanks for sharing. Pinned.
Too much fun -I love it!
What a great idea! I may have to try one of those. Thanks for sharing! 🙂
Cute idea!
Now I have to dig out my old sweaters that I was taking to donate. What a GREAT idea!
Heidi, good idea! It will take me more than 10 minutes,but not hours which I don’t have………..Thanks!
Why don’t you use the back of the sweater for the back of the pillow or the face of another pillow? What did you do with the back of the sweater?
I wanted to save the sweater for another project, and sewing through that much bulk would be pretty difficult and hard on my machine.
I made three of these and they turned out well. I used the front and back of the sweater for the front and back of the pillow. I also found that if I turned the sweater inside out and marked my seam line (I used a narrow felt tip marker and ruler) stitched my seam line where marked AND THEN cut off the upper portion (sleeves and neckline, leaving some salvage of course) I had much less trouble with the sweater stretching out of shape when I sewed. Also using a rounded corner worked best for the weight of the sweaters I had. You can just stitch a rounded corner on your pillow form and trim for a better fit.
Great idea! Thanks for your comment!