Mod Podge Halloween Door Hanger Craft
This post was sponsored by Plaid Crafts, all opinions are my own.
Don’t you love Halloween season? There’s pretty much nothing to not love about it…I love the decorations, the costumes, the parties, the food, the candy, the excitement.
Today I’m sharing with you one of the decorations I made this year, using Mod Podge.
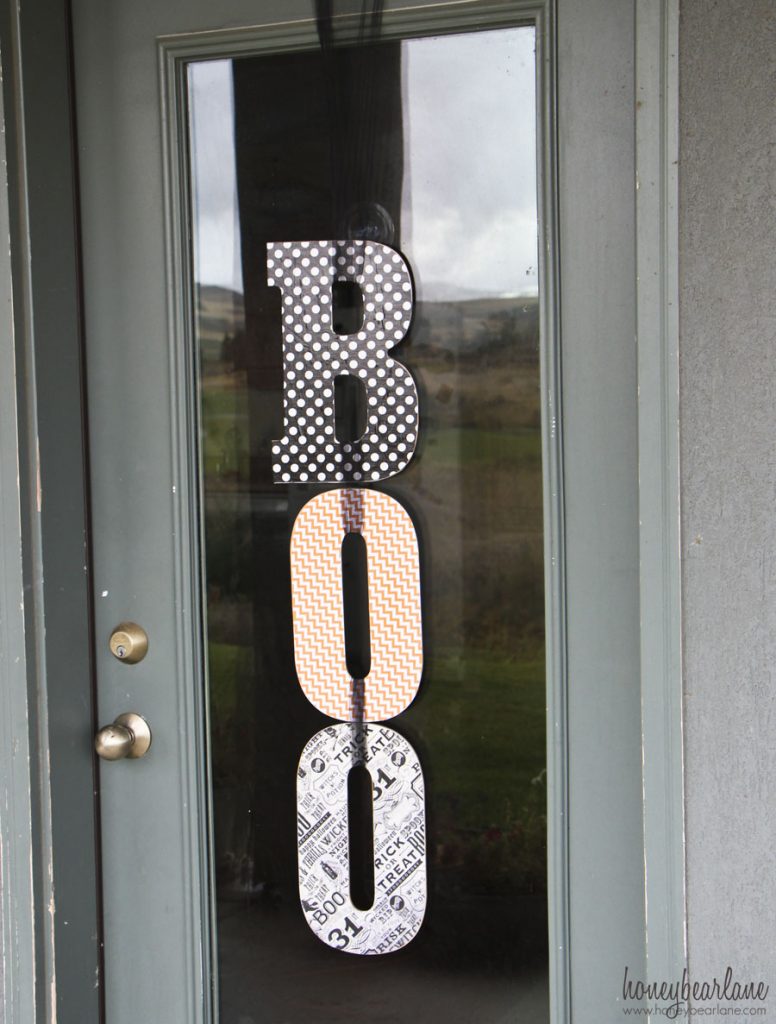
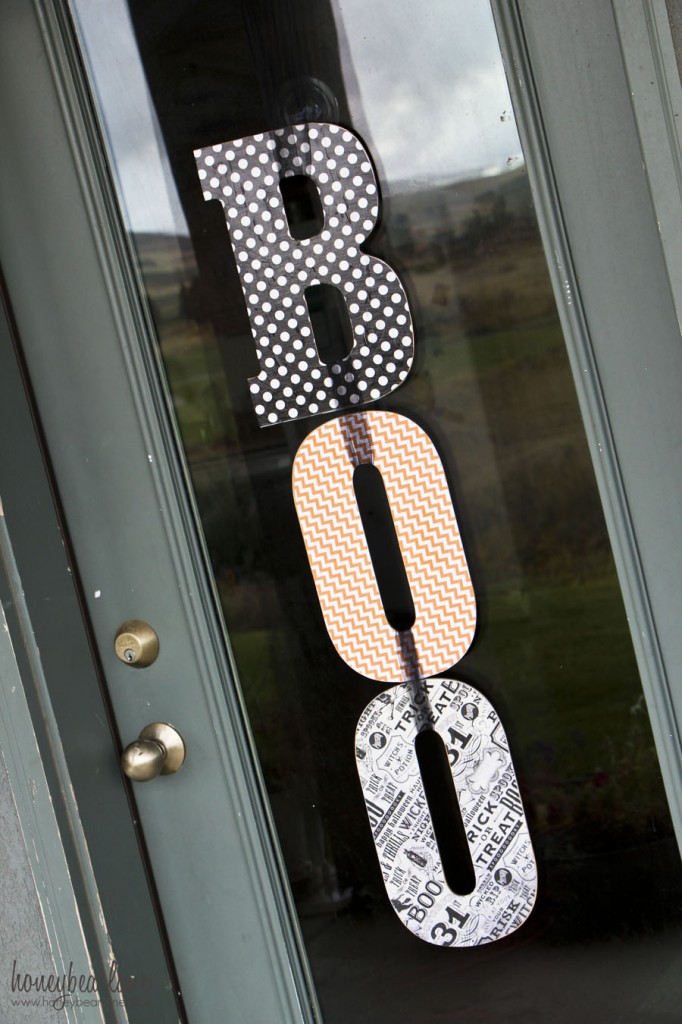
It’s a Halloween Door Hanger Craft. Isn’t it cute? And this was pretty easy.
So here’s how I made it:
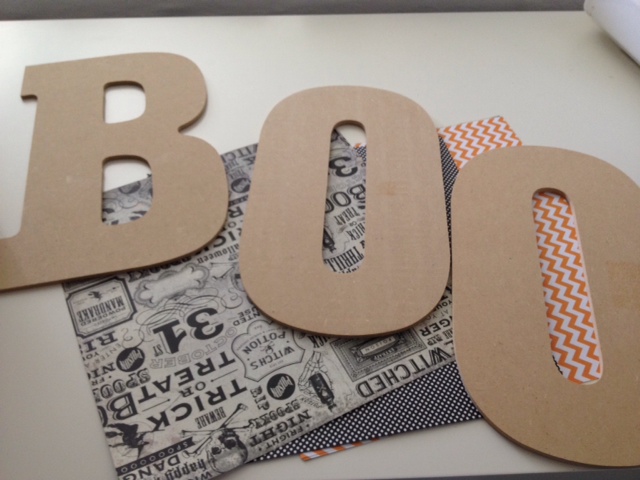
First you start with the letters B, O, and O from your local craft store. Mine are about 14″ tall. I also purchased 12×12 scrapbook paper and some black tulle.
I was provided with Outdoor Mod Podge from Plaid Crafts. The Outdoor is perfect for this project since it’s going to hang on the outside door.
Flip your letter over on the paper and trace it. I used wrapping paper for the letter B since it was too big to fit on the paper. Then cut it out and cut a tiny bit inside the line you drew so the paper fits well on the letter. Use an Exacto Knife for the inside holes. As you can see, I turned the paper on the diagonal to fit the O’s on it.
Now paint the letter with the Mod Podge, generously.
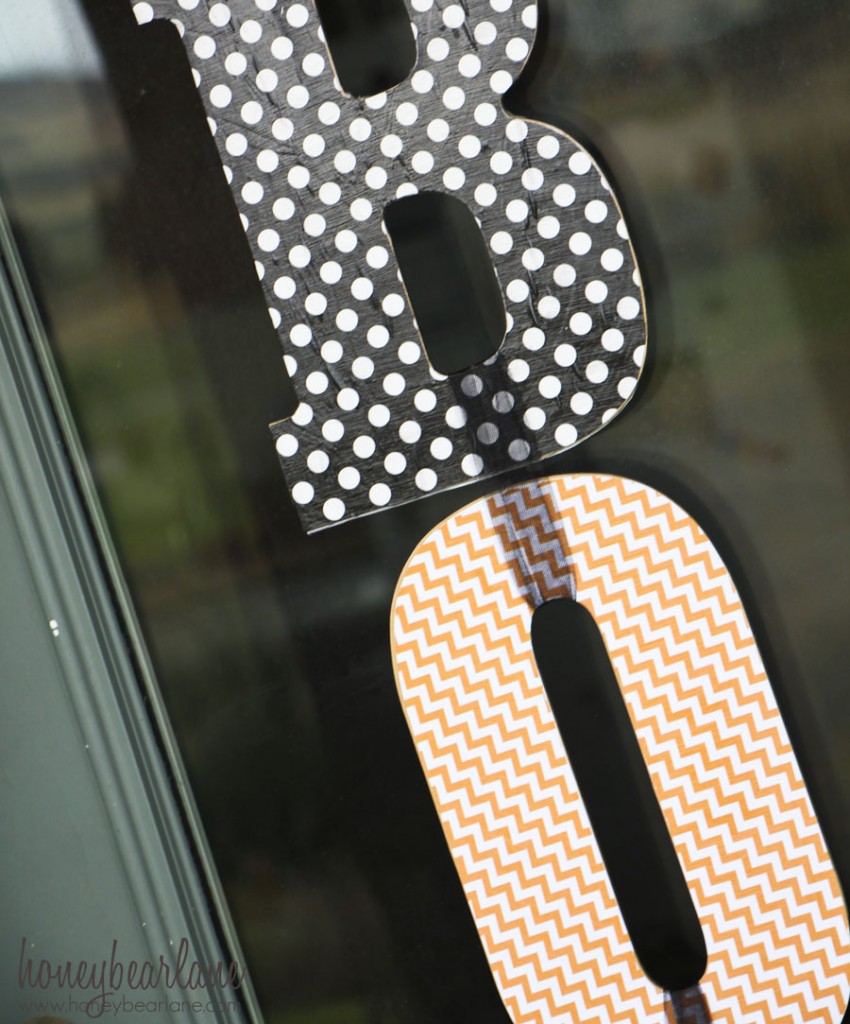
Then carefully place the paper on the letter, lining it up. I used a squeegee to smooth out the bubbles and press it down firmly. This REALLY helped. After it was all securely attached to the letter, I painted a nice layer of Mod Podge over the top and used a wide brush to smooth it all evenly. Let it dry overnight.
After it’s all dry, you can use a sanding bar to sand down the edges where the paper might be slightly going over the edge. The using short lengths of tulle, tie the letters together vertically.
Done! You could also use fabric for this project instead of paper, which might be easier to get the right size. Use Stiffy to help stiffen it up like paper.
Confession: Mod Podge is not my forte…I have struggled with this medium quite a bit in the past. I always end up with tons of wrinkles. So I whipped out my Mod Podge Rocks book by my friend Amy and read a little bit to refresh my memory. Here are the tricks I learned:
- You have to use enough Mod Podge to avoid wrinkles. Bubbles happen when you don’t have enough applied.
- Apply the Mod Podge to the harder surface first, NOT to the paper.
- The thinner the paper, the more likely it will be to wrinkle so you have to be more careful and go more slowly.
Here are a bunch of other fun Halloween Mod Podge projects for you to check out! And be sure to get other ideas for Mod Podge on their Facebook page, Pinterest, and Twitter.
This post was sponsored by Plaid Crafts, all opinions are my own.
Great Halloween Mod Podge Projects:











Very cute! I love how you tied them together!
So cute Heidi!