Make a Framed Witches Hat!
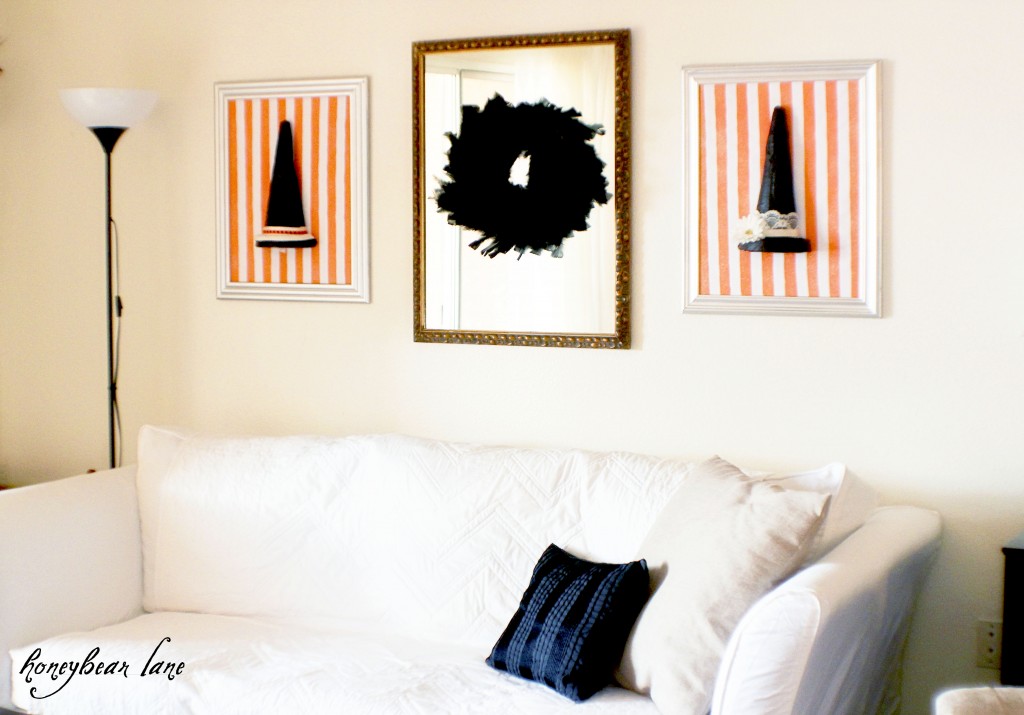
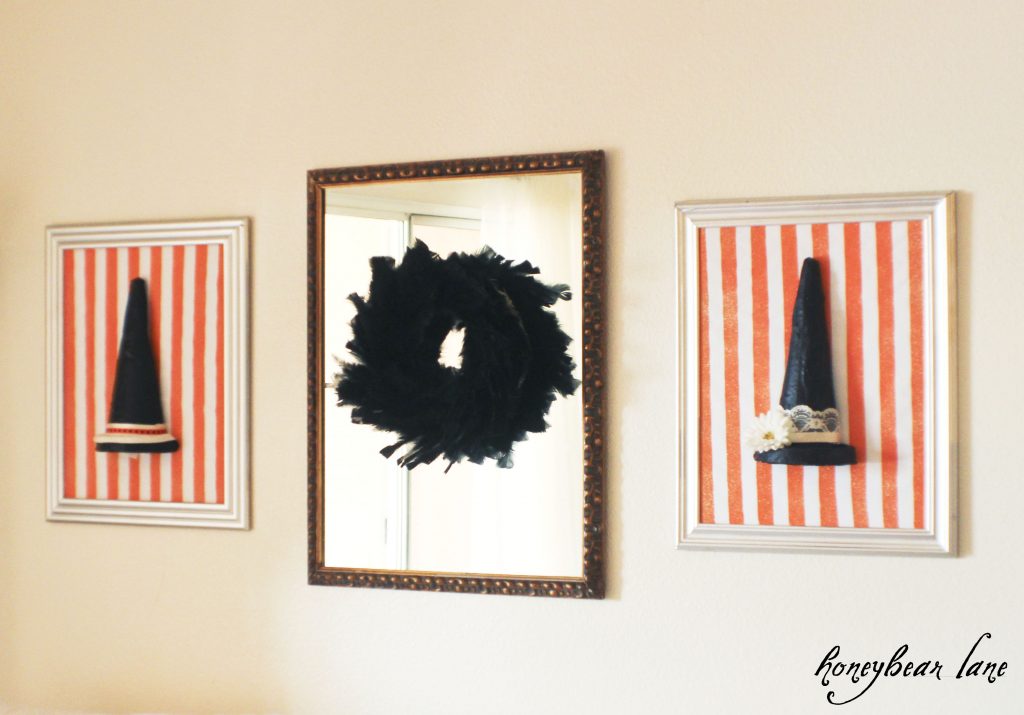
One night in July (yes July) I was visualizing my living room in October. And I thought “How cute would witch hats be in those silver frames?!”
And I think I was right. Seriously, I love these!
Here is the process of how I made them:
Supplies:
- Styrofoam cylinder
- Styrofoam circle a little wider than the base of the cylinder
- Strong craft glue
- Black fabric strips
- Straight pins
- Mod Podge
- Orange paint
- White fabric
- Cardboard
- Krylon Glitter Blast in Gold
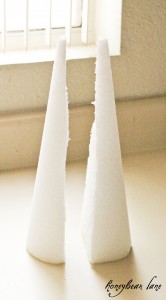
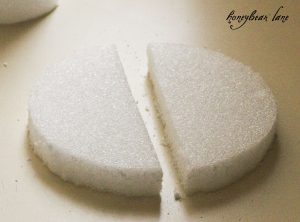
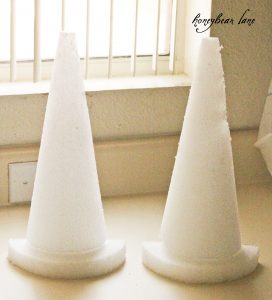
First, I cut a cylinder in half vertically, then cut the circle in half. I used the strong craft glue (E-6000) to glue them together. This made the witch hat form.
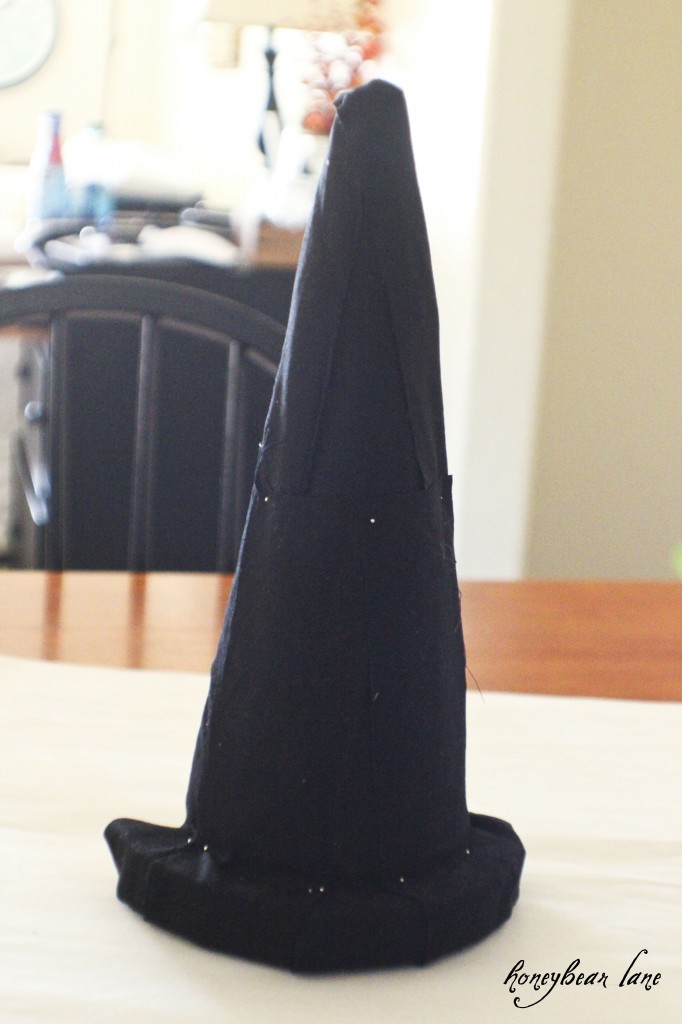
After I made the forms, I used Krylon Glitter Blast to spray these black and glittery. But it didn’t work very well…and ended up looking a bit industrial and uninspired. I decided to take black strips of fabric and cover the form. I used straight pins to keep the fabric in place, wrapping the fabric around the form and pinning.
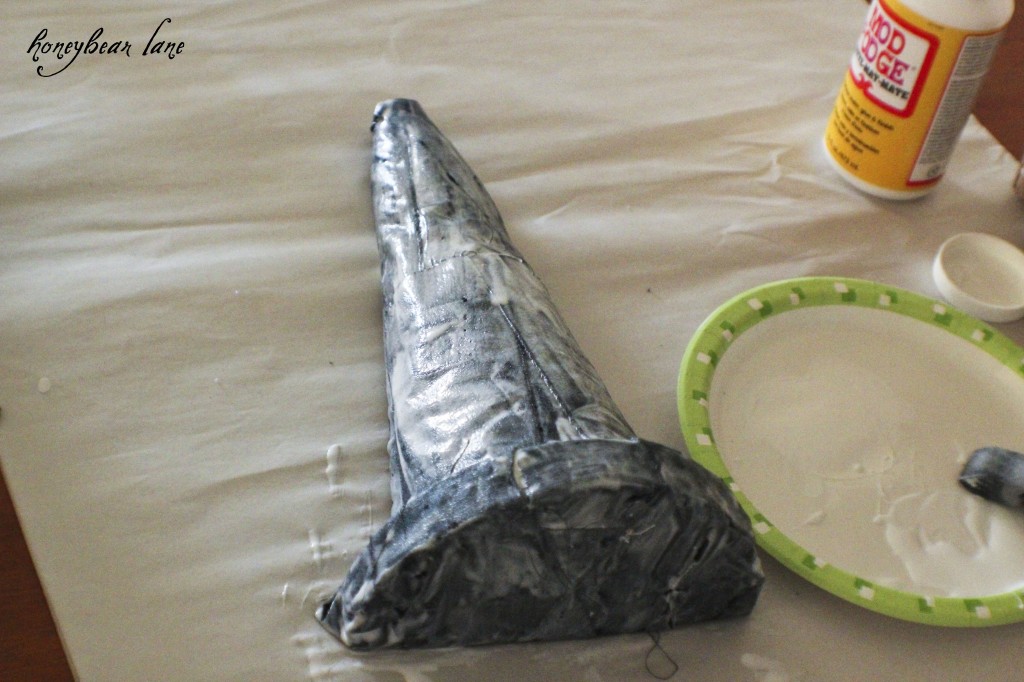
After wrapping my forms with fabric, I painted Mod-Podge all over to get it to stay in place. It wasn’t completely smooth, but I liked the look, making it look like it’s a real fabric hat.
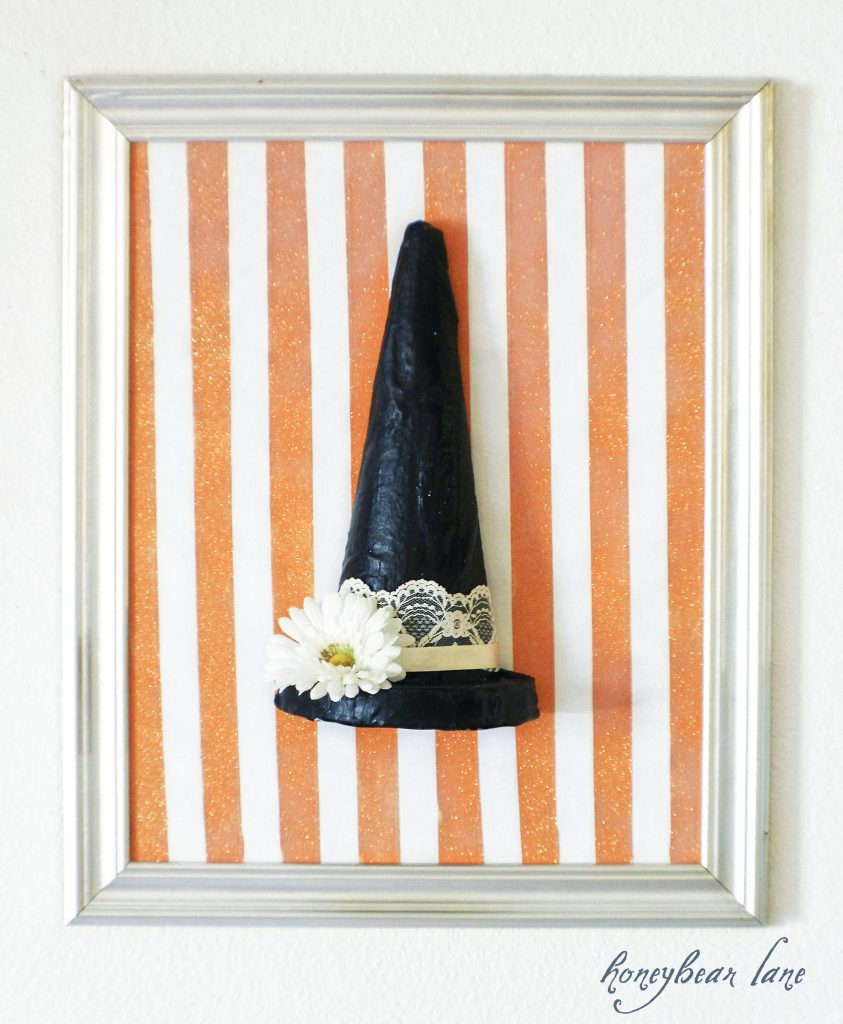
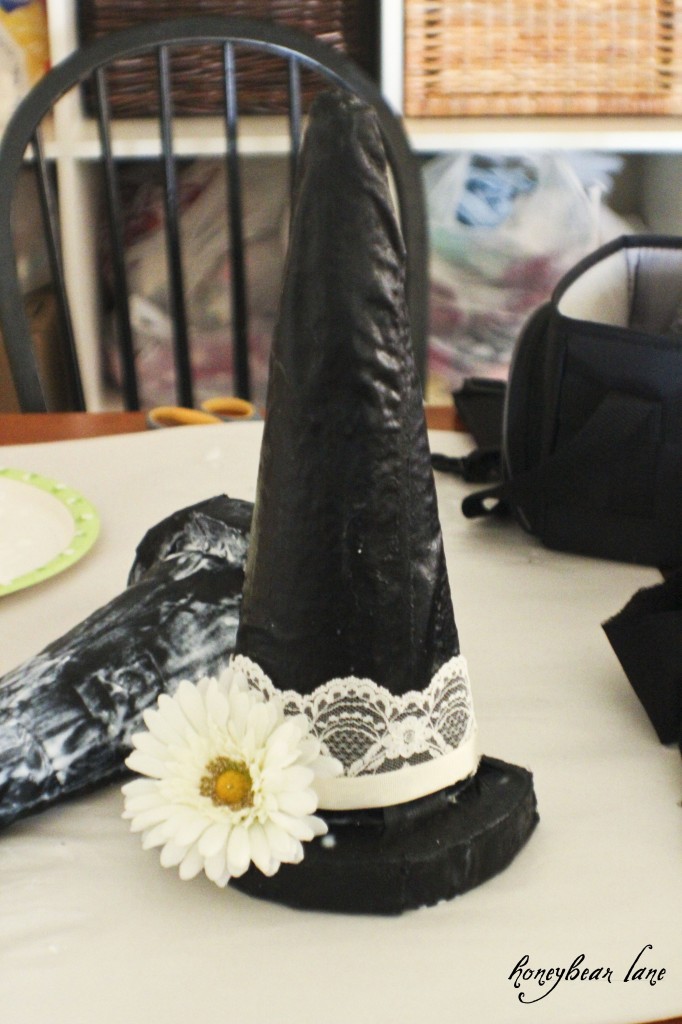
After the Mod-Podge dried, I embellished the hats with some lace, ribbon, and flowers. I kept it simple and kind of vintage-y, and I just pinned on the embellishments so that I can change them next year if I want.
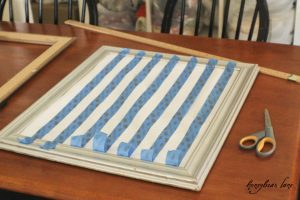
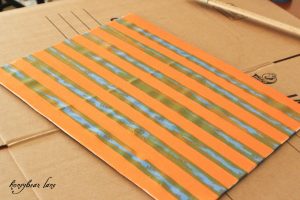
For the background, I decided to make my own orange and white striped fabric. I used white canvas and wrapped it around cardboard. Then I taped my lines using Scotch Painters Blue tape with Edge Lock. It did a great job!
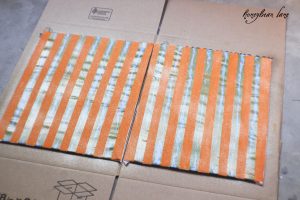
I used Plaid Paints orange paint to paint the stripes.
And for the final step, I sprayed a little of the Krylon Glitter Blast in gold on the orange stripes to glam it up a bit. I really like this little touch!
After it all dried, I put the cardboard in the frames and just used more pins to attach the witch hats. Such a fun touch! (And I hung up the feather wreath that I made about 5 years ago.)
Linking up to:
Organize and Decorate Everything
Mushki Loves
Someday Crafts
Wickedly Creative Halloween Crafts by Itsy Bitsy Paper
Tatertots and Jello
Flamingo Toes
I Heart Naptime
Home Stories from A to Z
I’m Topsy Turvy
Fireflies and Jellybeans
Somewhat Simple
House of Hepworths

They are awesome!!! Love the graphic look with the stripes and that they’re 3-D. And, thinking about Halloween decor in July is totally something I’d do 😀
Love it!!! So creative, and I love the addition of the silver strip. Looks fantastic!
Those are so cute! You are one creative lady. Hope you’re doing well.
Great Job! These are so cute and creative!! I was dreaming about my fall decor in July too 😉 Love the stripes!
Very Cute Heidi! Very Cute!!
OMG so creative! Wow! I love it and it really adds to your livingroom! Thanx for sharing!
Natalie
http://www.projectdowhatyoulove.wordpress.com
Great project! I hope you’ll link this post up to my Wickedly Creative Halloween Ideas Party.
http://www.itsybitsypaperblog.com
Thanks! I will link up!
This is such a cute idea Heidi! I am totally pinning it! 🙂
Thanks Kara! Hope that darling baby of yours is doing well!
These are adorable! And really easy to make! I am really into witches this year… sooo cute 🙂
Thanks Bekah! (They were easy, just a little time intensive for me!)
These are the CUTEST! I am so impressed by your creativity! Great job making a really fun decor!
I love this! The hats, the wreath, the orange and white! Darling. I am featuring this at somedaycrafts.blogspot.com.
I featured this on my blog today. Love them!
These are TOO stinkin cute! You are brilliant!
What a cute idea. I found your post through the Crafterminds facebook group. I’ve been to your site before but now I’m your newest follower!
Hi Carissa! Thanks for following!
These are so cute, and what an original idea! Bravo! I would love to feature this tute on our blog, http://www.craftsncoffee.wordpress.com, o.k.? Sharon
Thank you! I would appreciate that. (Please don’t post the entire tutorial, thanks.)
Hi Heidi,
Thank you so much! I just used two of your photos, and linked back to your tutorial. I hope you like it! And of course, please let me know if there’s anything I should change. Happy Halloween! Sharon (p.s. love your quilts!)
This is fabulous! Thanks for sharing. I’m gonna try this. : )
Christy from http://www.WhimsicalWhimsies.com
Very cute! Love your style!
🙂 crafty texas girls
Thanks Samantha!
Heidi, these are crazy cute. I mean seriously – I can’t hardly stand it!
Thanks Amy!!!