A Beginner’s Guide to Stencils
I wouldn’t call myself experienced with stencils. But I wouldn’t consider myself a beginner either. I think I am entering ‘intermediate’ in the stenciling realm, and have recently graduated from Beginner. So therefore I am qualified to write A Beginner’s Guide to Stencils. 🙂
So I got all this awesome Martha Stewart stuff as part of an upcoming campaign and I spent a few hours today playing with the stencil stuff. And here’s what I learned.
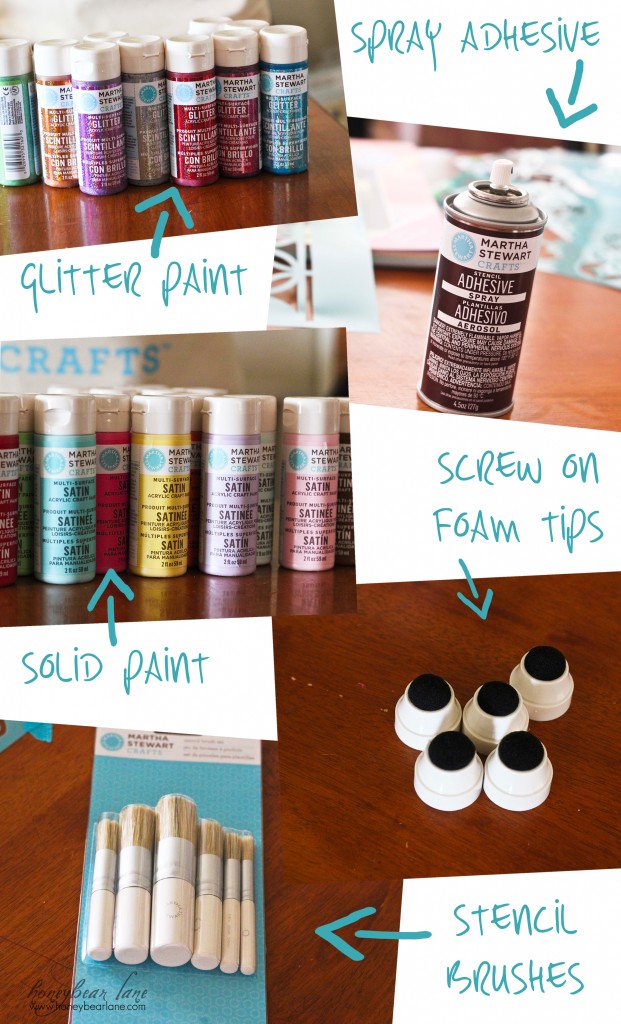
Lets talk supplies first. Other than the obvious (the stencils), you will find these things come in handy…
So here are the things I worked with: 1) Glitter paint, 2) Spray adhesive (to hold the stencil down), 3) Acrylic paint in solid colors, 4) Nifty foam tip brushes, and 5) Official Stencil brushes.
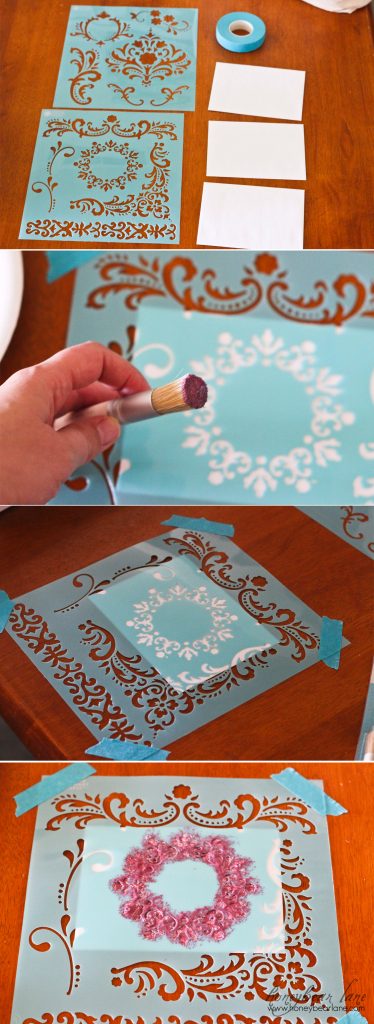
The first thing I tried was the Glitter Paint with no Spray Adhesive using the Stencil Brushes. I taped down the stencil over an envelope I was decorating and then stippled the glitter paint on with the stencil brush.
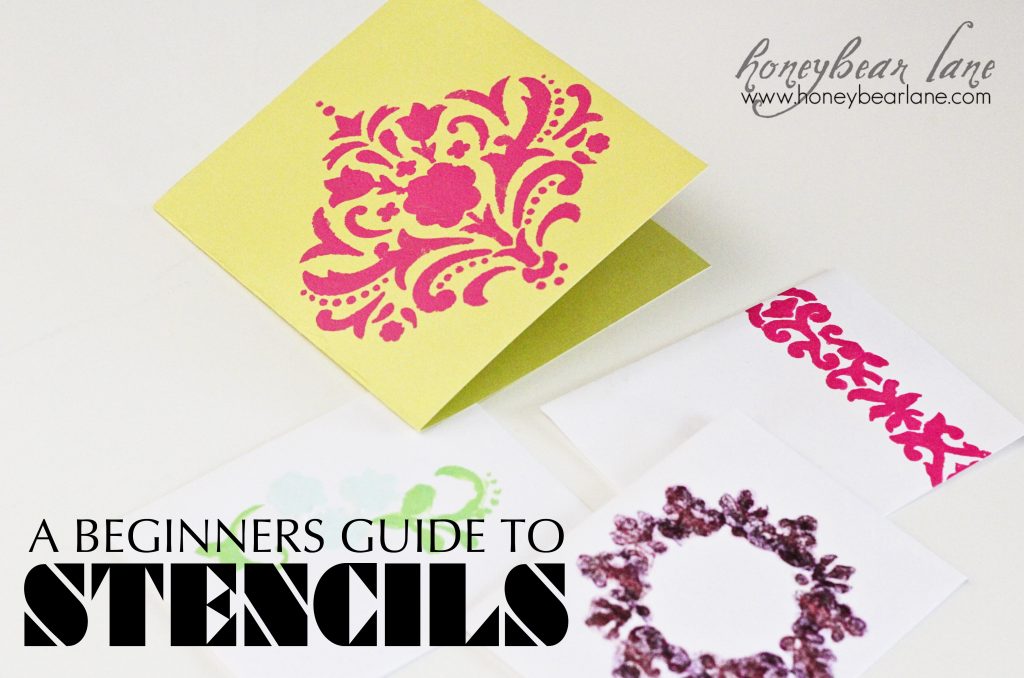
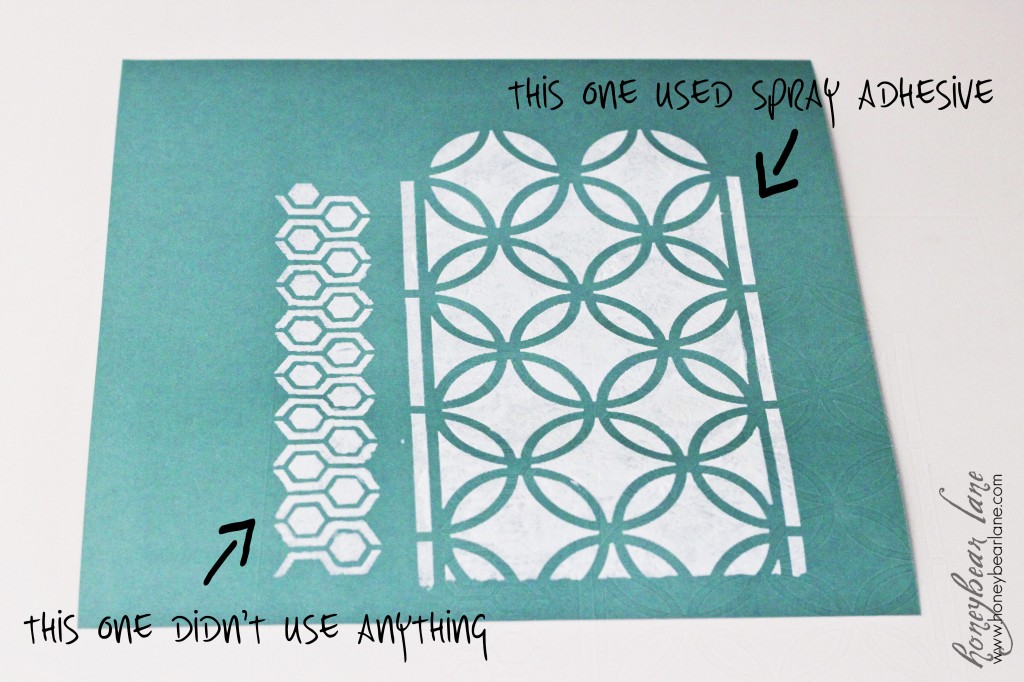
Um…FAIL!! It was a disaster waiting to happen basically. First off, glitter paint is weird. It’s basically clear paint with glitter mixed in. So I don’t recommend it for stenciling. But it you DO want to use it, definitely use the spray adhesive under the stencil! And finally, I don’t recommend using the stencil brush, at least for paper stenciling. (If you want to see how awful it turned out, I refer you to the picture at the top of this post.)
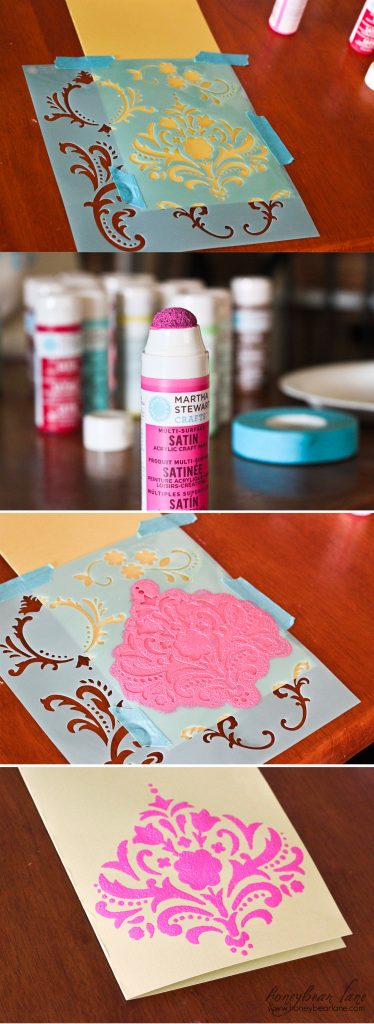
The next thing I tried was solid colored satin paint, with no spray adhesive, using the sponge tip applicator. Yay! I love sponge tip applicators! They are super handy to use and perfect for stenciling. The paint went on smoothly (always blot the paint on, never drag your brush.) The only complaint I had was that you can’t really control the amount of paint coming through the bottle. But other than that, I loved them.
It turned out pretty well, right?
The last thing I tried was solid satin paint, WITH spray adhesive, using a sponge tip applicator. Winner winner, chicken dinner! And just to test it once more, I compared using spray adhesive versus not. It really wasn’t THAT noticeable of a difference, but using the spray adhesive make there be fewer leaks under the stencil and the lines were more crisp. How do you use the spray adhesive? Just spray it lightly on the back of the stencil before you put it on. Cinch.
So if you’ve never stenciled anything before, now you have a basic idea of what to do. It’s pretty self-explanatory, but it’s helpful to read a few tips and tricks beforehand. So–you’re welcome! 😉

I am a big fan of stenciling with stencil brushes. You can really control the amount of paint by off-loading your brush before you stencil. I also like to use extender mixed with the paint. I just stenciled my dining room walls and they now look like they have wallpaper. http://parentsadventures.blogspot.com/2012/03/living-area-re-do.html
I have been wondering if the spray adhesive realy worked. I think now I will give it a shot. Thanks for the demo.
Great post… I’m wondering if you’ve tried stenciling on fabric? Any recommendations?
I found black steel pegboard and put it on a wall in my kitchen. I have all of my red pans on the bottom and my stainless ones on the top.. I have some old crocheted potholders that I wouldn’t want to use on there and a set of all of my silicone ladles and spoons. Looks great and so easy to just walk over and take what I want to use. I replaced a small wood island in front of the sink with a stainless steel table so it’s great to take thinks out of the oven and /or use my cutting board and cut up veggies.