Alphabet Wall Art for Baby Girl Nursery
The countdown is on: moving in three weeks! To a bigger place where my baby girl can have her very own room. And I can finally put up all the decorations I’ve made for her! Here’s one more…
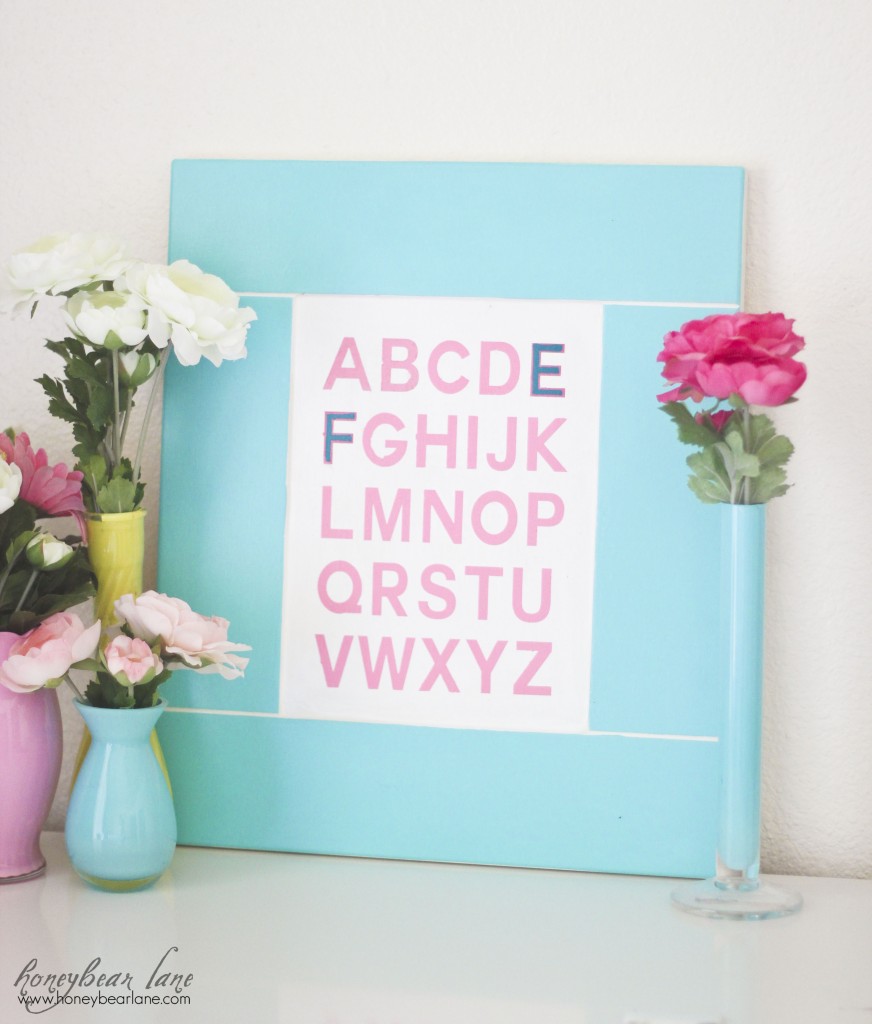
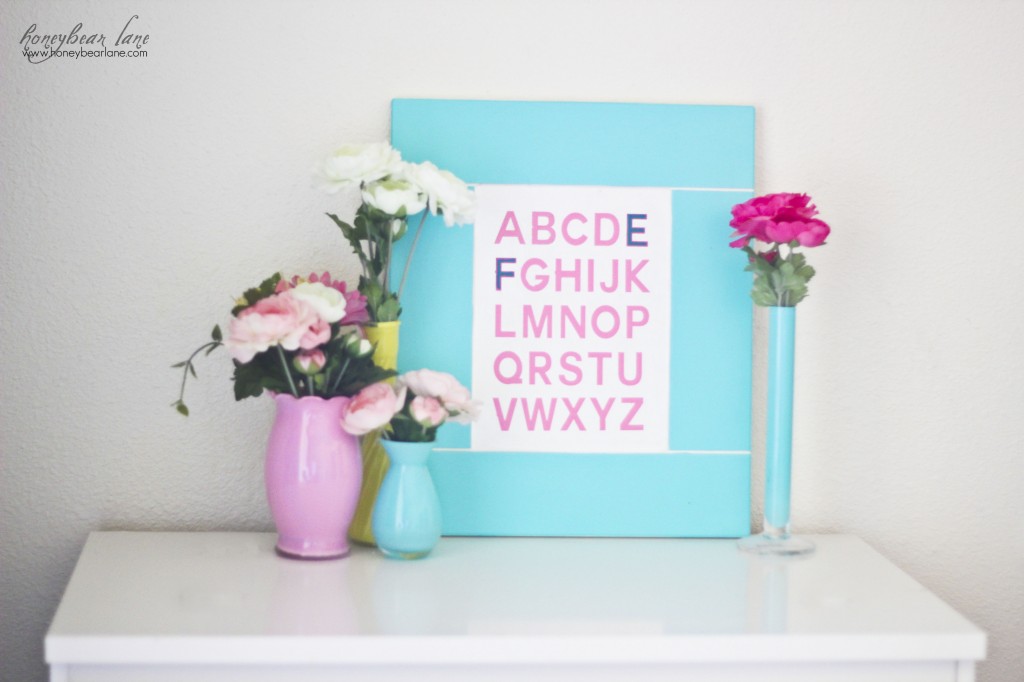
Simple and cute. My kids love anything ABC related (which inspired this alphabet onesie.) Guess what I made this little decoration from? What’s that you say? You couldn’t tell it was an “As Is” IKEA cupboard door that cost me $5? I’ve had this thing for like two years knowing that I would use it someday. Well folks, that day came. A little turquoise acrylic paint, a stencil cut from my Silhouette, a spray on finish, and voila!
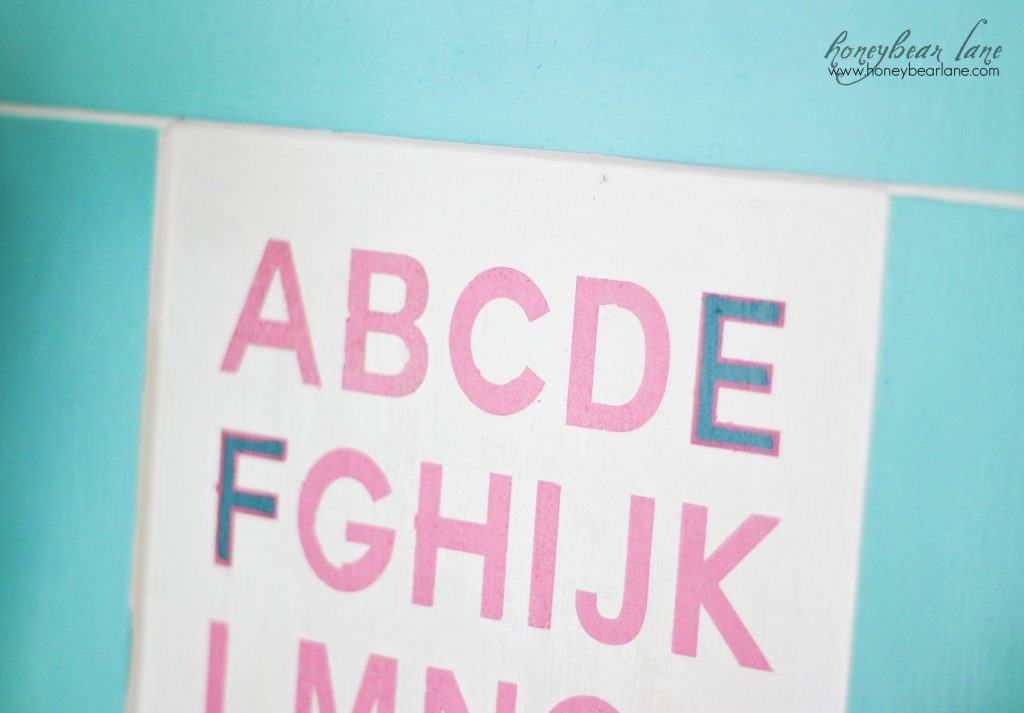
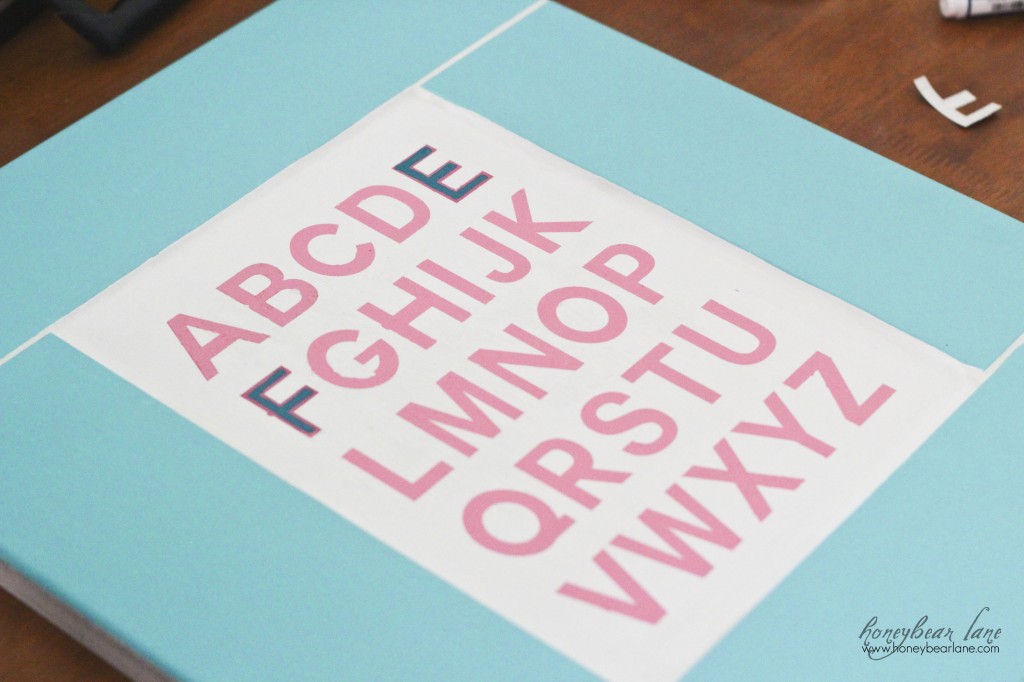
I made the “E” and “F” the turquoise color because those are my baby girl’s initials. 🙂
See the How-To After the Jump!
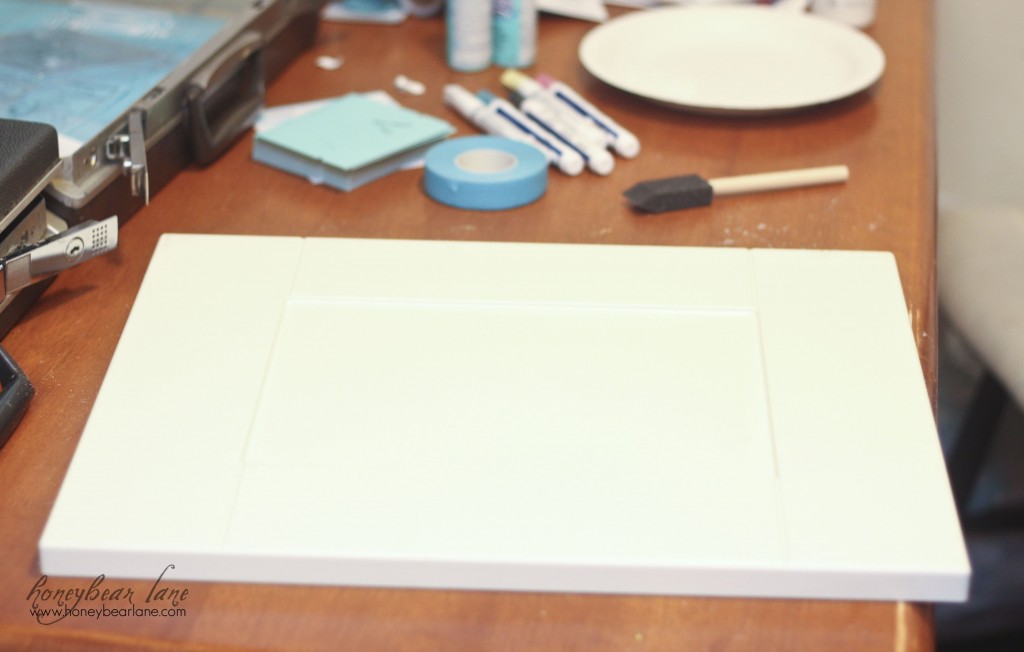
Supplies:
- Old Cupboard Door (I got mine at IKEA in the “As Is” section)
- Acrylic paint
- ABC stencil (or cut one out with a craft cutter)
- Spray on sealer
- Sandpaper
Step one: Prepare your surface. The IKEA door was in true IKEA fashion…super glossy and smooth. So I got my sandpaper and went to town on it so the paint would adhere to the surface.
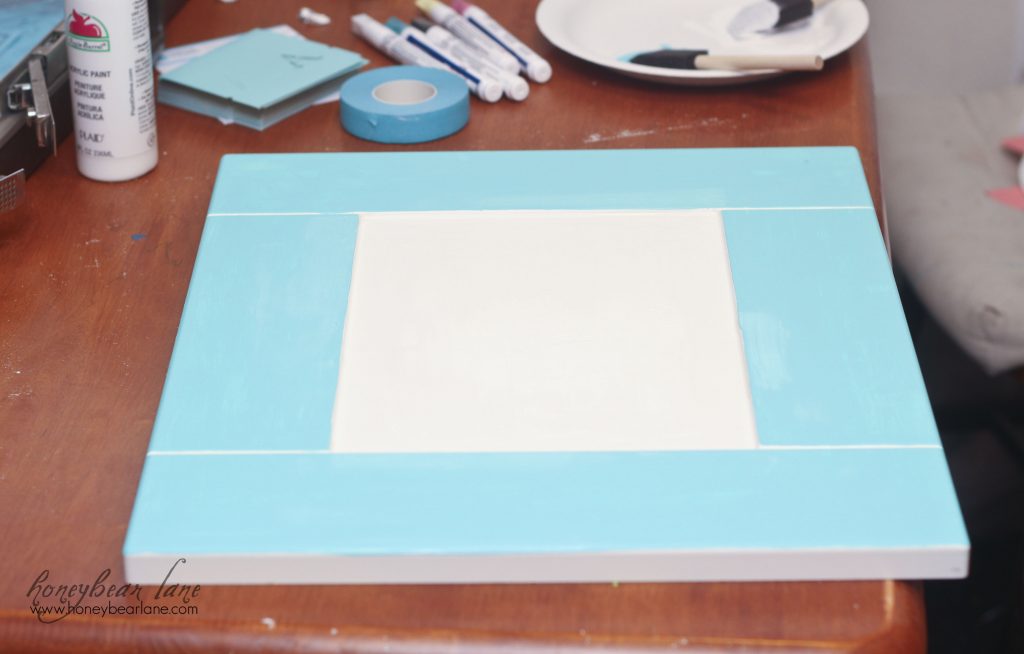
Step two: Paint the border. I painted the outer border with the turquoise paint I got courtesy of Deco Art. I had to do several coats.
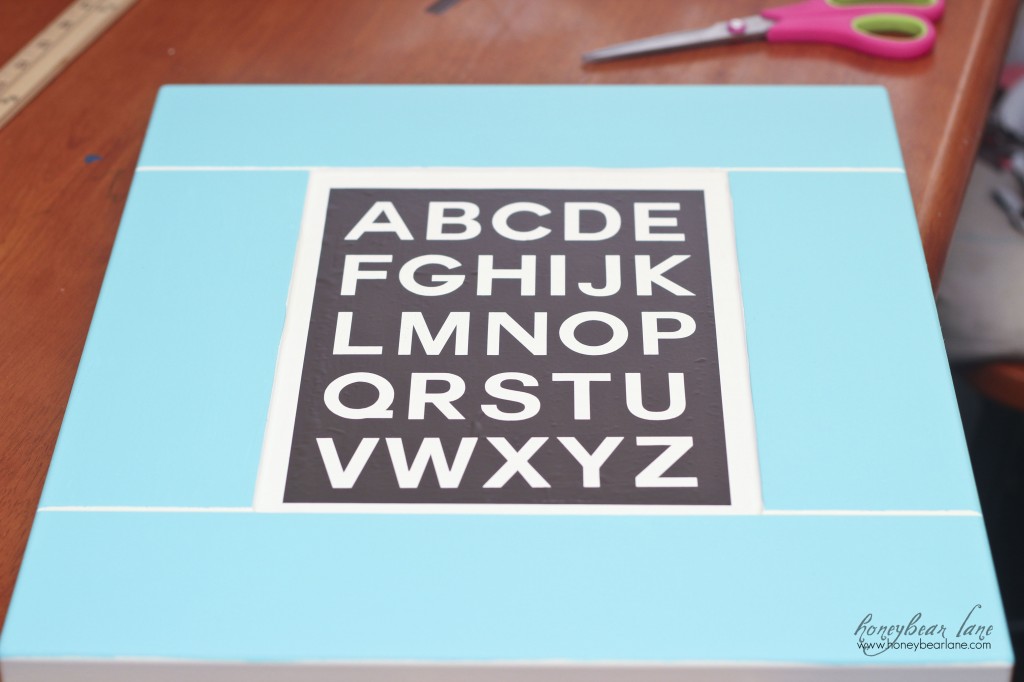
Step three: Apply your alphabet stencil. The easiest way to do this is to cut one out of vinyl from a craft cutter. Using my Silhouette, I arranged five letters on each line in a sans serif font. I made the total stencil area 5×7. I cut it out and then used transfer paper to transfer it onto my area. I made sure to trim the bottom edge straight so I could put the whole stencil on straight. I also used my yardstick to help me out here.
Step four: I used another color to paint in the letters, using a sponge paintbrush. If I were to do this over again I would paint the “E” and “F” another color to start. But I removed the stencil and used the Elmer’s Painters to draw in the color.
Step five: Spray a few coats of spray on sealer and let it dry for 24 hours. Done!
This is a simple project that you can do in an afternoon. Total cost was less than $10 (and cheaper if you use paint you already have!)
See the other decorations I’ve made for her room!
Painted Vases (as seen above)

This is beautiful and so clever!
I have a brand-new link Party and would love for you to share it!
http://naptimedelights.blogspot.ca/2012/05/document.html
Thanks – Sarah!
Thanks Sarah!