Make a Train Table with Plywood and a Coffee Table!
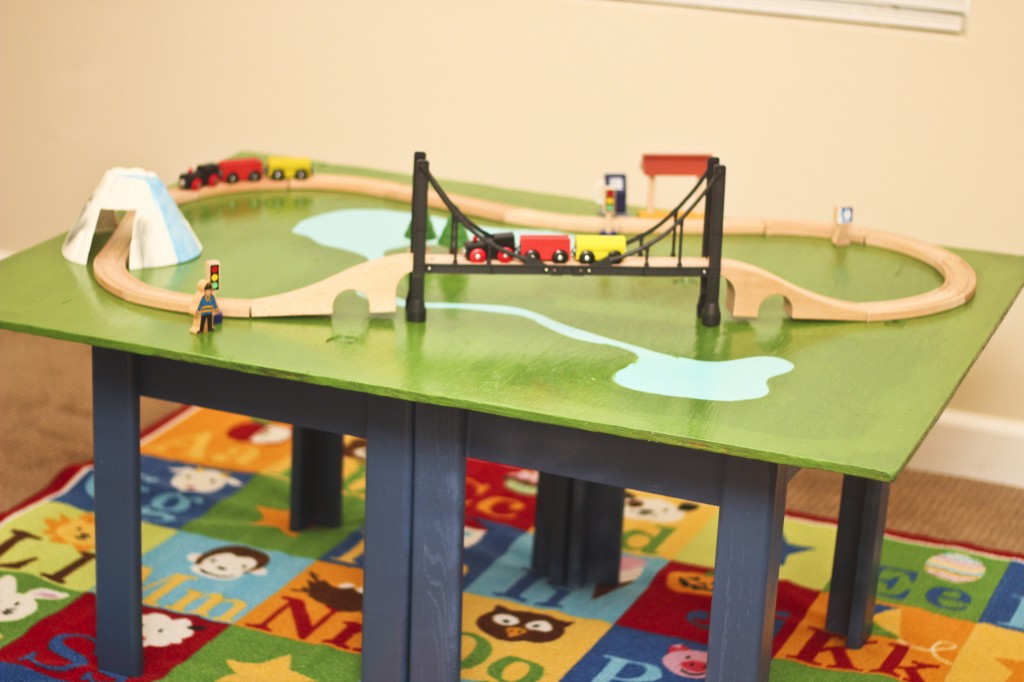
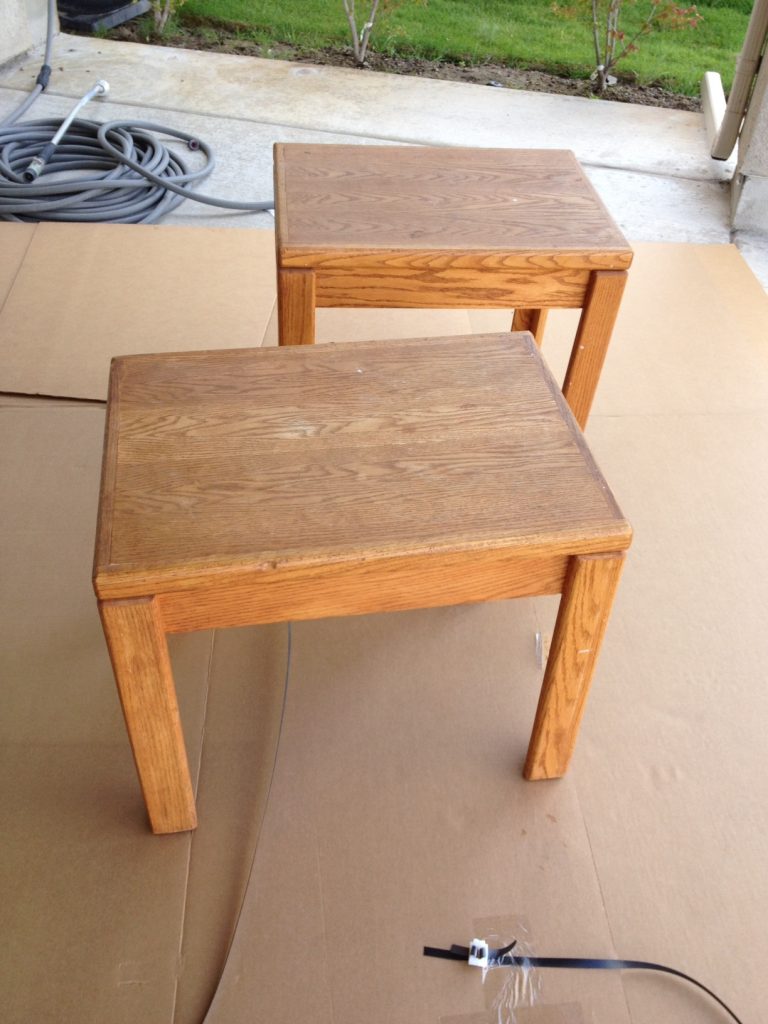
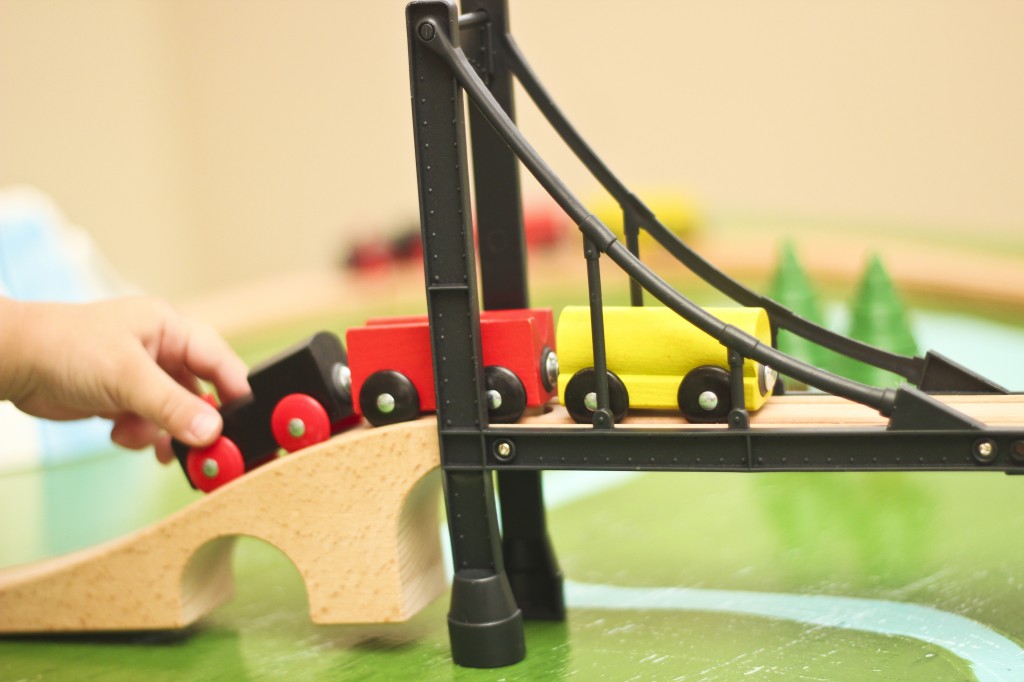
So back in Arizona I had the best intentions of making a fun train table for my kids. I had this piece of plywood cut to the right size and we were gonna frame it out and add legs and stuff. But it never happened. And the piece of plywood made the trek to Utah. Finally when we inherited some side tables, my hubby had the fab idea of using it as the legs for the train table!
What You Need:
- 1-2 small thrifted tables (mine are side tables that I got for free but an old coffe table works great too)
- Plywood: 1/2″-1″ thickness, cut to the length and width of your table but add a 6″ overhang all around.
- Paint: spray paint and acrylic (or latex)
- Sandpaper or electric sander
- Poly
- Screws & drill (optional)
This is a very easy project, so don’t be intimidated!
First paint your thrifted table(s).
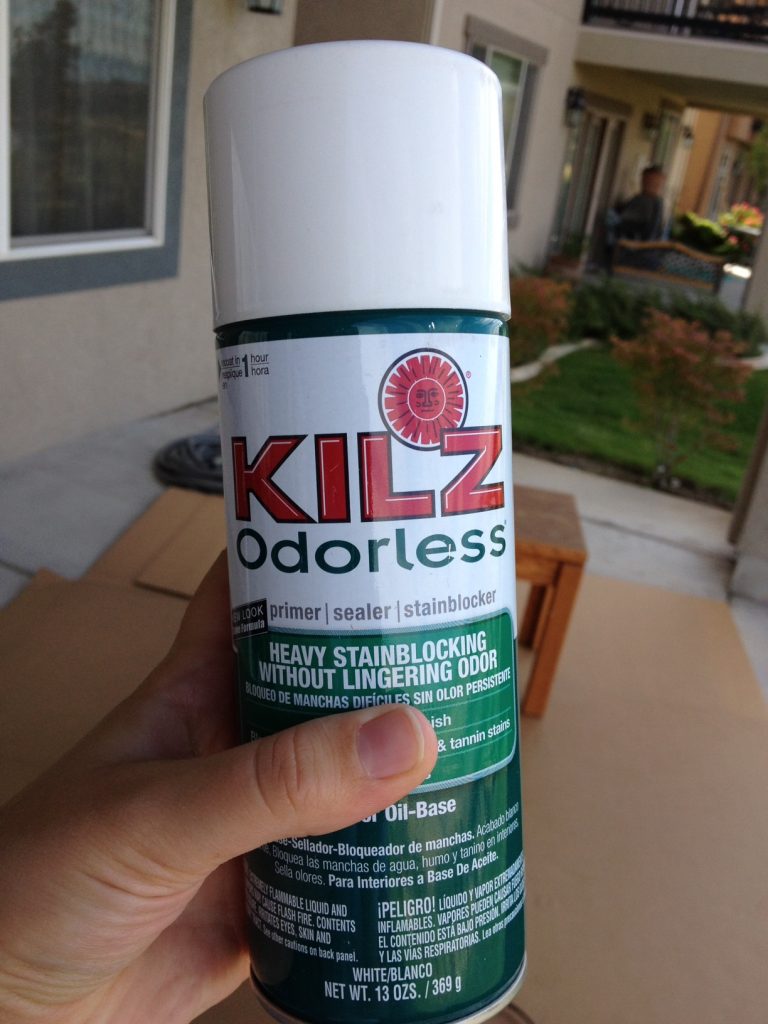
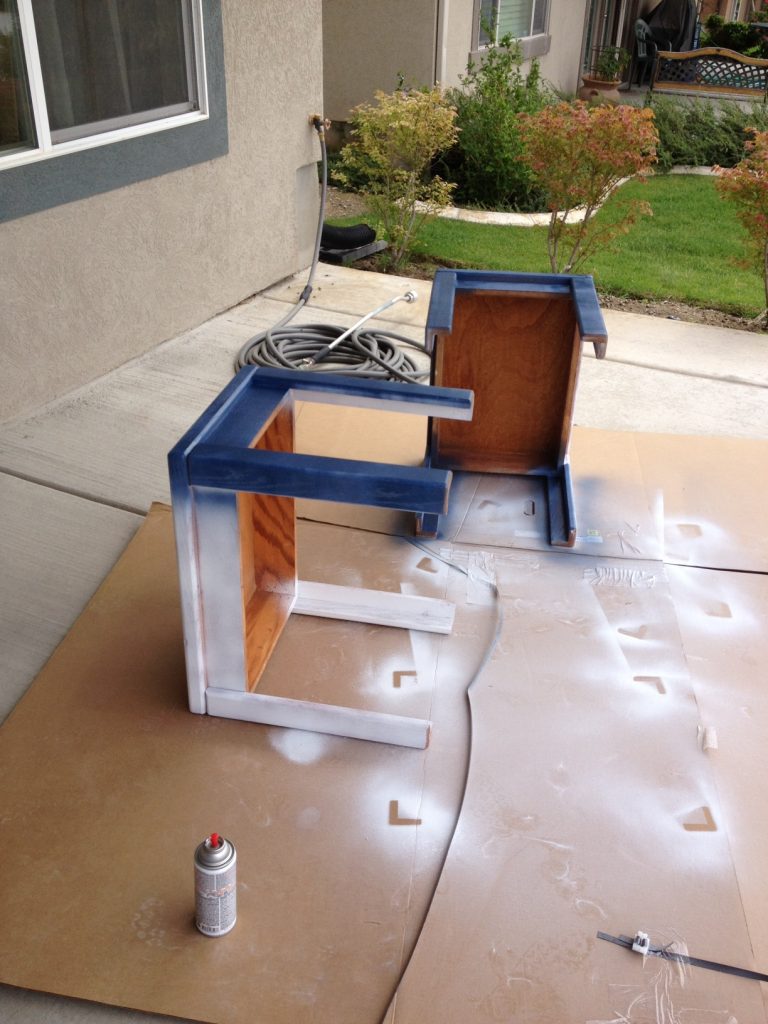
Since mine were cheap laminate, I used Kilz primer spray paint first. This stuff is oil-based and will stick to anything. Plus it’s super easy to use.
Then I sprayed the legs navy blue. The key to spray paint is to shake the can very well at first, then spray the surface about 6″ away in a steady back and forth motion. Don’t get impatient and spray it closely or too thick or it won’t work. Wait for the first coat to dry (1/2 hour to 1 hour) and then spray on another. I didn’t bother spraying the top though since it was going to be covered.
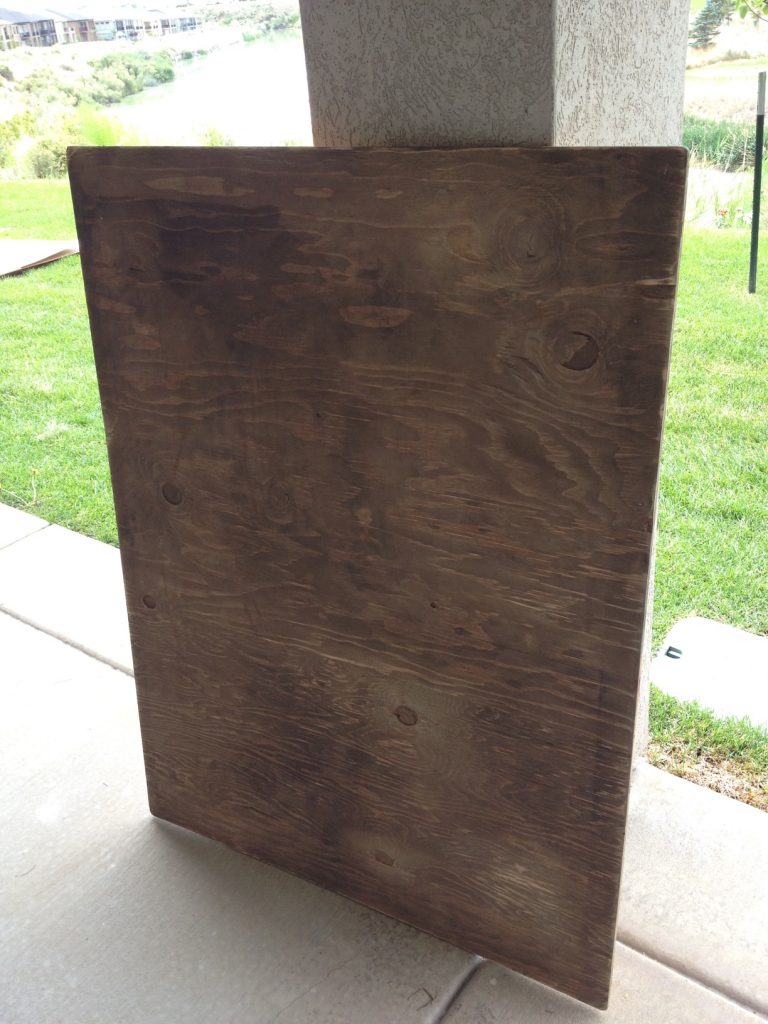
Get your sandpaper or sander (I recommend a sander–I have the Mouse which I use daily) and go to town sanding your plywood. You will want this sanded down very smooth because your kids will be playing on it. And don’t forget the edges, sides, and corners!
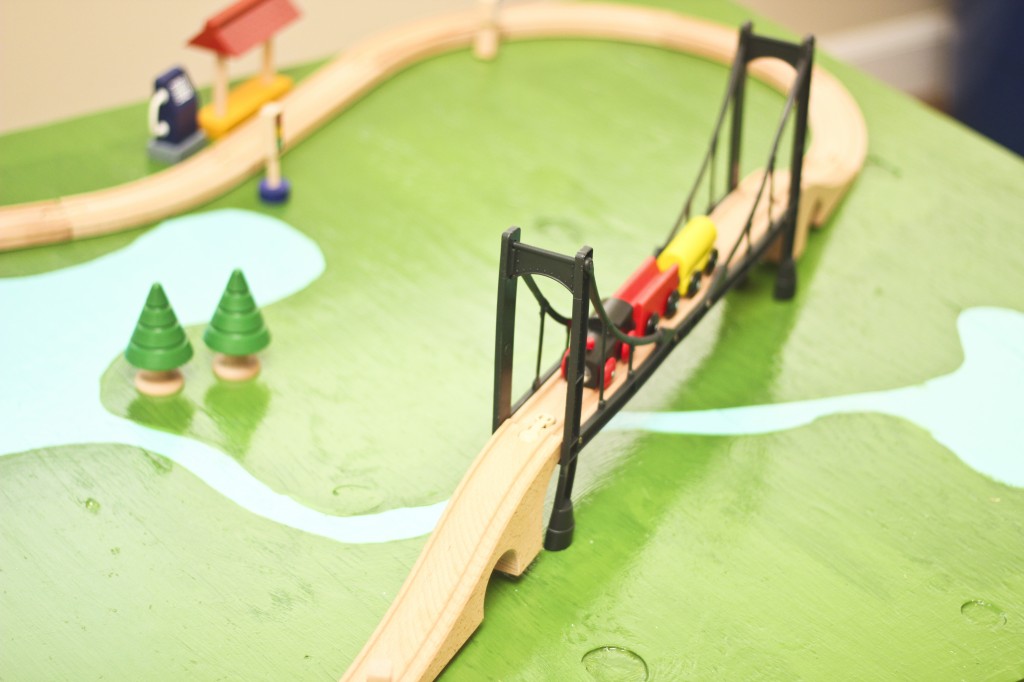
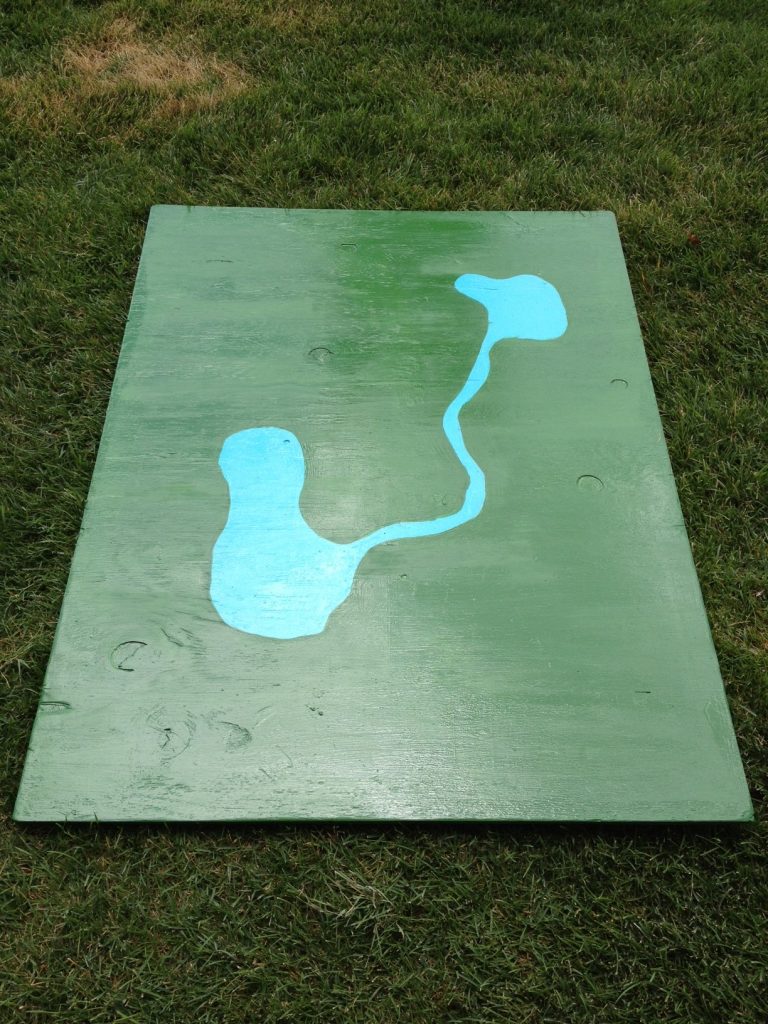
Once it’s sanded, draw out your design. I wanted to make my train table look like grass and a lake with a river. I used a pencil to sketch out a rough design and then I carefully painted it blue. Trust me you don’t have to be an artist to do this–because an artist I aint.
Then I used acrylic paint the paint the rest green. It was very thick at first and I knew my paint would disappear quickly so I thinned it out and made it ‘chalk’ paint. You can do this by mixing up a little Plaster of Paris with water and then add it to the paint. It made my green a little lighter color though. I would actually recommend buying a sample size of green paint at Home Depot because it only costs $3 and goes a long way.
Once I’d done a few coats of green and they’d dried, I sealed it with polyurethane in a high gloss coat. I want it to be a smooth surface where my kids couldn’t get slivers by playing on it.
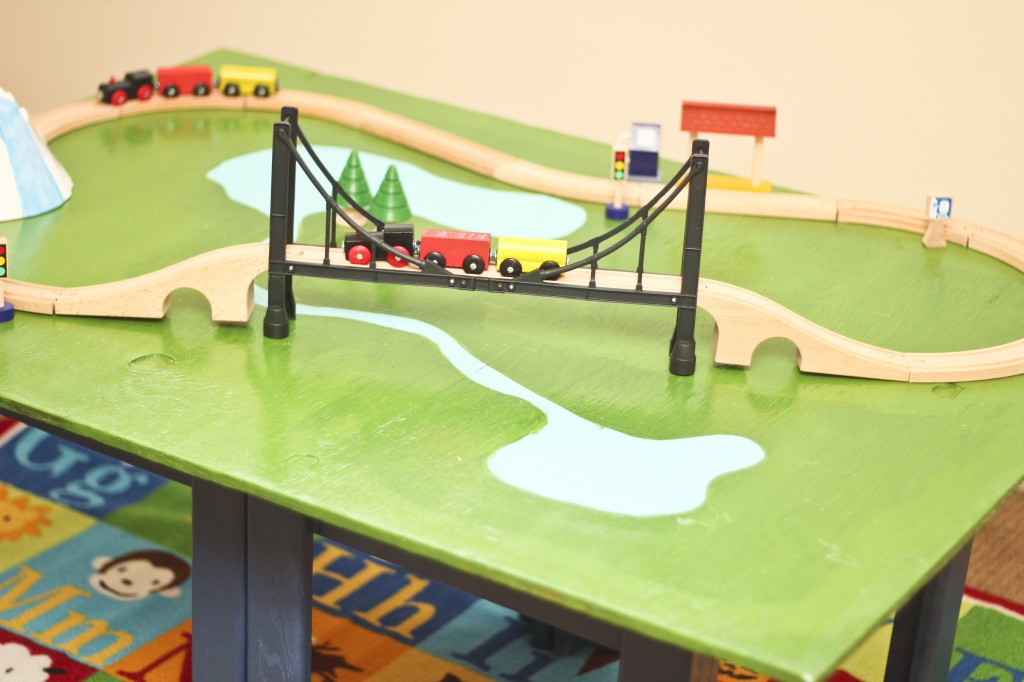
Once it fully dried, I placed it flat on the two navy blue tables shoved together and voila! Instant train table. Hours of fun!
If you want the tabletop to stay in place, Just drill some holes and screw in some long screws. I haven’t decided if I want to make it reversible though with maybe a racetrack on the other side so I am waiting on this step. But the tabletop stays pretty well in place.
This post originally appeared on Momitforward.com.

THis is so cute! You did a great job! I wish my boys still played with trains so I could make one.
Thanks Leanne! You can come over and play with the trains if you want. 😉
Love this! Our one we bought from Target a few years back has sure seen better days. This would be the perfect replacement!
I love how easy it was to customize and it’s a fun project to do with your kids. My son helped me paint the top!
Clever, clever, idea!!!! Great how-to!
Yep, sometimes the simplest things work out so well! Thanks!
That turned out fabulous 🙂
Thanks Megan! My kids love it.
THIS IS AWESOME!!! I shared this with some friends on Facebook who have boys. I wish I would have been so crafty when my boys were little! My ideas didn’t start popping up until I got older though. Thanks for sharing!