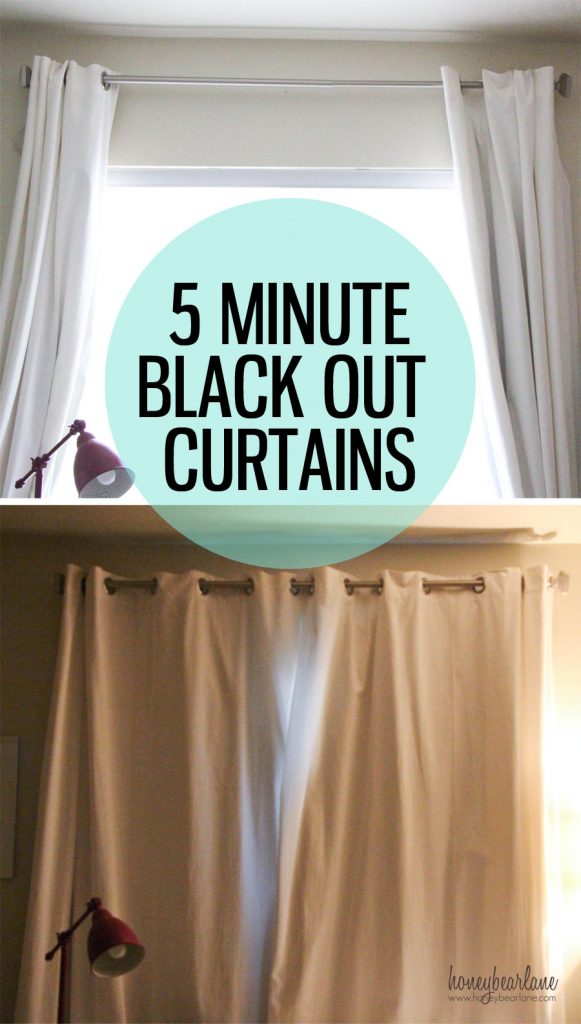
5 Minute Blackout Curtains
Well Daylight Savings is back, and that means the sun is rising earlier and setting later (in case you’ve been living under a rock and didn’t know that.) If your kids are like mine, that means they get to stay up later and get up early–right?? No. That’s not so much okay with me. My kids go to bed pretty early, around 7:30. We’ve tried having them stay up later and they still wake up early and are extra cranky. So the early bedtime has always worked best for us. Doesn’t work so well when it’s still light outside and they need to go to bed.
Last year, I bought some blackout fabric and strung it up with some clip on rings on get this–a rope. Which I tied to the brackets on the curtains. Sure, yes I could have just bought blackout curtains and put them up but since we live in a basement apartment, the room stays pretty dark most of the day and I didn’t want any heavy curtain on the wall, especially in the dismal winter months. So the rope thing failed. It just sagged terribly and looked awful all summer. This year, it hit me, like the genius that I am. Why not put the rings on the same rod as the curtains?
Supplies:
(Affiliate links, disclosure here)
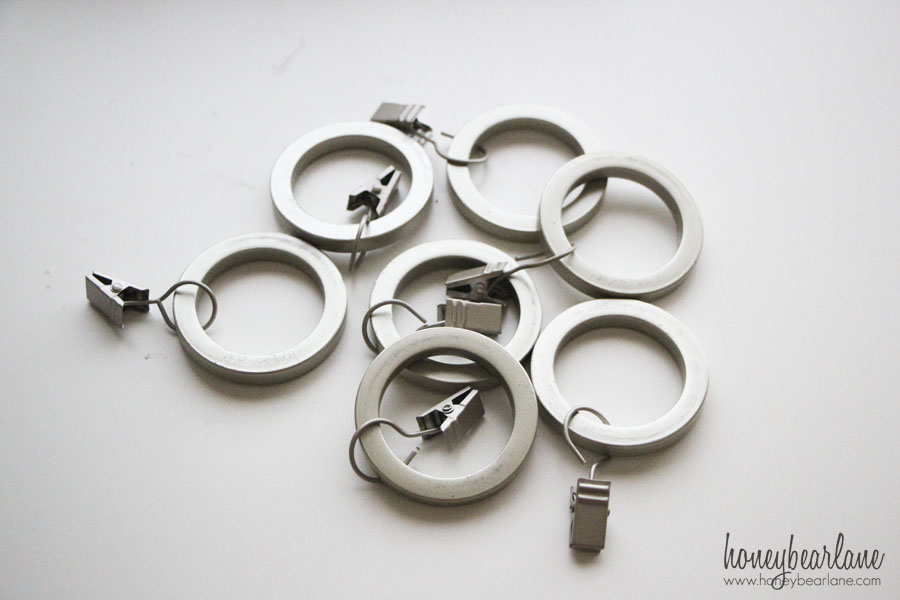
- Curtain ring clips
- 4-5 yards Black out fabric
Sorry these pictures aren’t the greatest, but taking pictures of windows is hard. First you have to buy curtain ring clips–you can get them anywhere. These ones are from Walmart but they have cheap ones at IKEA too. Then you need to buy several yards of Black out fabric at the fabric store. I think I have about 4-5 yards for my curtains, cut in half so I have a panel for each side. You could hem this fabric if you want but it’s unnecessary because it won’t fray or anything and you won’t be able to see it.
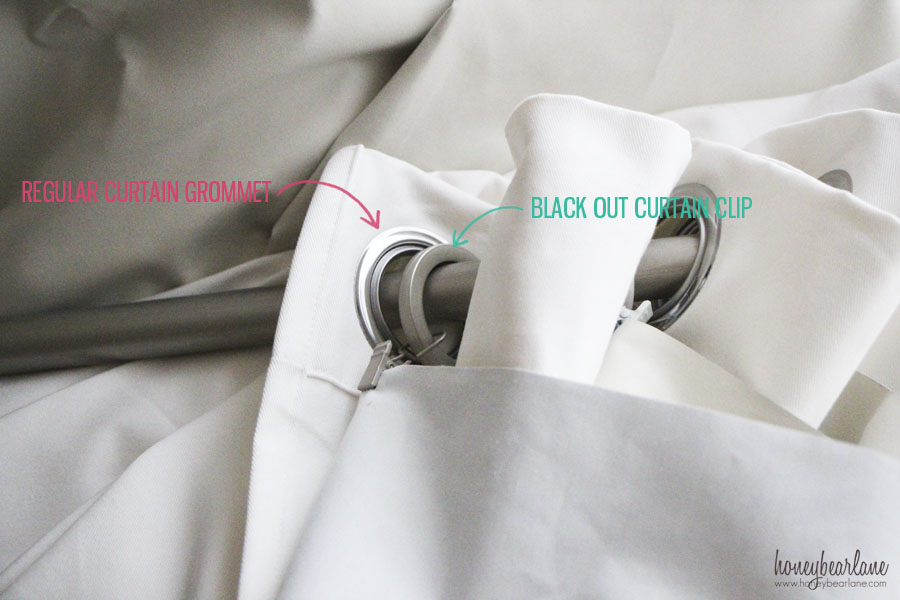
Clip on your curtain rings to the blackout fabric panels. Then thread your curtains through the rod, interchanging between one or two curtain grommets with a blackout curtain ring. Ta-da! This will work with any kind of curtain that is attached to the rod by some sort of loop, grommet, or hole opening.
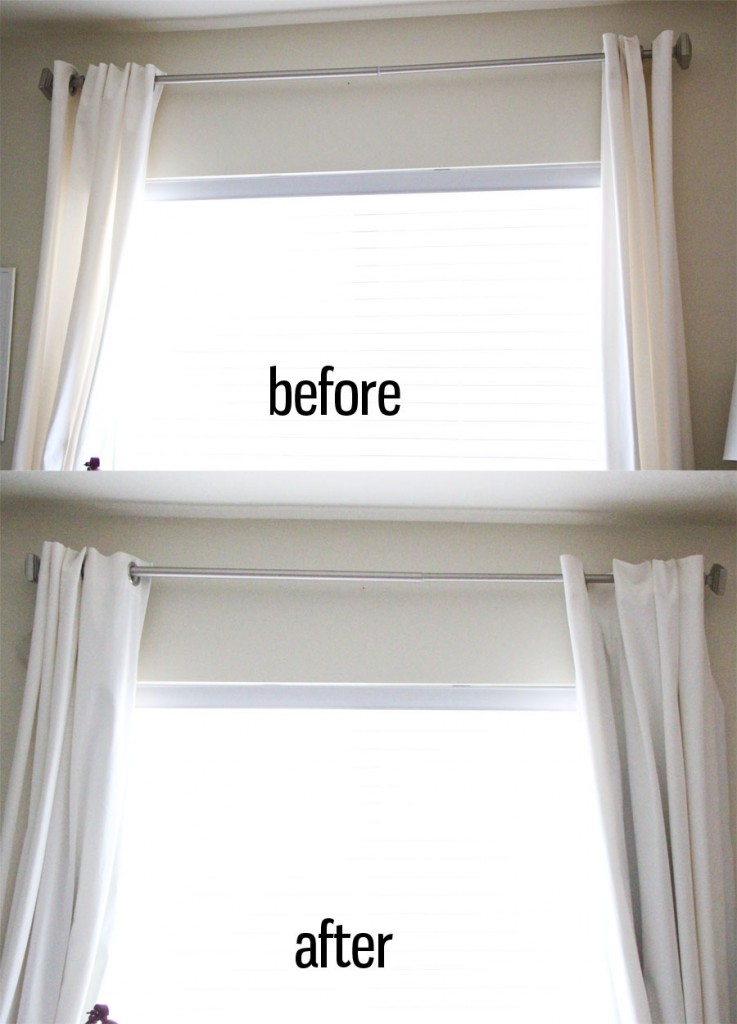
Look at the before and after…you care barely tell that the blackout curtains are there–it just looks like there is a little more fabric there. And you can so easily remove them in the winter when they are not needed (or just leave them year-round, no one will know!)
This wouldn’t work if your curtains hang by one long casing or those pin-style curtains. But if you have that style, you can always attach the blackout fabric with velcro.


In winter they would probably work as insulation, keeping the house warmer at night to help reduce heating costs. This idea has legs!
Good point!
great idea…I love projects that I don’t have to sew.
I don’t want A N Y light coming in around the top and sides. How does this work with this system with the curtain rod not being flush with the window?
Doing curtains will always allow some light in around the sides. Even roller shades allow light. The only option for no light is completely covering your window with tape and cardboard or something.
Put your curtain 4 or 6 inches past the side of the windows , go all the way to the ceiling & go to the floor. When you pass the window that much you cover up the opening right at the side.Your curtains want be as full looking but straighter.You could buy curtain for a picture window then they would look fuller. If windows are 36 inches wide put curtains rod ,curtains out 6 inches wider on each side at top of wall at the trim then your curtains go to the floor.The curtains will look straighter or if you buy picture window curtain to have a fuller look.
Thanks for the tips!
The make curtain rods that curve at the ends to block out light from the sides. I find them very effective and they were easy to install. They allow for more privacy too. Also, hanging the rod just below the ceiling and choosing a curtain that slides onto the rod, or a double rod with the blackout ones sliding onto the rod, will assist in keeping the light out as much as possible.
I completed this project over the weekend and the curtains turned out great! They definitely make our bedroom much darker and the blackout liner folds back so nicely with the curtain panels when opened… brilliant!
Jeannie, that is awesome to hear! So glad this worked out for you!
This is brilliant. You just solved my problem. Sort of like lining the pretty curtains with black out material, but easier. Thanks.
Thanks great to hear!
Oh, I am going to buy my black, black-out curtains at the Dollar Store. Very reasonable. Then I am going to use drop cloths from Lowe’s.
Sounds good! Good luck!
I have wanted to add black out to my grommet drapes for years. I sew and was trying to figure out how to sew it to the panel and not show or the top flop over…that black out fabric is heavy. Basically I was stumped the drapes are still in the packages not knowing what to do. This is fantastic and so simple, you are a genuis. Thank you for sharing.
Well thanks!
You-are-a-geneous!
I always make easy, no-sew, curtains for my home (and some friends too), but blackouts in my bedroom have alluded me. Currently I’m using a shower curtain cut 4 ways and bound off with iron on fabric tape. They are hung with the same rings & clips you’ve pictured. I’m going to try this method with my next set. Thankyou for sharing!
Thanks! Good luck!
Yes Heidi, thanks for figuring this out! I wasn’t looking forward to pinning and sewing and ironing for hours to add liners to my linen grommet drapes! God bless you girl!
Hooray! So glad this was helpful to you.
OMGrace!… Genius!!!
this is a genius idea! thank you!
This idea is just what I needed! One question–how did you decide how much blackout fabric to buy, since curtains have folds/pleats/gathers? Did you buy enough blackout fabric to cover your window, or as much fabric as there is in your curtains? Thanks!
It depends on how you want it to look when the curtains are pulled closed. If you want them to cover the entire window and still be a little bunched, get more panels. You just but the fabric in the width that it’s offered in and get as many panels as you want.
Thank you very much for the helpful advice. There is just a reason to try it at home