Rustic Wood Pumpkins
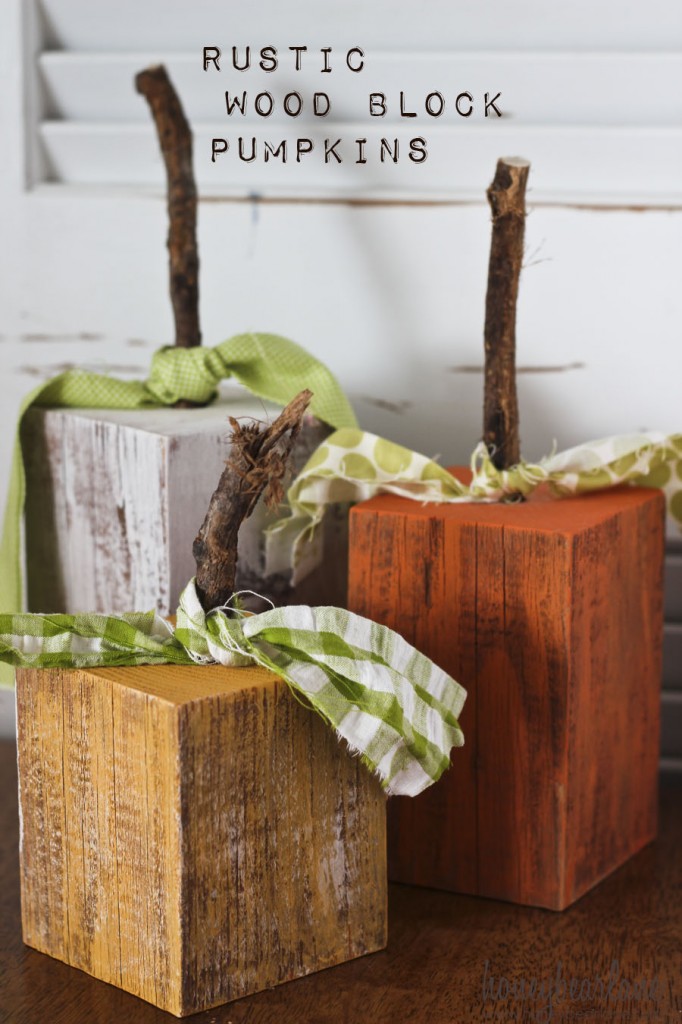
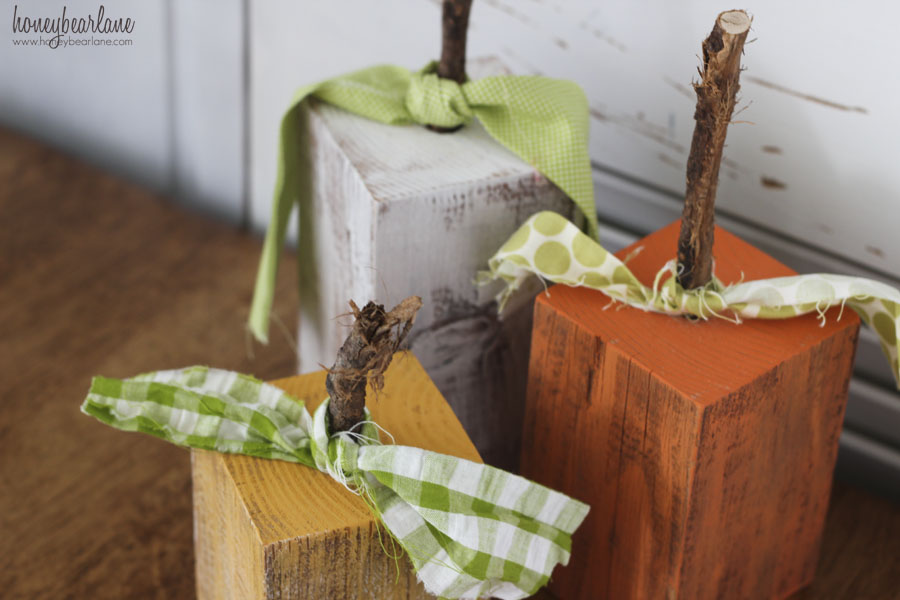
These rustic wood pumpkins are simple and classic. I love this decor for autumn and Halloween.
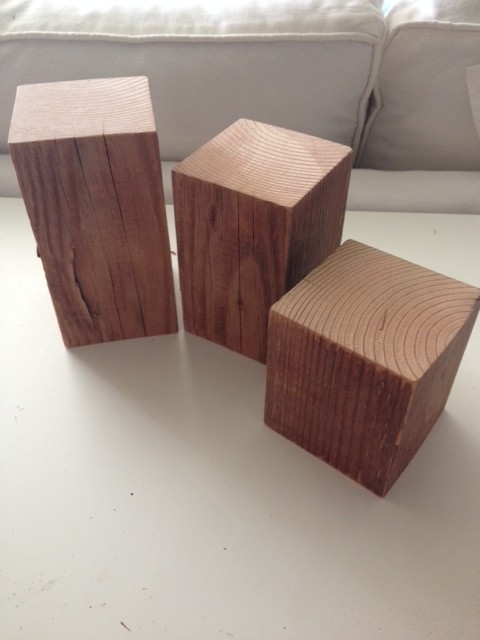
If you aren’t comfortable with saws, you could have the home improvement store cut it for you, right while you’re picking up your 4×4. I love 4×4 wood…it’s so versatile for crafting. I actually found my 4×4 in my parents’ garage and I took it home and just cut it up with my gorgeous miter saw.
What you need:
- 4×4 wood
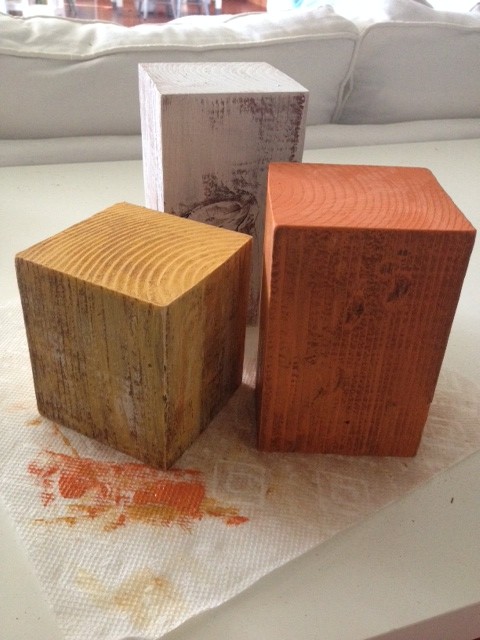
- Decoart Chalky finish paint in Everlasting and Inheritance (I also had an Americana bright orange to make the Inheritance darker for the darker orange pumpkin)
- Drill with large 1/2″ bit or spade bit
- Small branch
- Piece of green fabric
There are not specific measurements for these pumpkins, but make sure the smallest one is about 4x4x4. And each one should be about 1.5″ taller. Sand the rough edges down.
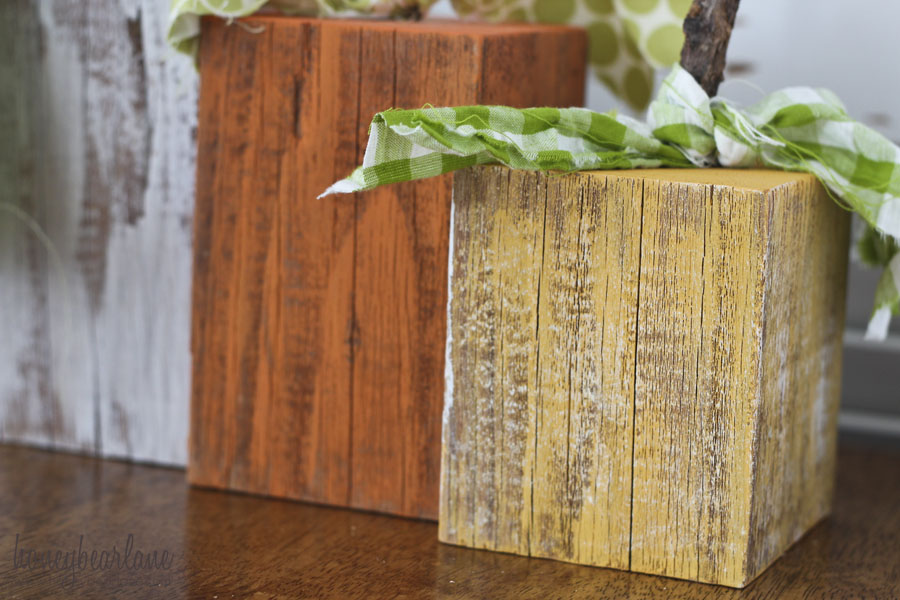
You’re going to dry brush the paint onto the wood blocks. This means when you dip your paintbrush in the paint, then you blot off most of the paint so only a small amount remains on the brush. This will give the wood a more white washed effect and let the natural grains show through and creates a very rustic look.
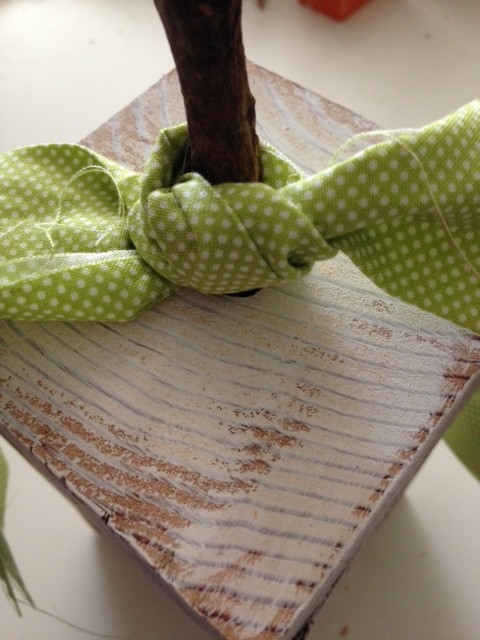
Finally you will drill a hole on the very top of the wood block, about 1″ down. My branch fit my hole so snugly that there was no need for glue, but if yours is loose, add a little dollop of hot glue to keep in in place. Then tie your green fabric around the stem.
Done!
What’s your favorite way to decorate for autumn decor?
I am part of the DecoArt Core Bloggers, all opinions are my own.

These are adorable Heidi! Pinning : )
Precious and LOVE the fabric ties!
Love these!!!! Easy to make. My son has made several for me. Lot5s of compliments. Thanks!