How to Install Island Pendants
I know, I’m finally getting around to writing this tutorial when it was done months ago. Well sometimes that is just how life is. And doing the actual project is the first step in blogging–and it’s easy to just leave it at that and not complete the rest of the steps, editing photos and composing a post. I know, my life is SO hard.
You know how you hate your island pendants? Well, maybe you don’t but most likely you are living with ones that weren’t picked out by you. Today I’m going to show you how to install island pendants! It is actually pretty easily done and you don’t need an electrician. You do, however, need two people or else you could easily end up breaking something. And let me also clearly state that I am NOT a licensed electrician and just sharing what worked for a couple of DIY enthusiasts so please follow this tutorial at your own risk.
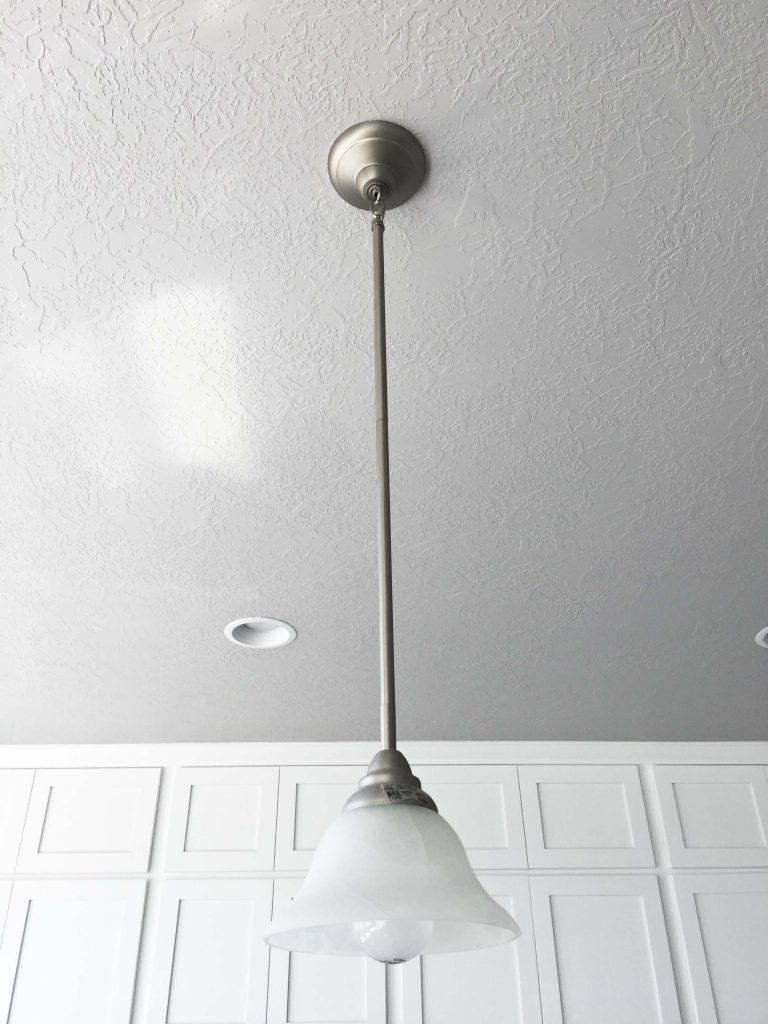
We had these builder grade pendants–see how boring they are?
We floundered for a long time on what kind of pendants we wanted, but the writing was on the wall–we needed something affordable since we were doing so many home projects. We went to Lowe’s and found these cute rectangular pendant lanterns that included a cute industrial Edison bulb. I was hoping to switch some of my lighting to industrial, so these fit the bill and were only $45 each. Bazinga! I’m pretty sure the brand was Allen + Roth but they might be discontinued…I couldn’t find them on the Lowe’s website.
Anyway, we also got this electricity tester pen which has come in handy many a time. You simply turn off the breaker to the specific lights you are changing out, they should be clearly labeled. Then you can use the pen to touch the metal and see if it’s live or not. If the signal sounds, then electricity is still pulsing through it and you didn’t turn off the right breaker. This is how you avoid electrocution, people. It’s just science.
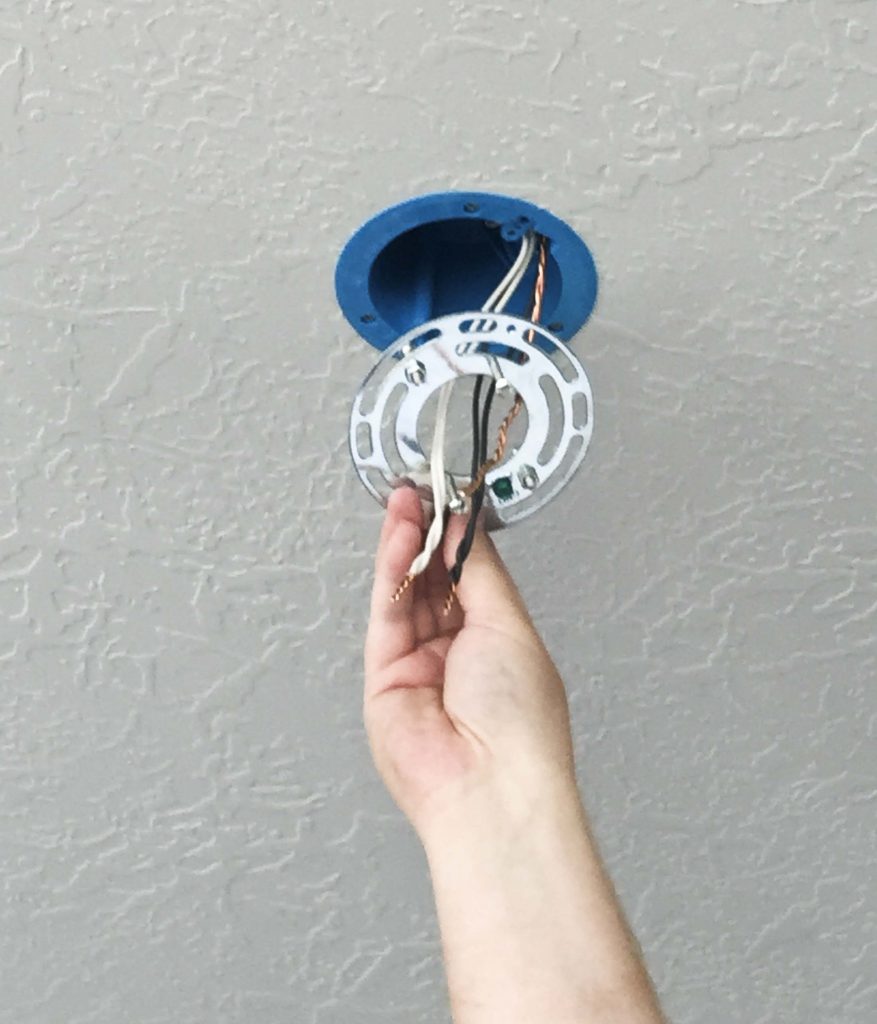
Once you’re sure the electrical is turned off, you can remove the existing fixture. There is usually some bolt or nut you need to loosen somewhere and this is where you need someone else, they will need to hold it while you loosen. Then once it’s loosened, it will still be attached by wires. The wire connections are held together securely by these caps. Unscrew the caps and you can probably figure out how to unwire them together. (By the way, that’s NOT my arm, it’s my husbands! I don’t have that manly of arms, thank goodness.) There are three wires:
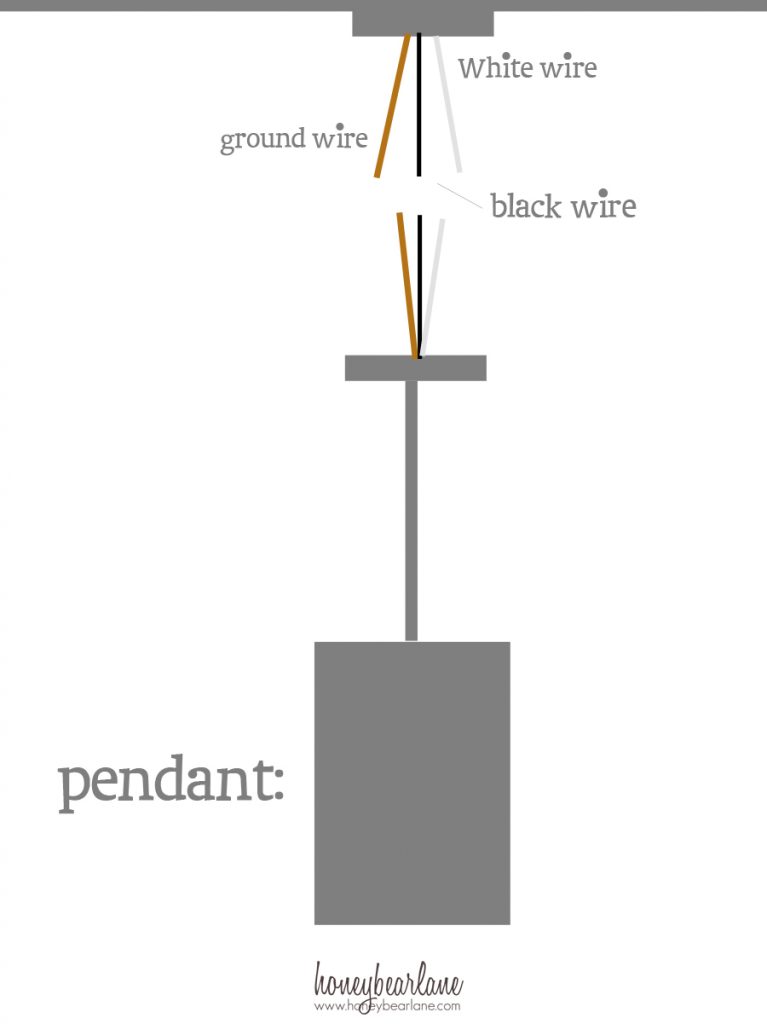
- Ground wire: Bare wire
- White wire
- Black wire
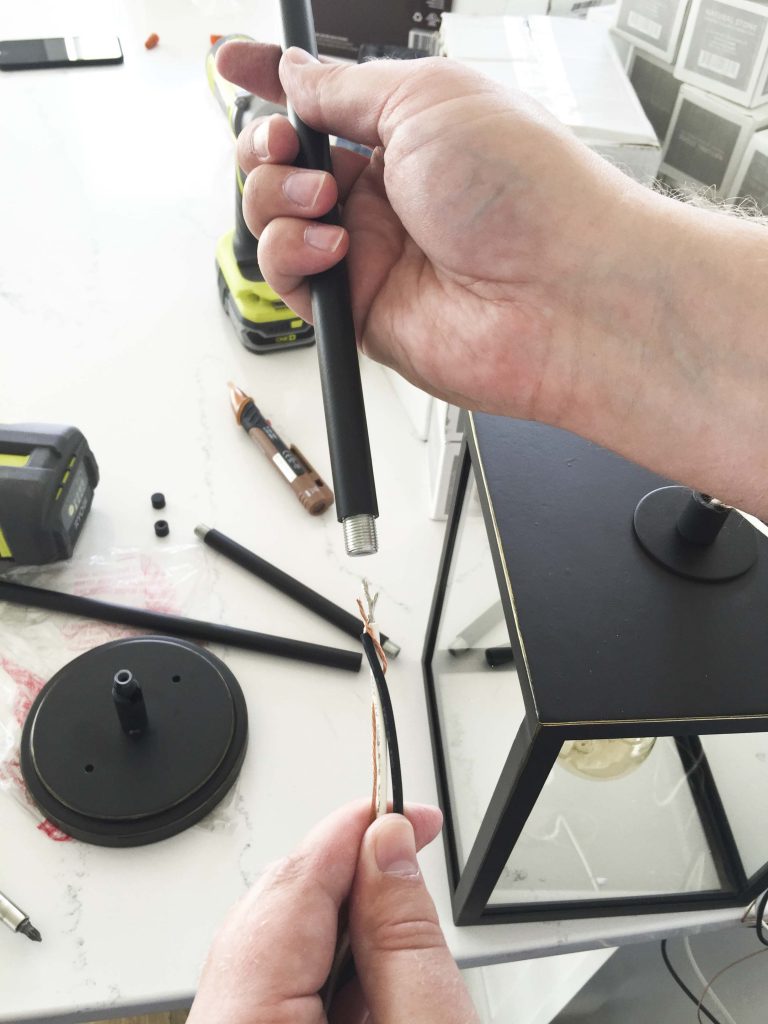
Once you’ve disconnected the old light, take the new light out of the box and examine it. Ours had a tons of extra wire that we had to thread through the skinny tube that hangs from the ceiling. We also had extra pieces of tube so we could determine the right height for our fixtures. We threaded it through and then we were able to cut the wires to the right length. We also had to strip about an inch of wire casing away from the metal wire so they could conduct electricity.
Once the new pendants are ready to go, it’s time to connect their wires to the ceiling wires. Have someone else hold the pendant up and you can connect them. Match the colors of wires together and place them next to each other, side by side (black goes to black, white goes to white, ground wire to ground wire.) Then take the pendant wires and wrap them around the ceiling wire, in the same direction the wires are already going. Once it’s wrapped nice and tight, use the cap and screw it on over the exposed wire. Do this with all three wires. (I’m sorry I totally choked and forgot to take pictures of this step so please refer to my awesome diagram.)
Then you can stuff the entire wire mess into the hole in the ceiling…it will take a little prodding and manipulation. Once it’s good and in there, place the pendant up tight to the hole and attach the screws that hold it in place to the ceiling. Aren’t you glad someone else is holding the pendant while you’re doing this?
Now you can turn the breaker switch back on and let there be light!
I love these pendants so much more and once I put on my marble subway tile backsplash, the room looked amazing. Then we found this gorgeous dining room light at World Market that totally went with these pendants and completed the entire look. I’m so happy with it and it wasn’t hard to do!
For more awesome kitchen DIYs, check out these below:
 Why I chose and love laminate flooring


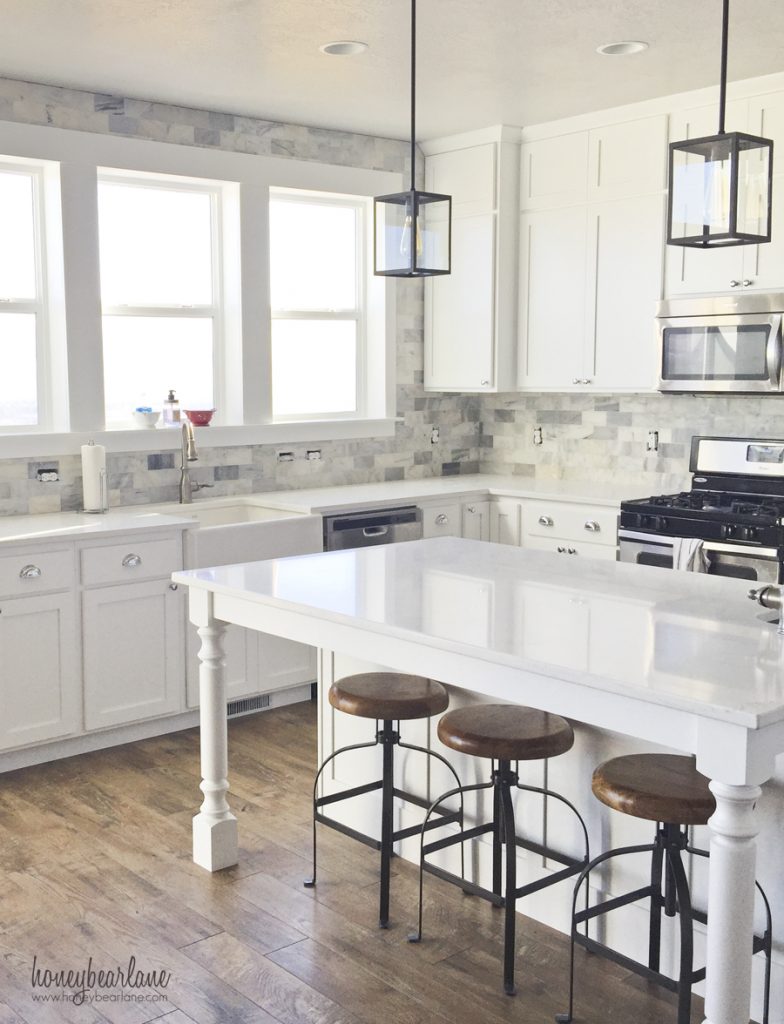

Love the stools at you island. Where do they come from? Thanks!
They are from World Market.
Fabulous job! What a difference a small change can make. Here, you made a beautiful choice. I love how everything pulled together, ans it fabulous.