Shiplap Wall for Under $50
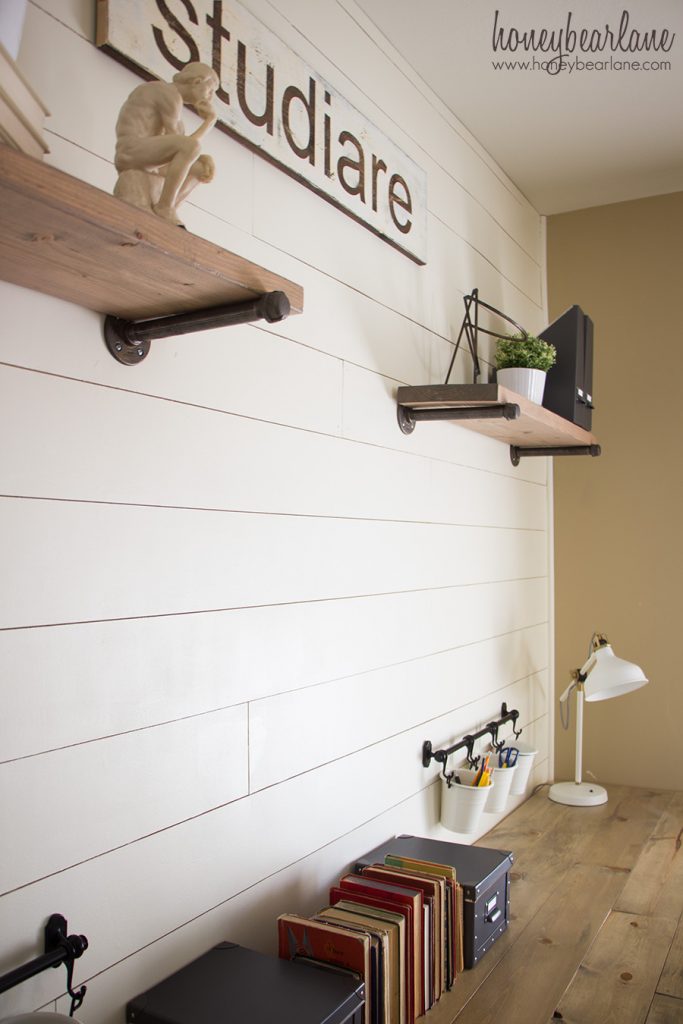
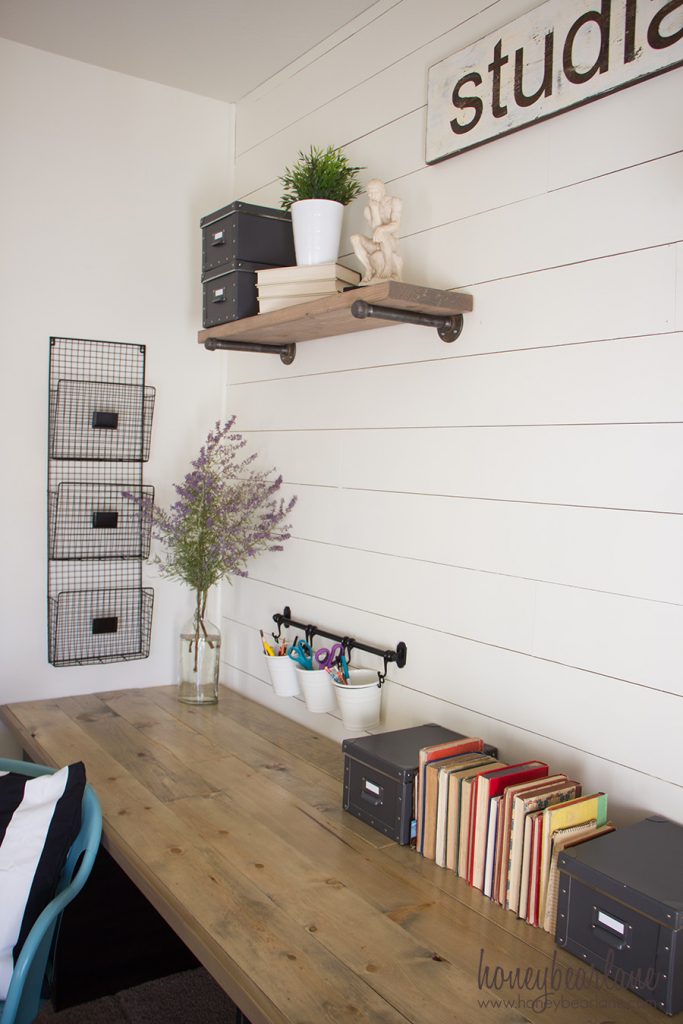
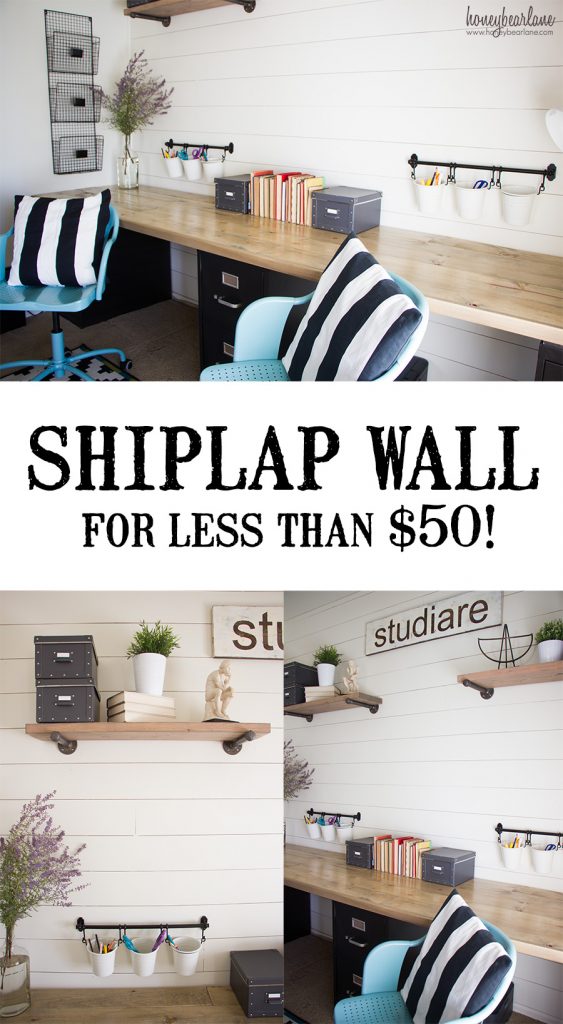
We recently completed a home school (or home office if you will) room in an industrial farmhouse style. We decided to make a shiplap wall and it’s seriously the easiest project. There are a million different tutorials on this but I feel like this is a pretty surefire way to go. This method of ‘shiplap’ is very cost effective and will produce a more rustic, farmhouse style planked wall.
I’ve done it with masonite (that dark brown very thin and cheap cardboard like material) and while it is achievable, it’s just a tad too thin to be held up with brad nails so you end up using glue on the back which is not ideal. I’ve also done it with tongue and groove which I really liked but you end up with a ‘V’ groove in between and the wider planks are a great deal more expensive. I like the narrower 1/4″ tongue and groove planks for small spaces like bathrooms or whatnot. I feel like large walls need wider planks.
You could buy 1/4″ plywood as well but it was about twice the price of underlayment and since you’re painting it, you really don’t see a difference anyway.
Supplies:
(Affiliate links below–see disclosure)
- 1/4″ underlayment ripped to 6″ strips
- Sand paper
- Nail gun
- Stud finder
- Quarter Round
- White paint
- Nail hole putty
- Level
- Jigsaw
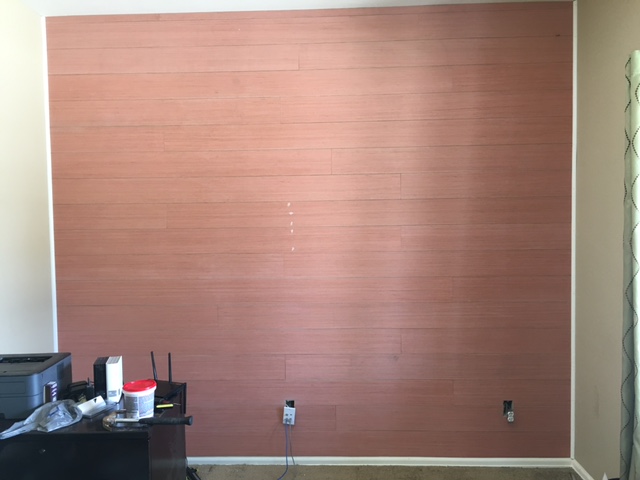
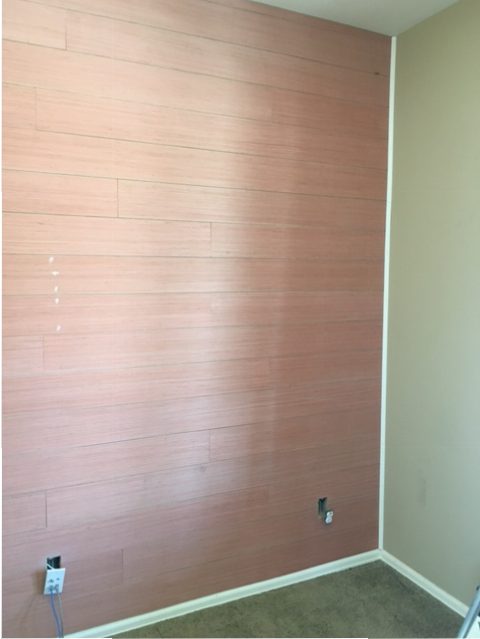
First got our supplies by having Home Depot rip 3 sheets of 4×8 1/4″ underlayment to 6″ strips. We actually almost only needed two but couldn’t quite make it. Underlayment is kind of a ugly pink color. We had everything else on hand so it might cost you more if you have to buy the other things. But then you’ll have them for the next time! You can never have too many tools.
When we got home, we sanded each piece on the edges so they would be smooth. Then we started at the bottom and made sure it was level. We removed each outlet cover and pulled the actual outlet out a bit so it would sit out more. We marked all the studs and then shot nails into the studs.
We used a jigsaw to cut around the outlet, close enough that the planks would slide under the outlet plate. We used nickels as spacers. When we reached the top we had to rip the top piece a little bit narrower to fit. You might want to take this into account and start at the top rather than the bottom. We used quarter round to hide the uneven edges, then my friend filled nail holes, painted it white and another wall.
It can be tricky to paint shiplap because of the gaps so here are a few tips:
- Try using a paint sprayer to spray all the gaps first.
- If you don’t have a paint sprayer, just use a smaller brush to brush the gaps.
- For any places where the paint gets thick and stuck in the gaps, use a skewer to smooth it down.
- Use a foam roller to achieve a smooth finish.
That’s it! It goes up pretty fast, the longest part is painting. I’m getting ready to do this shiplap wall treatment in my dining room and I’m super excited!
For other details on this room, read my Industrial Farmhouse Home School Room post.


I love the shiplap walls! I’m trying to figure out what the underlayment is. How thin is the board? It looks awesome! Thanks for sharing!
It’s about 1/4″ thick. It’s like a cheap plywood sometimes with a wood veneer over it. If you can’t find it, just ask someone at the store because it’s not always around the regular plywood. Good luck!
Did you put this shiplap on top of the existing Sheetrock? I’d like to do this, but I am not sure if I can put it over Sheetrock or if I’d have to tear out the Sheetrock first.
Yes, I did it over the drywall. The shiplap is just thin plywood so you definitely need something under it.
Just gorgeous. I think I may try this, though the jigsaw part scares me a little! Thanks for this helpful post. 🙂
Just practice on some scrap wood to get the hang of it. You can do it!
You say 6″ strips do you mean 6′ strips? 6″ would not let you nail between studs
No I mean 6″ strips cut from a sheet so they are 8 feet long. The planks lay horizontally on the wall so you can nail into the studs every 16″ where the studs will be (use a stud finder to check.)
What brand, color, and sheen of paint did you use?
The ship lap looks great but I am more interested in the desktop. How did you do that?
There is a tutorial for the desktop as well!
Do you feel this can be done in a bathroom or will it become warped due to moisture? thank you!
I think you can do it in a bathroom but make sure you use real wood, nothing like particle board, mdf, or chipboard. If you’re worried about warping, you can also use an oil-based primer, I think they even make some specifically to keep moisture out.
You say cut into 6 ” strips did you mean to say 6′ strips?
I love the desk, how did you do it ?
I have a tutorial for that as well! Looks like I need to add the link on this post, thanks!
This is so gorgeous! I would love to try this in the master bedroom!
Any suggestions on how to secure the boards to a plaster wall versus a drywall?
Hmm…I am not sure because I don’t have any experience with plaster. I would only suggest trying to nail it into studs as well and maybe using glue if the nails aren’t working as securely. Good luck!
One way to go do it on plaster is to put up furring strips first going vertical , using good anchors. Space then 16 inches on center apart.
The only other way I know would Be to use liquid nails and and a Brad nailed, the Brad nails would hold it tigh until the glue dried.
I have not seen shiplap above a chair rail. The top
portion is in bad shape from layers of wallpaper. I was wondering how it would look to do the shiplap look on top and use the wallpaper on the botto. It’s a geometric designed paper, arabesque? The other option would be to leave the wall under the chair rail painted and paper the ceiling. What do you think? Thanks.
How did you get the alternating seams? I have the boards cut and they are each 8′. Should I cut them in smaller peices to acheive that? What size did you get them in?
Yes, once you cut your first row of boards, you can use the cut pieces to start to create alternating sizes. You definitely need to try for alternating seams because it will look bad otherwise.
What are your wall measurements? Lowe’s said we would need 12 sheets for a 10.5 foot wall..which made it much more than $50.00
That seems like a lot. I don’t remember the wall measurements (this wasn’t my own house) but I feel like we got maybe 8 sheets? Either way we purchased the underlayment which is only about $14 a sheet making it much cheaper.