Spring Tablecloth Tutorial with Martha Stewart Crafts
I am so excited to be a part of the Martha Stewart Mother’s Day campaign sponsored by Plaid Crafts!
Mother’s Day is always a special holiday to me because I’m so thankful for my Mother! But now I am also thankful for my sweet Mother-in-Law and that I get to BE a mother to three of the greatest kids ever.
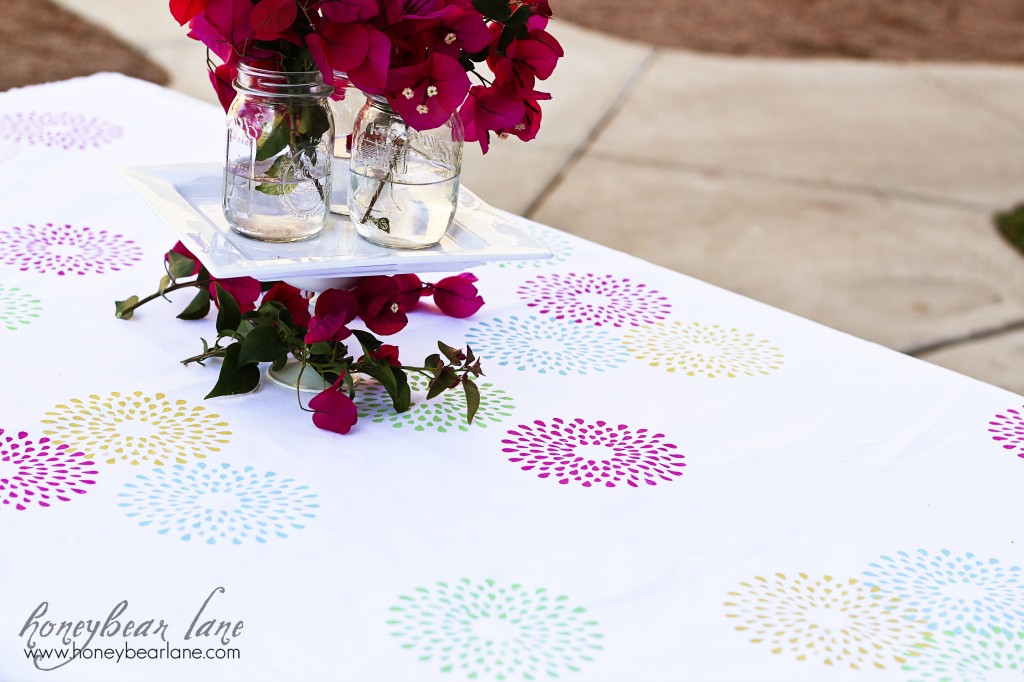
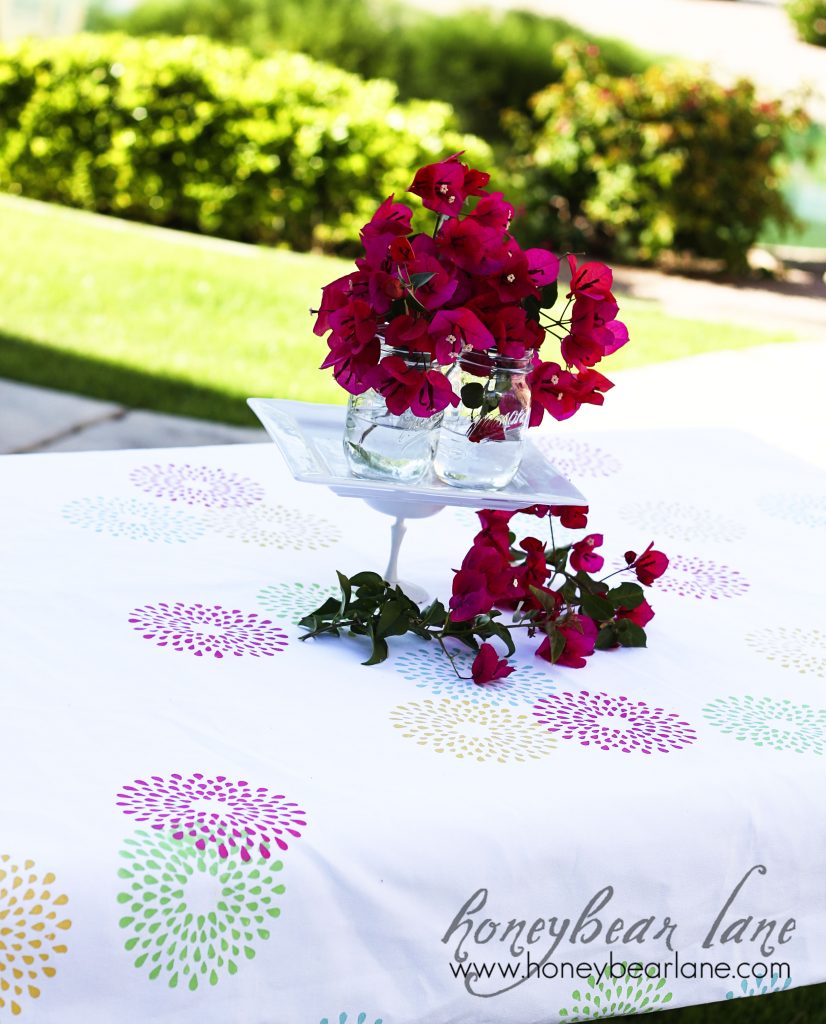
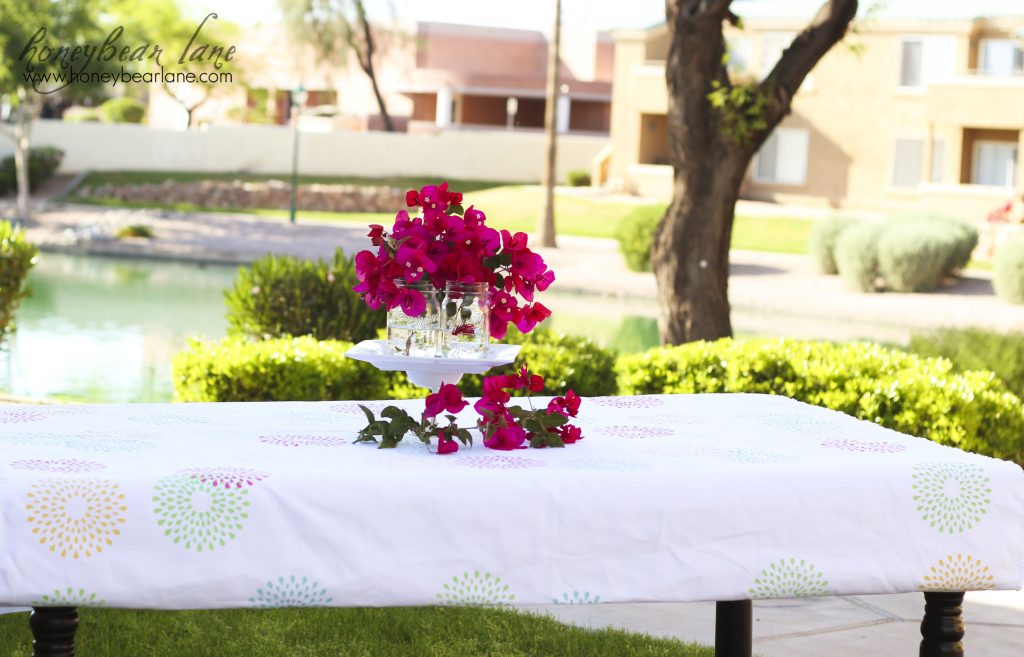
I got so much amazing stuff for this campaign that it took awhile to figure out what to make for my Mom. But I decided on a simple stenciled table cloth–fun for spring and summer, from picnics to parties!
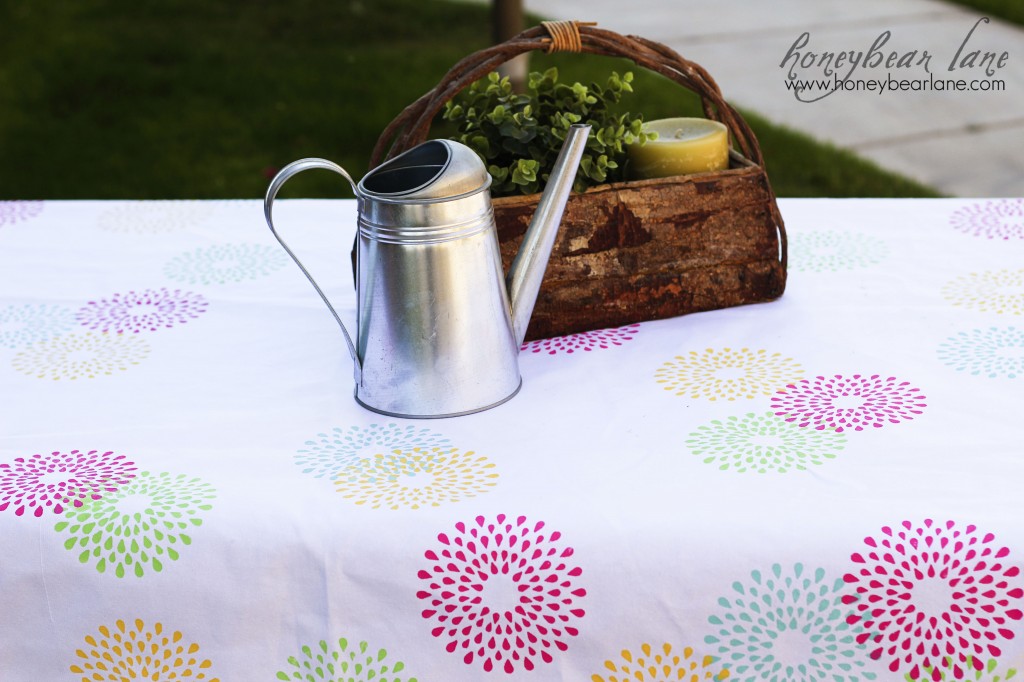
Isn’t it fun? This was a very simple craft to make. I think it would also be a great project for a DIY wedding…you could do the stencil in your wedding colors or even in a fun metallic silver or gold. I also love this particular stencil, because it looks like flowers OR fireworks–perfect for spring OR summer!
First off, let me show you the stuff I got for this campaign:
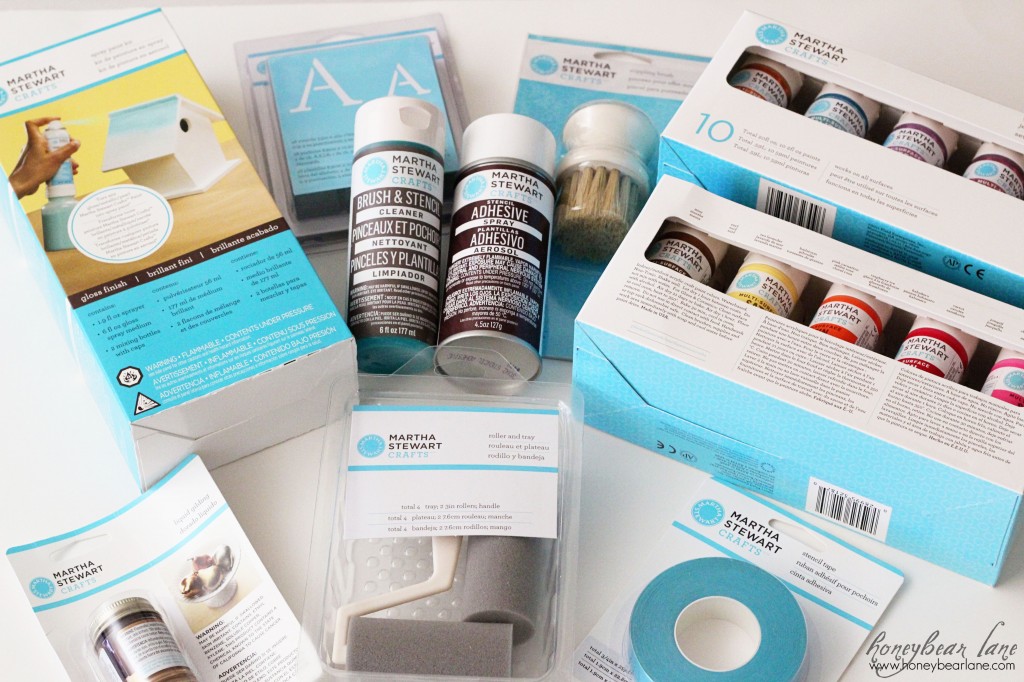
From left to right, top to bottom: Spray paint kit, letter stencils, stencil cleaner, spray adhesive, large paint brush, glitter and satin paints in multiple colors, gold foiling, roller and tray kit, stencil tape
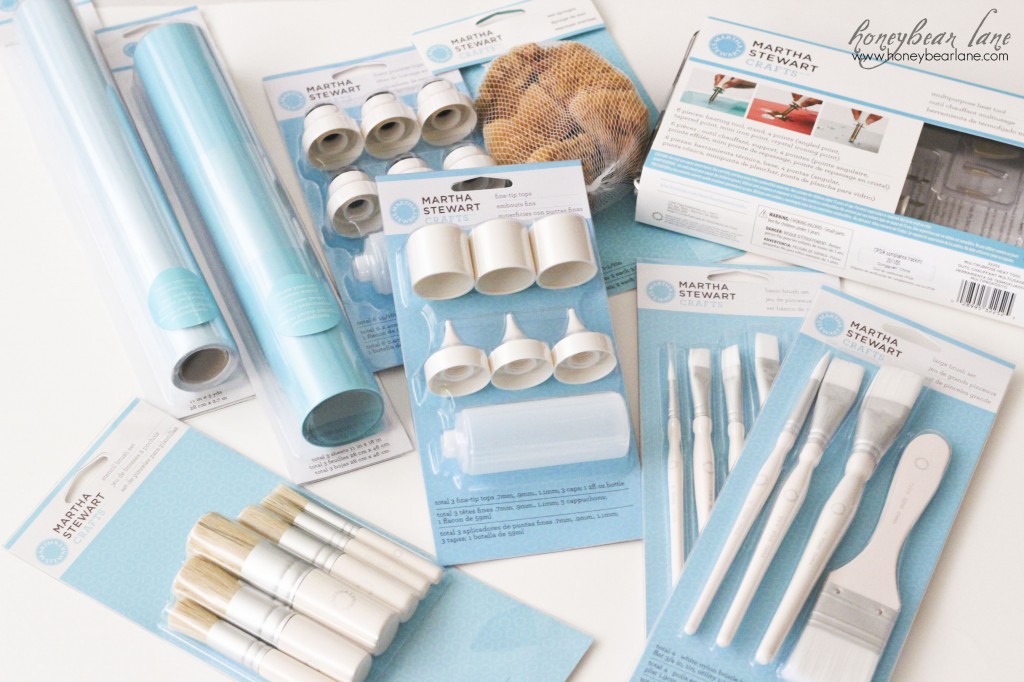
From left to right, top to bottom: Stencil paper (to make your own) foam and squirt tips, sponge brushes, heat tool (for making stencils), stencil brushes, art brushes
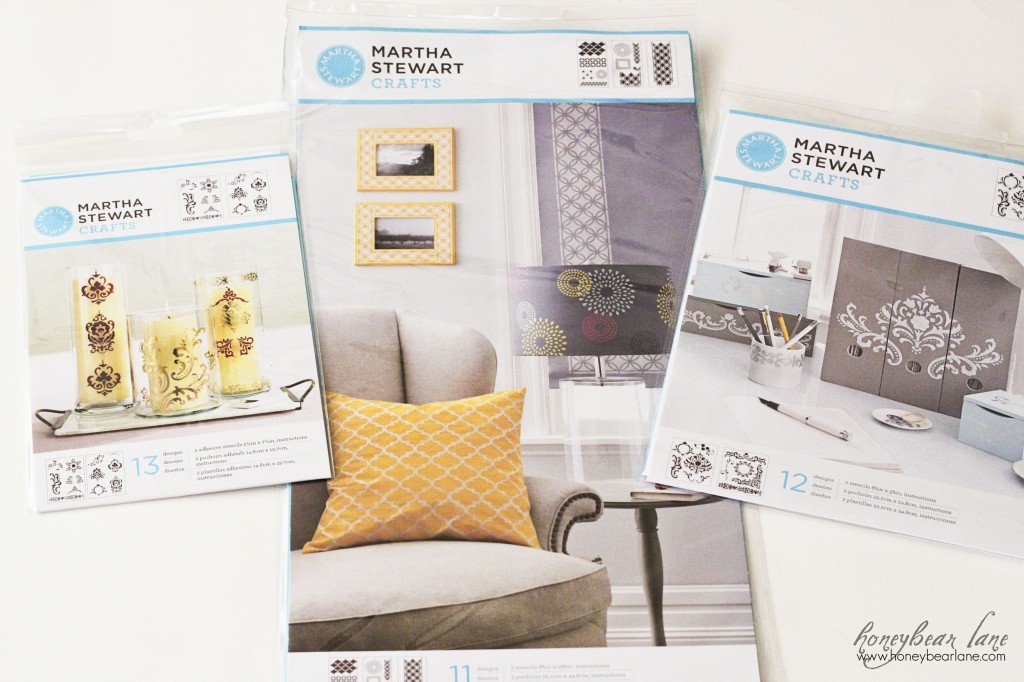
And here are the stencils!! Small, Large, and Medium
What a haul! I’m so grateful to Martha Stewart and Plaid for their generosity.
This project is easy but time intensive. Here’s a quick run-down:
Supplies: 3 yards of 60″ width fabric or 6 yards of 44″ width fabric. Martha Stewart brand paint, stencils, sponge foam applicator tips, spray adhesive, and stencil tape.
Step 1: Cut your fabric. For this project I used white cotton duck (canvas.) It was leftover from my couch slipcover. For a large rectangle tablecloth size, cut about 60 x 86. Here’s a link to a tablecloth size guide. My fabric was upholstery fabric and a very wide width, about 58″. Click here for the exact fabric. Why did I choose such a heavy fabric? 1) I had it available in the right width. 2) I knew it would work because I wanted this to be a durable outdoor tablecloth. You can EASILY choose a white cotton, buy up about 6 yards, cut in 3 yards each and then sew them together side by side. Or you could cut one 3 yard piece in half lengthwise and sew either side to the remaining 3 yards so the seams would be less visible.
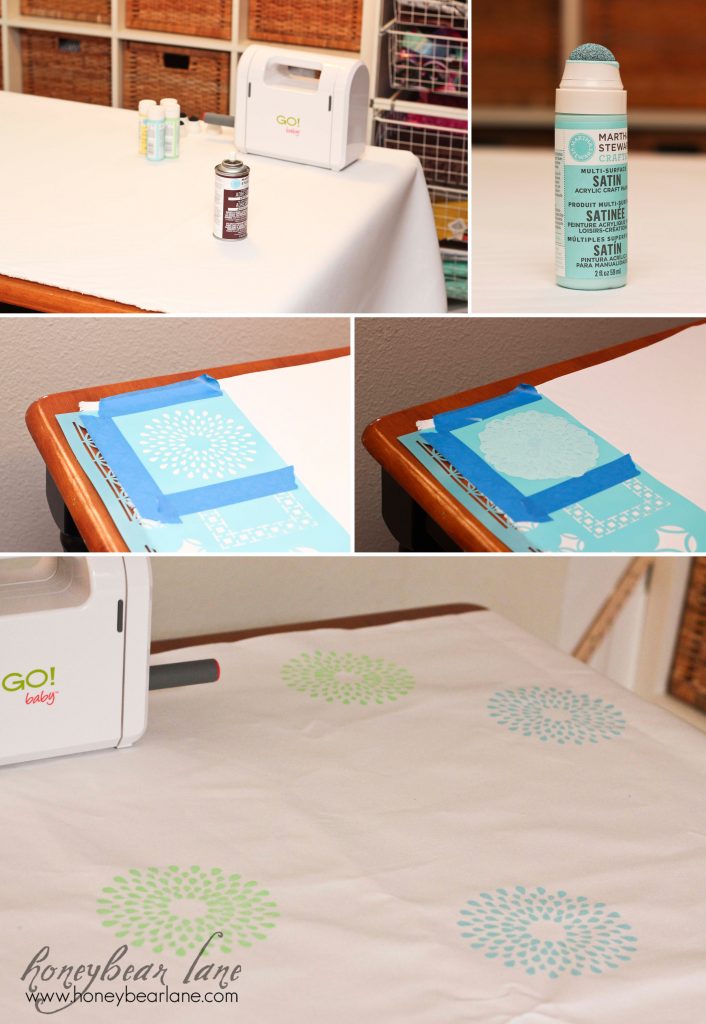
Step 2: Get your paints ready. I used the Martha Stewart satin line paints in green, blue, pink, and yellow. I screwed on sponge tips to all of them. And it’s REALLY helpful to get something heavy to weight down your tablecloth as you paint the sides. That’s why my Accuquilt Cutter is on the table 🙂
Step 3: I used the spray adhesive, sprayed a little on the back of the flower stencil (in the large pack of stencils) and used stencil tape to secure it to the fabric.
Step 4: I blotted the paint onto the stencil carefully to evenly distribute it. I removed the stencil right afterwards and moved it to another random location. You have to let each color dry before doing the next color if you want to overlap them, which I think looks cool. I tried to space them out fairly evenly in color but it ended up being pretty random. Some spots were much more bare than others. But that’s what gives it personality!
Step 5: Hem your tablecloth edges by folding it over twice 1/4 inch and sewing. Or you can serge the edge. (SECRET CONFESSION: I didn’t do this step yet because I ran out of time. But I’ll do it before I give it to my mommy!)
This is a great gift for anyone!
Thanks again to Plaid Crafts for their awesome products for this project! You should follow Plaid Crafts too!
- Twitter: http://twitter.com/plaidcrafts (@plaidcrafts)
- Facebook: http://facebook.com/
InspiredByPlaid - Pinterest: http://pinterest.com/
plaidcrafts
Disclosure: I wrote this post as part of a paid campaign with Plaid and Blueprint Social. The opinions in this post are my own.
Linked up with Katherine’s Corner, Saving 4 Six, Tidy Mom and The Pin Junkie.

The tablecloth turned out so lovely! I adore that stencil pattern! You take beautiful pictures too!
Thanks Kim!!
This turned out fabulous! I might just have to stencil a tablecloth of my own. 🙂
Thanks Amy!! It’s so fun.
LOVE it!
Thanks Jen!
I love this! The colors are just gorgeous and your pictures are stunning! Great job!
Thanks Natalie–I was hoping the pictures would turn out okay.
What a pretty project! I bet Martha would be proud!
Thanks so much Heather…I owe you! 😉
You are one lucky person to receive that bundle. The table cloth turned out great. Thanks for sharing.
Thanks Shirley!
I LOVE this project!! It turned out marvelous!! I do have a question tho, do you find the sponge tops to work just as well as using a dauber type brush? Does the paint come out of the sponge nicely? I just won some stencils & would LOVE some tips for stenciling on fabric as well as walls.
Thanks in advance & again, Lovely Job!!!!
Thanks so much!! The sponge tops were awesome. I’m not sure what you mean by dauber, but the bristles are not my favorite for fabric. Some people really like them though. The paint has come out pretty well and I’ve used several of them over and over. Good luck!
Super cute!! Love it!
I love the bright colors. It’s so cheerful…and it makes me want to eat ice cream!
That came out great! I love it. 🙂 My project includes fabric and stencils too. Great minds think alike! xoxo
Thanks Diana! I can’t wait to see yours!
Beautiful! It is fabulous for spring AND summer, just like you said!
Shannon
Thanks Shannon! I love that the design looks like both flowers and fireworks!
WOW Heidi! This is beyond amazing!! I LOVE how this turned out!
Heidi I love this tablecloth! I seriously need to become more crafty…And I literally started drooling looking over your “loot”. Serious jealousy all around!
Thanks Melanie! So glad you visited the blog. 🙂
Oooh, sooo pretty! Love all the colors. It’s bright and cheery.
So pretty! Love the colors and the stencil pattern. Visiting from Think Tank Thursday party.
What a lovely tablecloth! You did a good job!