How to Recover a Chair
Here’s a beautiful story for you (grab your hankies folks–this is a tear jerker.) When I first got married and moved into my tiny little apartment in Provo, Utah we inherited this sad little chair with hideous fabric. So, being my thrifty and industrious self, I set about recovering it. I sanded and stained the wood a pretty cherry color and picked a tan microfiber cloth (because I was VERY safe in my decorating back then.)
We took it with us in all our moves, but once we moved to our current place, lo and behold–THERE IT WAS: an identical twin to our little chair. Long lost twins finally reunited. (Told you it was a tear jerker!)
And yes, there is no picture of the two together. Yeah…kinda blew that one.
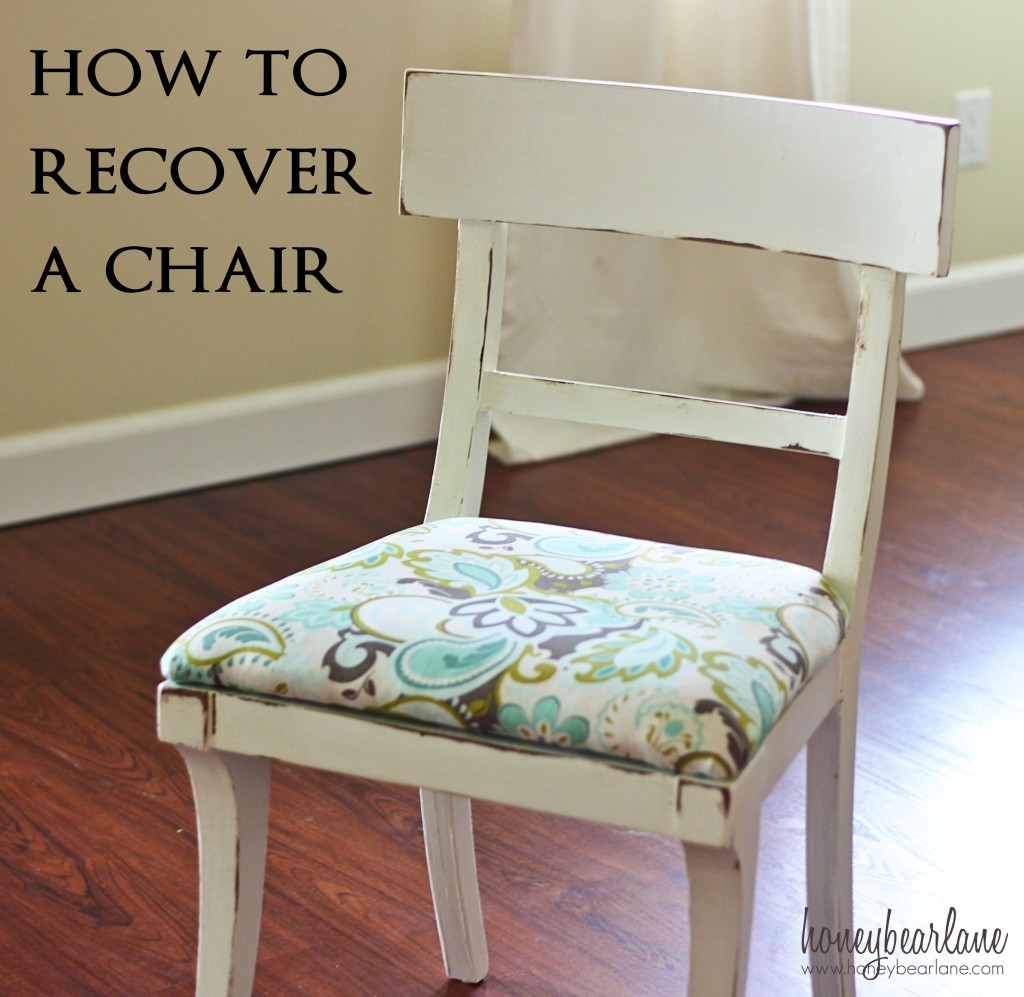
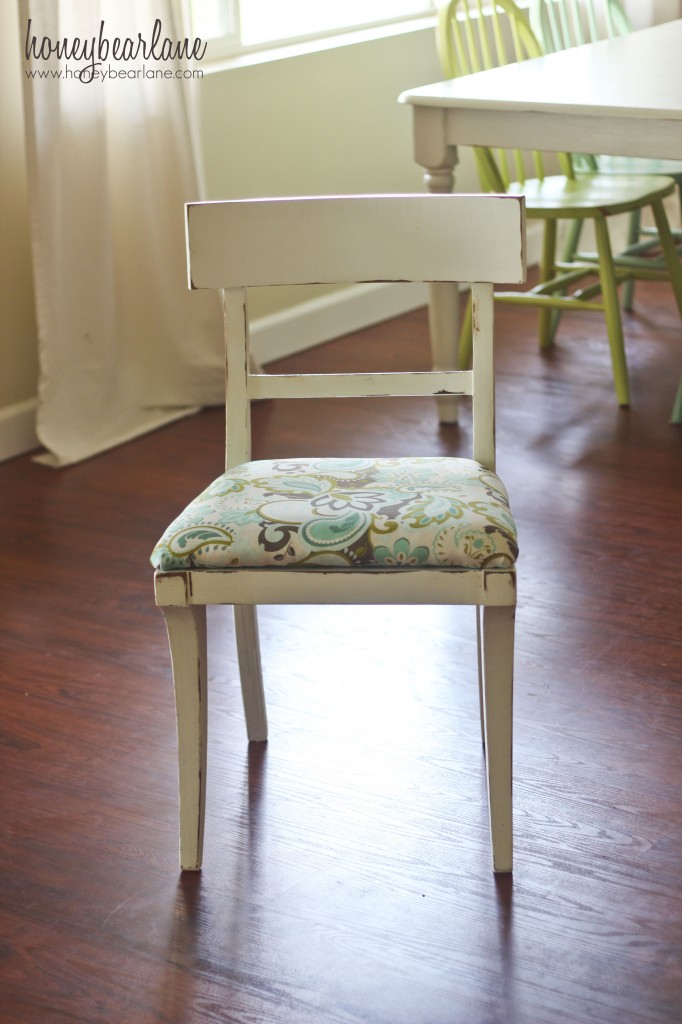
So to bring them back to life, I removed the cushion. Then I sanded them down and painted them white. Then distressed and sealed. But this is a tutorial about the cushion so let’s get to that part.
First thing you do is remove the cushion, if possible. If it’s not possible then go search for a different kind of tutorial because you will have to recover it in a different way.
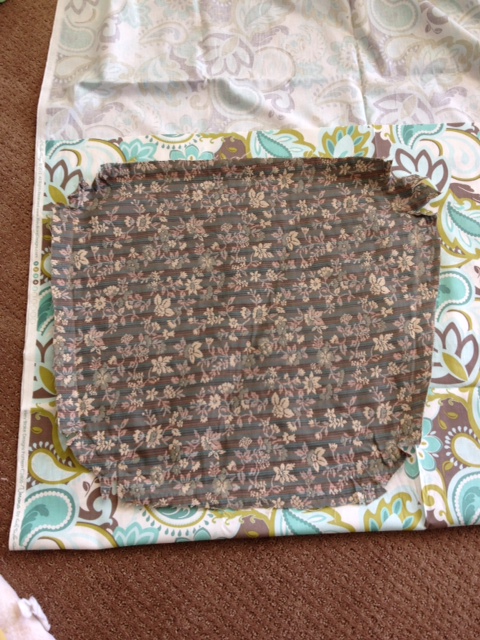
Use some kind of tool to remove the staples on the existing fabric. I used a flat head screwdriver to dig under the staples and wiggle them out. And I used pliers to pull out the stubborn ones. Once all the staples were out, I removed the fabric and used it as a pattern guide to cut out the fabric. I chose this print from the Riley Blake “Verona” collection. Great, great choice. I love it!
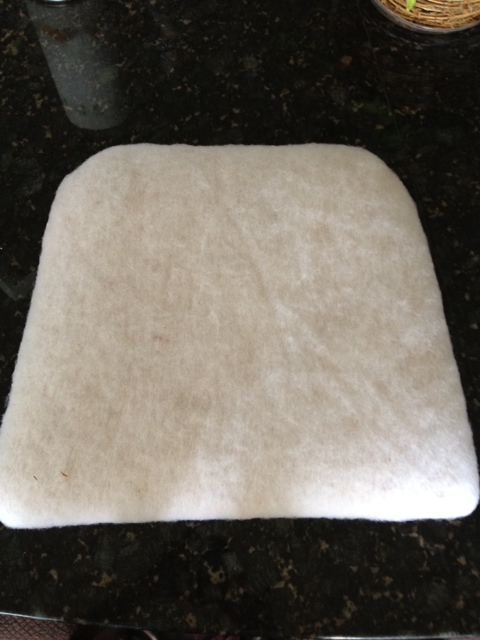
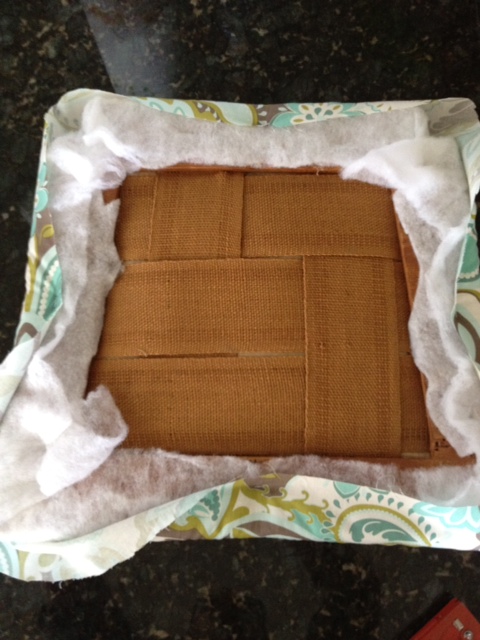
I cut two a little bit bigger than the pattern (because the “pattern” was trimmed after it was installed the first time.) I also cut a large square of low-loft batting. It’s always a good idea to add a little batting when you’re recovering something because the foam probably has lost a lot of its spring. The batting helps it to be softer and more plush.
First get the batting and wrap it around the cushion. Place a few staples with a staple gun in each side. You’ll be stapling the fabric over it really well so it doesn’t need to be really tight.
To get the fabric on, lay it on top of the batting and flip. Then put one staple in each side, pulling quite snugly. Don’t pull so tight that you’ll cause ripples in the fabric. Slowly start pulling the fabric and stapling along, making sure it’s nice and smooth.
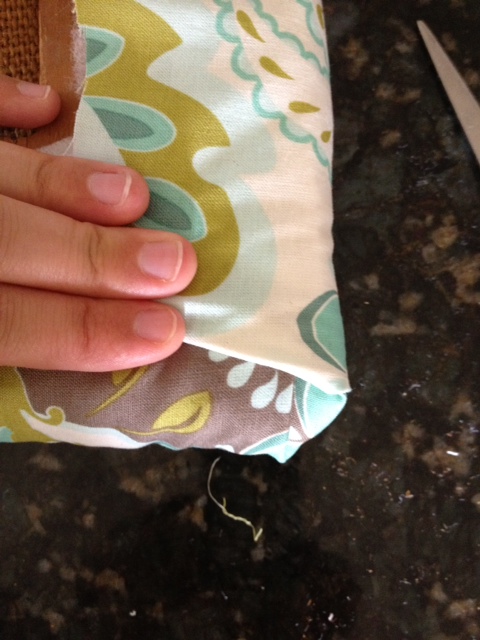
To do the corners, I folded it up in a triangle and folded the fabric around it.
Place quite a few staples. I found that if you place the staple further away from the edge (closer to the center) it goes in better.
And it should be all good to screw back into the chair! Easy Peasy Nice n Cheesy.

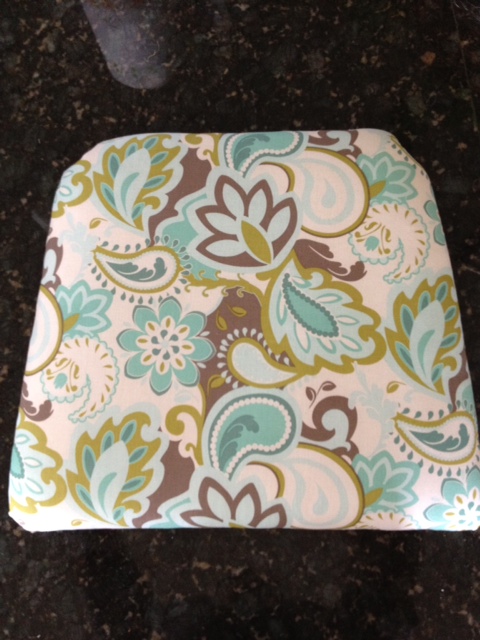
Looks so pretty–and how fun you found it’s friend!
Love it! Do you have a tutorial on how you do the distressed paint and seal (like what products you use?).
I just did one on the Ombre Windsor Chairs post!
LOVE how it turned out! I just got a free table and chairs and need to paint and recover them as well. Love how these turned out! Great job. 🙂