Rustic Stocking Holders
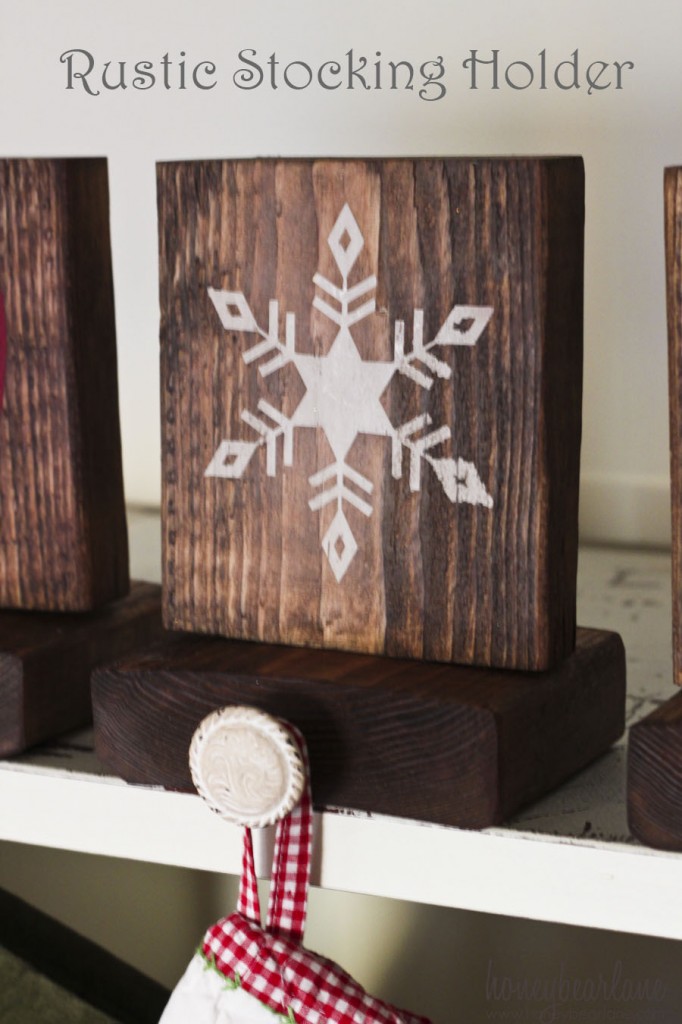
You know me and rustic–we were made for each other. I think I could have survived during early pioneer days. I have all those homemaker skills down pretty well. I really was channeling early settlers when I made these rustic stocking holders.
They were pretty easy and I really love how they turned out. It totally seems like something they would have made and had in their house. Although maybe they just pounded some nails into the mantel and called it good.
This aren’t hard to make, and are a great beginner wood working project.
Supplies:
- 1 2x6x6
- Brad nail gun with 2″ nails or 2″ screws
- Silhouette or craft cutter (or stencils will do too)
- Vinyl for craft cutter
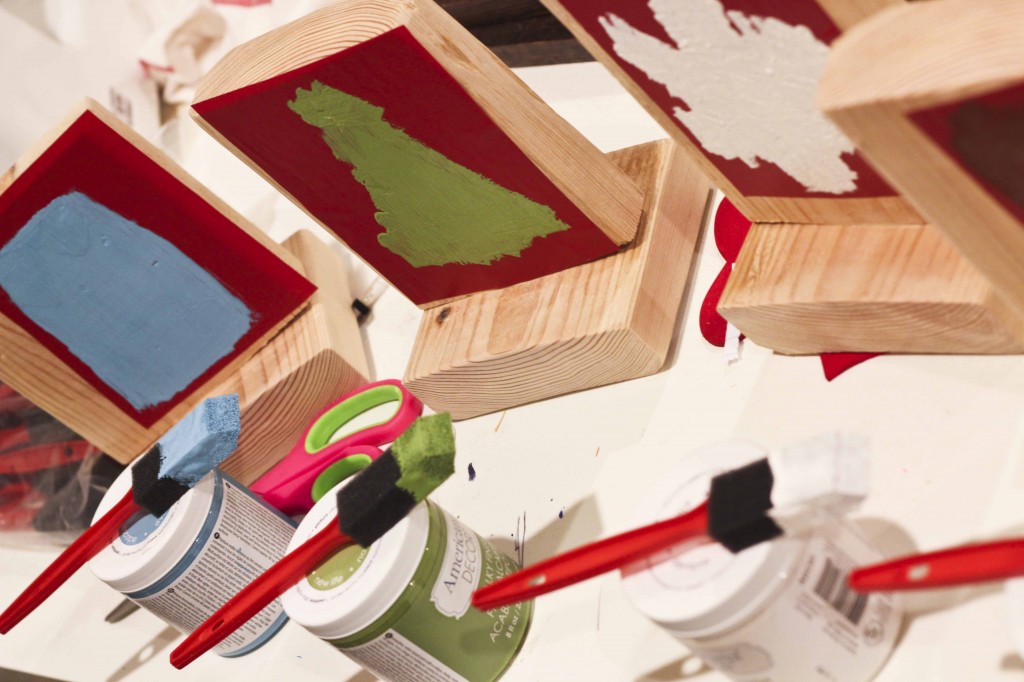
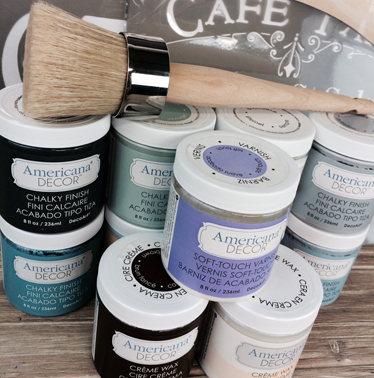
- DecoArt Chalky Finish Paint (I used these colors: Romance, Everlasting, Rustic, Escape, and New Life). Americana Decor Chalky Finish paint is available in Michaels in the wood and finishes aisle. (Visit the DecoArt Chalky Finish website for more chalk paint ideas and inspiration!)
- Sander or sandpaper
- Lots of foam paint brushes
- Minwax stain in Early American
- Old rag
- Cute knobs
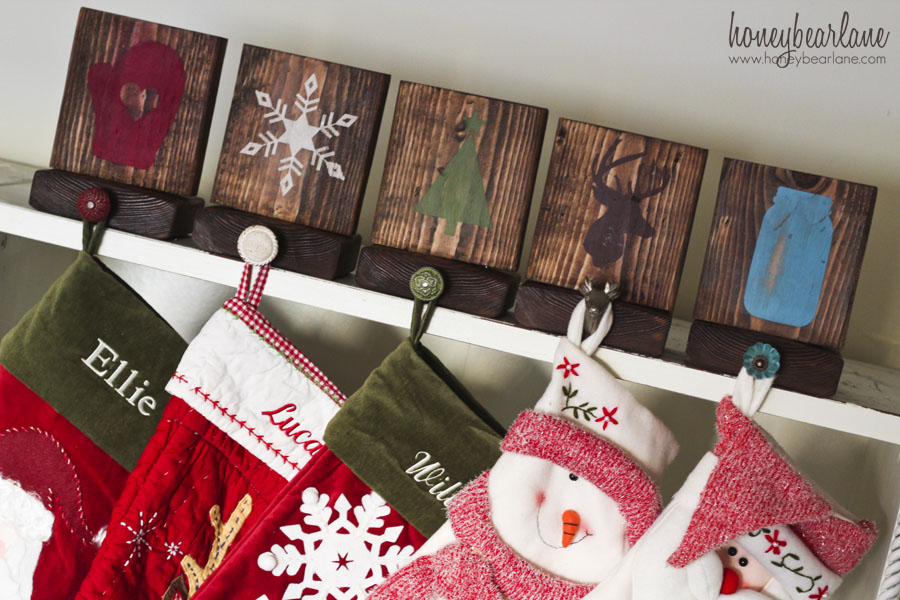
I made five stocking holders from one piece of wood. Get a longer piece of wood or two pieces if you want to make more.
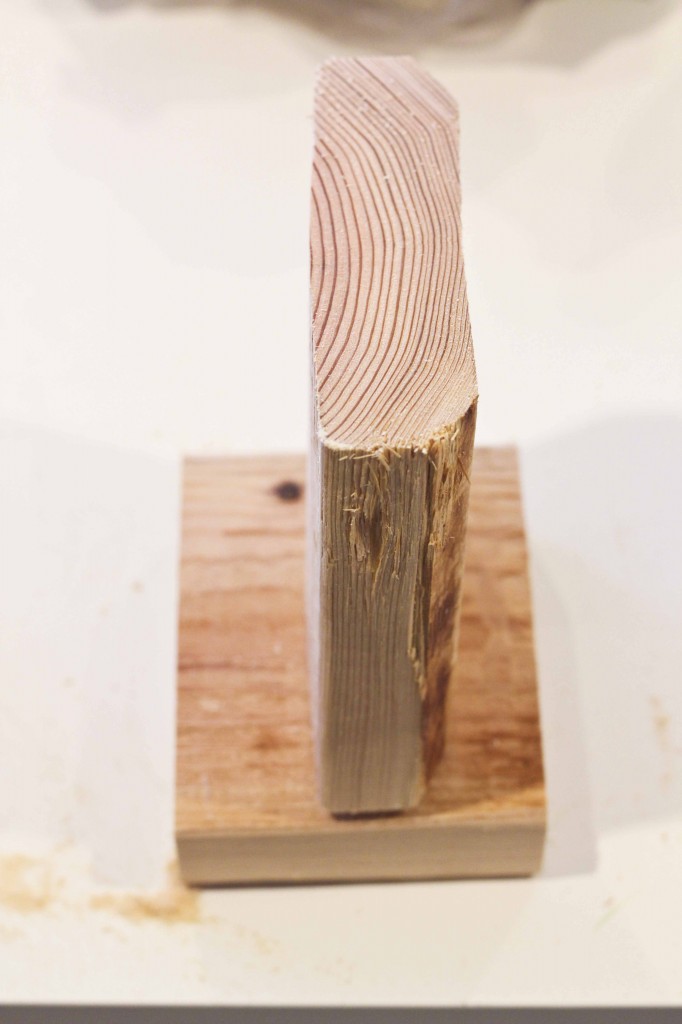
Cut (or have cut at wood store) the 2×6 into 5 pieces of 5.75″ length and another 5 into 4″ length.
Use your nailer or screws to join the two pieces together. I centered the 5.75″ on top of the 4″ piece. Then give them a good sanding. Wipe off the sawdust.
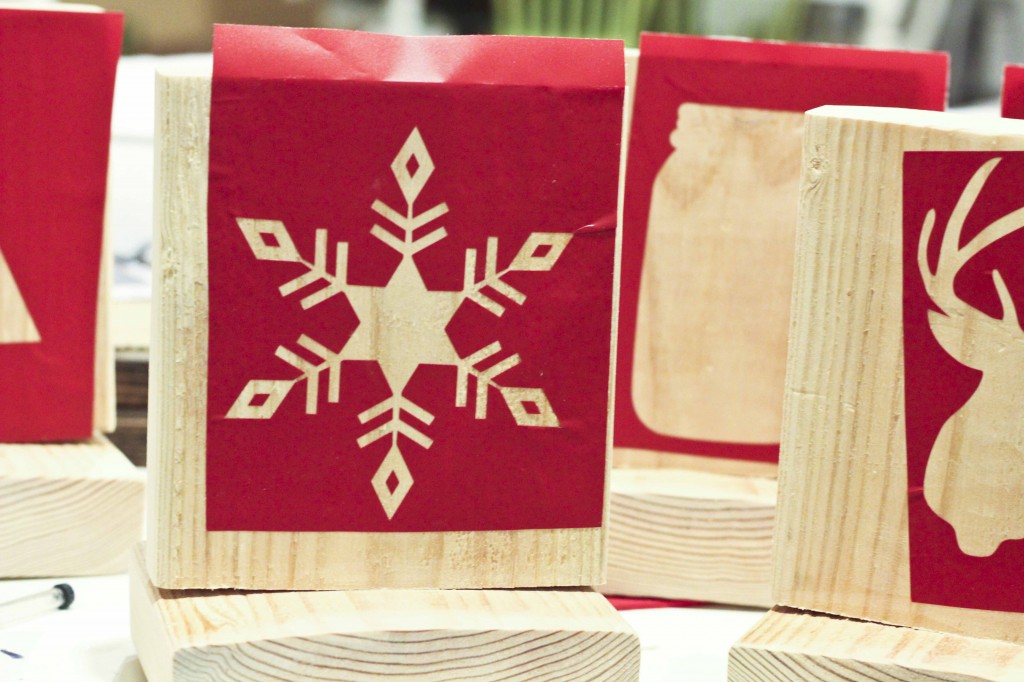
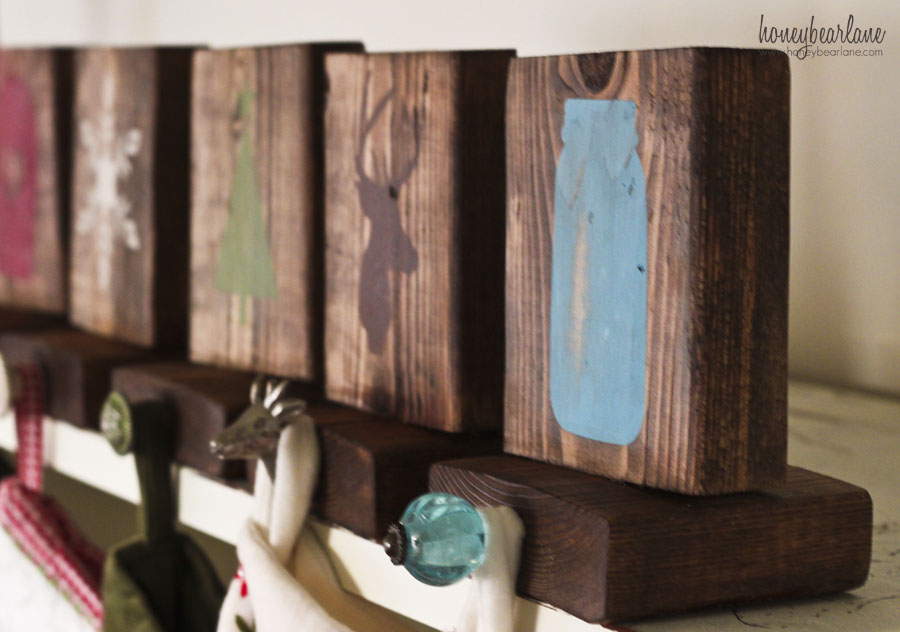
Use your craft cutter to cut out your ‘rustic’ Christmas shapes. I chose pretty simple shapes that seem to be more rustic to me and could easily have been painted by hand. I have a Christmas tree, snowflake, deer, Mason jar, and mitten. I got all these shapes on the Silhouette store. I cut them on the vinyl and transferred them to the wood.
Using a foam brush and making sure the vinyl is on very flat and tight, blot the paint onto the negative space of the ‘stencil.’ This helps prevent bleeding and ensures more crisp lines. Let them dry a few minutes and remove the stencil. I only painted one coat, and as you can see, it was plenty for these shapes.
This is where I decided to stain the wood. I was tempted to leave it raw and I wish I would have remembered to take a picture of this. I was so excited about this project I forgot! Anyway, I just brushed some stain over the entire thing and wiped it off with an old rag. I rubbed harder on the paint so the stain wouldn’t stay there.
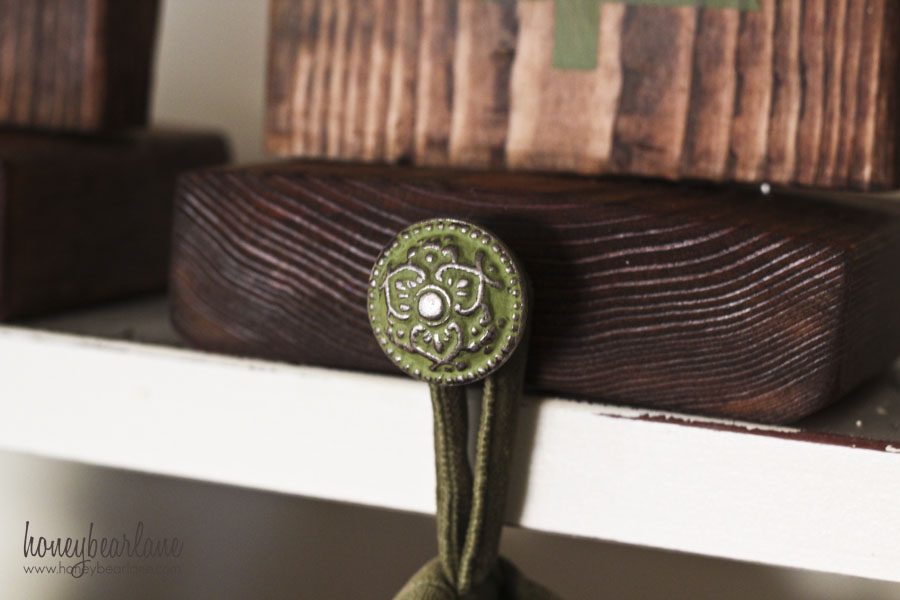
After those had dried, I drilled a hole the same size as my knob screw. I actually just hammered the knobs in the holes. They were nice and secure. I couldn’t find two knobs that were the colors of my stocking holders so I used the chalky finish paint to paint them, then I sanded them down so the texture shows through. Cool, right?
Don’t you love these? I think they will look great on my new mantel. I can’t wait to use them! I also adore using Chalky Finish paint. Seriously, a little bit goes a long way–I just refinished an entire desk with one pot! The color is so rich and beautiful and looks even more amazing with the dark wax. I never get tired of trying them out.
Want to win some of your own Chalky Finish paint? Enter for a chance to win 8 colors of your choice, clear and dark creme waxes, Soft Touch varnish, waxing brush and 2 stencils of your choice!
Enter the Rafflecopter below!
This post was sponsored by Michaels and DecoArt. All opinions are 100% my own.

I would make and paint some holiday ornaments.
I would make a bunch of signs and maybe refinish an end-table.
Would like to paint some accessories for my bedroom makeover.
I would paint my entryway table.
I would love to paint a tablet top.
These are awesome Heidi. I love to have some quick and easy projects to do this busy time of year! If I won the chalky paint I think I would try redoing a smaller piece of furniture. I have a chair in need of a makeover!
Tania
These are so meat, would paint holiday gifts—ornaments, decorative boxes, personalized letters, frames..and much more.
I would use it on an old bookshelf to give it new life.
I have an old piece of furniture that needs a new look. This would be a perfect finish for it.
I would paint a cabinet that I have in my kitchen with the Chalky Paint. Thanks!
I have some metal candle holders that are in serious need of updating. Hopefully this paint works on metal!
Thank you Heidi this is a great giveaway and I love to paint.
I have a whole new house to redecorate…name it and I need to paint it 🙂
Love the chalky paint. I would like to make some new stocking holders too.
i would love to make some chalkboard frames with pretty colored chalk paint on the frames themselves.
There are some Mason jar crafts I would like to try. I would use the chalk paint for that.
I would paint our end tables and a few wall shelves.
I would paint my frames !
I would paint some picture frames!
I would start by painting ornaments and then move on to painting the homemade birdhouses my son makes. After that I would repaint our bureaus since they need lots and lots of TLC. They are both older than dirt and it shows! LOL Would love to win this awesome prize package so I can get started! Thanks to Michael’s, HoneyBearLane and DecoArt for the chance to!
very neat idea. I would love to refinish some old tables I picked up at a thrift sale. Great giveaway!
I just love to paint so much so, that I go to garage sales and buy things to re-invent! Love boxes the most because I can add architectural details and it doesn’t cost as much as larger pieces. Makes great gifts too!
I would make a Merry Christmas banner
Who was the lucky winner of this amazing prize package!! Hoping to hear that I am!! Fingers crossed! THANKS!
I tend to love anything rustic too! These are beautiful. I am giving these a go because I would use them year after year. Will have to share this 🙂 thanks!
Gorgeous! Just a question… how do you weigh down/ attach the holders to your mantle so they don’t fall on a child’s head, especially when the stockings are attached?
What’s the answer to these stocking holders not tipping when full of Santa’s goodies? Did you screw or nail them into something that holds the weight of “full” stockings?
Thankyou
Santa actually never keeps full stockings on the holders at our house. When they are filled up they just rest on the hearth. 🙂