How to Plank a Wall and Not Break Your Back Doing It
I have another survivor’s story here. This is a good one, you’ll be riveted.
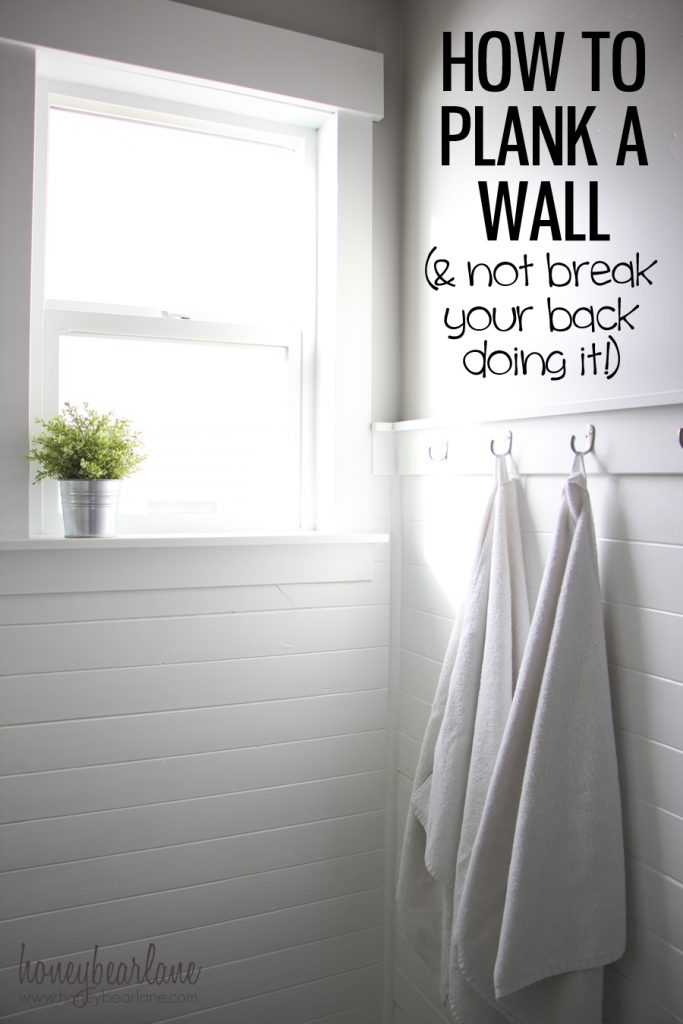
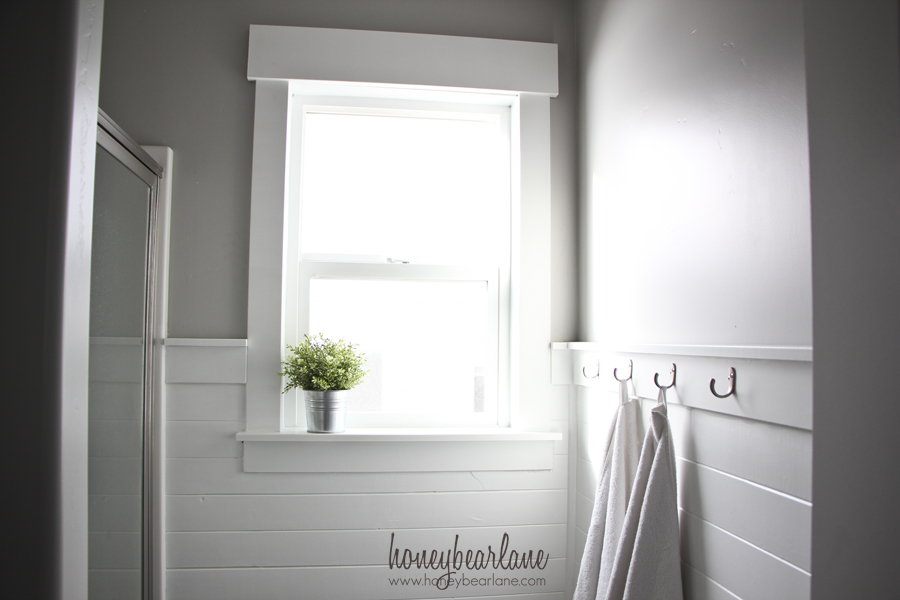
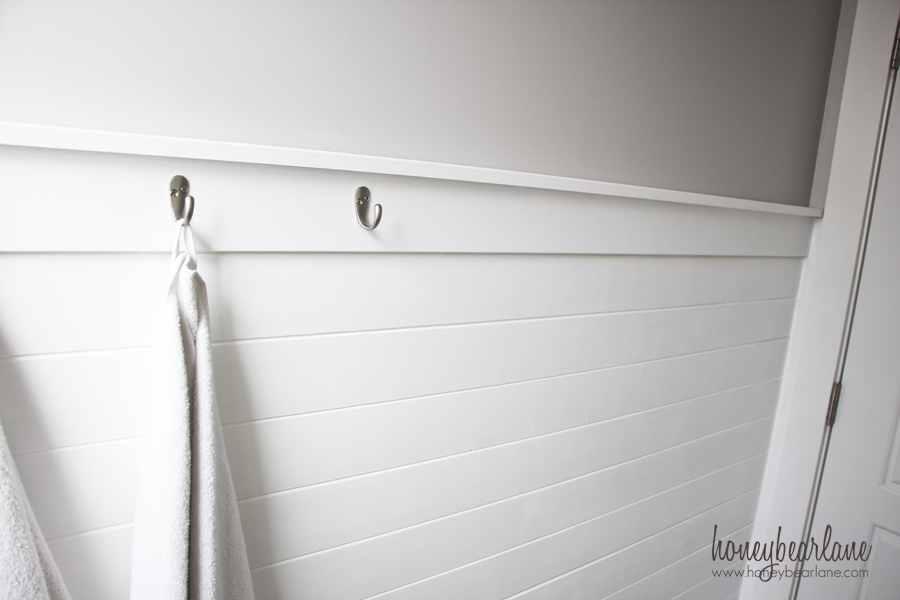
So I have been wanting to plank my kid’s bathroom walls for a long time. The towel bar in there fell off like the first week we moved in and wouldn’t stay up no matter what. (Cheap builder grade stuff!) So my kids would just throw their towels on the floor which I of course hated. I thought if I planked the wall halfway up and capped it off with a thicker MDF board I could put some hooks onto it and that would be the perfect solution.
My First Attempt and Mistake:
I seriously had this idea last summer. And last summer I researched it and decided to go the cheapest route and had some 3/16th’s Masonite ripped down to 6″ strips. (Masonite is basically glorified cardboard, ya’ll.) And then they sat in my garage for six months. Last week, I decided that since my sister was coming to visit and going to use that bathroom, I needed to get this done.
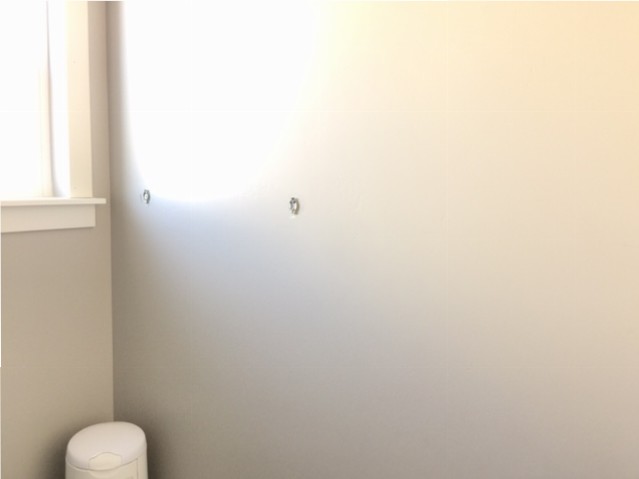
Before: You can see how boring this wall was and the leftover hardware from the towel rack falling off.
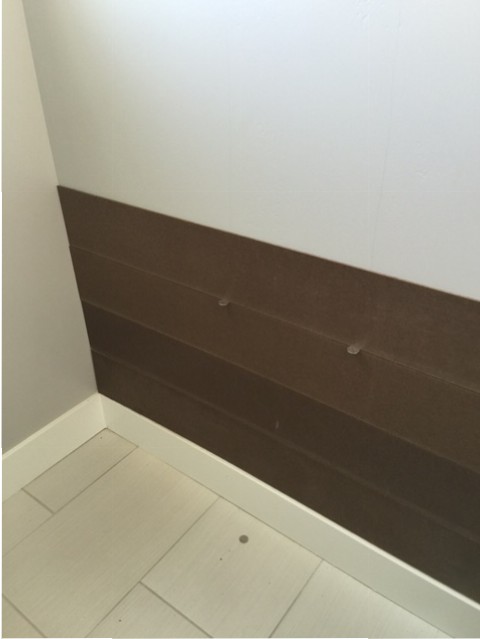
I got to work, marking the studs and nailing the Masonite into them with my nail gun. I spaced the boards out with nickels, just like all the tutorials I read. I was lazy though and didn’t bother sanding the edges of the ripped boards–I figured I’d do it when I was ready to paint. When I showed my husband my progress, he said, “Yuk!” It really didn’t look pretty, but DIYers know to look past that and imagine the finished result.
The problem I ran into was that I wanted to wrap the planks around to the next wall but I’d run out of Masonite. I ran to Lowe’s that day but they were out of the 3/16th size and only had the thinner size. I thought it wouldn’t matter, so I had them rip it. It DID matter. And they ripped it slightly larger than the other Masonite. Both of these things mattered!
I started nailing the new Masonite up. But it was too thin and the wall was a little warped already. So the nails went straight through and it didn’t stay up at all. I nailed a bunch of nails in and got about four boards up and realized the boards weren’t lining up with the boards I did on the other wall! Arg!! I consulted my husband and we decided it would be better to rip off all the Masonite boards and start over completely. Fortunately Masonite is super cheap so I wasn’t out a ton of money. I was also worried that it would get ruined with any moisture in the bathroom.
Back to Lowe’s I went. I debated between getting 1/4″ plywood ripped, tongue and groove pine planks, or thicker and wider tongue and groove pine planks. I really loved the look of the wider pine planks but the price would be twice as much as anything else. And since I already lost money on the project, I decided against it. I love the look of the ‘v groove’ in the tongue and groove and it looks really neat and tidy when it’s done. But the cheaper tongue and groove planks were only about 3.5″ wide. I ultimately decided to try them because I knew I wanted to try them for another future project and this would be good practice.
I bought four packs, a quarter round, a 3.5″ MDF for a cap, and some robe hooks. I already had everything else. Nails, caulk, paint, and a 1.5″ MDF piece for the cap of the cap. Kapish?
This is where the tutorial starts folks so pay attention!
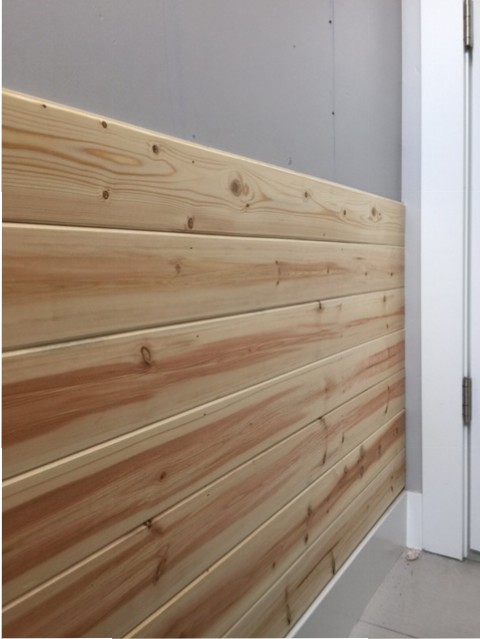
It is actually very easy. At least it was for me because my walls were small and had no outlets or anything. The tongue and groove planks were extremely thin (about 1/4″ thick) so I decided to not bother removing my baseboard. Also my baseboards are square and plain so they work with wall treatments really well. I sat the first board on top of the baseboard, tongue side facing toward the ceiling. I took the level and angled the board until it was level. It had to come up slightly on one end but no one will notice when it’s all painted and caulked. Better to have it level.
I had marked all my studs so I nailed the plank in where there were studs. I only used 1 1/4″ nails because the planks are so thin and once they are painted, they aren’t going anywhere. I didn’t use glue on the back…I only use glue if I absolutely have to because glue is 1 billion times harder to remove later…you have to be positive that wall treatment is going to be there forever.
Tongue and groove is easy to do. Once the first one was up, I put the second one on top of it and wiggled it into place. I used a mallet and a wood block (my wood block was actually my level) to pound it into places where it needed more convincing. I nailed it in place. I did about four up and then moved to the other wall. I wanted to make sure I worked concurrently with the other wall so they would stay aligned. It didn’t matter that the corner looked shoddy, that would be covered by the quarter round.
Here’s a few tips when using the cheap tongue and groove pine planks:
- Try to use the best pieces only. Some pieces will be broken at the tongue or groove. If you can, avoid those pieces.
- To to use pieces without gigantic knots. Unless you want a rustic look, obv.
- Be gentle with them, they are thin and can still break. Don’t tap your mallet directly on the plank.
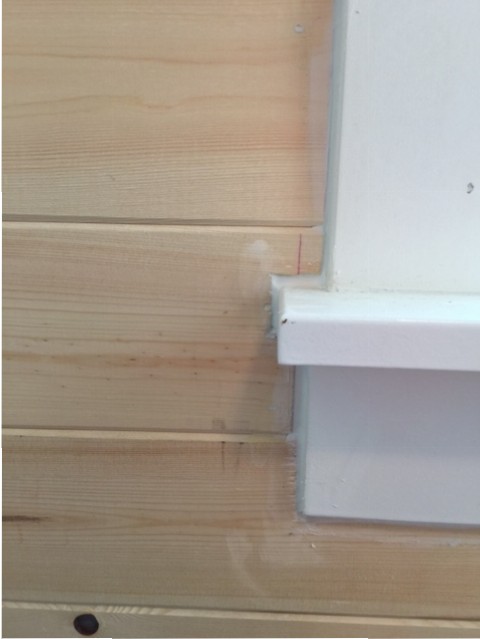
When I got to the only tricky part, the part by the window, I used a paper to make a pattern for the pieces I needed to cut with a jigsaw. It wasn’t easy to cut these because my jigsaw kinda sucks and these pieces are super thin. I need to get a thinner jigsaw blade.
After I had finally gotten all the right materials and everything, the whole project went up in a couple of hours. Unfortunately I had already wasted the entire day before on the Masonite and being six months pregnant, my back was starting to ache. It was a small space to work in and all the squatting and getting up and down was taking its toll.
The next day I caulked, filled nail holes and knots, and painted the first two coats with a shellac-based primer (Zinsser.) Don’t worry, I used a respirator mask while I did this because this stuff is stinky! I used Shellac based because I didn’t want any of the knots bleeding through. The day after that I painted two more coats in a plain latex satin coat. I finished it all off by caulking any other parts that didn’t look good and added the hooks. And after all that painting, my back. was. done!!!
Tips for painting a plank wall:
- I always use a 4″ foam roller brush. It gives the smoothest finish and I have the most control over it. I could push the edges of the foam into the grooves and get a lot of paint in that way.
- I also used a small art paintbrush to paint into the grooves. If I could do this over, I would have painted my first coat of latex with a sprayer…I think that would have done a great job at getting into the grooves but my particular sprayer leaves an ugly flashing so I always roll on the final coat.
- Any spots where paint isn’t enough in the grooves, use a little bit of caulk. This will seal it up and make it white.
- Best tip of all: don’t be pregnant when you do this.
And Finally…How to NOT break your back:
Don’t push it! If you back starts hurting, stop working. Finish it another day. It is so much more important to listen to your body. I wish I had! By Friday I was dying. I sat in bed with a heating pad thinking about what I could do to relieve the soreness and that my sister was literally coming that night and I still had so much to do.
I decided to try a chiropractor, for the first time ever. Here’s another word to the wise: Ask your friends for referrals! I actually did ask my friend about her chiropractor but he wasn’t working that day. So I stupidly found a guy on Yelp. I went to him and he adjusted my back…no questions asked. He really should have asked questions. Like “Could you possibly have a slipped disk?” um YES! As I walked back to my car, my back started seizing up and I wanted to cry.
When I got in the car, I did start crying and it was a LONG painful drive home. When I got home I was starting to actually cry out in pain. And I didn’t think I could walk from the car to my bed. I somehow did it and then my back was full-on seizing and spasming. Seriously, the most pain I have ever felt in. my. life. And I’ve had three kids! I was dying in pain, and being pregnant there’s almost nothing you can do. I sat in bed and cried until my husband came home. Then I sat in bed for two more days because I could literally only walk enough to use the bathroom and even that was torture.
Now it’s about five days since and I’m actually recovering pretty well. I can walk around okay now, but my back pain has transferred to the sciatic nerve, super fun. And let’s just say home projects will be very simple until this baby comes out. 🙁
Oh and several days after I hurt my back I finally made it back upstairs to admire my handiwork and I gotta say, I really love it! I want to eventually plank the rest of the bathroom but I’m going to do that AFTER I birth this baby!


Beautiful, job well done.
Thank you!
I love this! How high up the wall did you do this?
Thanks! I would say it’s about five feet up.
I used your article to show my wife how good this would look, which convinced her the project was worth doing. I also installed new flooring. I used the wider pine boards from home depot which were actually pretty cheap. I think I paid like $9 for 10′ boards. My wall was quite wavy so I ran the boards straight and used fat trim for the cap, which I bent to follow the wall. My advice? Always use Behr Ultra Pure White Gloss for trim! Everything else looks at least a little gray in comparison and doesn’t have nearly as much shine. Also, use a color sample of the same paint to compare any potential colors to that you may be considering for the walls.