Fireplace Mantel Makeover Part 2
Trimming it out:
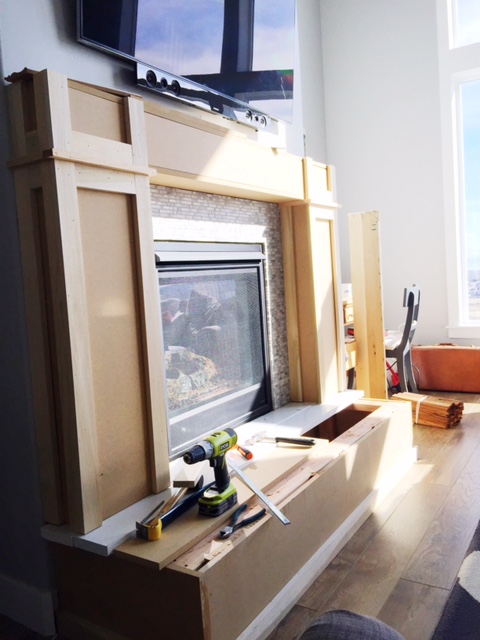
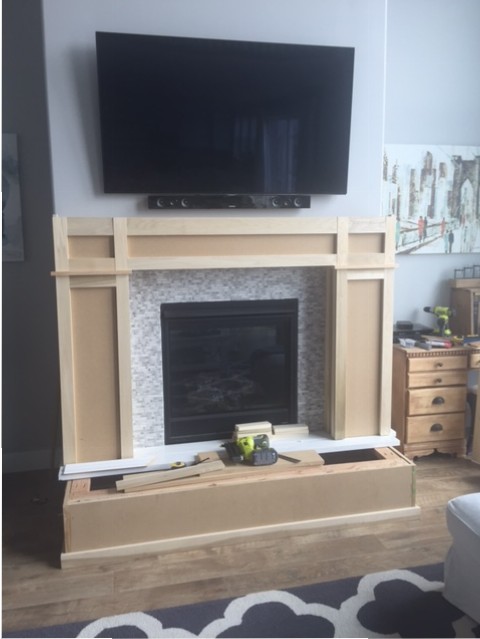
I used 1×3, 1×2, and 1x4s on this. On all the front pieces it’s 1x3s. I started the trim by turning some 1x2s on their side and wrapping each leg right where it meets the cross piece. I did the sides first, making them flush with the front and then added the front piece. I used 2″ nails to secure with my Ryobi Airstrike brad nailer. Then I started adding 1×3’s everywhere else on the front.

To wrap each corner, you have to place a 1×3 on the front, leaving it jutting out 3/4″ on the side and place a 1×2 on the adjacent corner, making sure the wood is flush with each other. Clamps helped a lot with this. You will do a 1×2 because with the extra 3/4″ it’s almost the exact size of a 1×3 and makes it all look even. If you want to be precise you can rip a 1×3 down to the right width but I didn’t want to waste wood or time. And I don’t think you can tell.


Wow! That looks so great! Thanks very much for sharing as this is exactly what I’ll be doing next month! Timing! 🙂 I love the crown moulding! I cut scotia (cove) for the first time recently, and it nearly did my head in trying to match the cuts up correctly. Eventually discovered I had to place everything on the saw backwards and upside down! (I’ve kept samples with instructions written on them for next time! Nearly drove me nuts!).
Thanks again, Heidi. Well done!
Cheers, Liz (Australia).
Thanks! Good luck with yours!