DIY Built in Cabinets Around the Fireplace (Part 1)
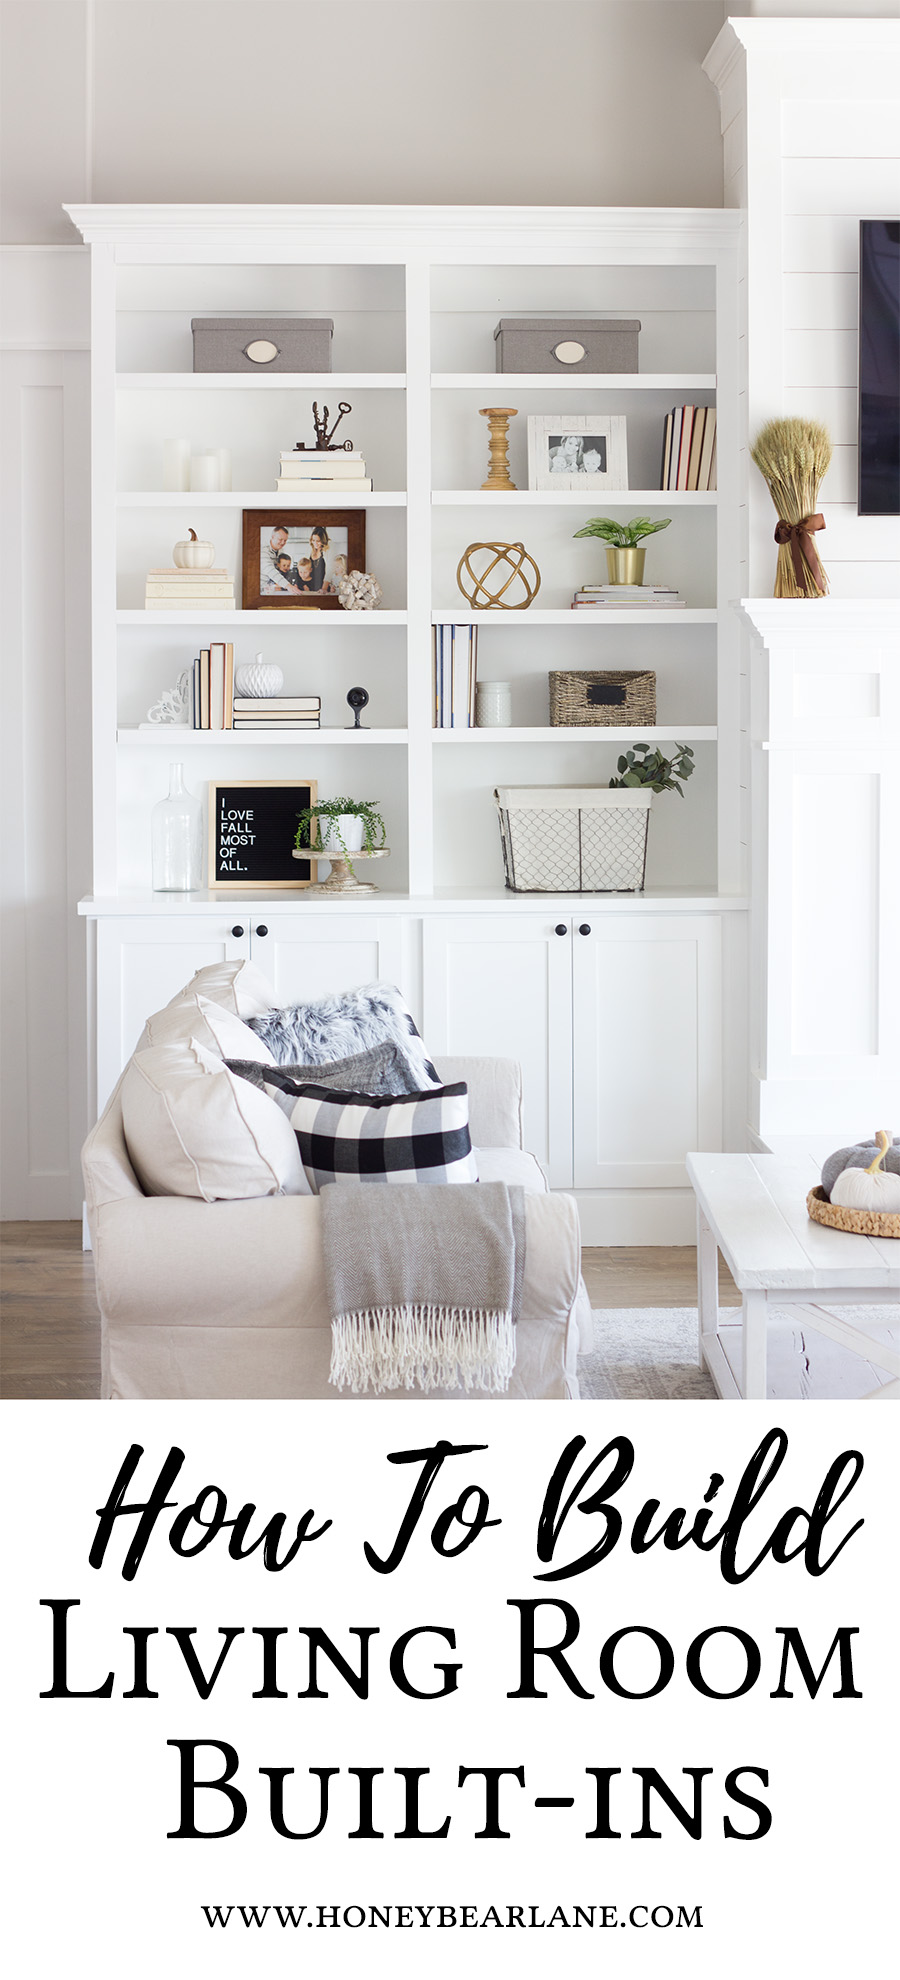
I recently shared the reveal of my biggest DIY to date–my diy built in cabinets around the fireplace. I am SO in love with how they turned out because it makes my home feel so much more custom and beautiful. Sometimes I look at them and I’m like “I can’t believe I built that.” It always seems so fantastic and overwhelming when you look at the finished product but I’m going to break it down in the next couple of posts for you to read so you can see how I just took it one step at a time. Hopefully you will feel more confident in your ability to create these yourself!
For pretty much as long as we’ve lived in our house (which is going on three years now) we’ve planned on doing built in cabinets around the fireplace. Last year I completed the mantel makeover which was the first part of this project and this year I finally got around to doing the built ins around it. I couldn’t do any big projects this summer while my kids were home so literally the day they started school I went and got the supplies for these.
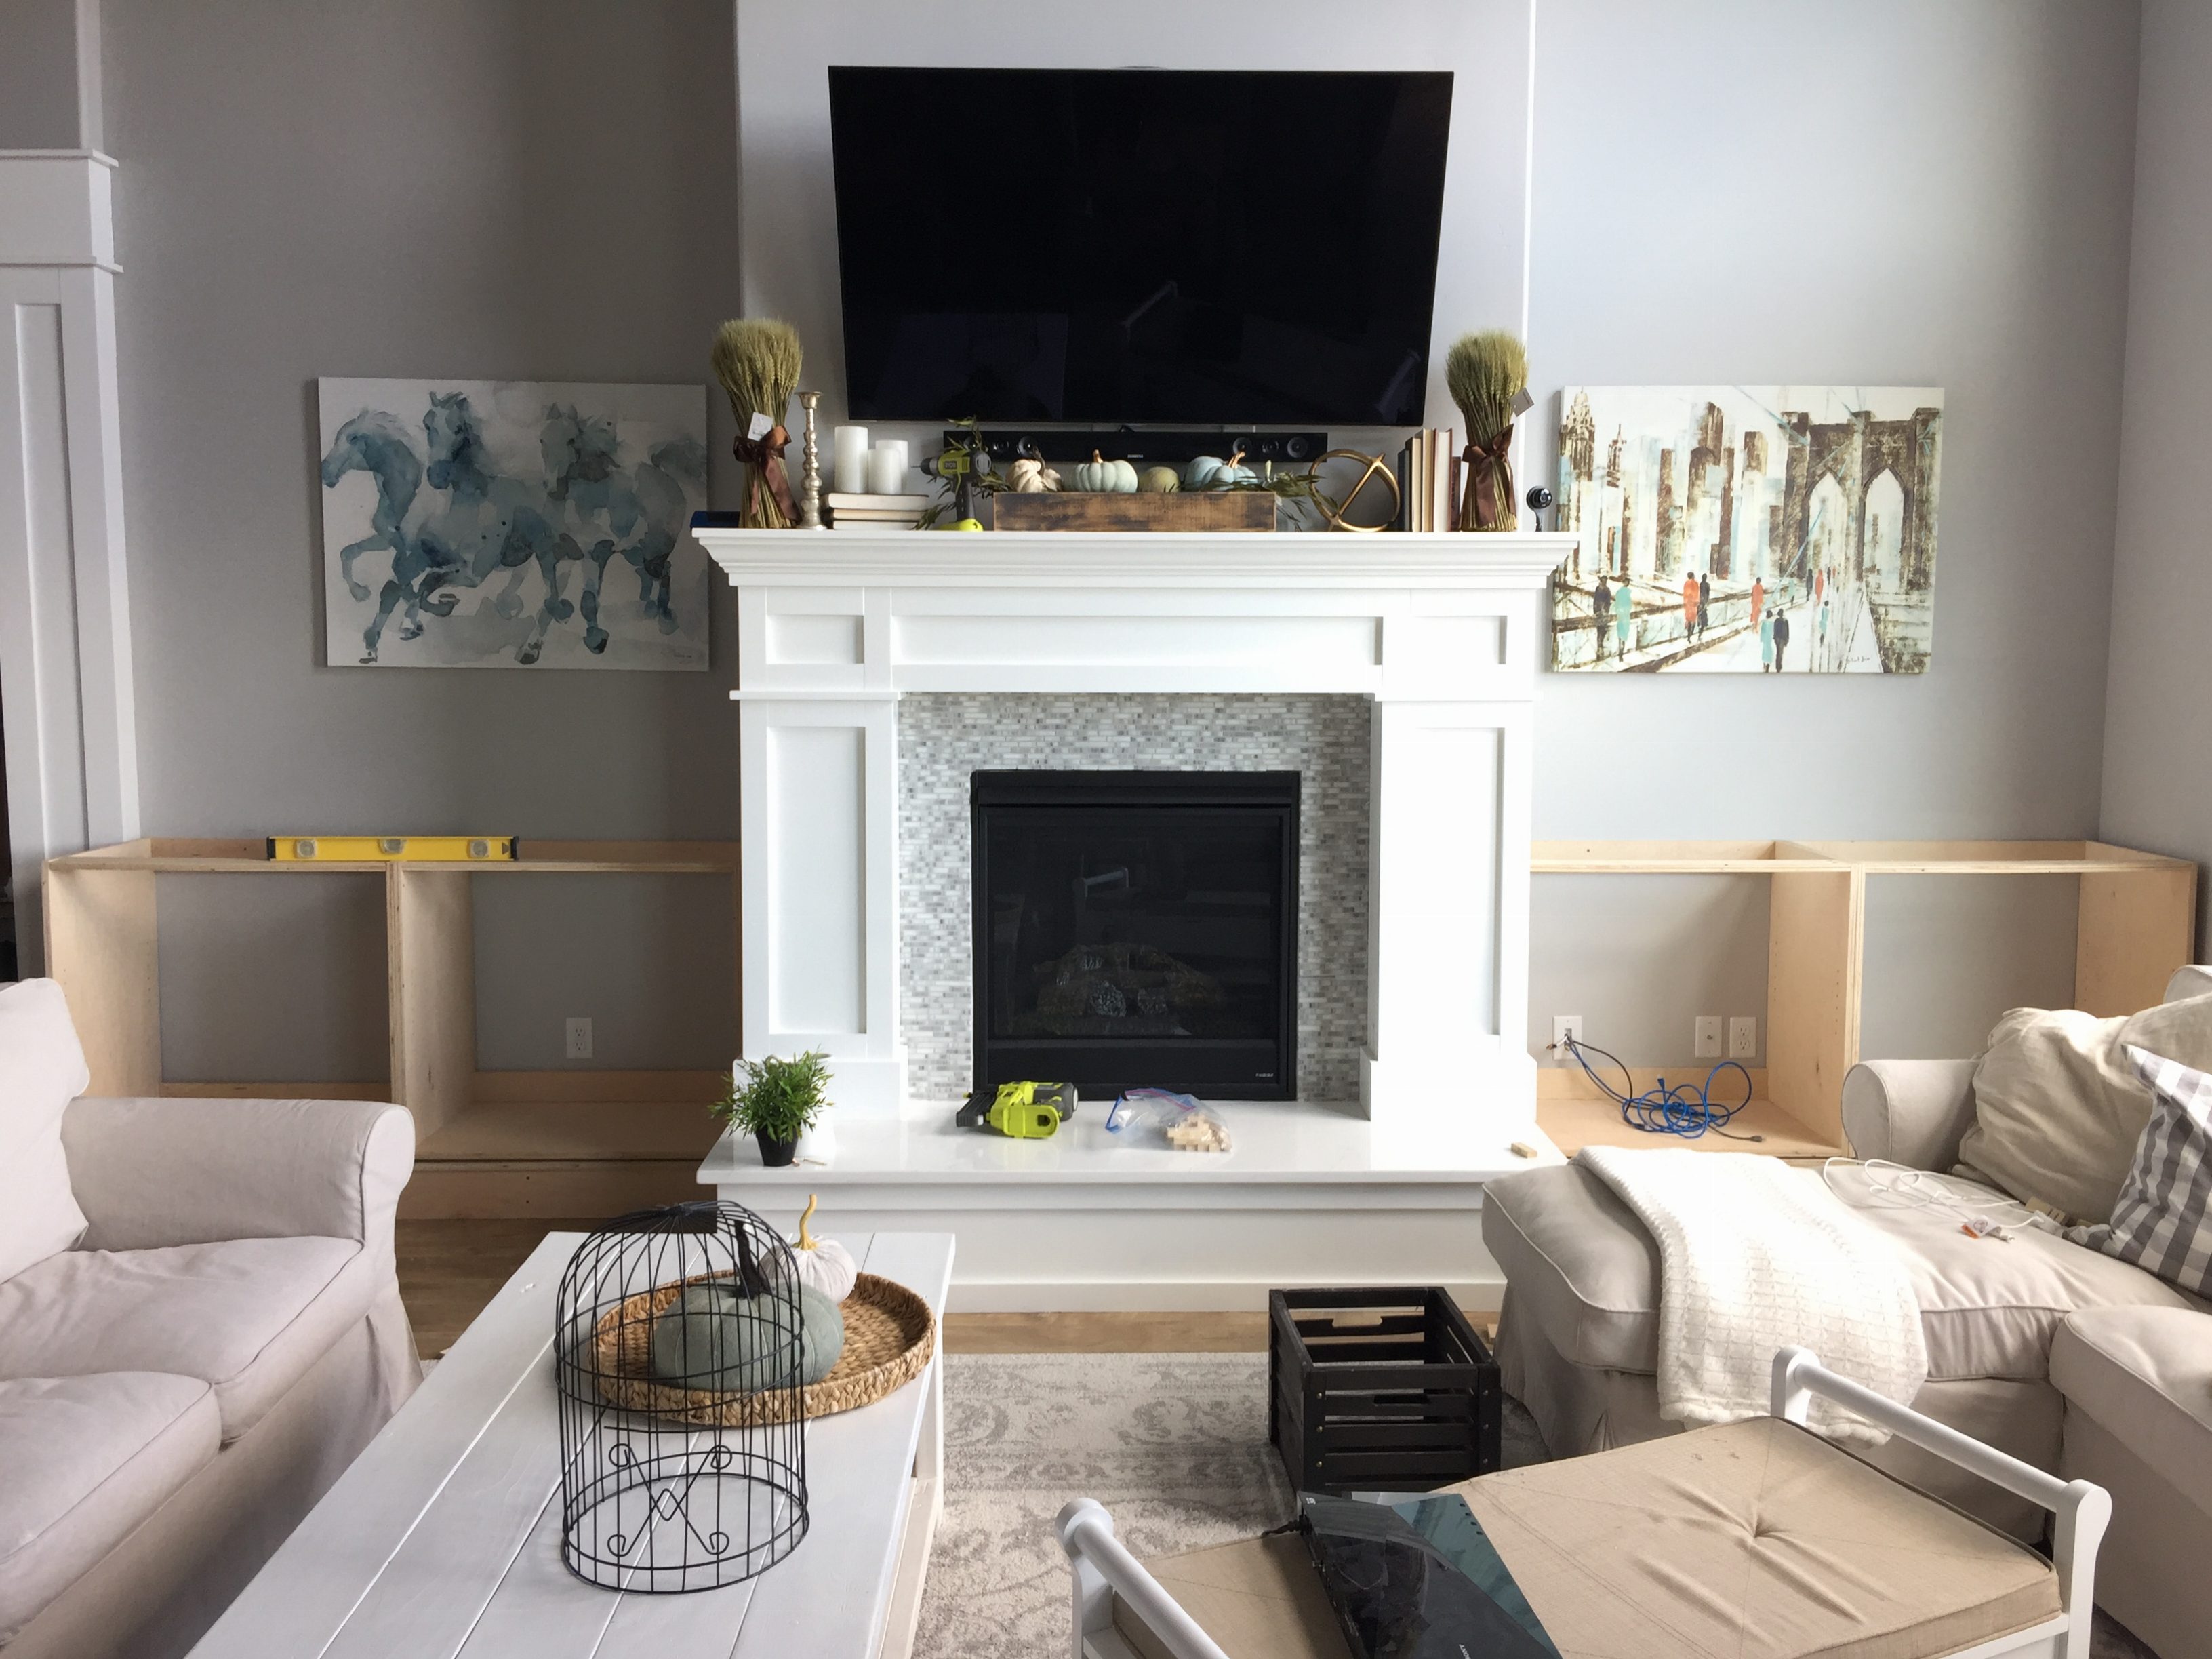
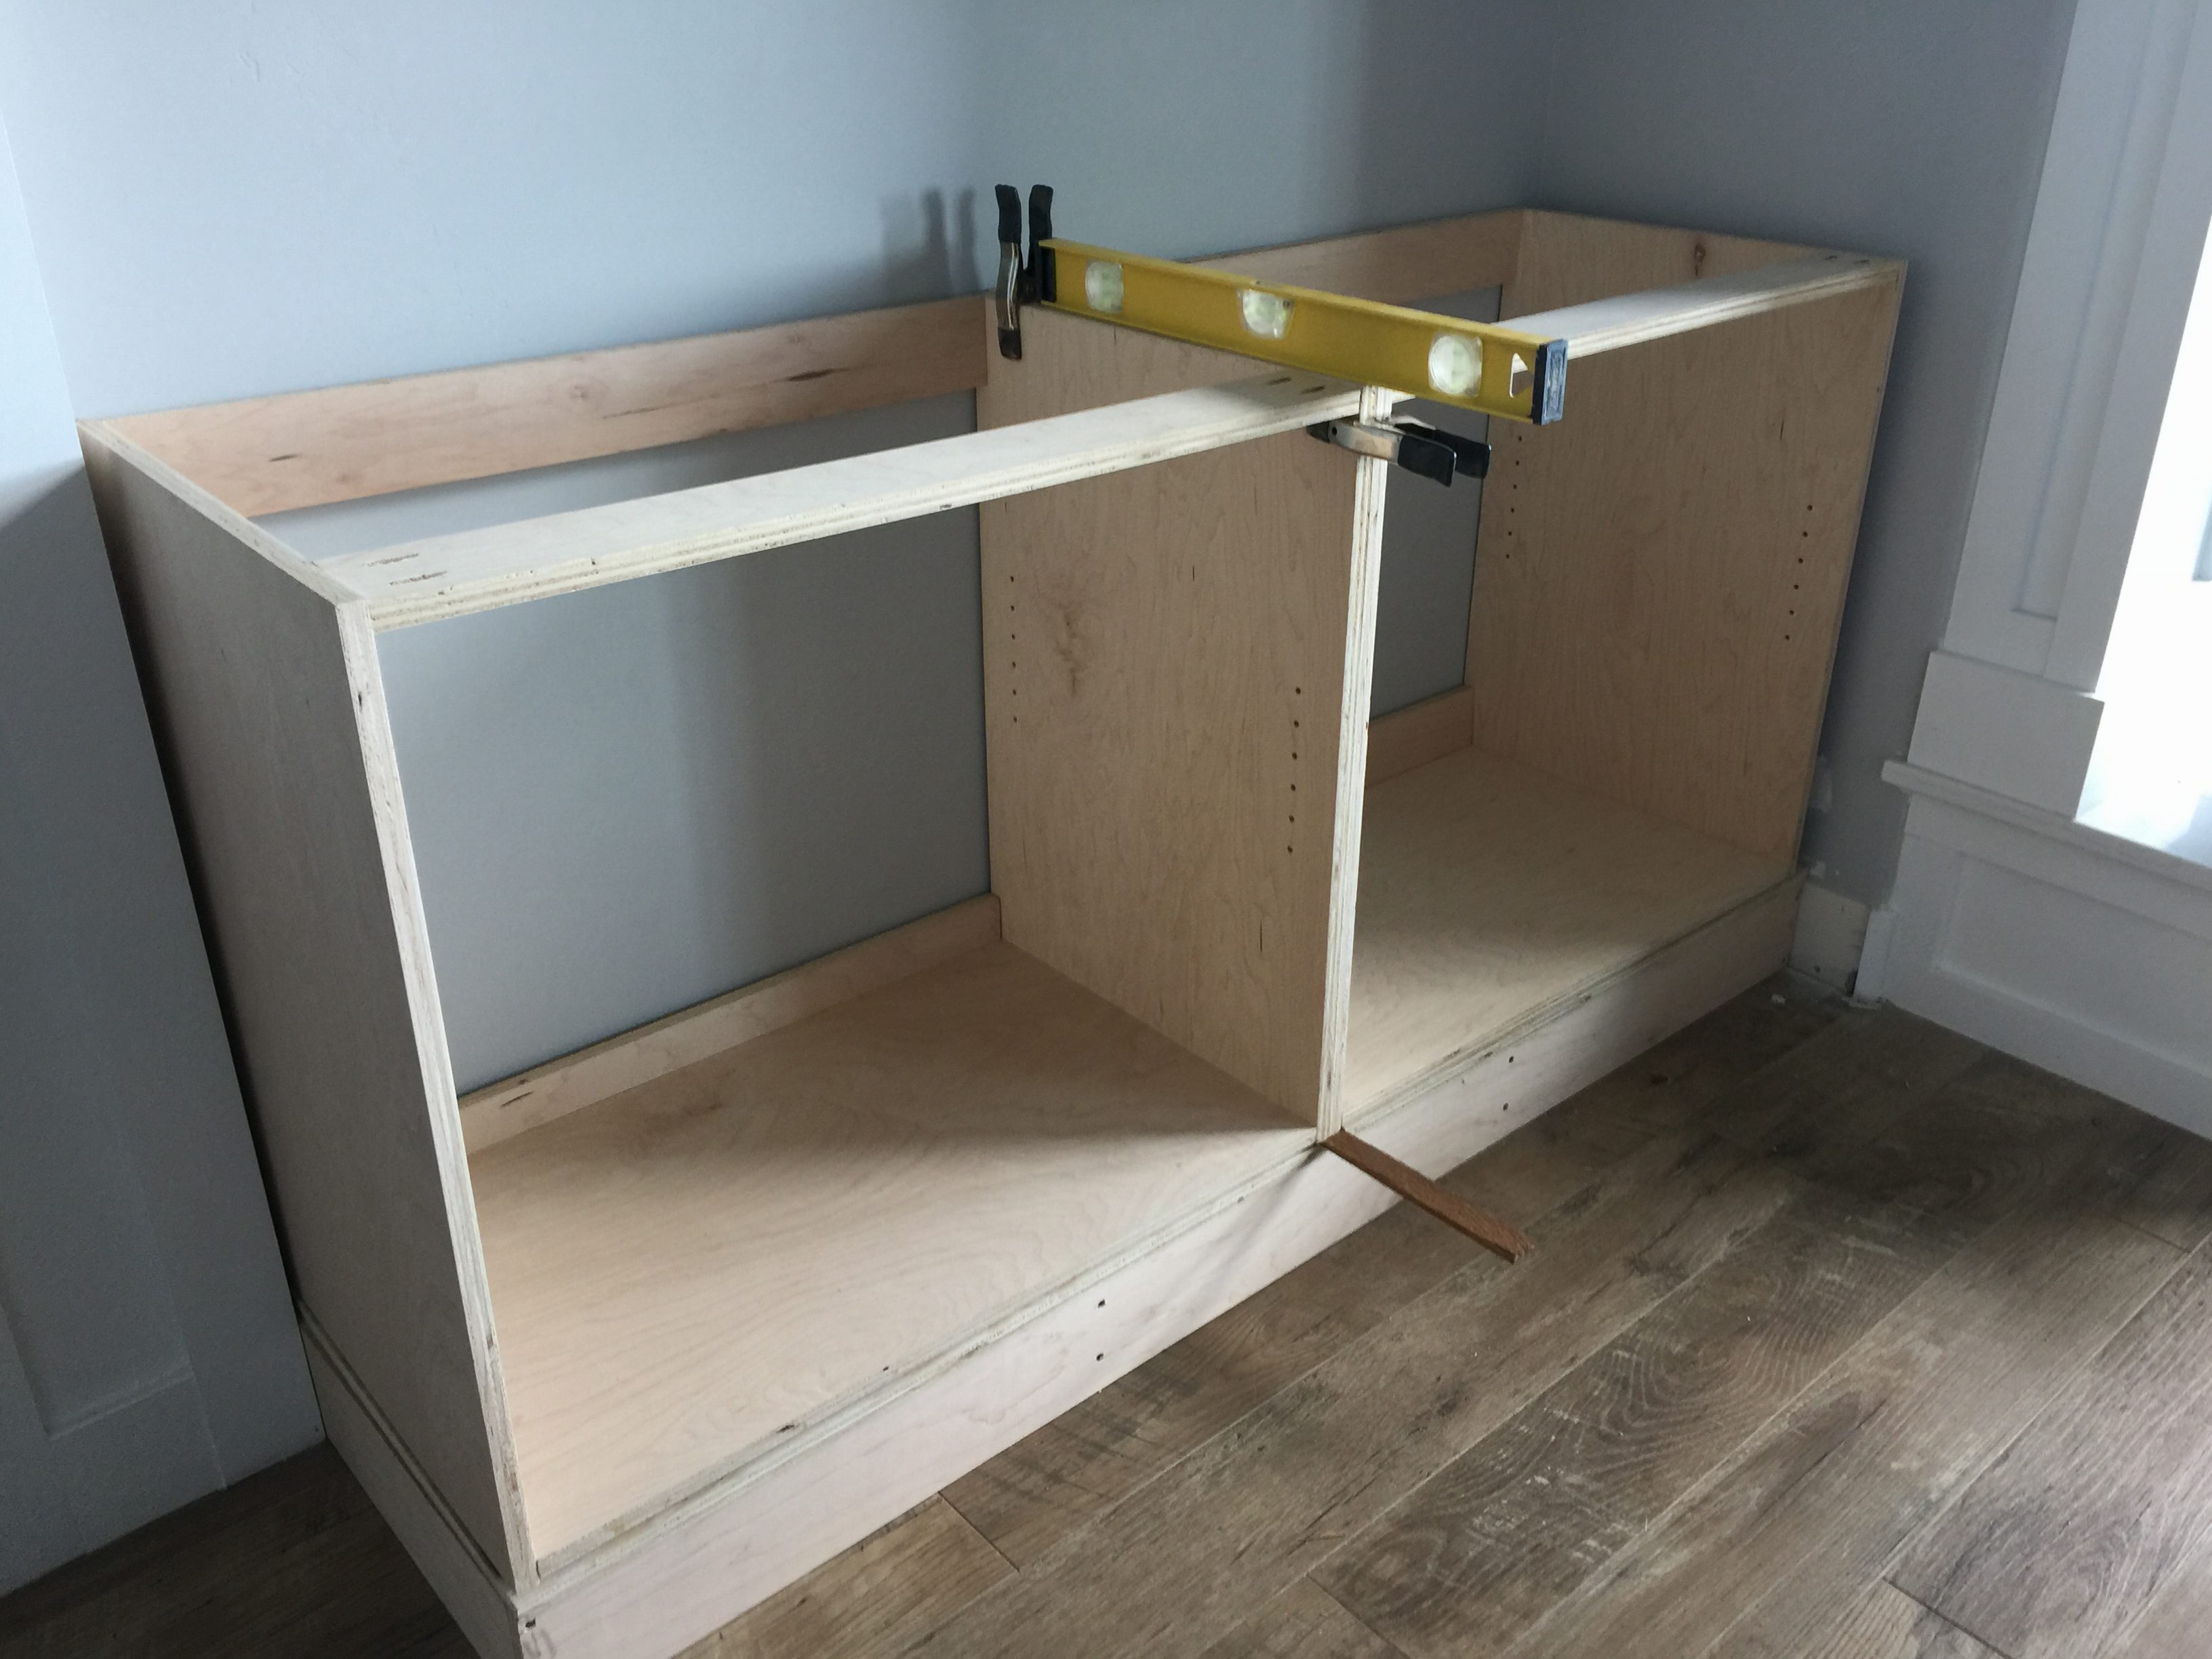
Here’s what the cabinet carcasses looked like–and please ignore the messy home of mine. My house is always in shambles when I do a big project.
To make my diy built in cabinets around my fireplace a reality, I measured and planned it all out.
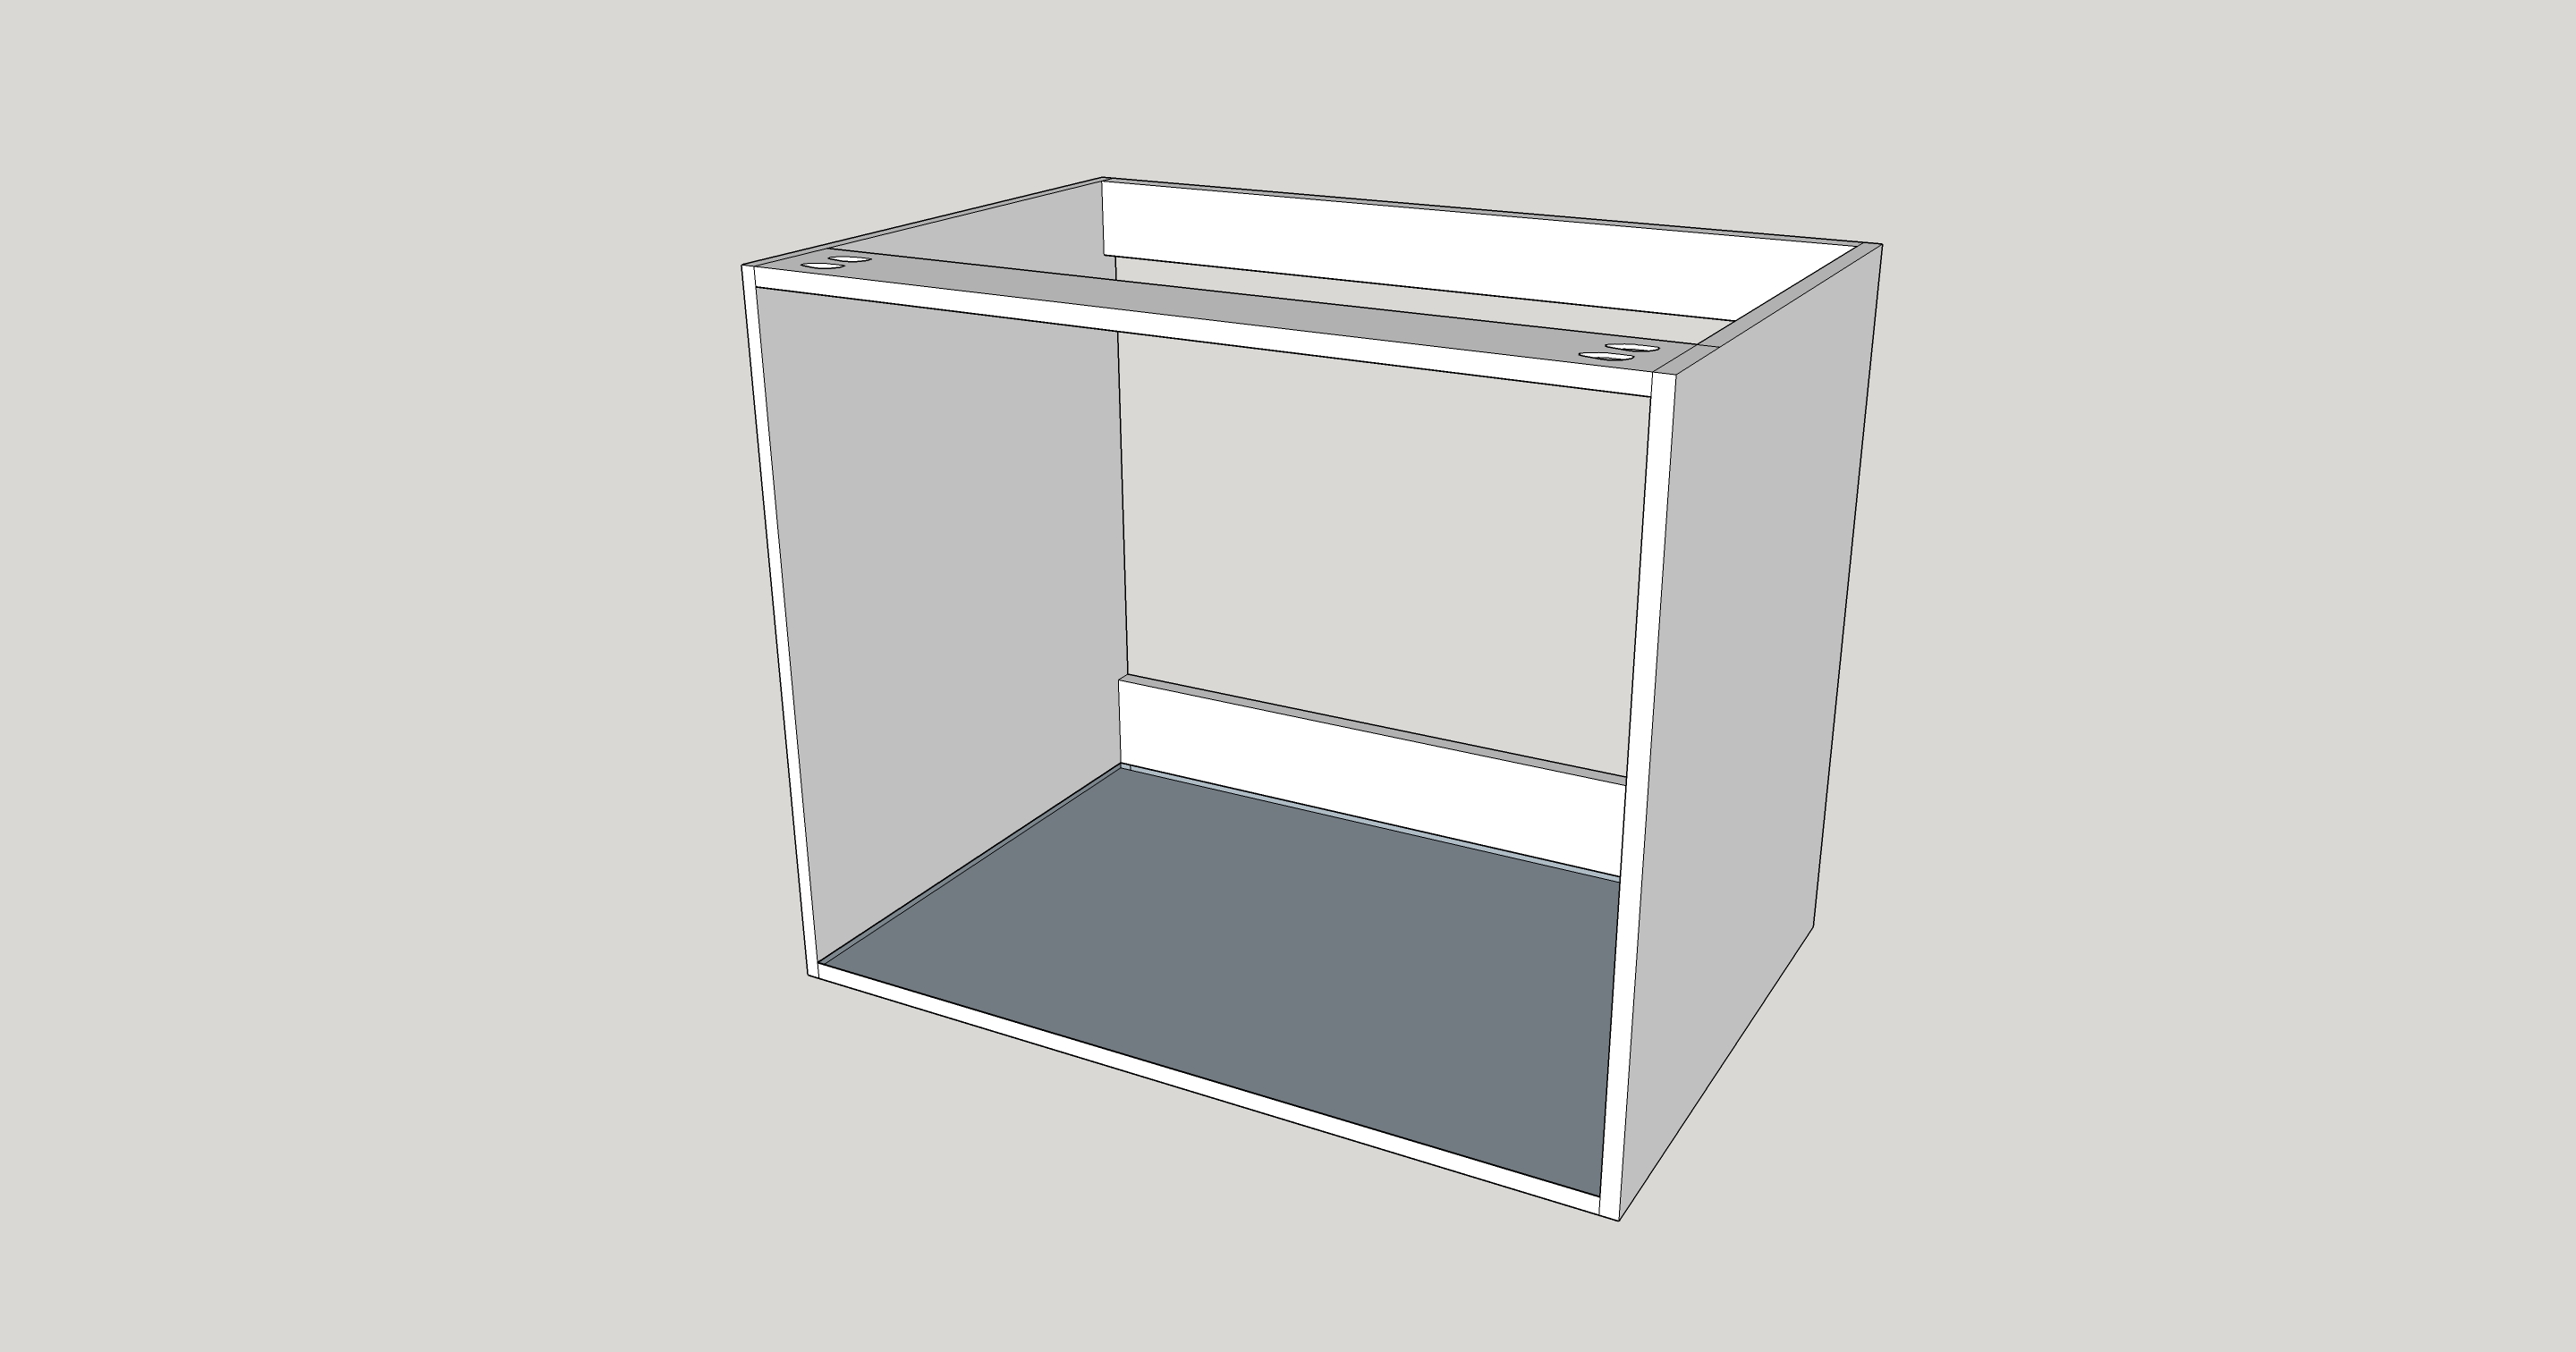
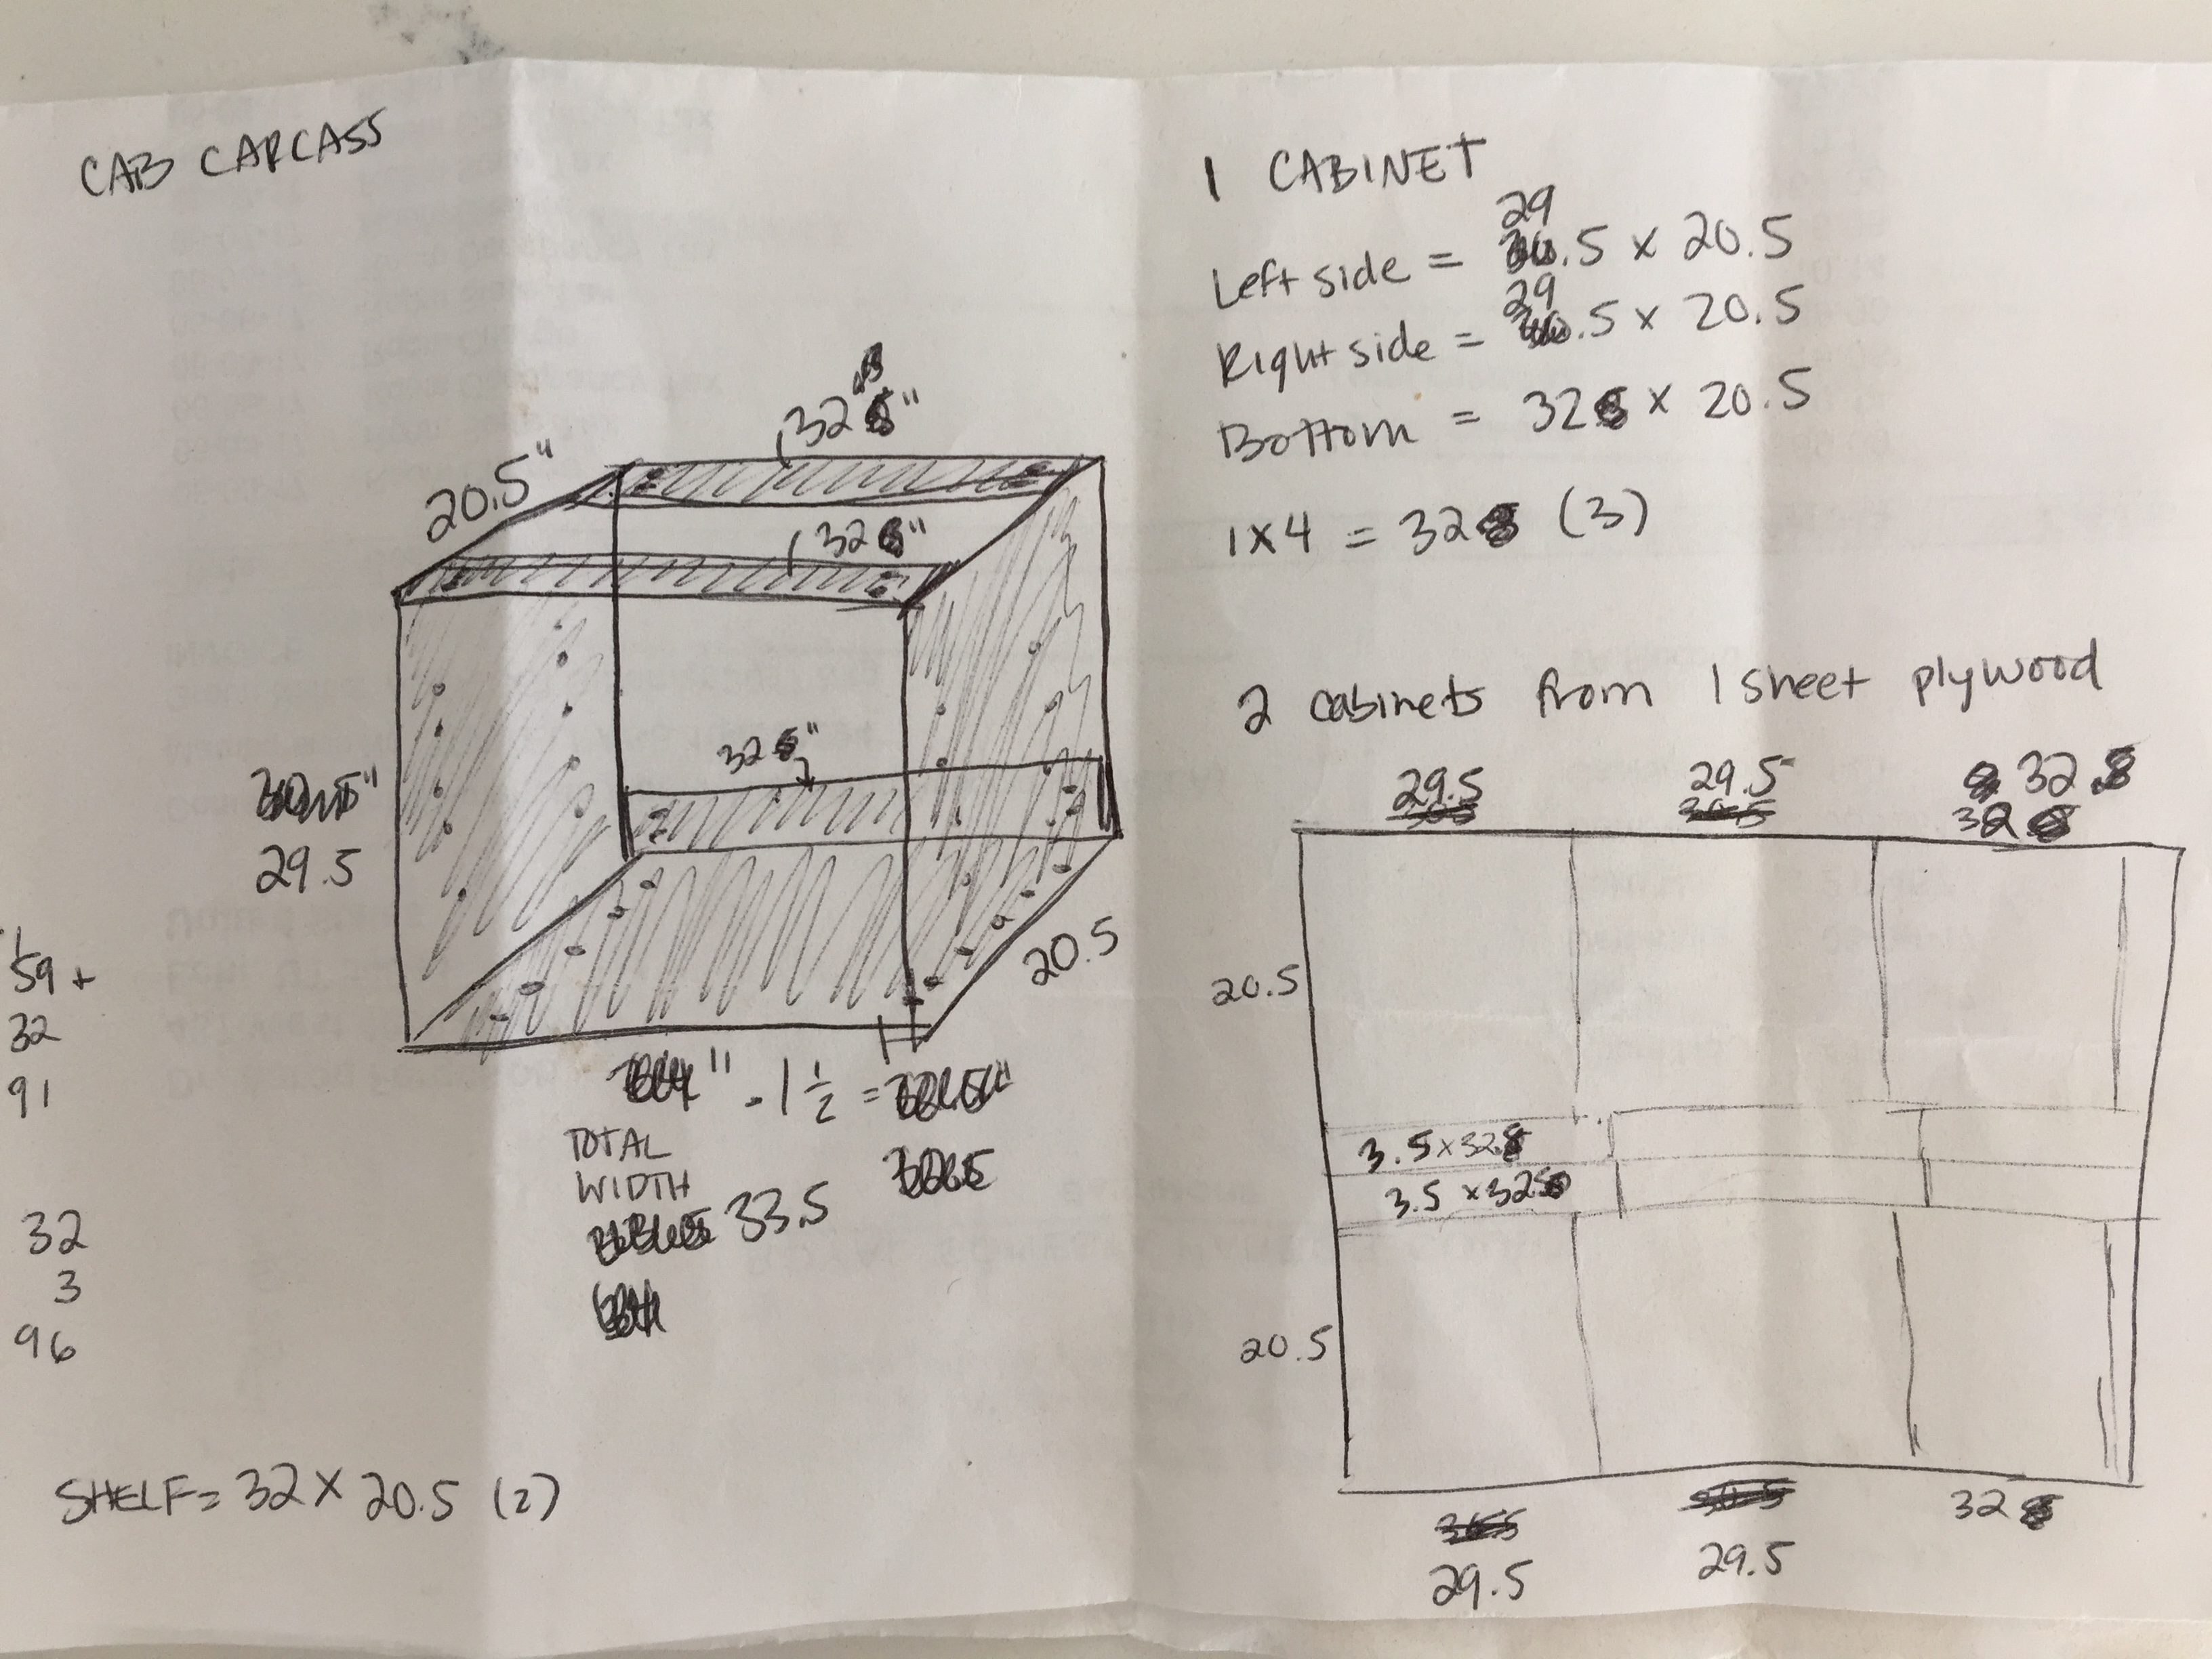
The space I had on either side of the mantel was about 69″ wide and 23″ deep. I planned out my cabinets very carefully, to be 20.5 x 32 x 29.5. This would allow me to get two cabinets out of 1 4×8 sheet of plywood and be nearly the exact size for the space. (You can cover the gaps up with filler strips.) The entire carcass would be put together with pocket screws and glue. All the pocket holes would be in places where it would be hidden (on the back and bottom.)
Here is a photo of my initial caveman etching which shows more details. It took a little concise calculating to get the right numbers, especially so I could make good use of the 4×8 sheet of plywood.
I didn’t want a toe kick for these so I decided to build a separate base. This has pros and cons to doing it this way but it’s what I chose so oh well. I ended up buying four 4×8 sheets of plywood. I got three of cabinet grade plywood which is more expensive and very smooth and then 1 sheet of the courser stuff for the base top. You could also do cabinets out of 3/4″ MDF if you’re going to paint it. Truth be told I’m not sure if anyone will every know the difference. If you live in a high humidity place, you’d probably want to stick with wood but I don’t. I ended up using MDF for the upper bookshelves because it’s a little cheaper. It also cuts more cleanly and paints well.
List of tools I used for my diy built in cabinets around the fireplace:
(affiliate links-see my disclosure)
- Kreg Jig
- Kreg Bookshelf pin Jig
- Kreg Right Angle clamp
- 1 1/4″ pocket screws
- Wood glue
- Mouse sander
- Crowbar
- Mallet
- Wood screws (2 1/2″ and 1 1/4″)
- Clamps
- Level
- Shims
- Ryobi drill
- Ryobi impact driver
- Ryobi brad nailer
Here’s how you construct a cabinet carcass:
Step 1:
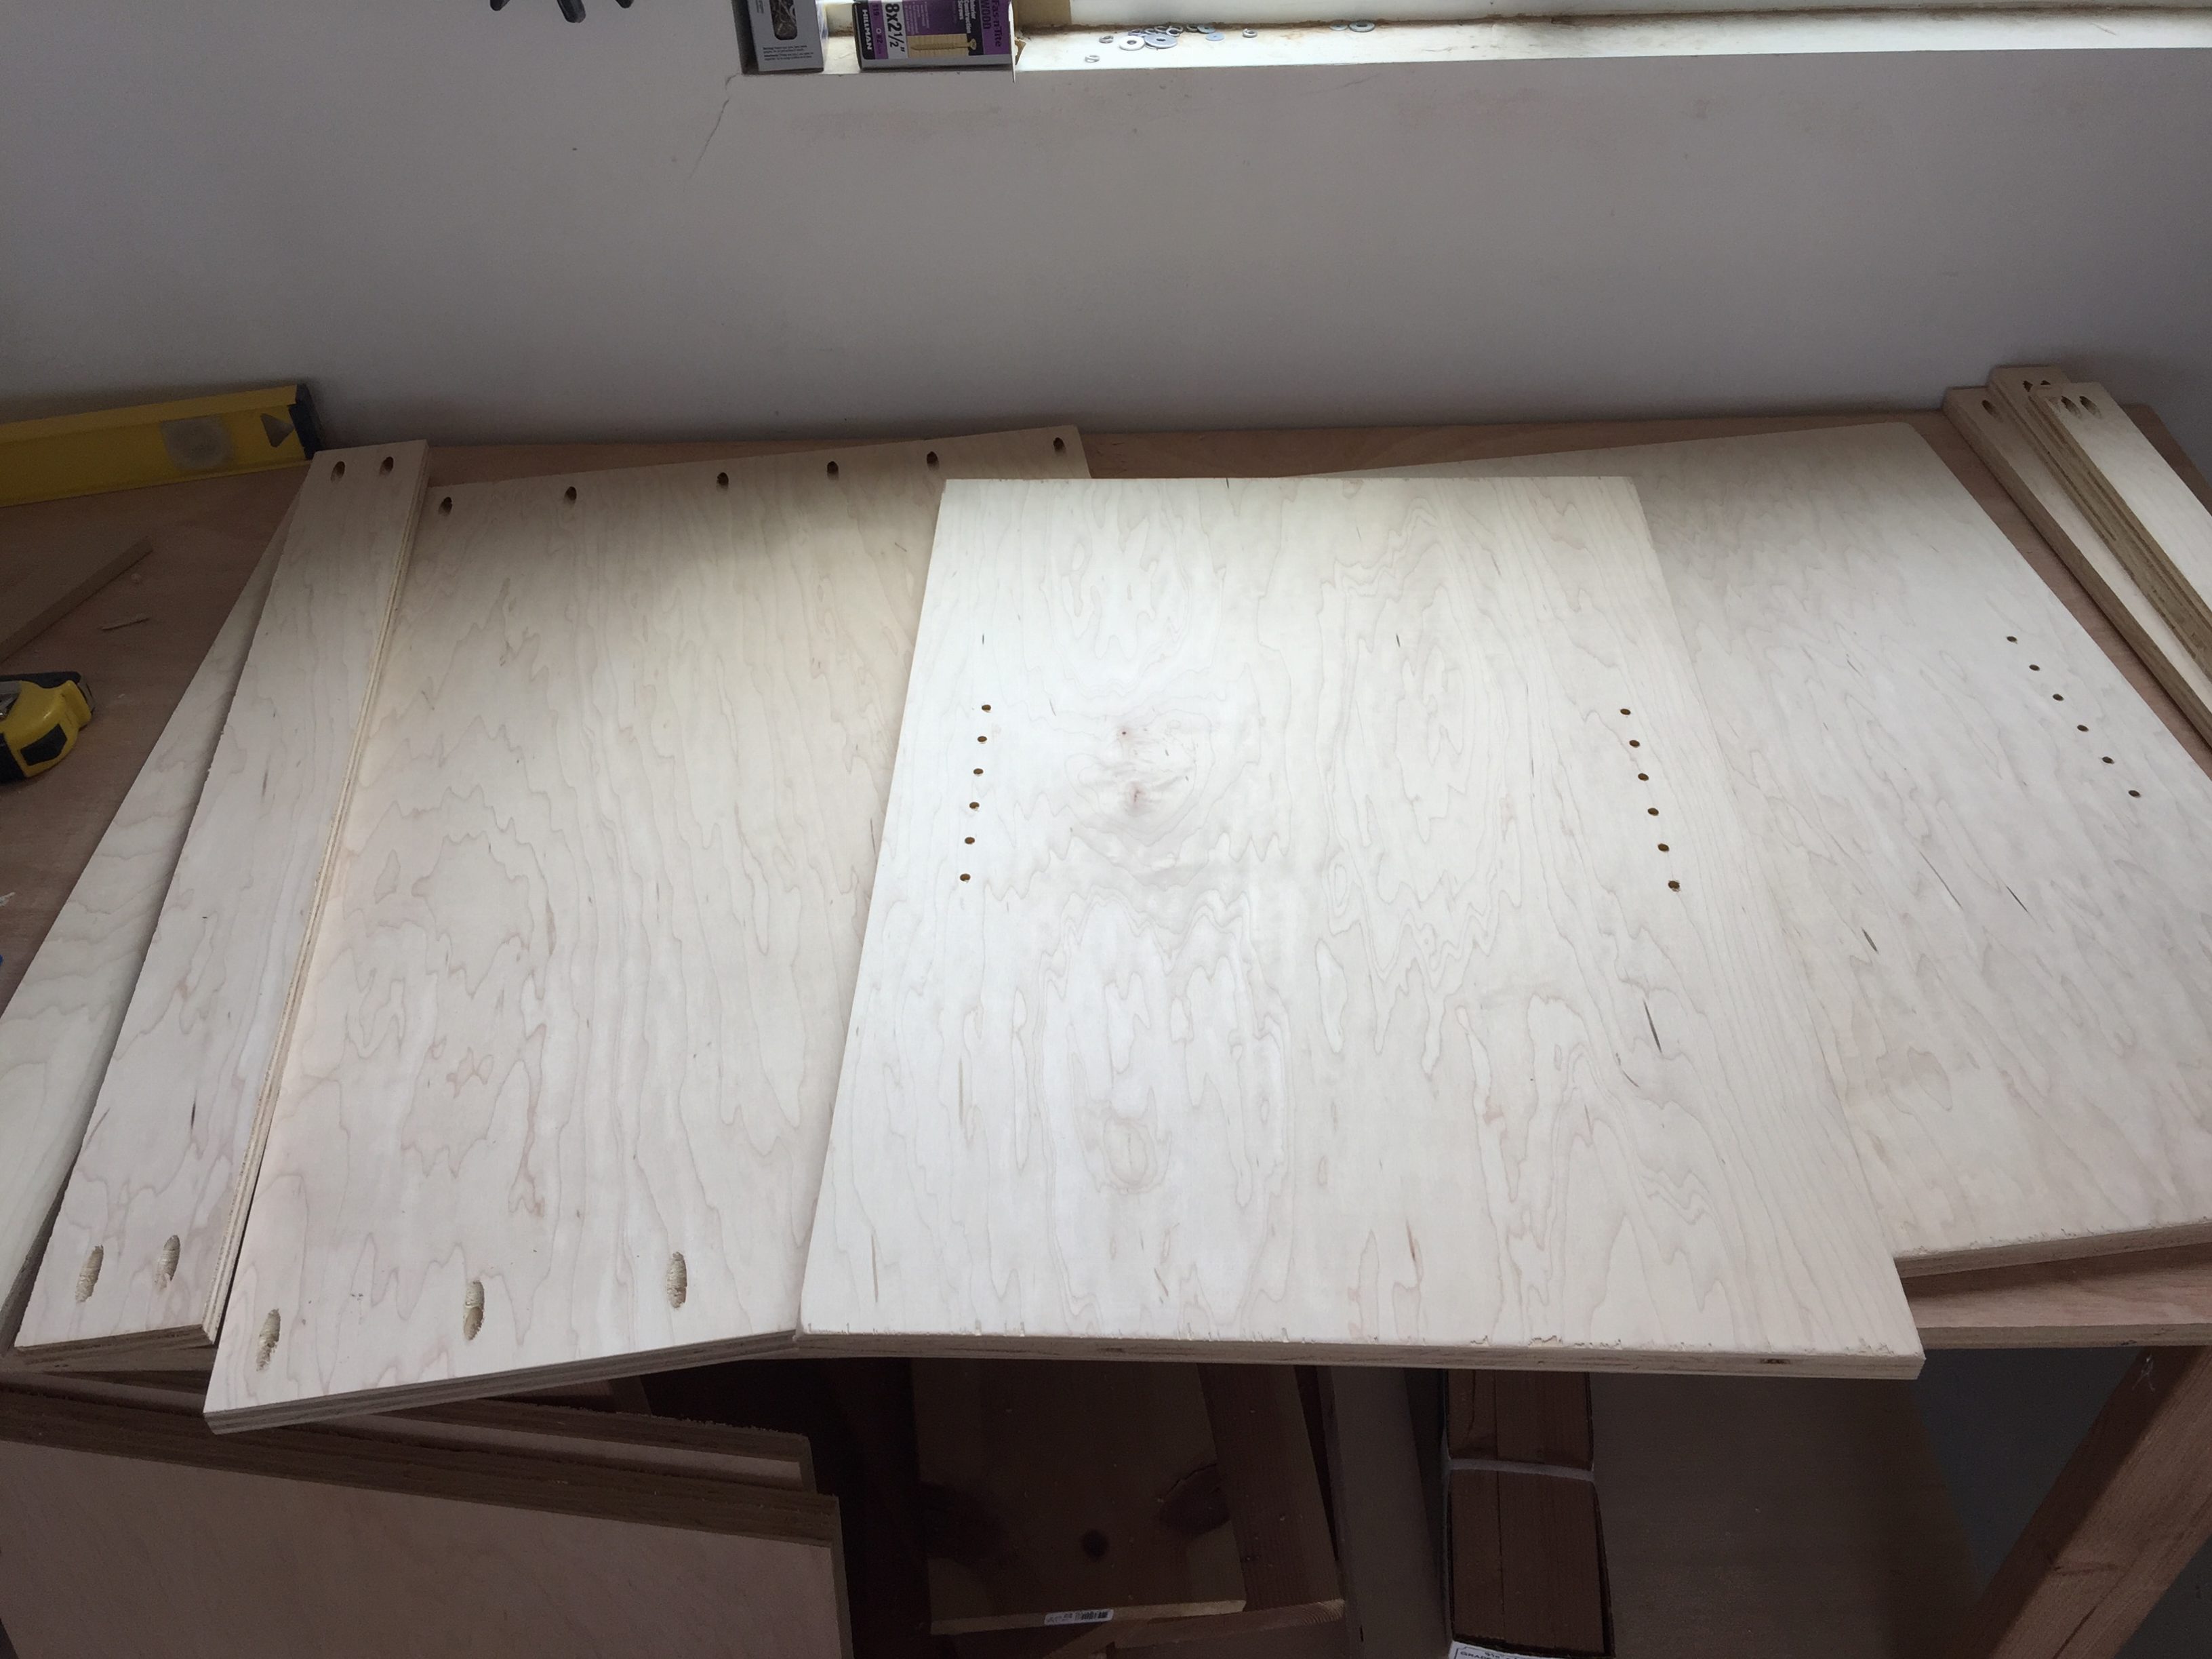
Pre-drill all the pocket holes and bookshelf holes. I used a spacer block and the Kreg Bookshelf pin jig for this step. I used the Kreg Jig for the pocket holes. Make sure you know which direction goes up when doing the bookshelf holes so they line up with each other. I will share a post on how to use this jig very soon!
Step 2:
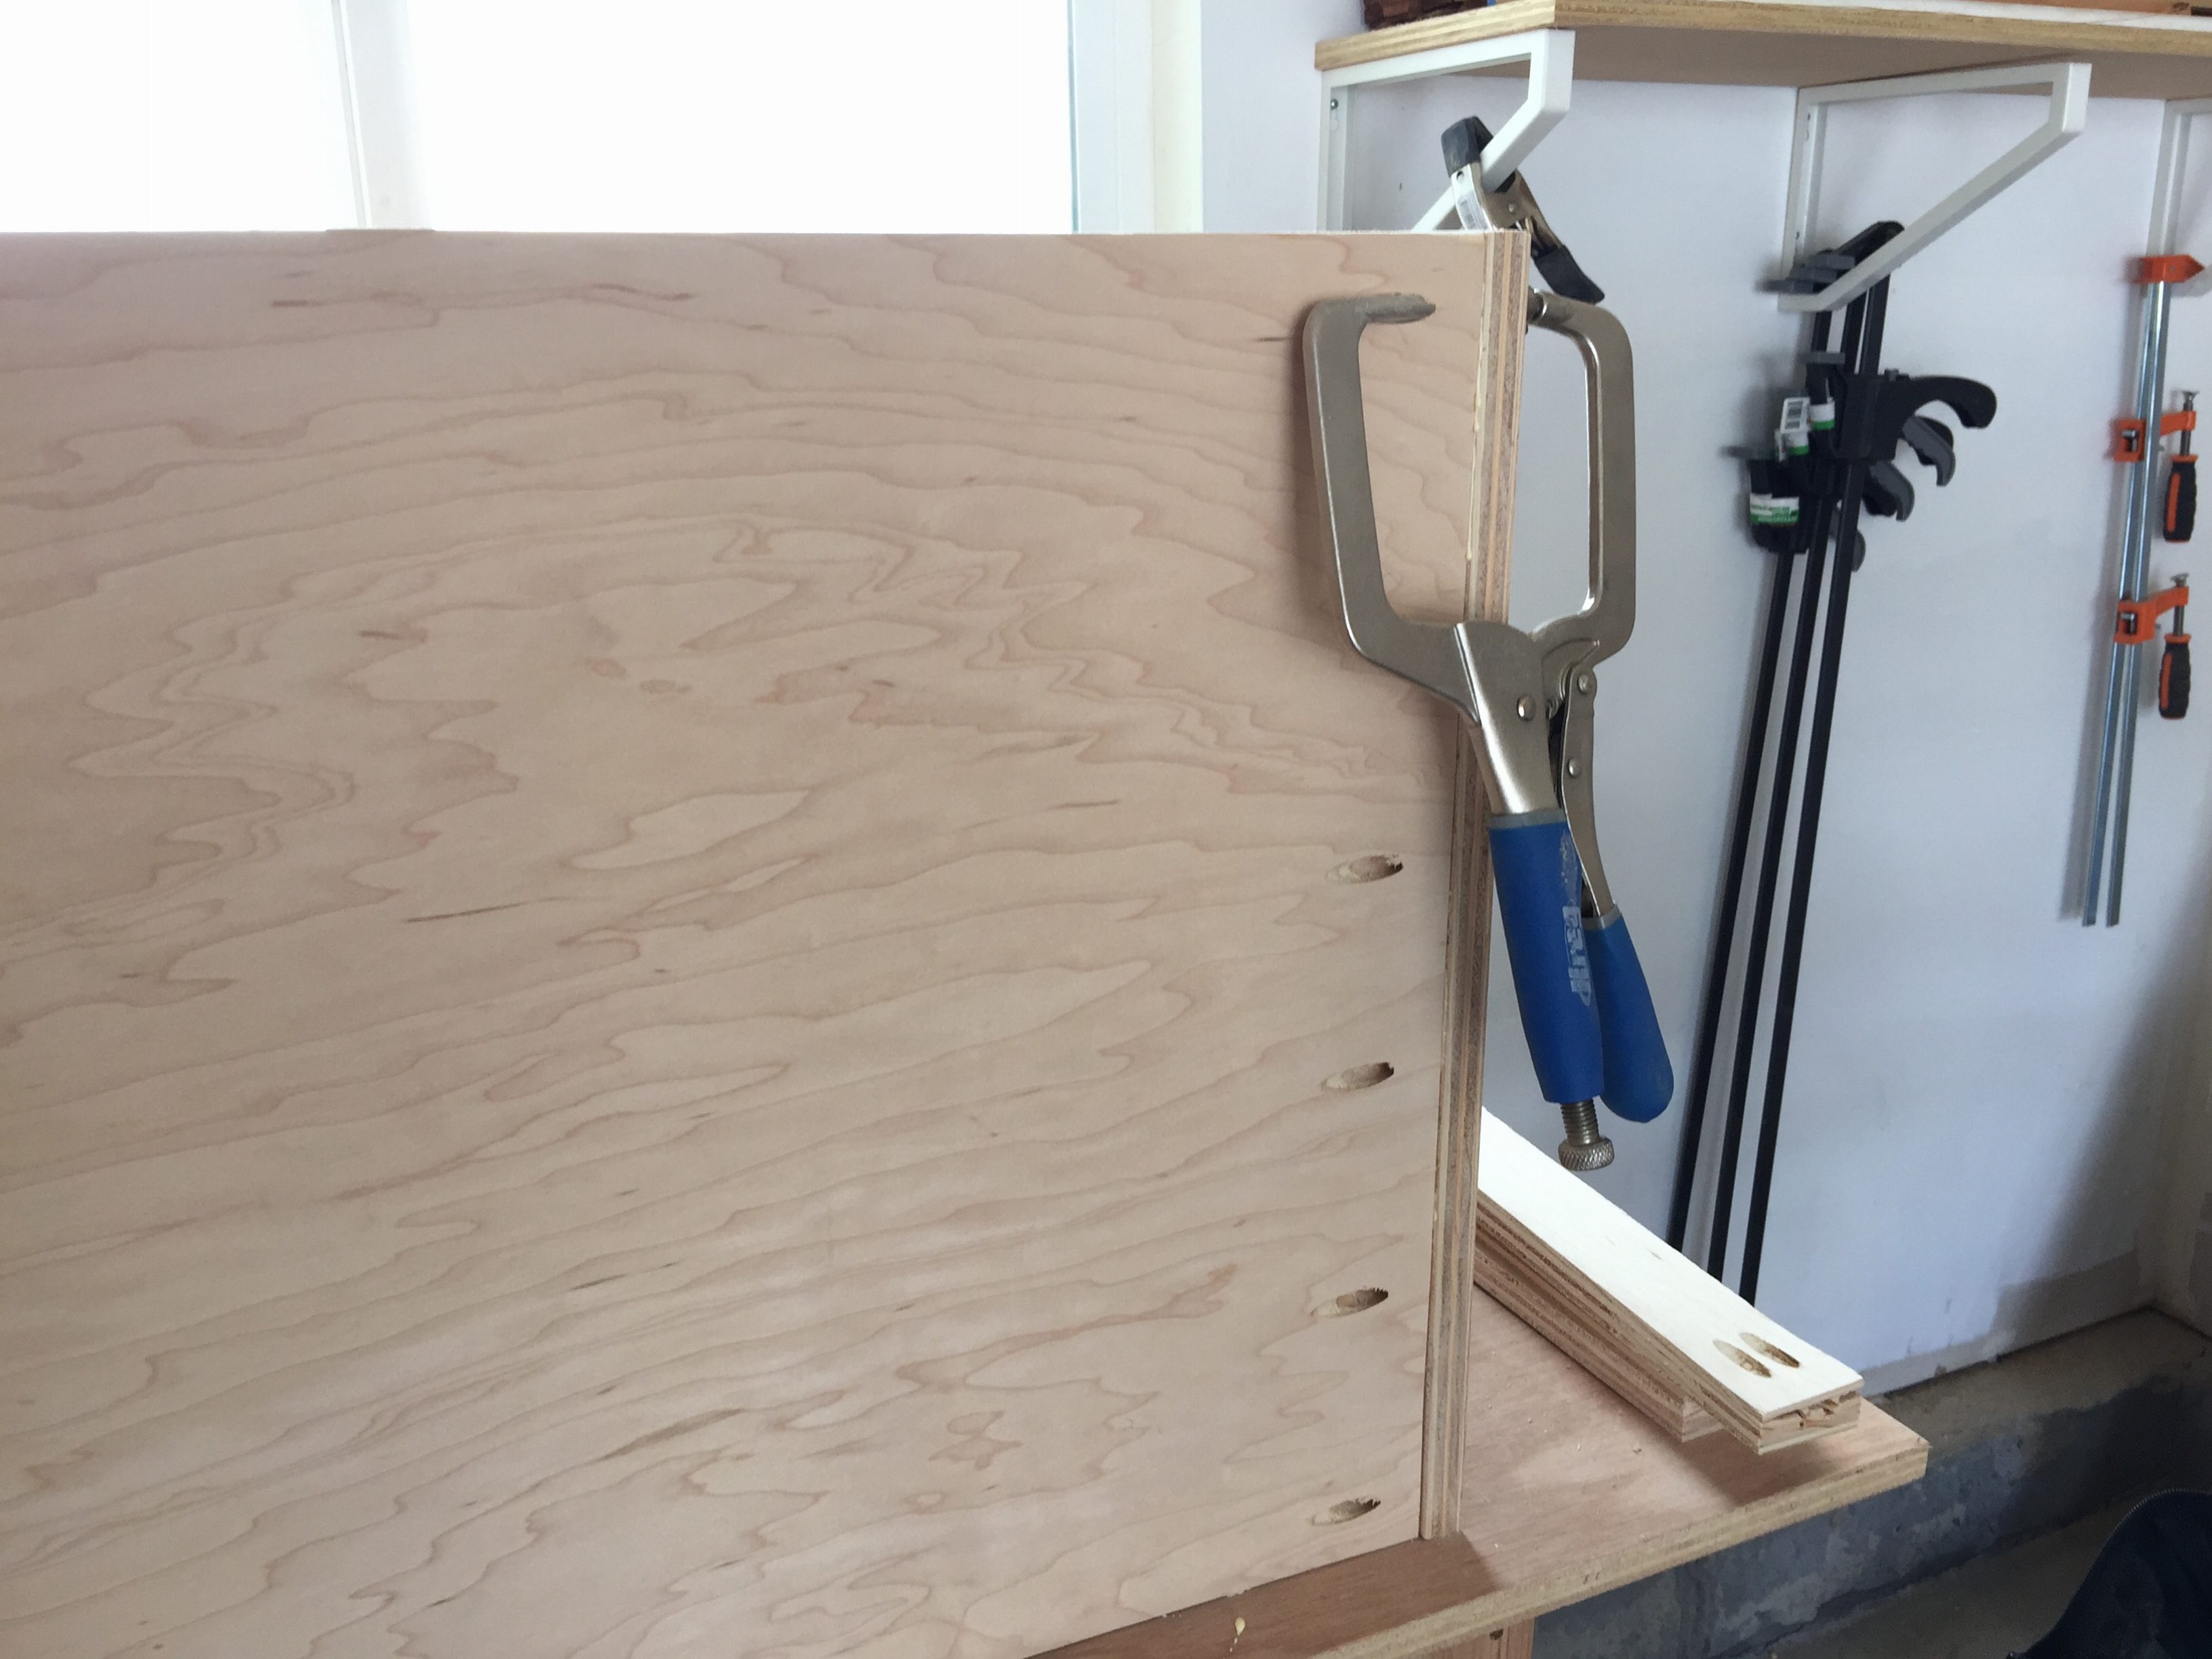
I then assembled the sides and bottom with pocket holes going into the sides (a Kreg right angle clamp is essential for this step!) using glue and 1 1/4″ pocket screws. I made sure the pocket holes are on the bottom so they won’t show and that the bookshelf holes are facing inward.
Step 3:
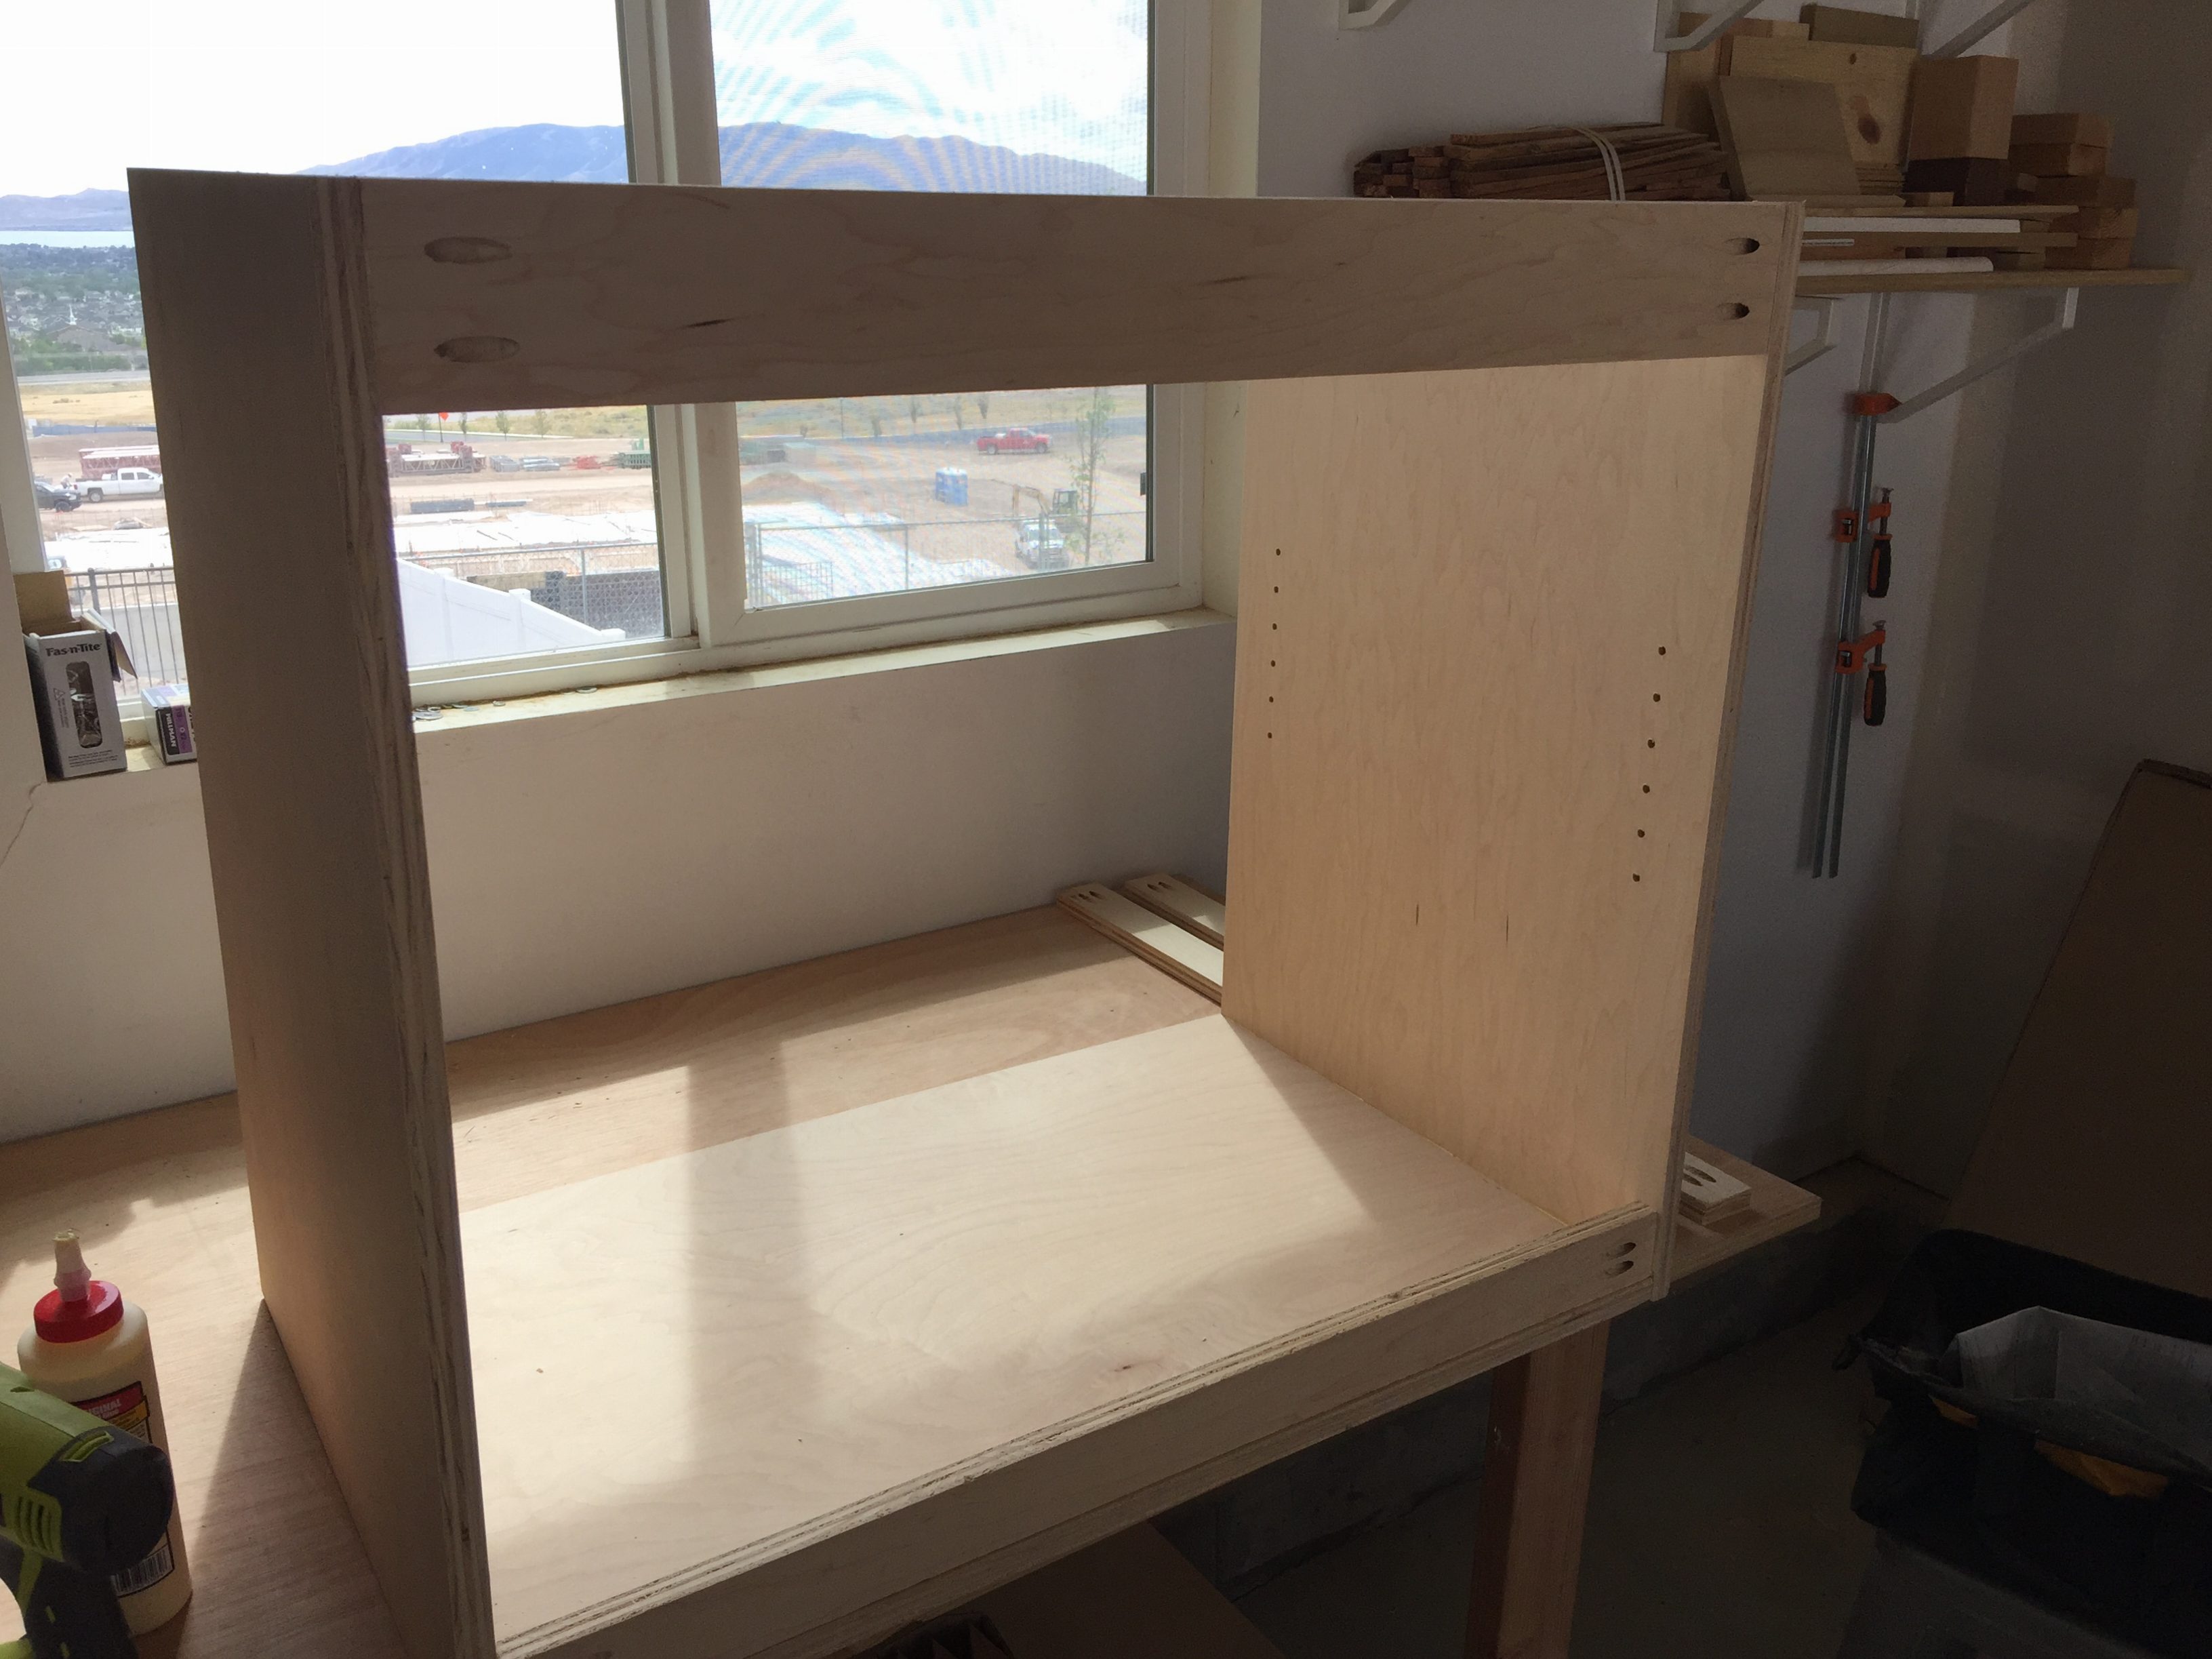
Turn the cabinet upward so it’s sitting on its bottom. Then I used 3.5″ boards (cut from my plywood) with pocket holes to make cleats across the back of the cabinet, top and bottom.
Step 4:
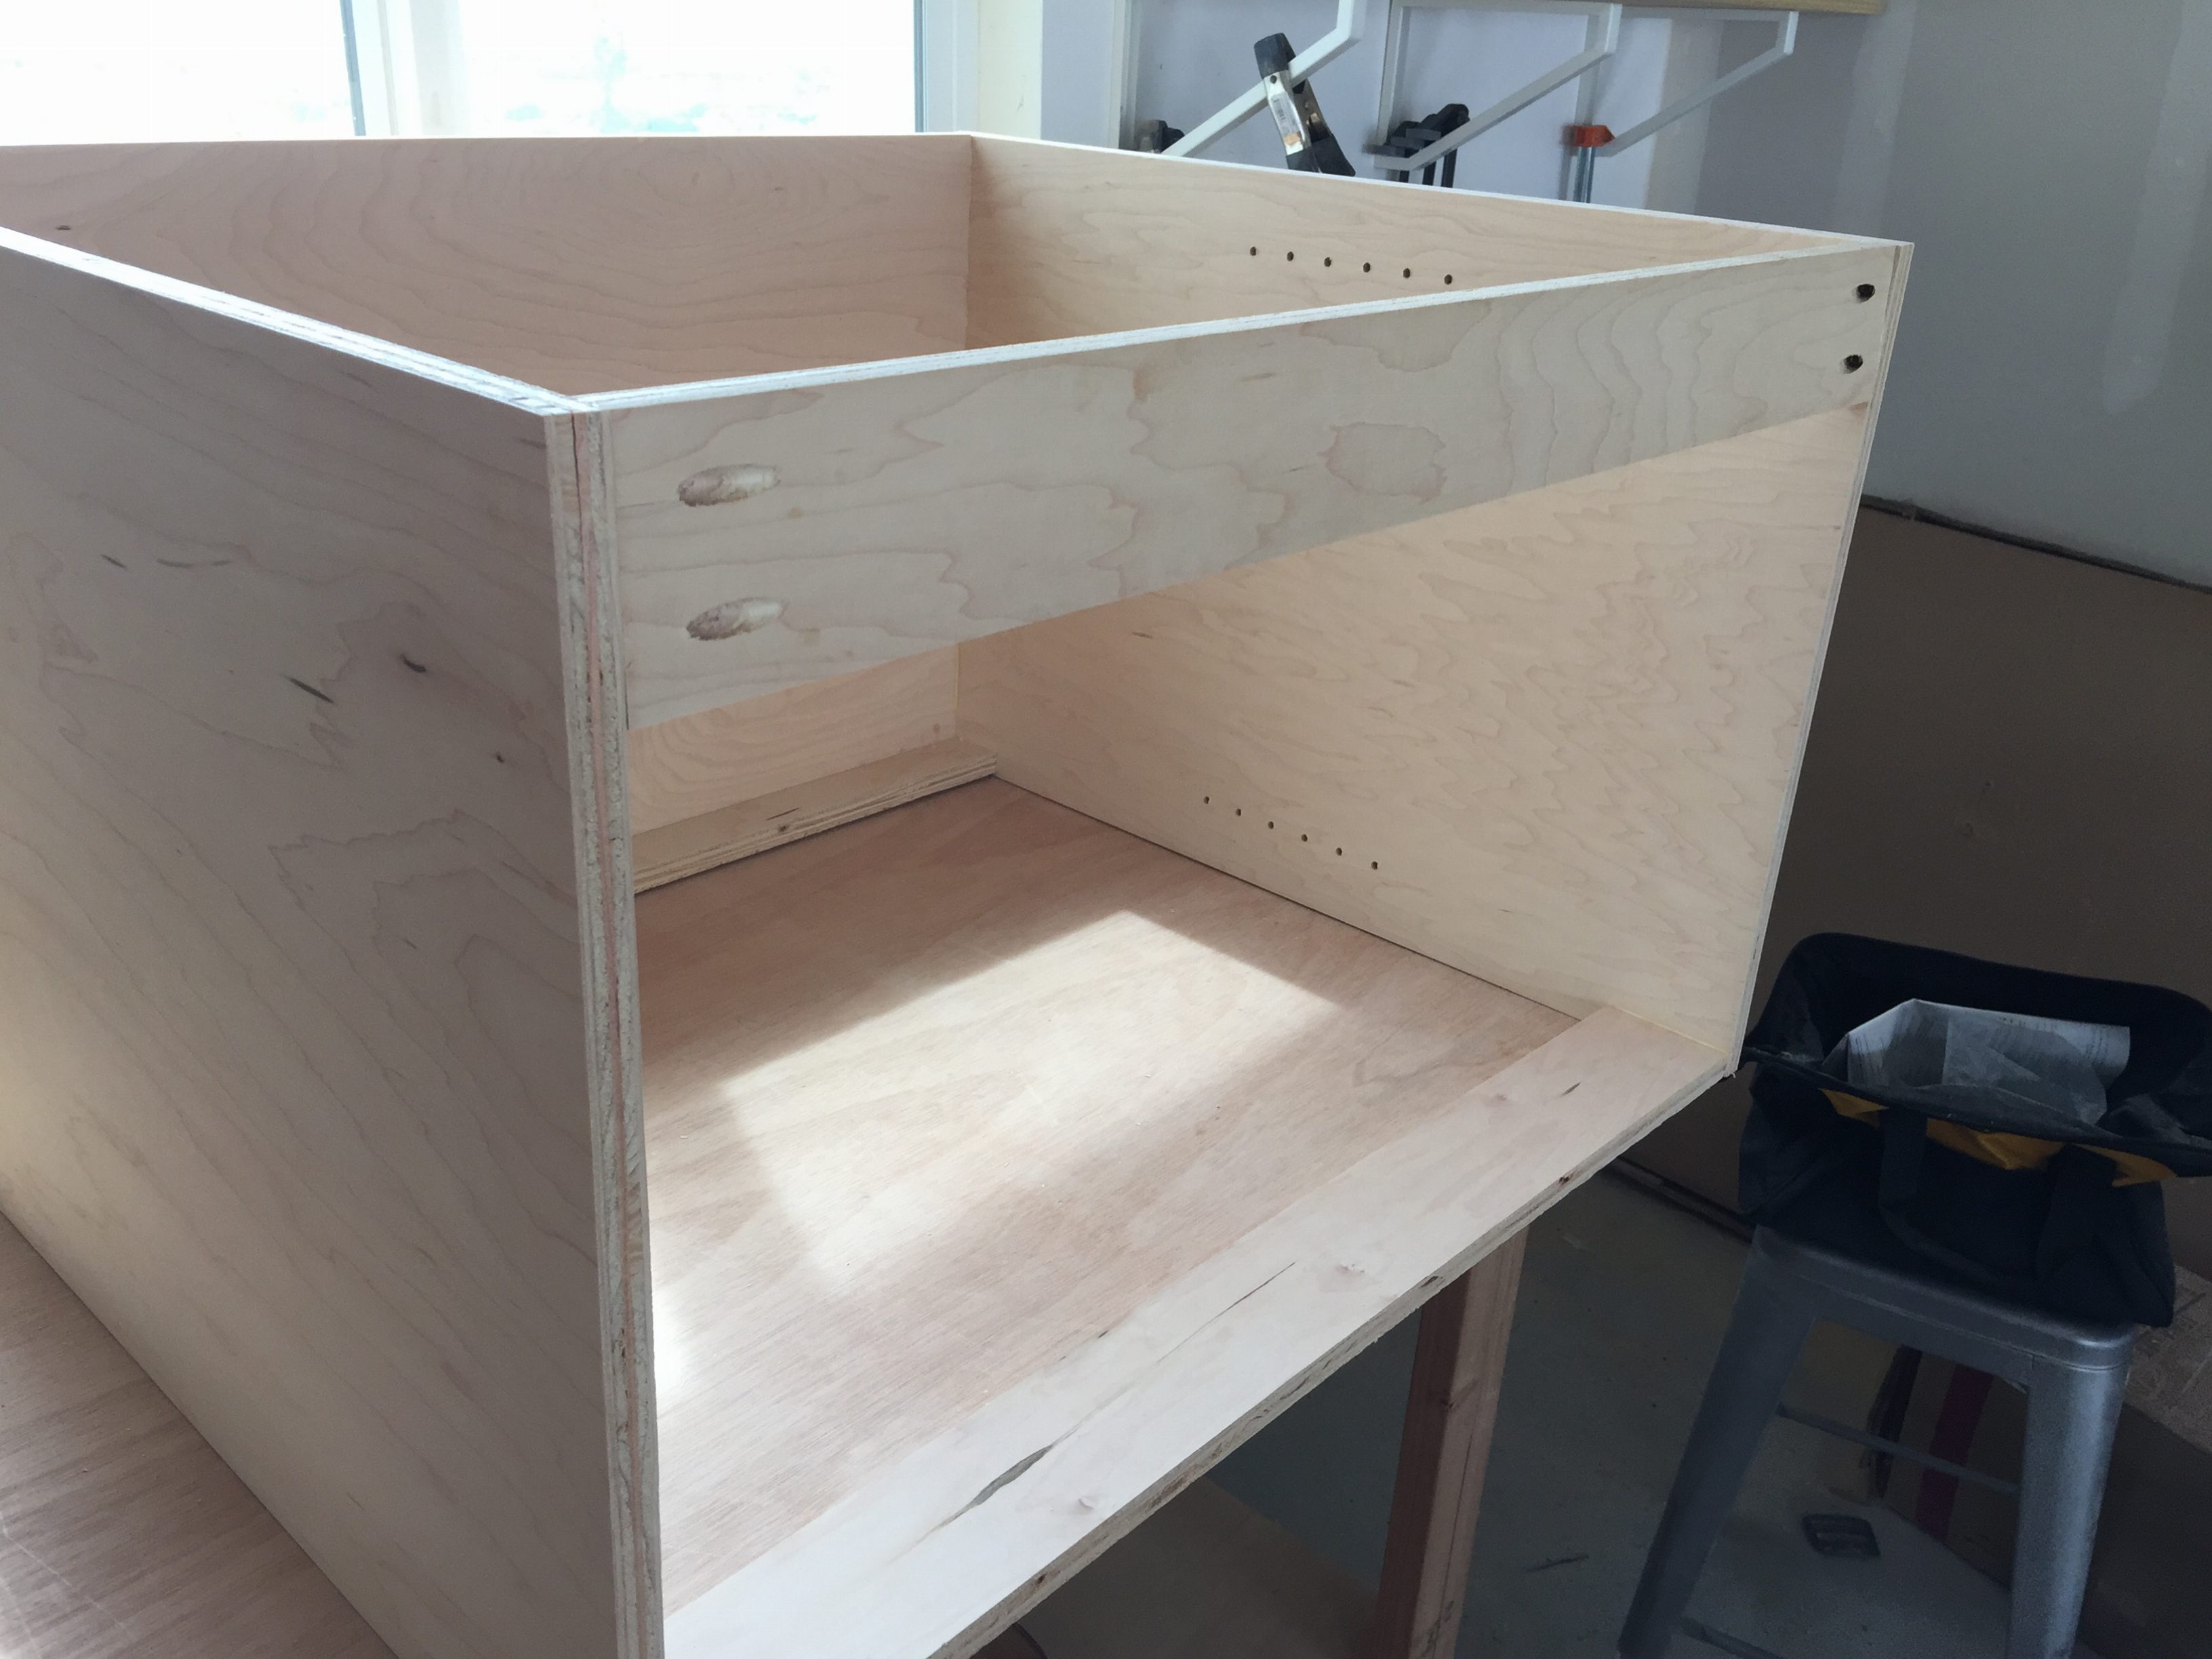
I flipped the cabinet so it was on its backside and then added the last cleat which is on the top front, completing the front square. I used pocket holes and wood glue for each of these steps by the way.
You could add a 1/4″ plywood back to your cabinet at this point, but I decided not to since I have a bunch of outlets and whatnot that I need to access through the back of the built-ins.
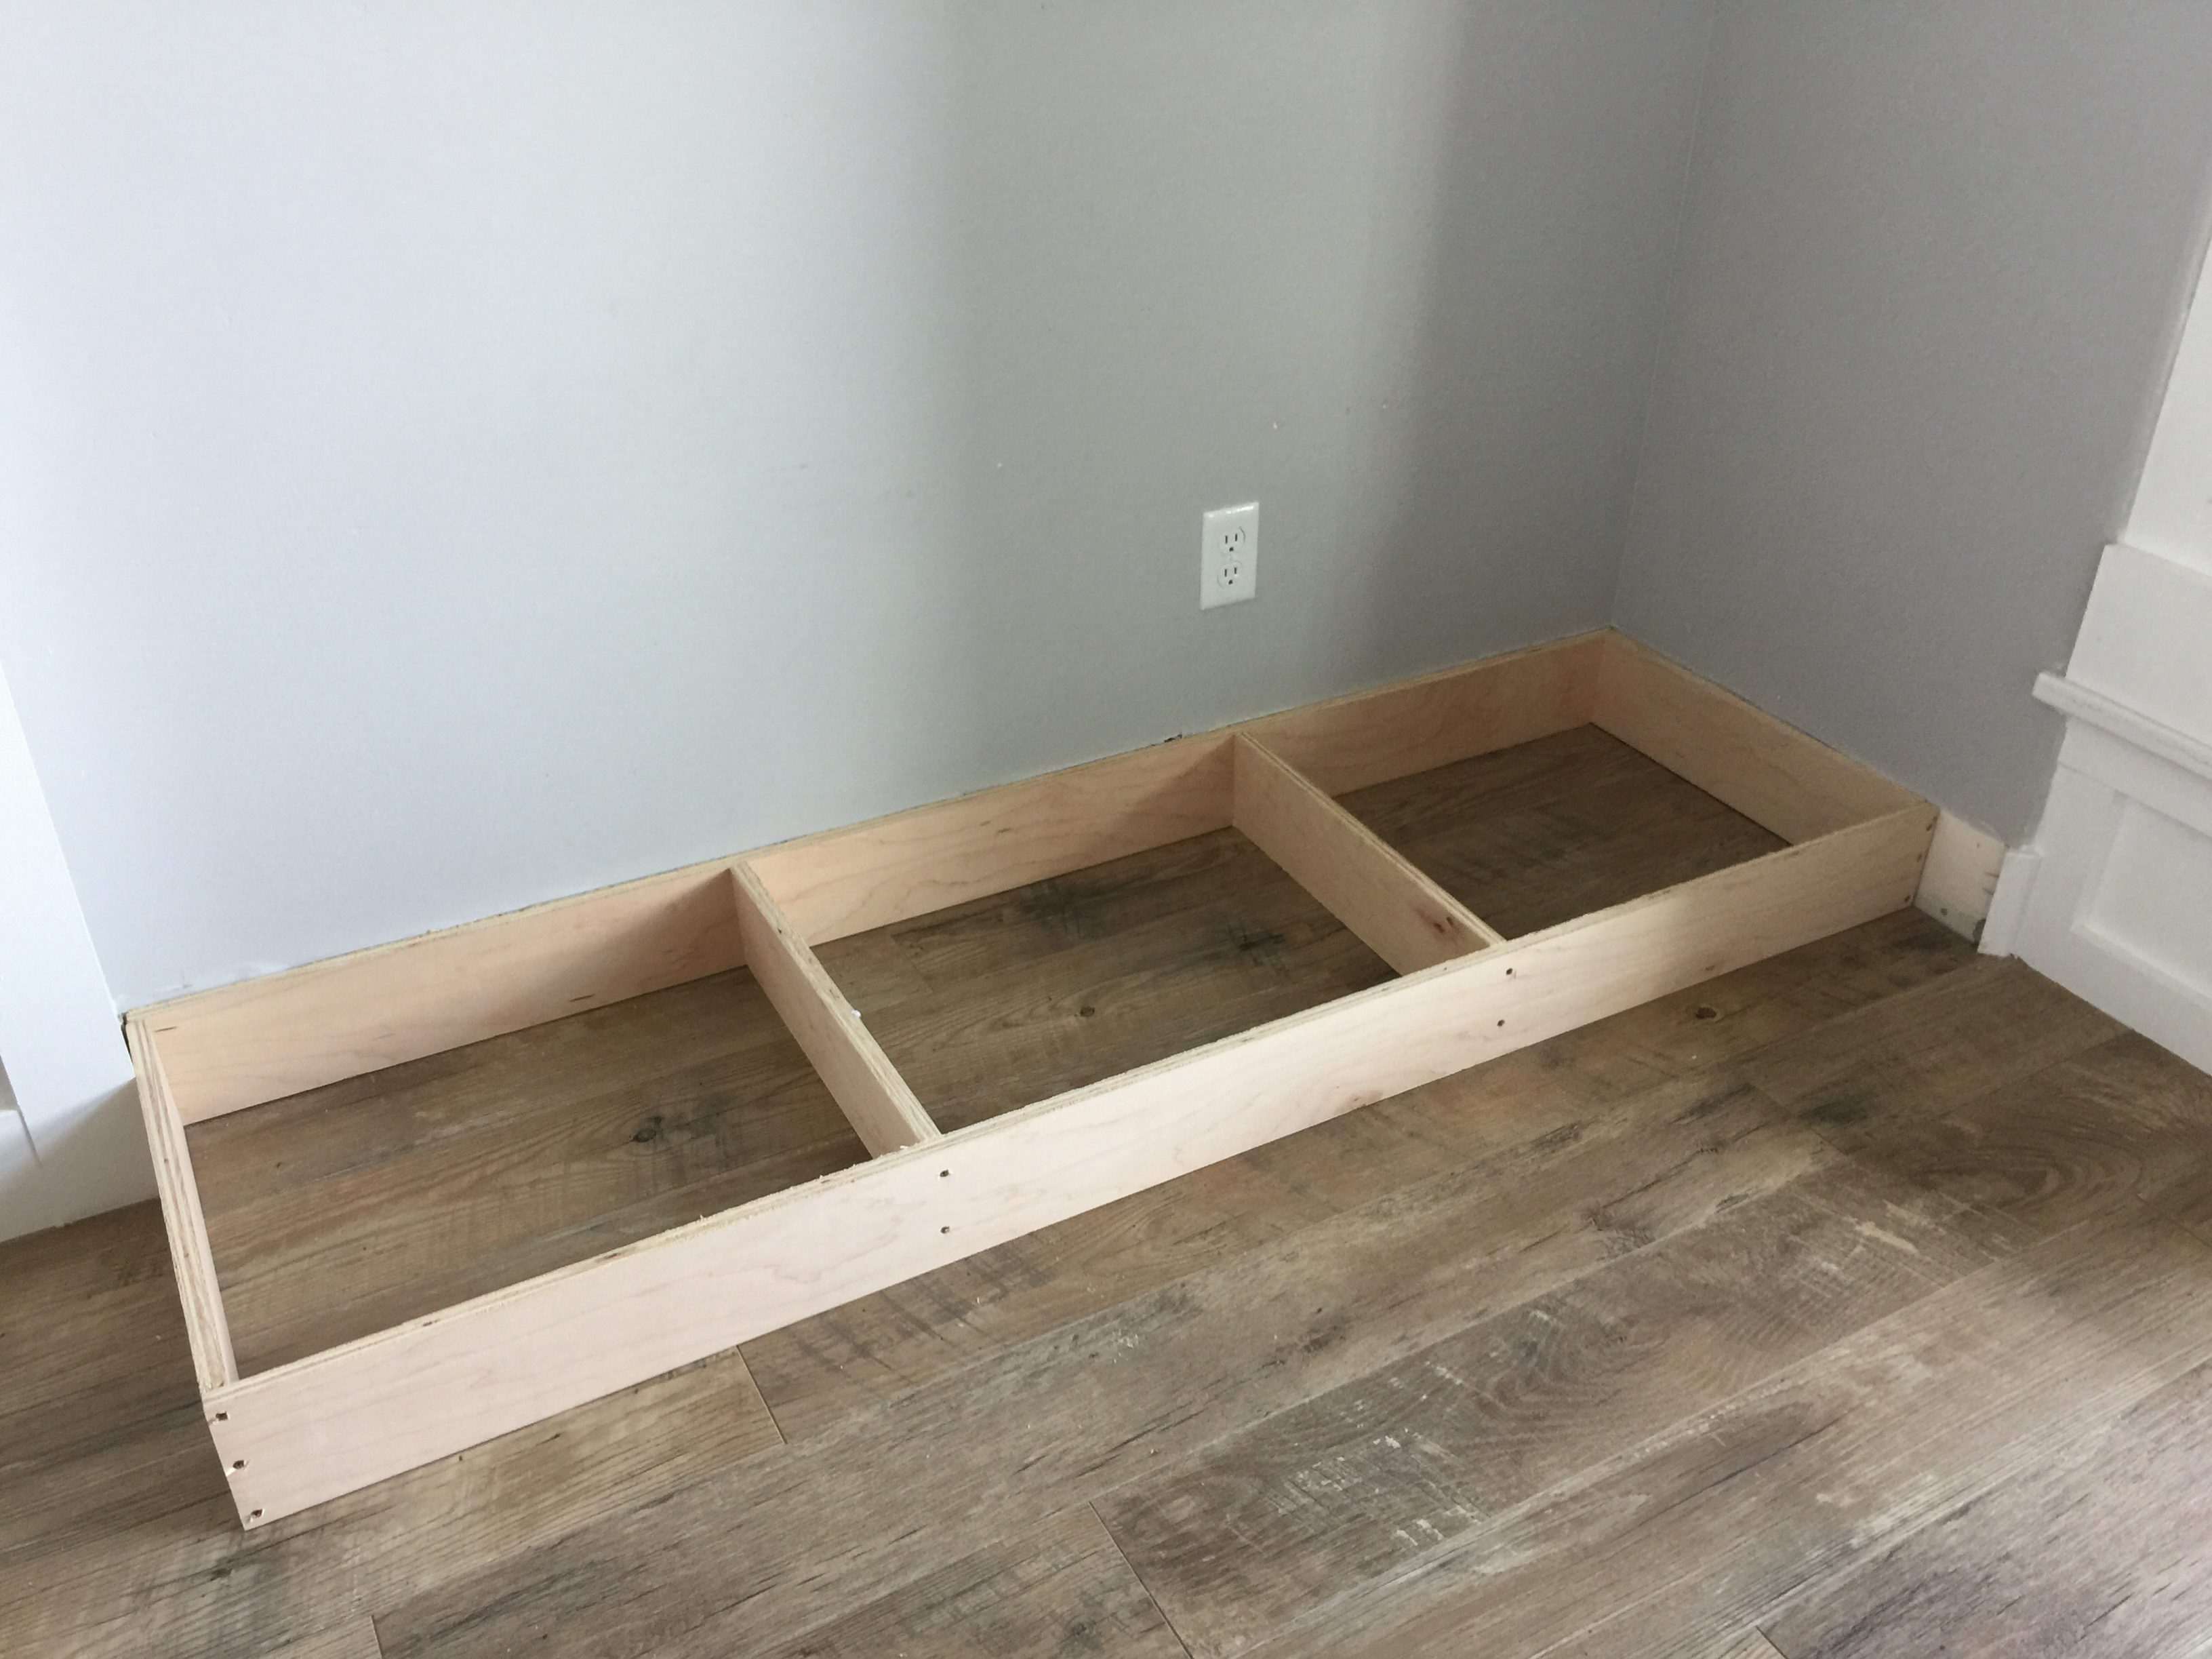
After I constructed the carcasses I built the bases. These were made from 5″ wide pieces of plywood ripped from the same sheet as I did my cabinet shelves from. These are simply a frame with a couple of cross pieces and they are all screwed together. You could use 2x4s here but I wanted to ensure my boards would be very very straight and sometimes 2x4s are not.
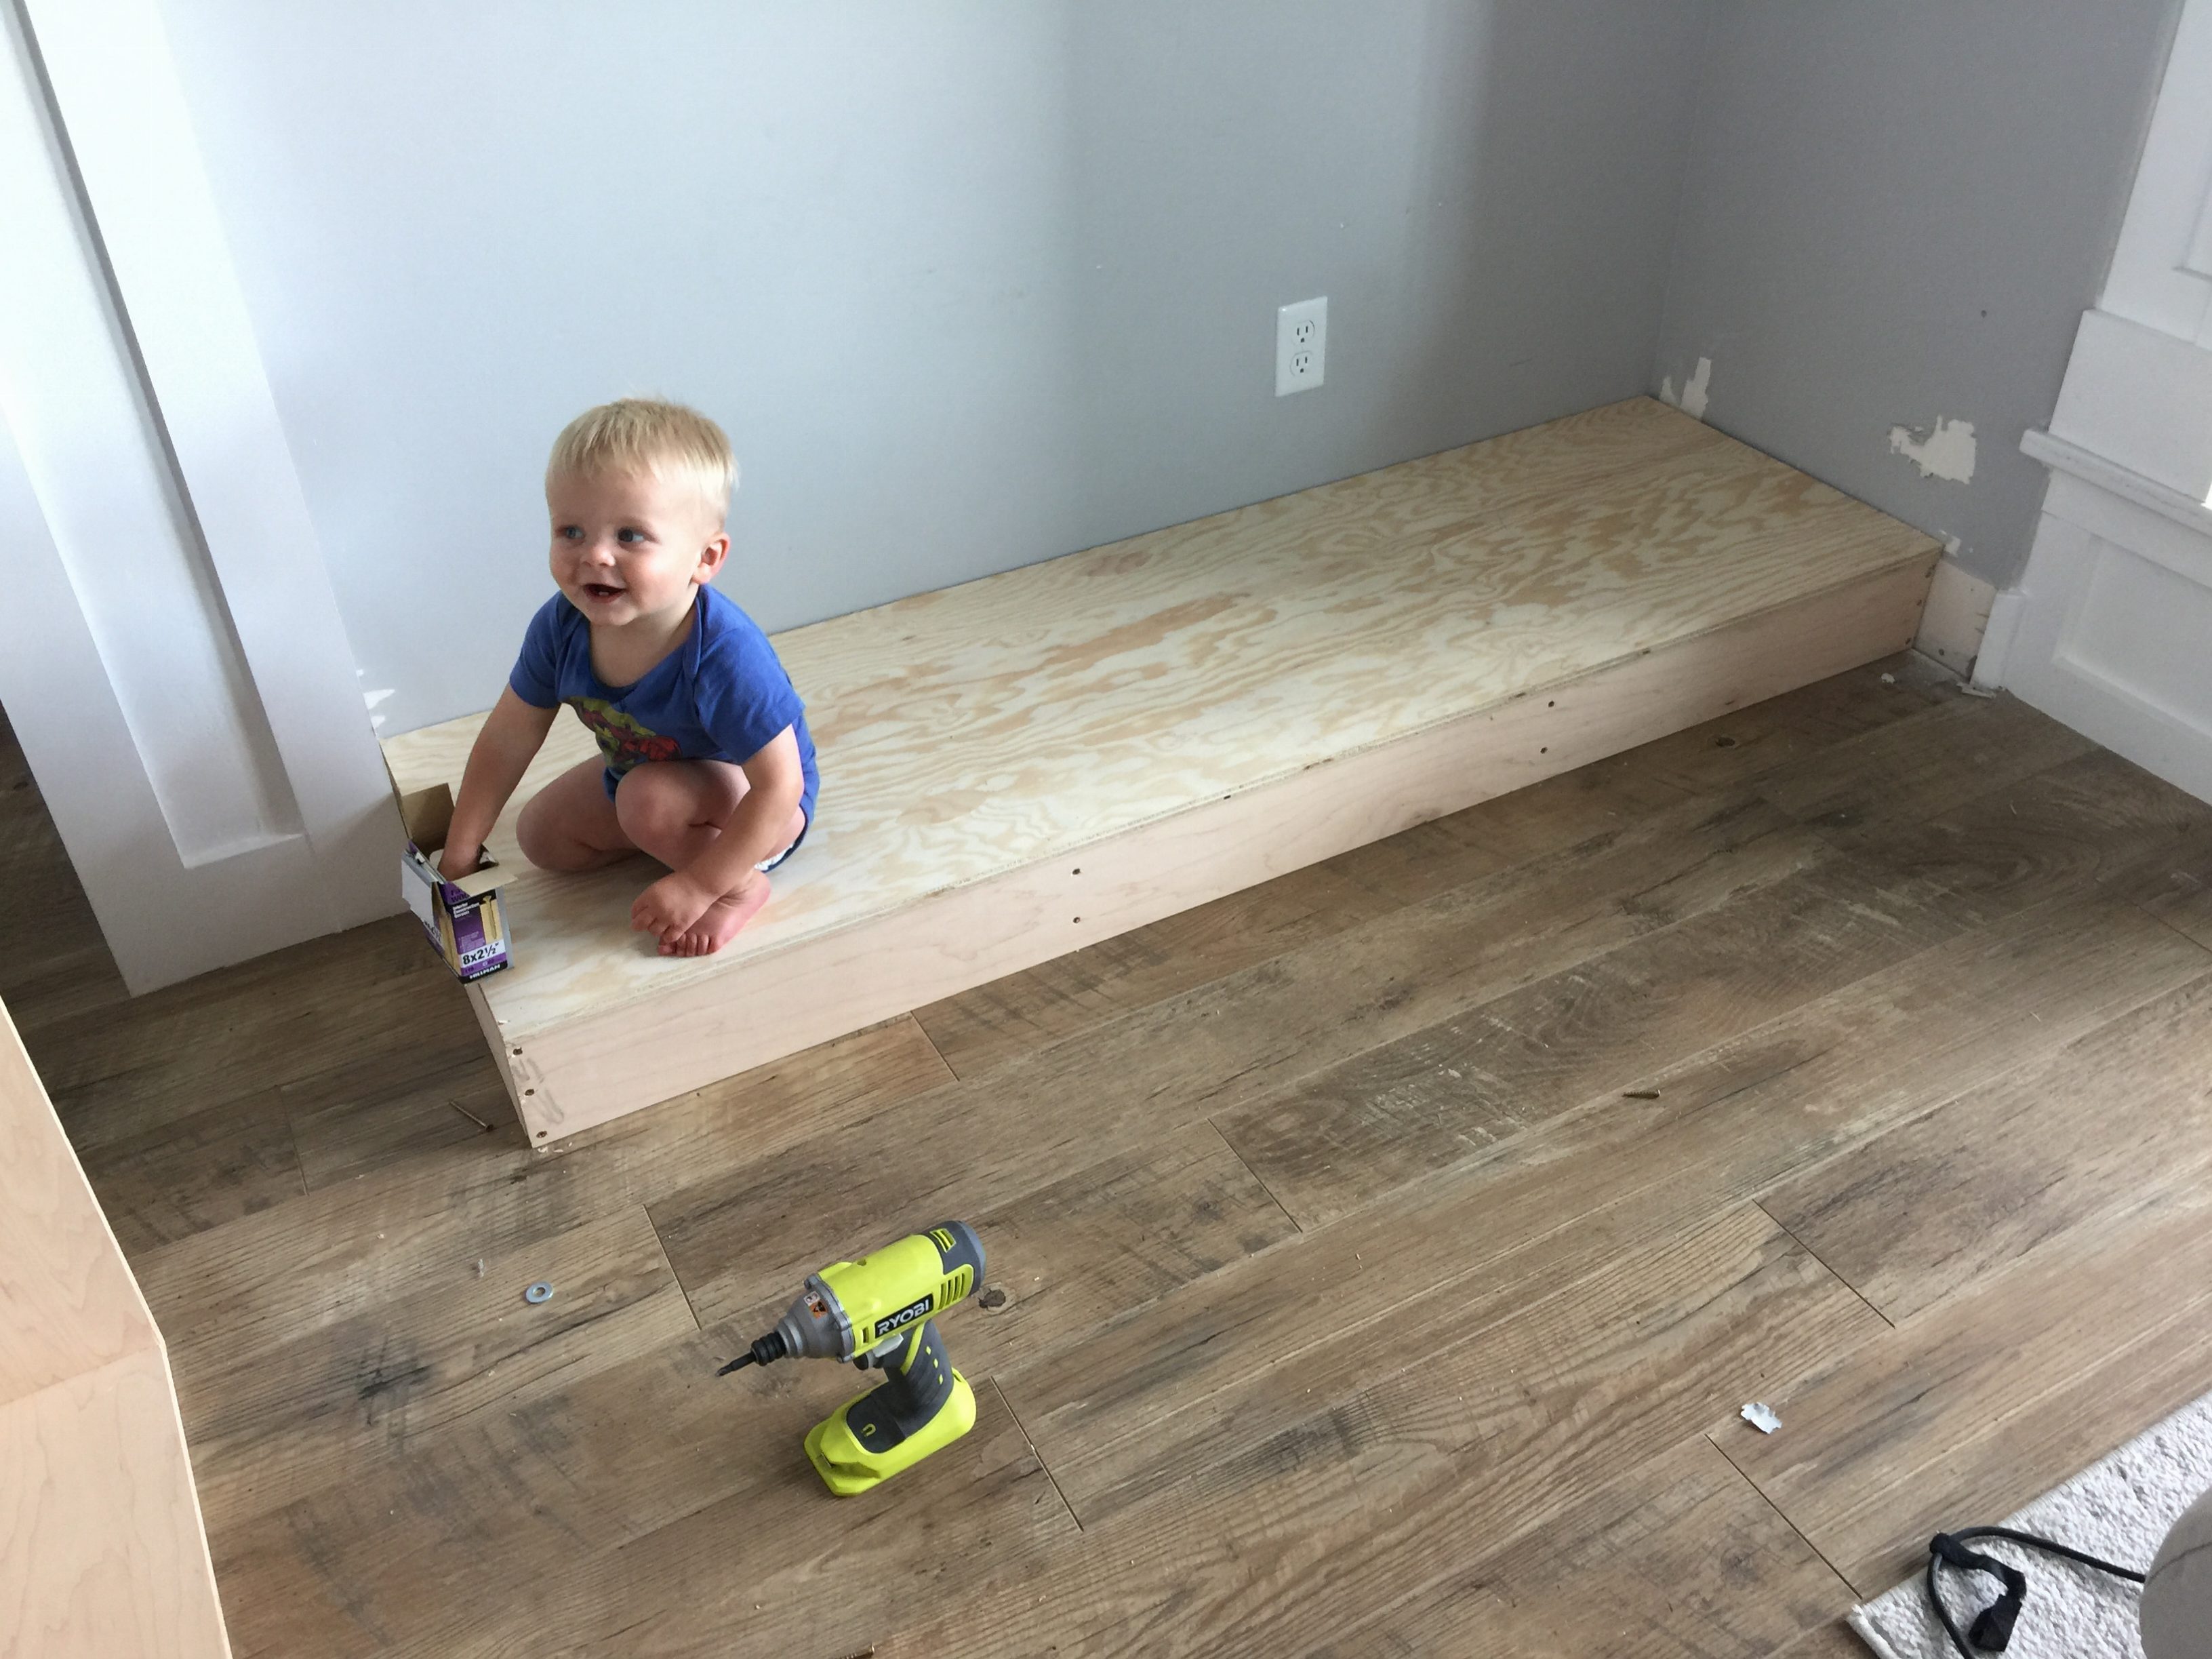
I removed the baseboards from the area and slid the bases in. I then secured the bases to the studs in the wall behind it. I added a top piece and nailed it down. (Look at my cute helper–don’t worry, he was well supervised.) Note how I destroyed the wall with my first attempt to get the top piece on…don’t try to force something to fit. Just cut it!
Then I added my cabinets on top. I leveled them with shims and screwed them into studs through the cleats at the back. I also screwed them together with a 1 1/4″ screw at top and bottom.
Whew! All this took about a day of work.
The next step of my diy built in cabinets around the fireplace…
The next day I got all the supplies for the face frames and the top. I used 1×2 poplar and 1×4 pine (because they were out of poplar) for the bottom piece. I also bought a couple of furring strips. And I bought a piece of 1/4″ 2×4′ MDF which I nailed to the exposed side to cover up the lines and make it look like one solid piece (I did that first.)
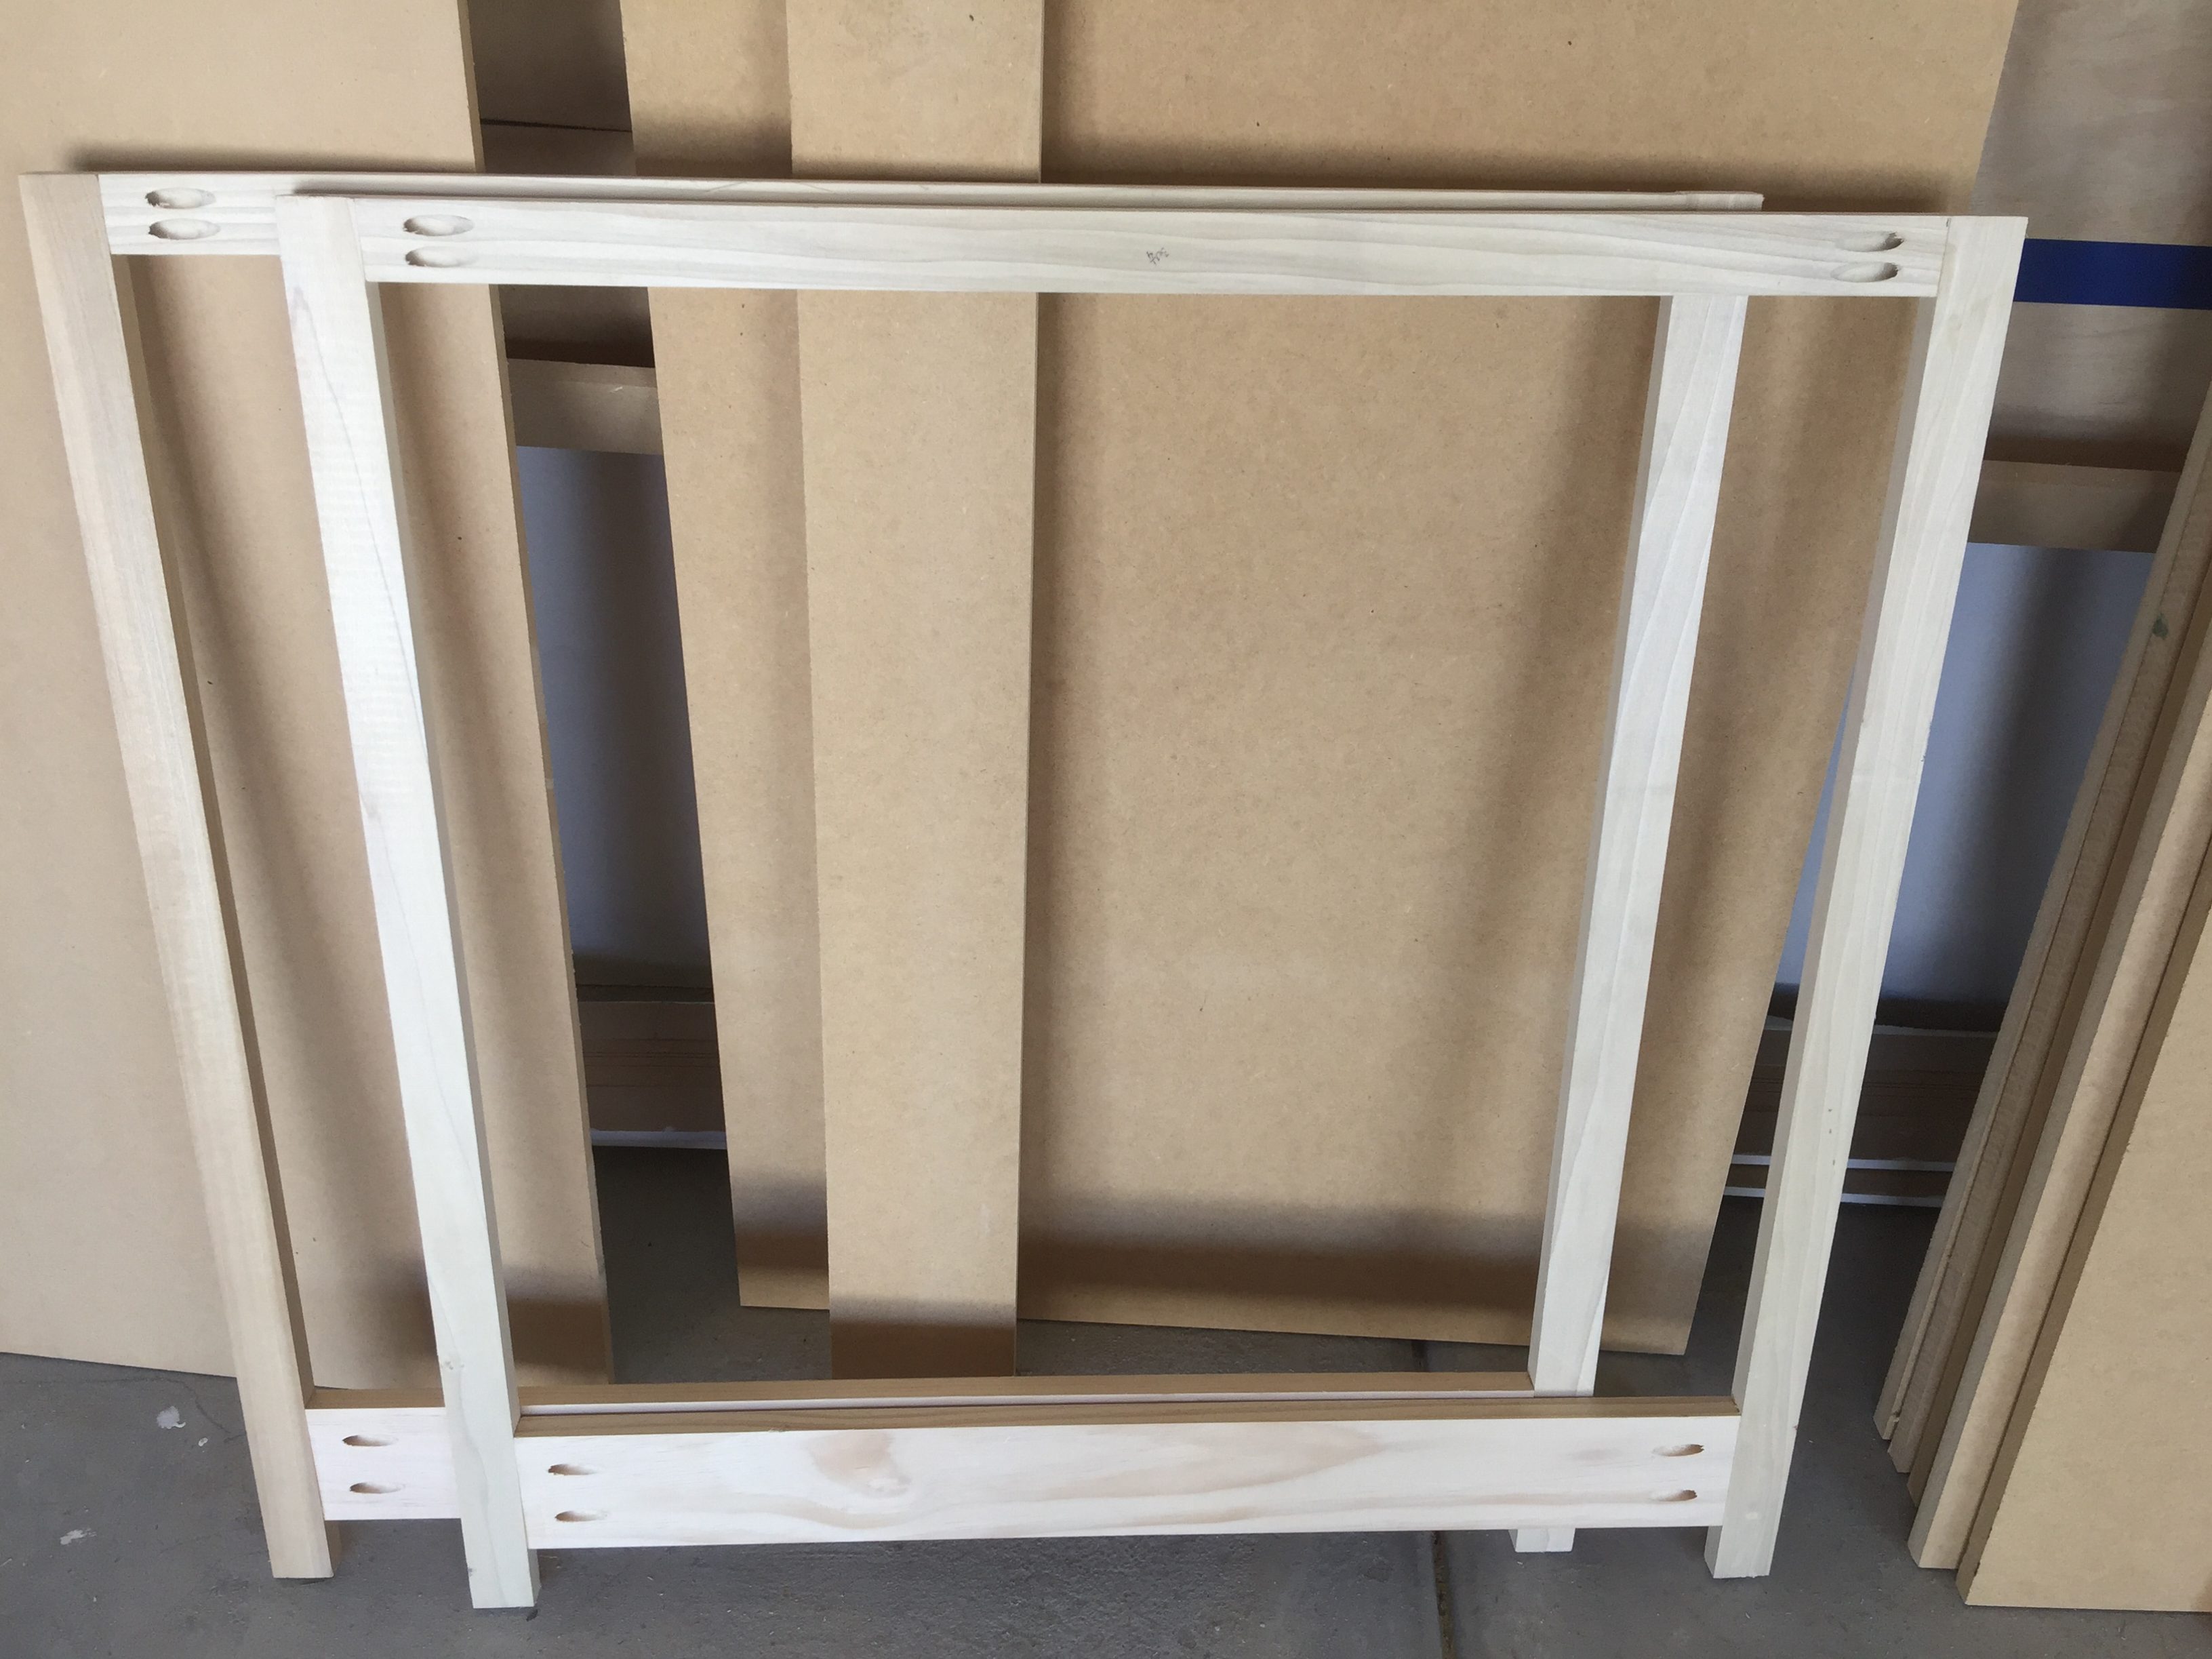
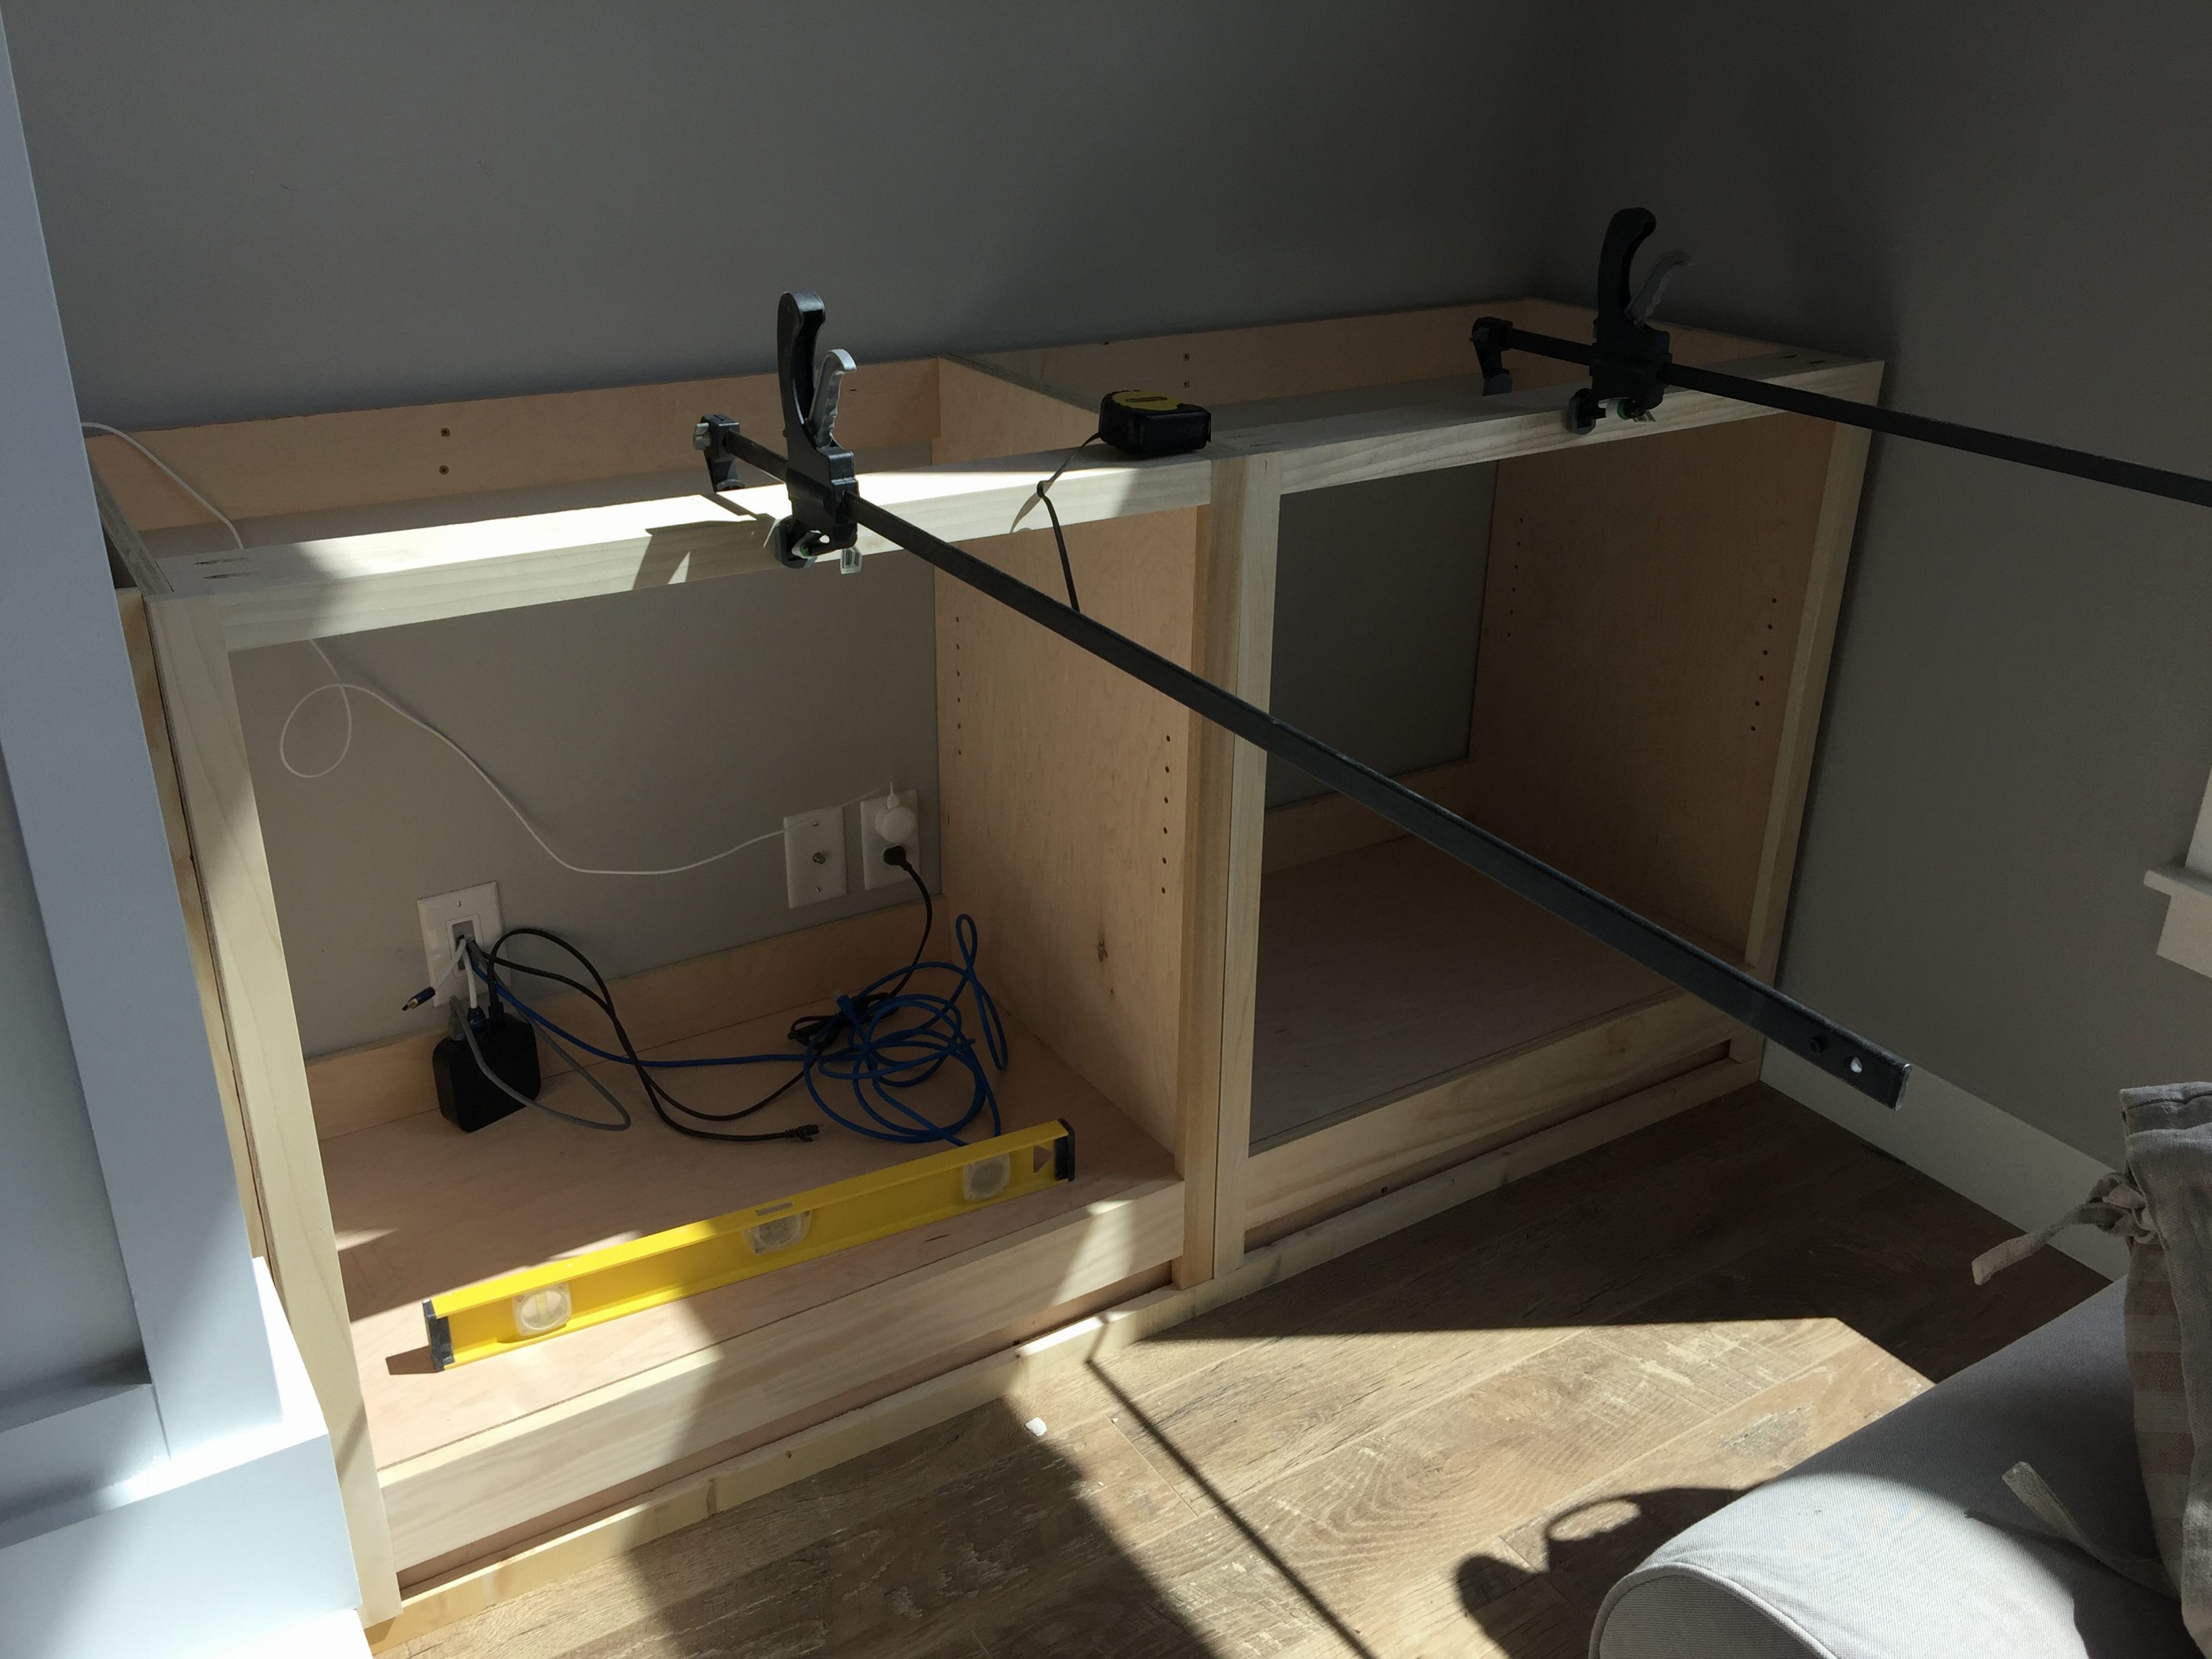
I placed the 1×2 furring strip on the floor next to the base. I didn’t nail it in yet though. Then I measured the height from the top of the cabinet to the top of the furring strip…it was around 34″. I cut my wood and then measured the distance between where each of the side pieces will go and cut that length from a 1×2 and the 1×4. I assembled the face frames with the two side pieces and the top piece (using pocket screws and wood glue) and then clamped it to the top of the cabinet so I could mark exactly where the bottom piece would sit flush to the bottom of the cabinet. You could just measure it with measuring tape but I found this way to be more precise. I added the bottom piece again using pocket screws and glue. The whole process of building a face frame is much easier if you have really large clamps that can hold each side in place.
Once the face frames were built, I clamped them to the cabinet so they’d be perfectly in place and then used a nail gun to nail them to the cabinet. You probably wouldn’t want to do it this way if you were staining the wood, but since I’m painting it and can use nail hole filler, you won’t be able to see. Plus it’s way easier.
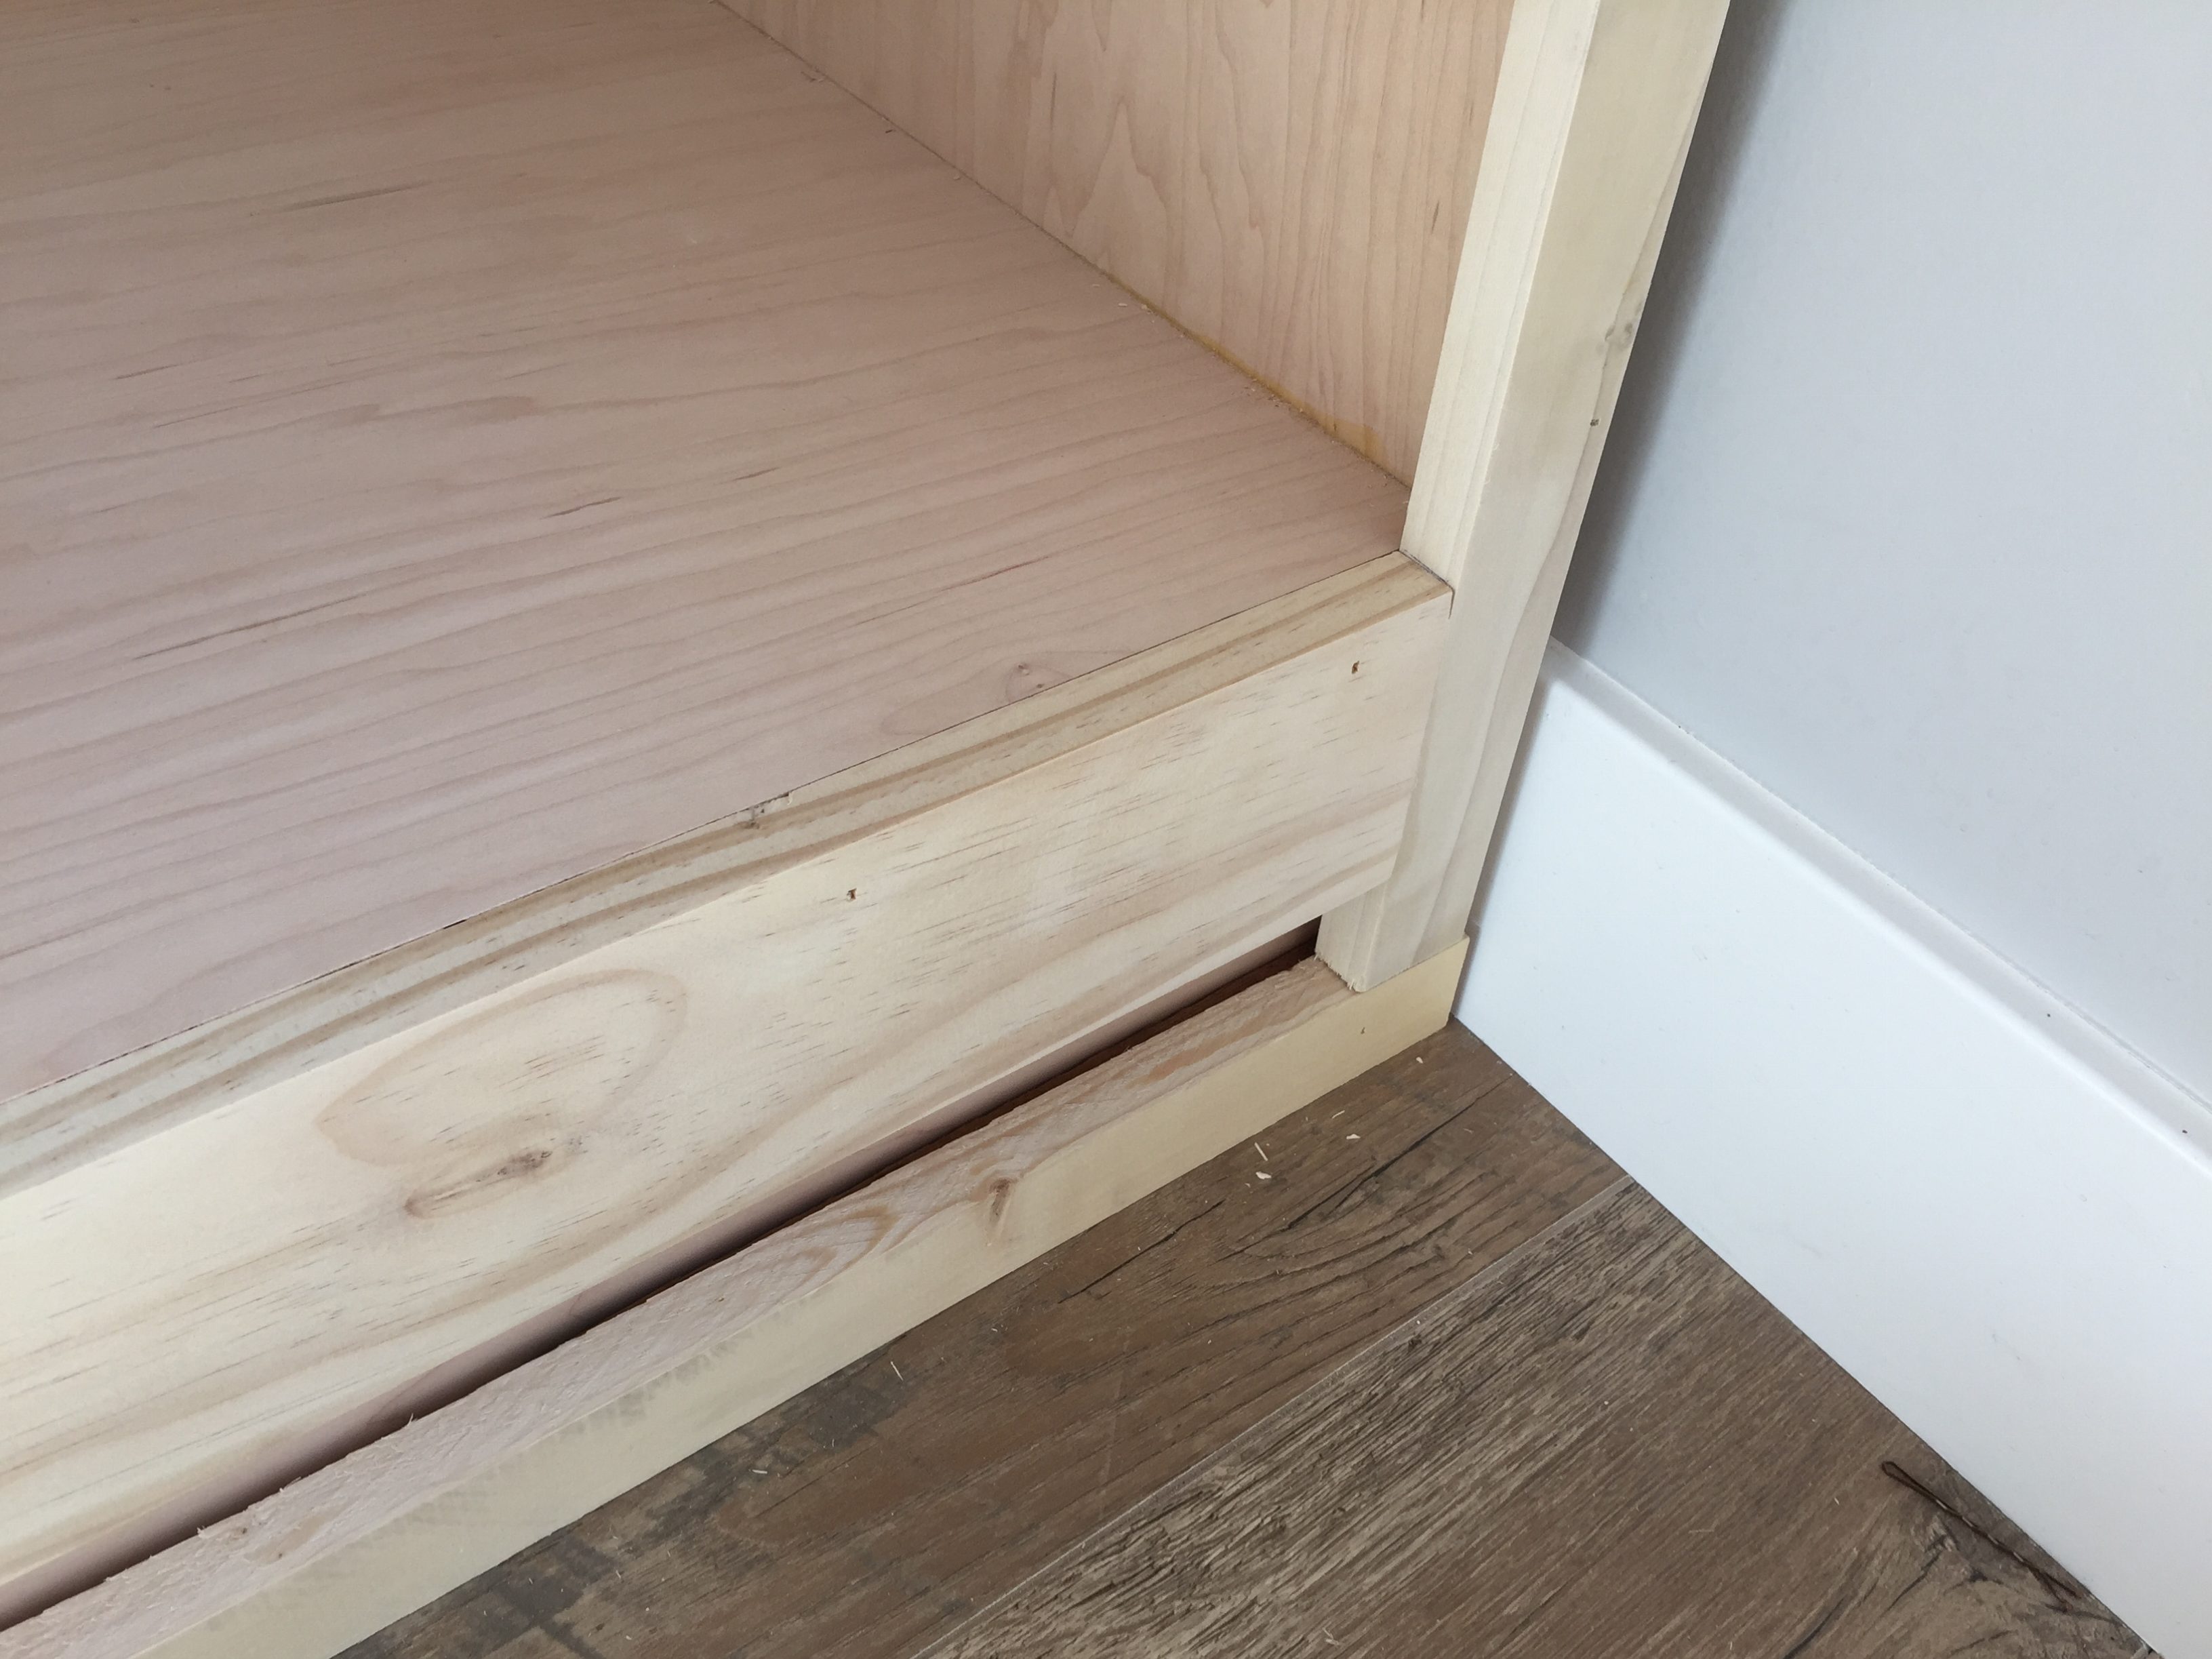
Remember the furring strip? What is the point of it? Well it’s to provide support to the baseboard I was planning to add. But since the furring strip didn’t sit flush to the base when it was lined up with the face frames, I slipped some shims behind it and then nailed it to the base. Finally I cut some 1/2″ MDF to 5″ width and added it over the whole thing, mitering the corner on the exposed side.
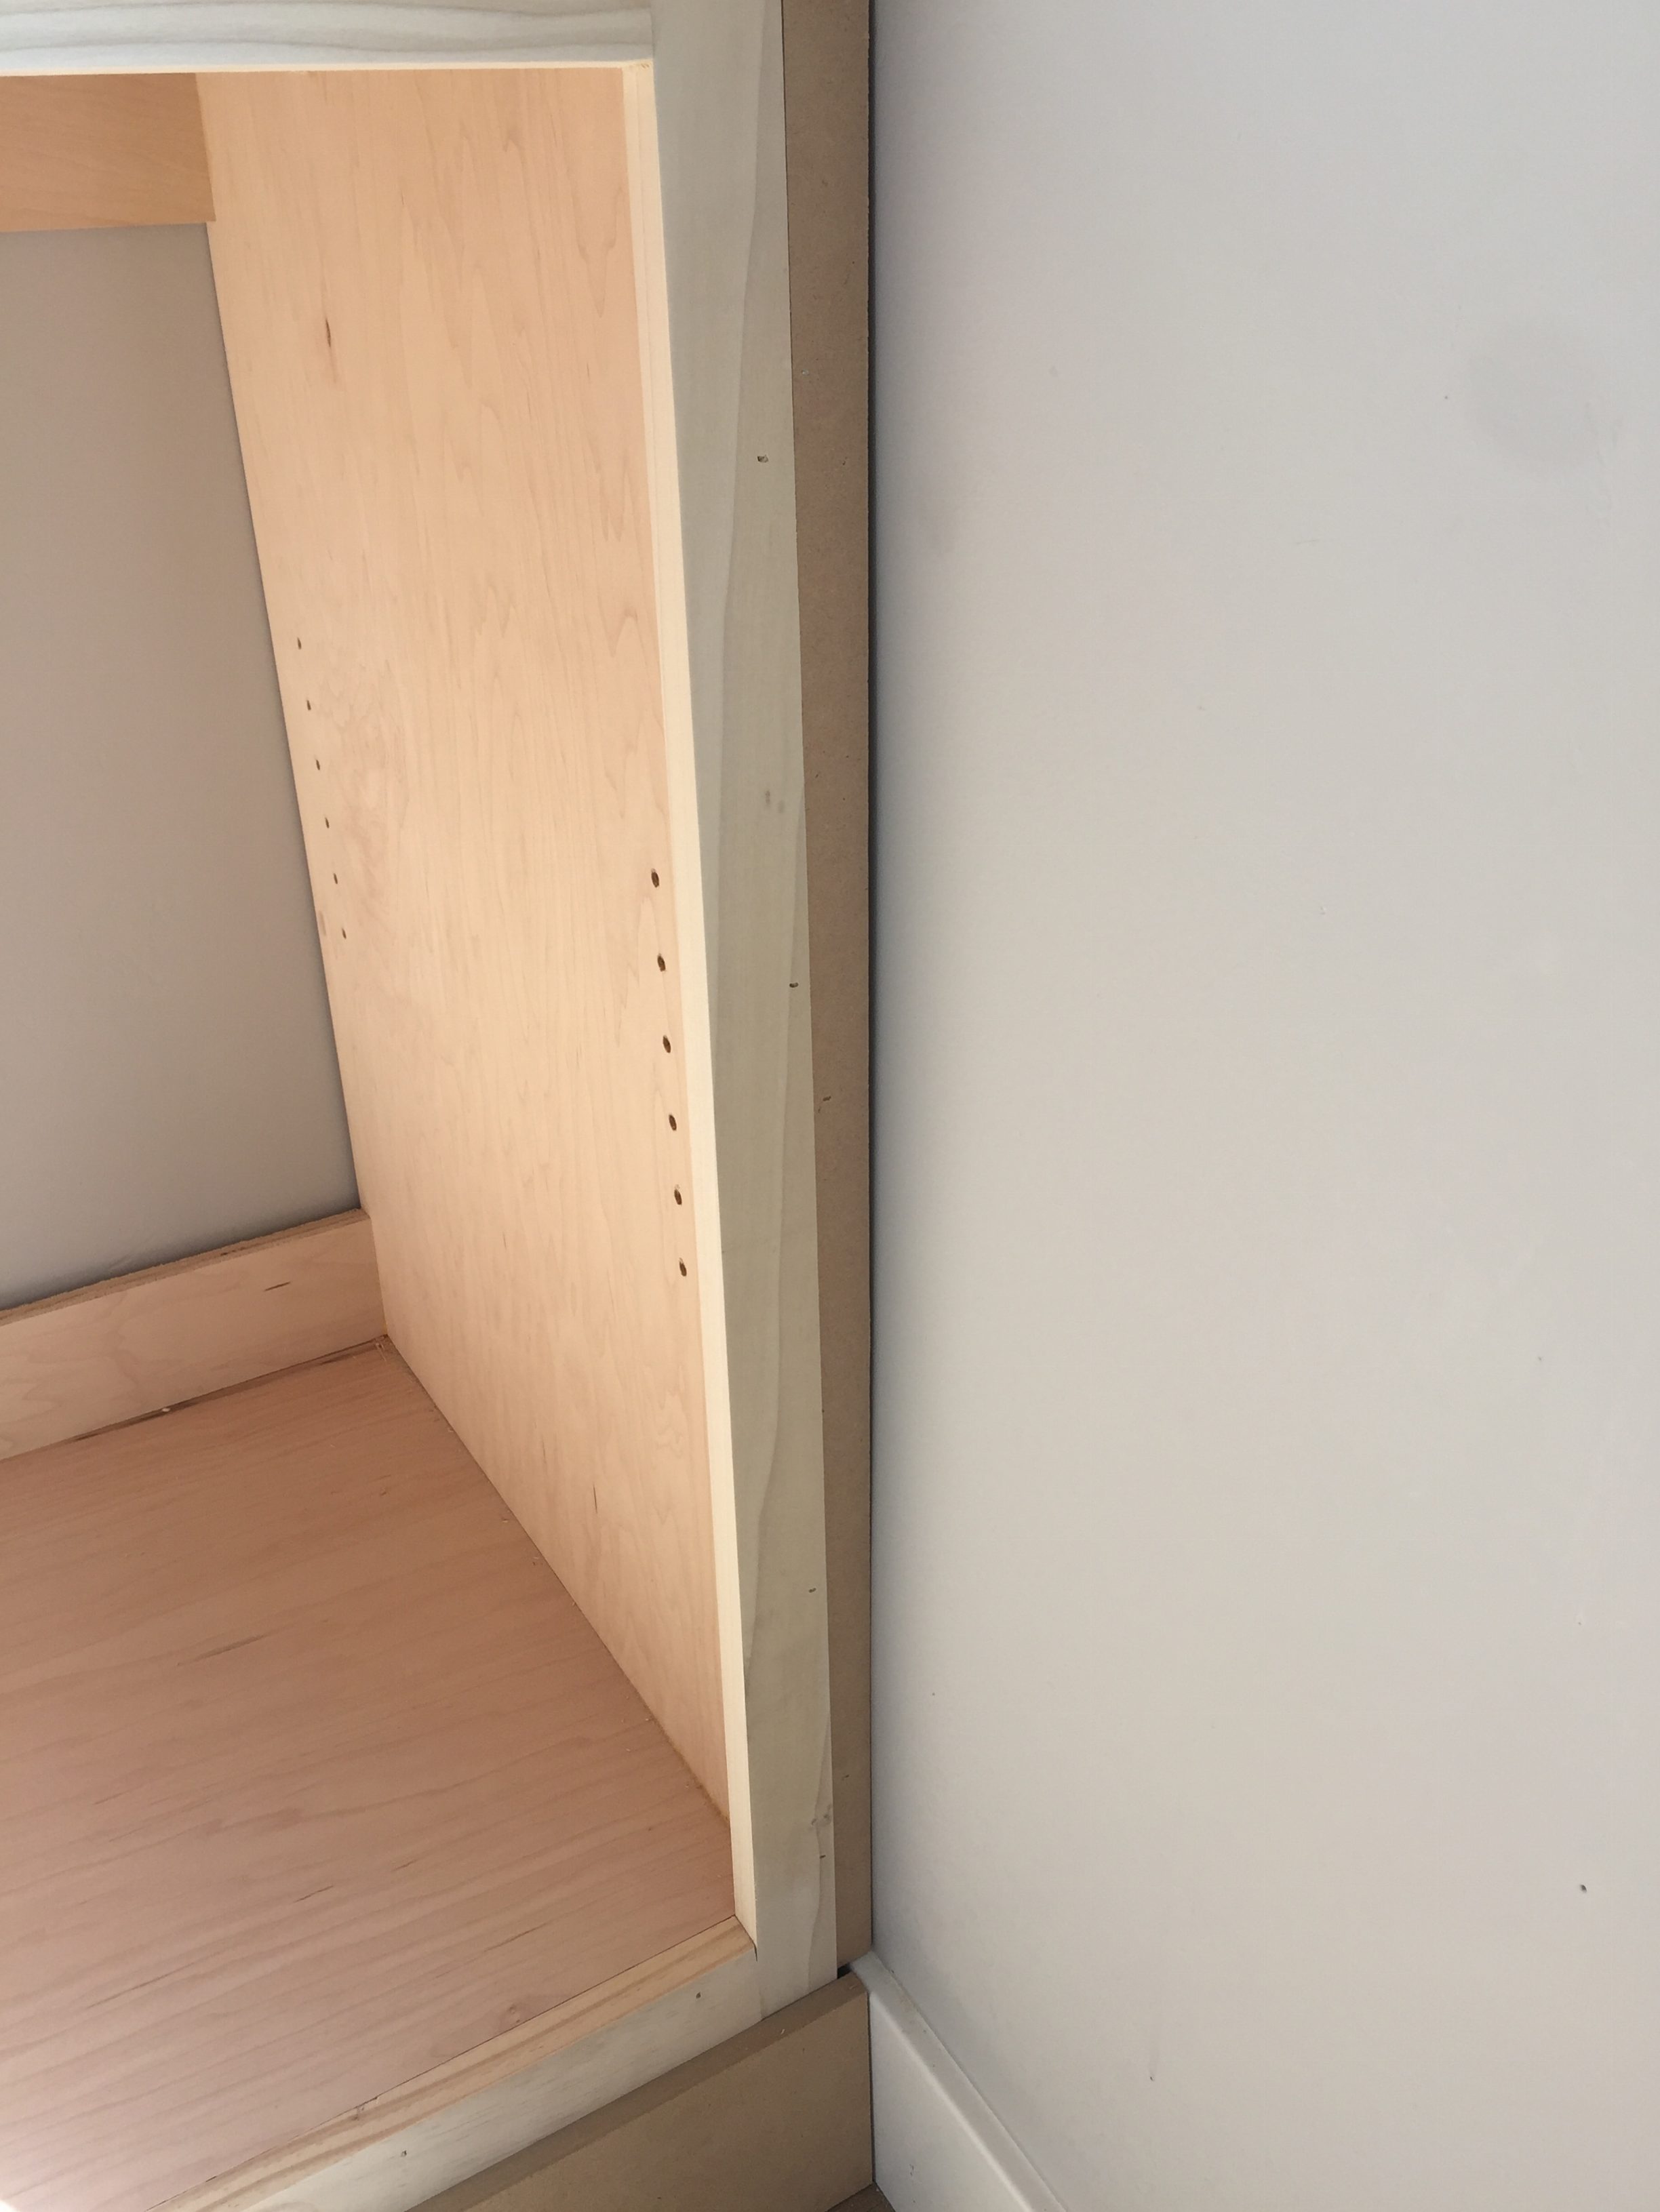
The last thing I needed to do was cover the large gaps. I measured the top and bottom of these gaps because the walls are not square and the sizes were different. Then I drew it out on the 1/4″ MDF piece I had and used my table saw freehand to guide it on the line. If you are more talented than I you would probably scribe this but I don’t know how to do that. And this worked. Then I nailed this piece to a thicker piece which was nailed to the inside of the cabinet. And caulk will fill in the cracks.
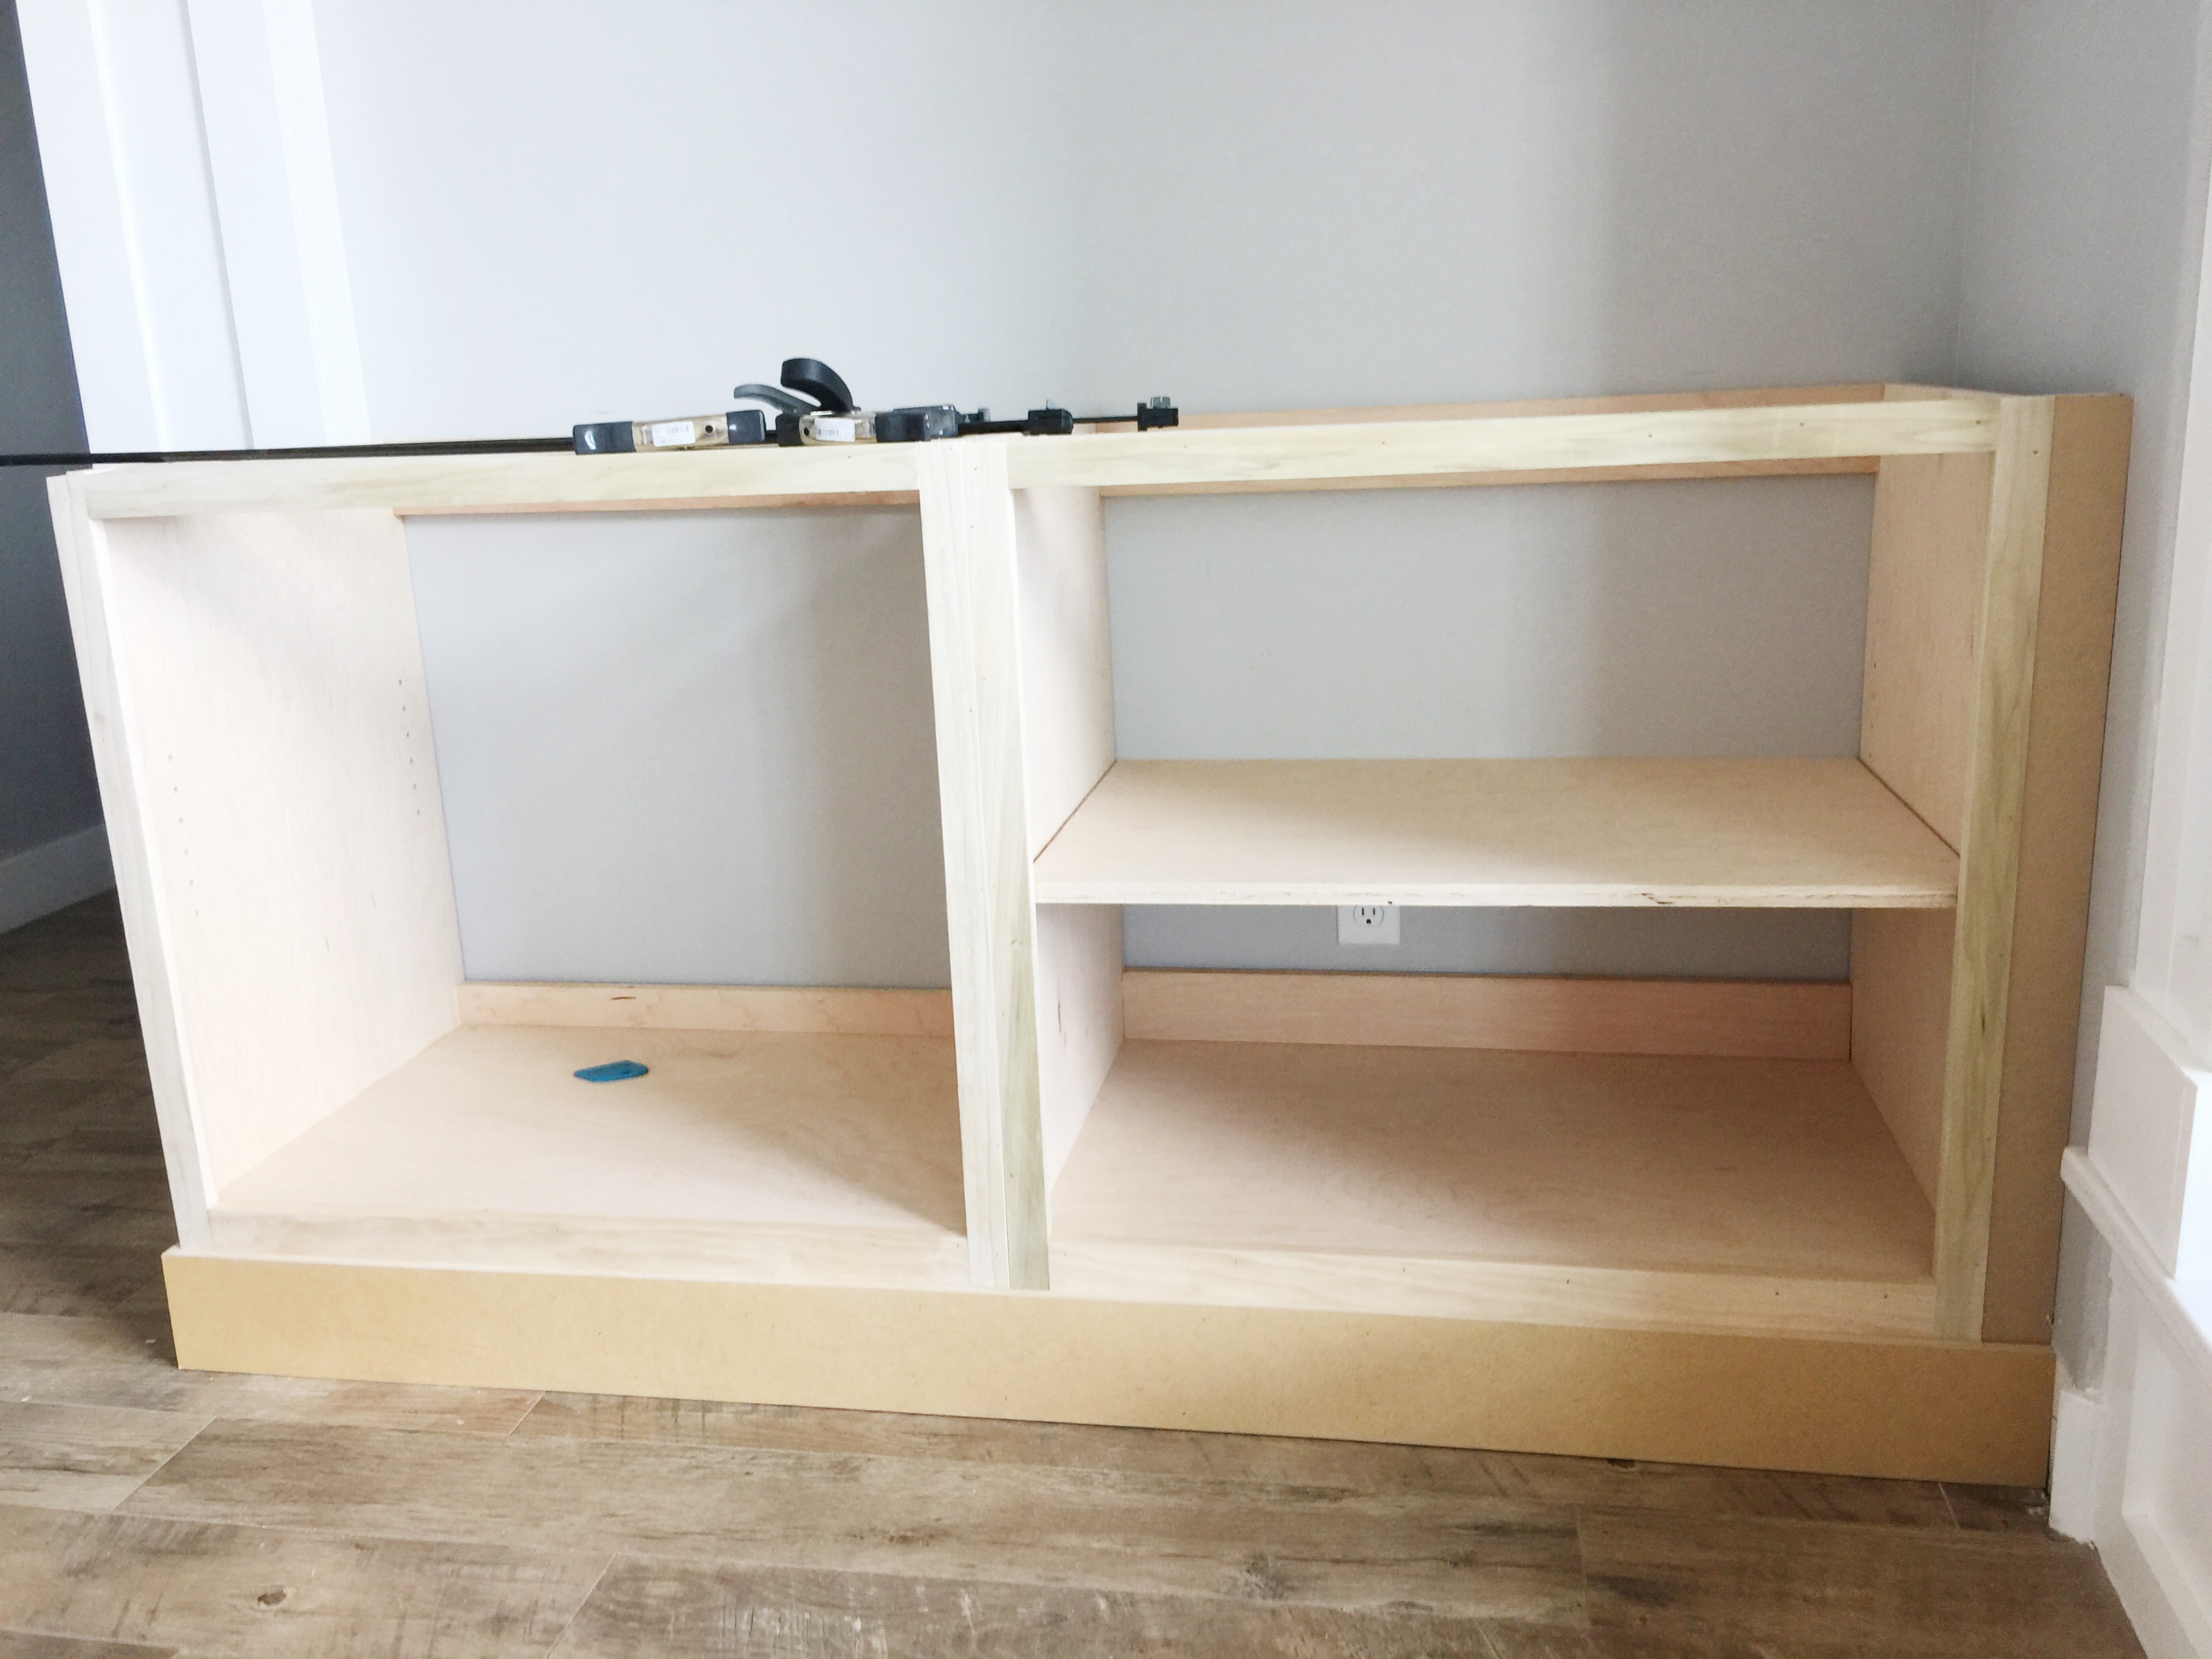
Finally I added the top. I decided to get 3/4″ MDF for the top because I was painting and it’s about $20 cheaper than the maple. I also got all my MDF for the bookshelves at the same time. I cut it to the size and slid it into place. On the side with the exposed side I cut a small portion out with the jigsaw so it could have a little overhang. Last I nailed a thin strip of wood to the edge to give a thicker and more finished appearance. And now you can see my diy built in cabinets around the fireplace starting to take shape!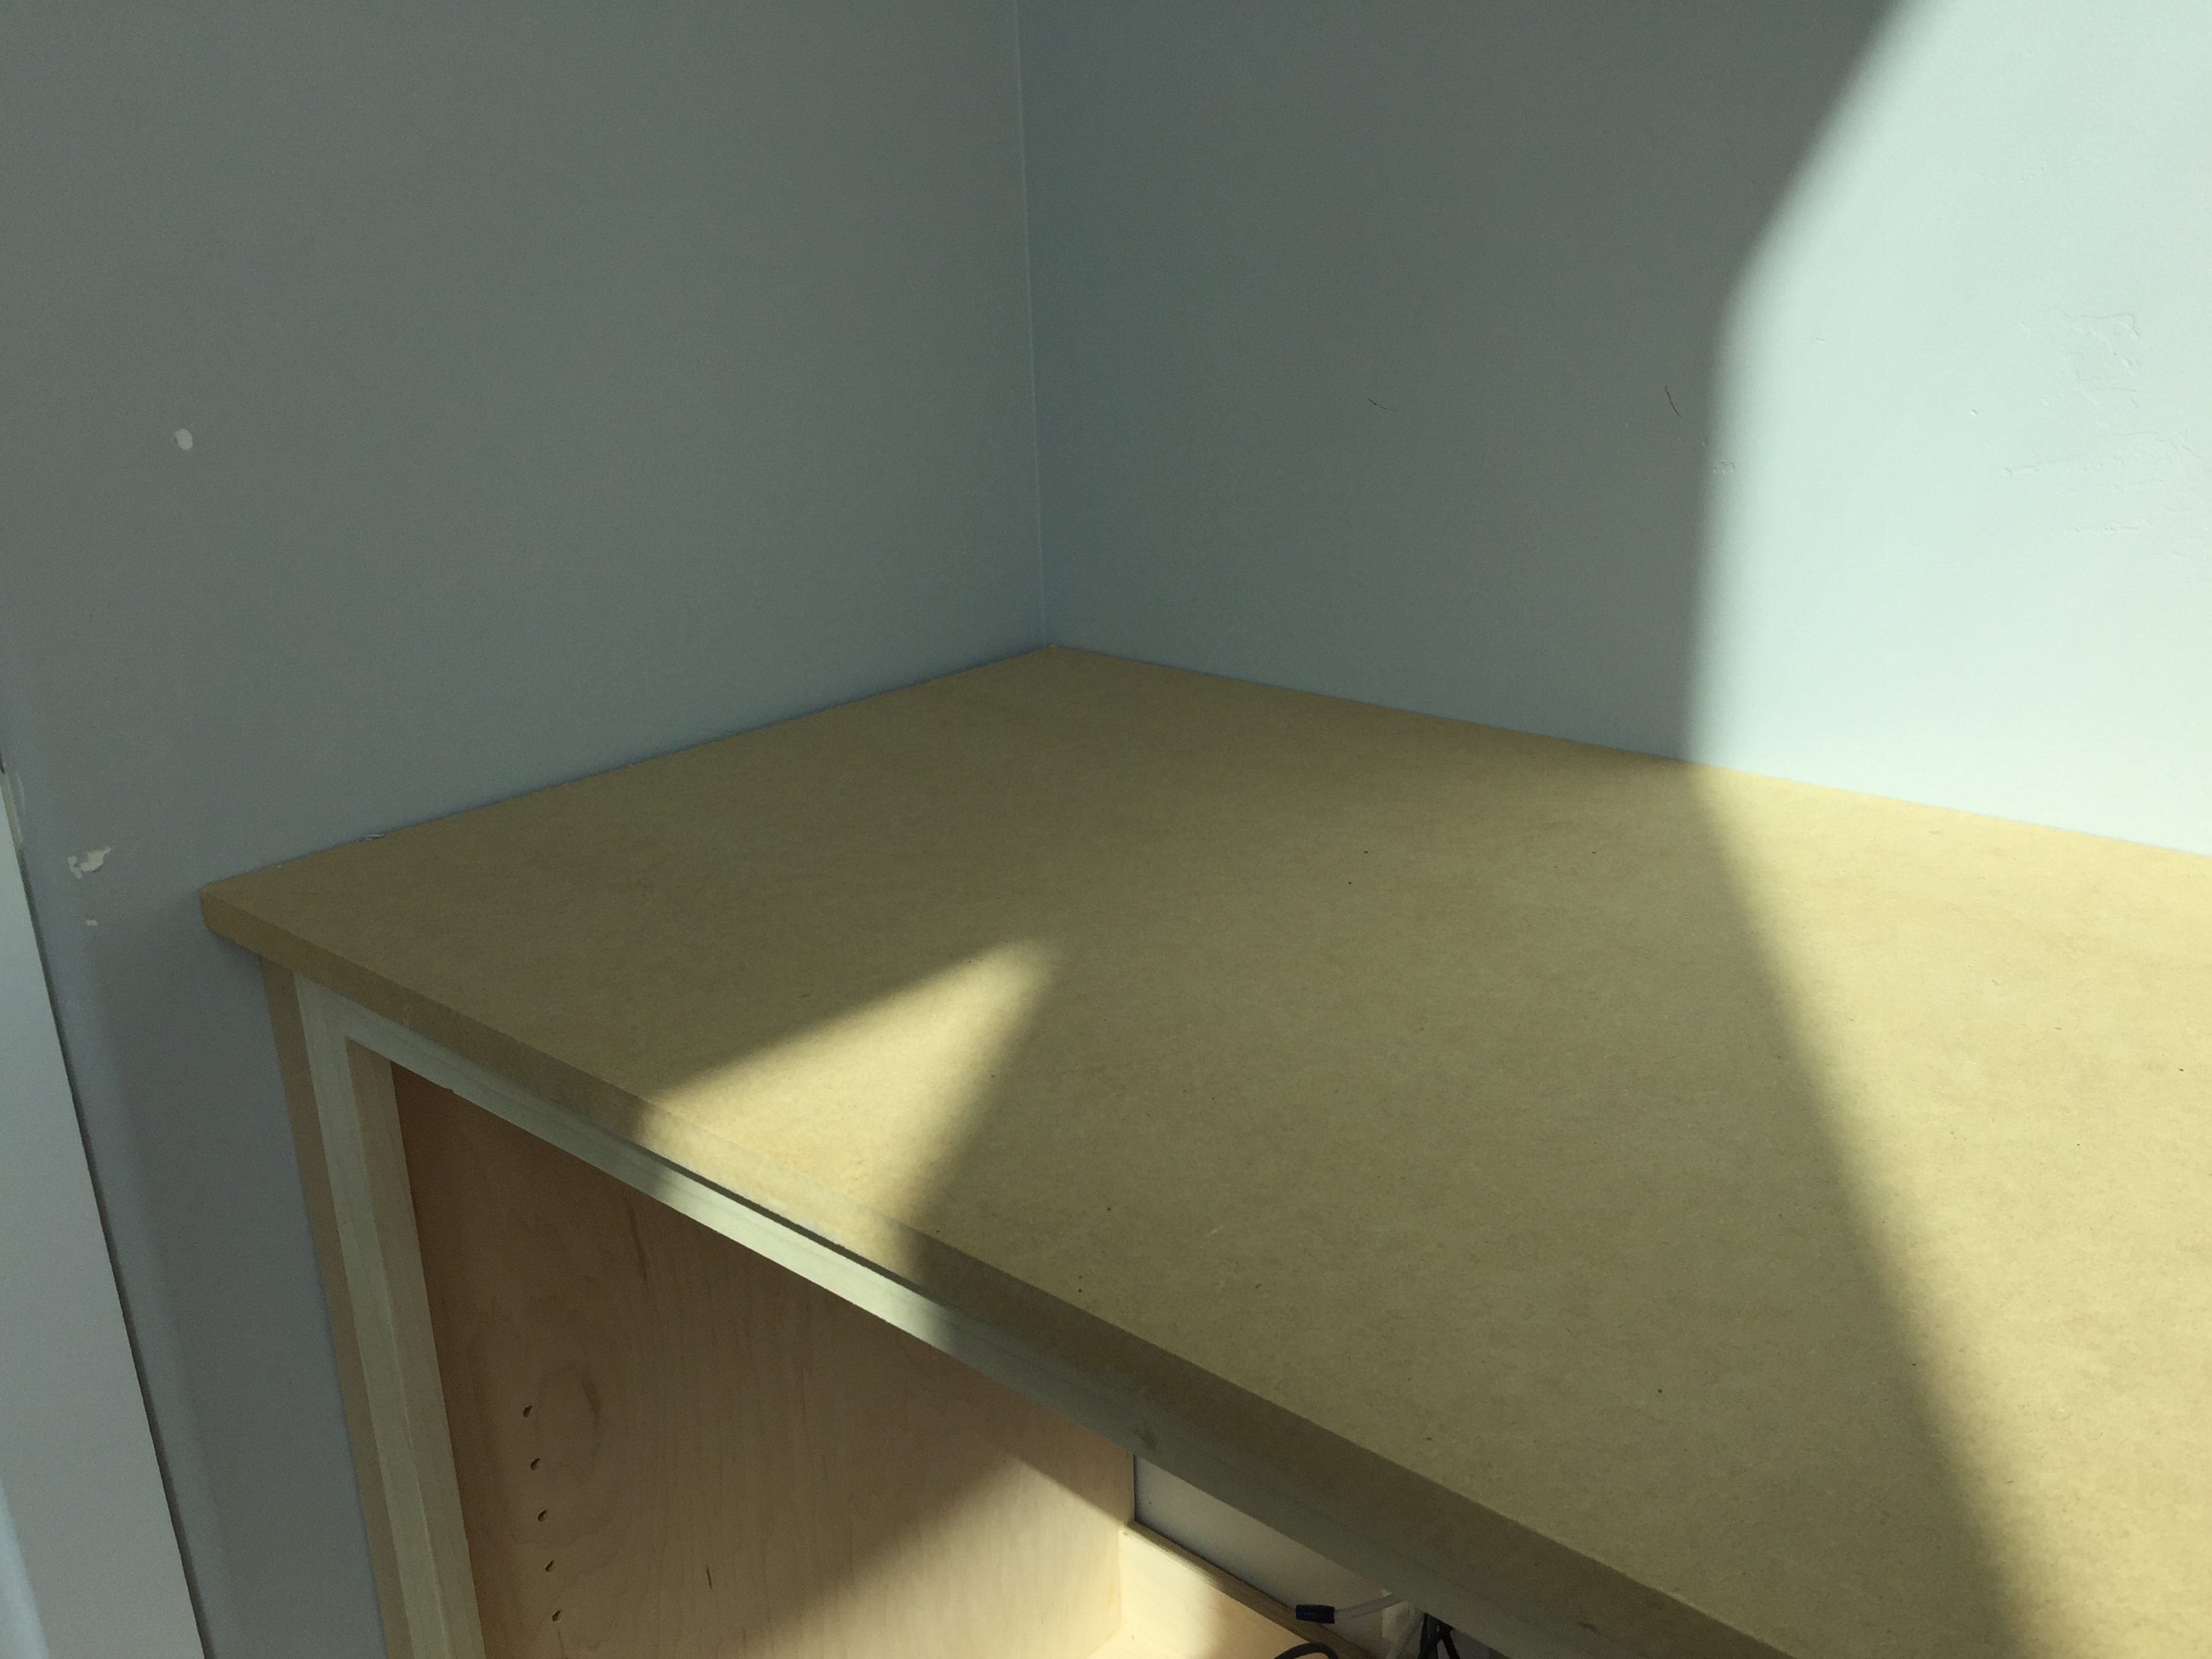
That sounds like a lot of work. And it kind of is, actually. But I looked for years at my options for completing this project and kept coming back to just doing the entire thing myself. I could have purchased pre-fab cabinet at Lowe’s which even had the square shaker doors but I was worried the construction would be shoddy and that they would fall apart. And I don’t want to pay that much for cabinets that fell apart anyway! The other reason I wanted to do it was because I have plans for built-ins all over my house and so learning to build cabinets would just be essential anyway.
The next step is adding the top bookshelves so stay tuned!
Updated: Visit this link to see Part 2!

I absolutely love what you have done here, I have been looking for a project like this for my living room around my fireplace and this inspires me so much.
Thank you so much!
How do you determine the size of the screws you use? I can never get this right. Is there a secret formula unbeknownst to a new DIY girl?
Yes it can be a little confusing. I always use 1 1/4″ screws when I go through 1x’s. If it’s 2x’s (like 2×4’s) then I’ll use 2 1/2″. I hope that makes sense.
Great job! Do you have a tutorial for the cabinet doors?
Gorgeous! I would love to do this in my home. What kind of saw do you use to cut the plywood?
I have a table saw but you could use a circular saw (a Kreg Rip Cut also helps a lot!)