DIY Built in Cabinets Around the Fireplace Part 2
Hi! This post is all about my DIY built in cabinets around the fireplace. If you’ve just reached this post and haven’t read Part 1 yet, click here to read that first. Otherwise you’ll be SOOO lost. 😄
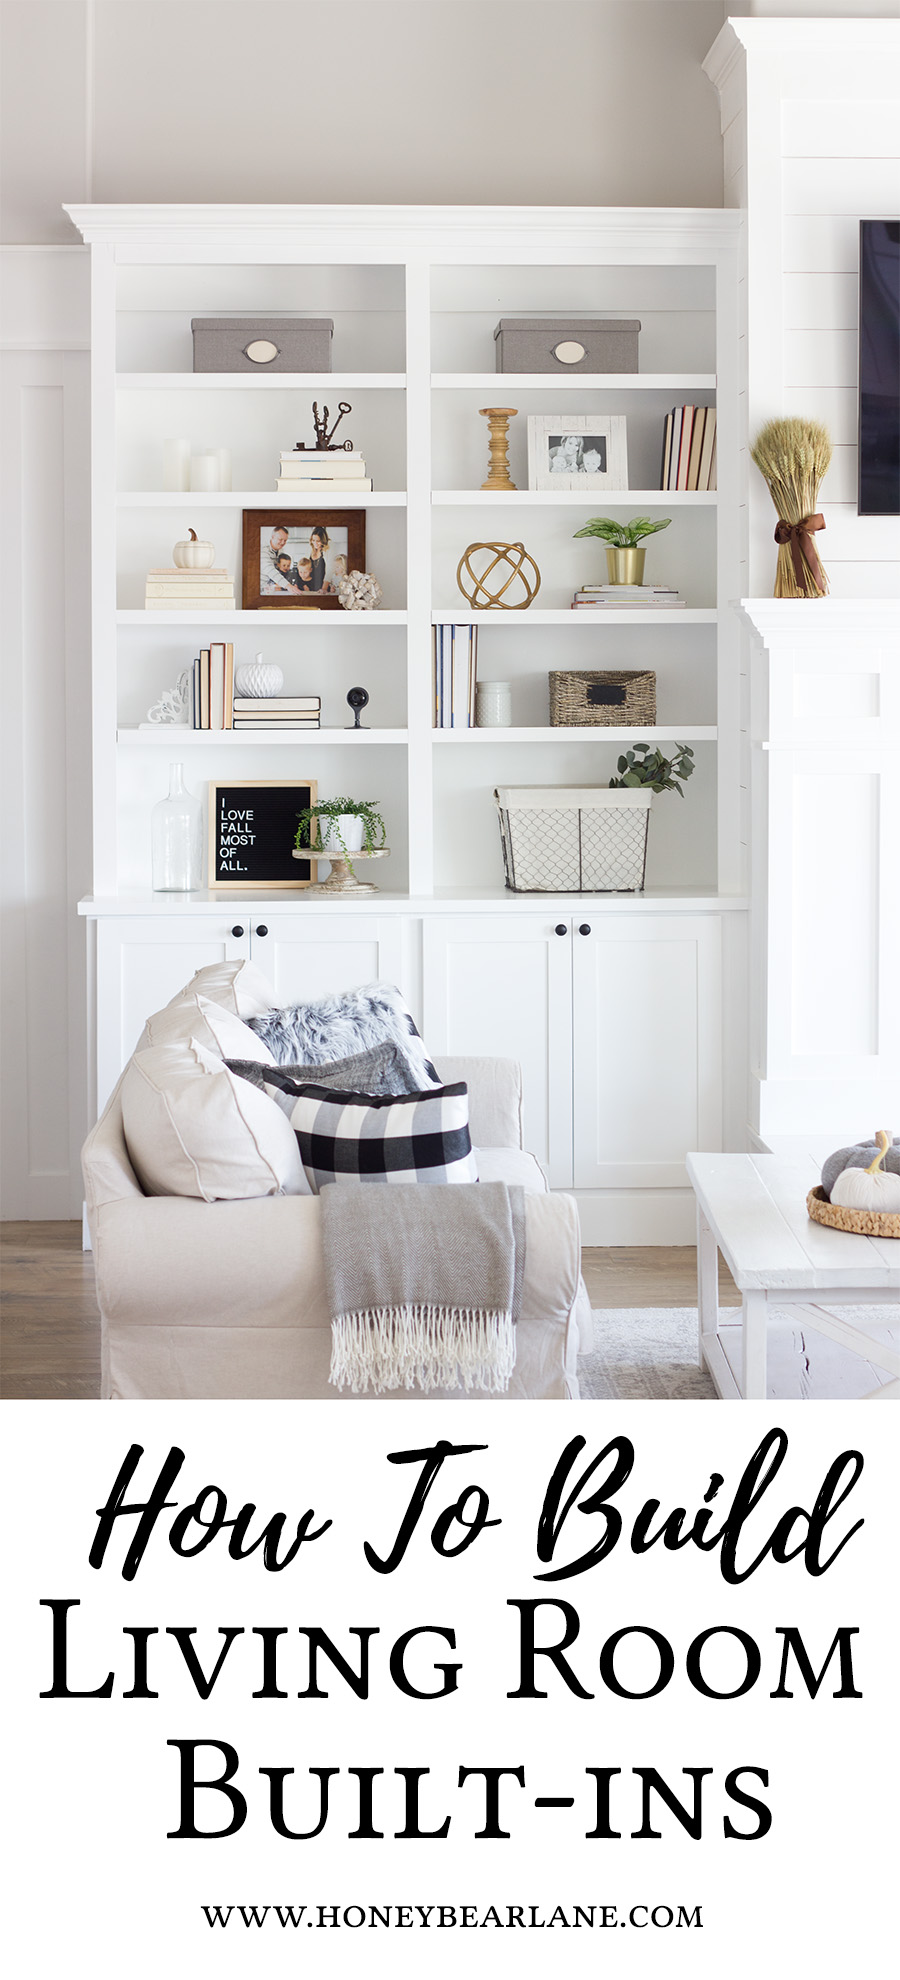
It’s time for part 2 of my built-in instructions! Part 1 showed you how to build the cabinets, face frames, base, and how to install and level them. Part 2 will show you all the rest!
(This post contains affiliate links, see my disclosure)
Supplies
- 4 4×8 sheets of 3/4″ MDF, ripped to 12″x8′ boards
- 1 1/4″ pocket screws
- Pocket hole plugs
- Kreg Jig
- Miter Saw
- Kreg Bookshelf Pin Jig
- Kreg Crown Pro
- Kreg Right Angle Clamp
- 8 1x3x8 poplar boards
- 11 1x2x8 poplar boards
- 1/4″ bookshelf pegs
- 14-16 feet 4″ crown molding
- Behr Ultra White Paint in Semi-gloss, 2 gallons
Bookshelf Carcass
For the top part of the built ins I purchased a bunch of 3/4″ MDF. I got MDF because it paints really well, is sturdy, and is cheaper than wood. It’s funny because some people are snobby about MDF and only want to use real wood. However I found that using plywood wasn’t as smooth as MDF where it was ripped because plywood has a much worse tear-out problem than MDF (which is virtually non existent.) So it was nice that I didn’t have to pre-sand it. Since the face frames are all made out of a high quality wood, it doesn’t really matter. The only reason you’d want to use plywood is if you decided to stain it or maybe if you lived in a really humid climate. However I’ve heard plywood warps too, sooooo…
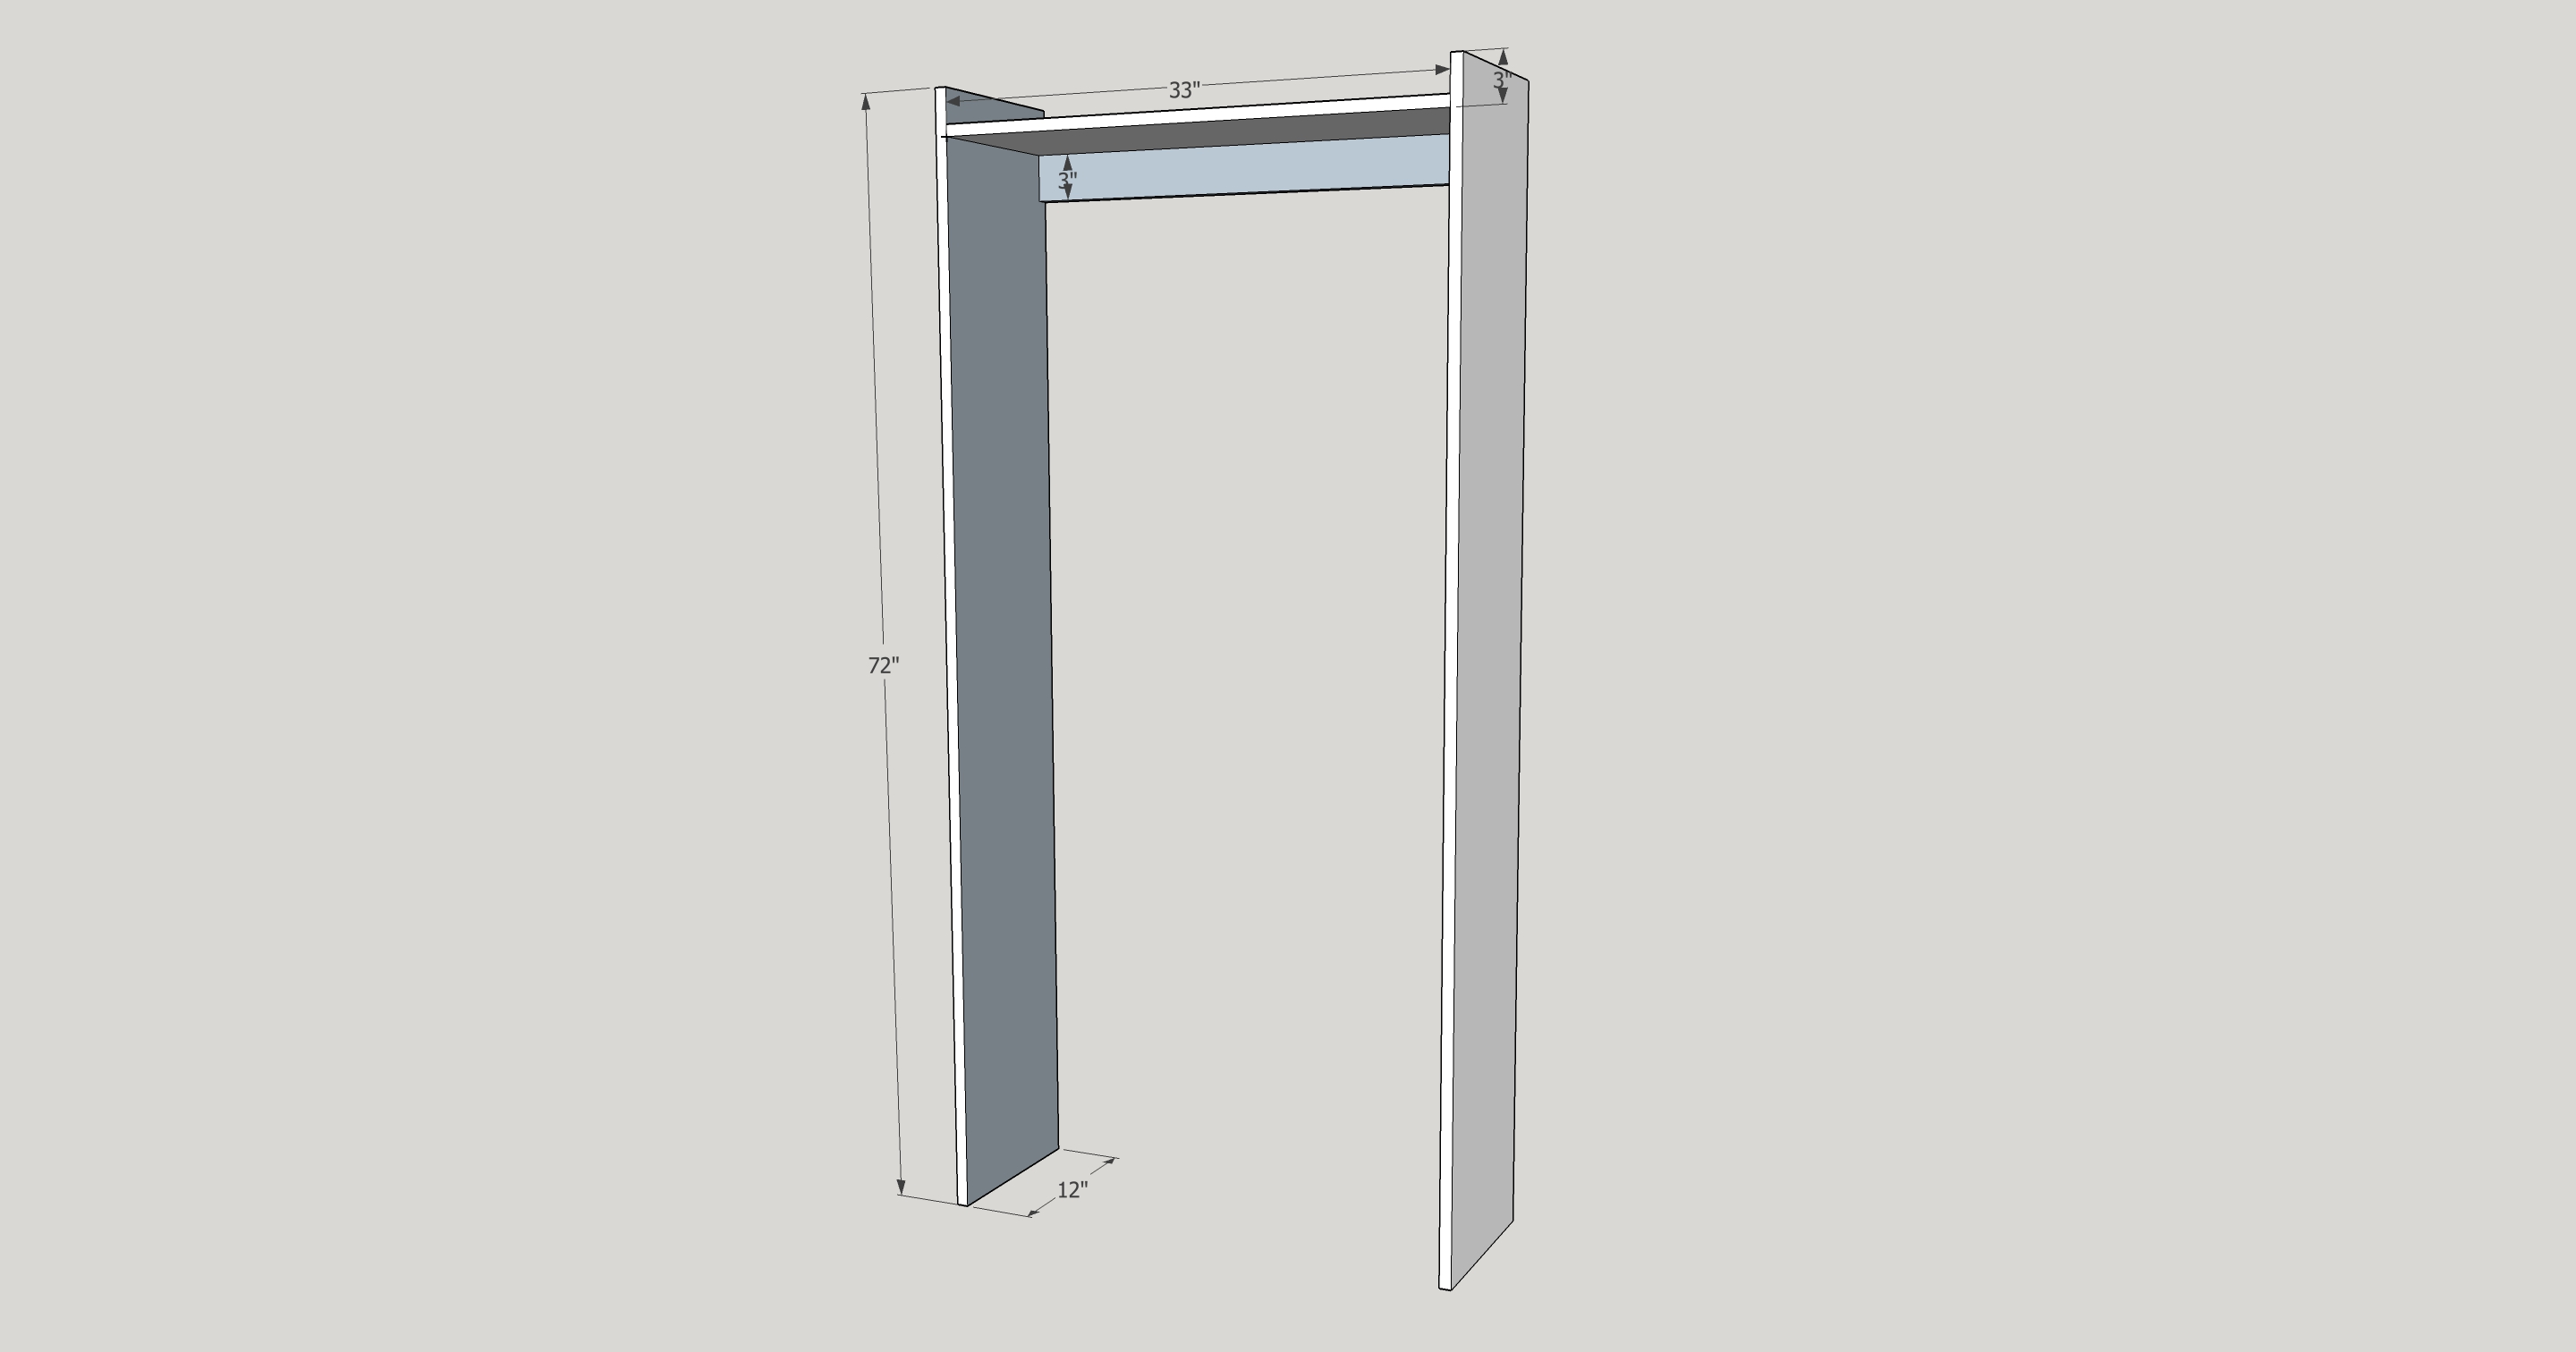
Anyway I had the wood store people cut my MDF to strips of 12″ so it didn’t take nearly as long as when they cut my cabinet pieces. It was quite heavy to load though because I had 4 4×8 sheets cut which makes 16 8’x12″ pieces of super heavy supply. Since it was only 12″ across I could cut it to size with my miter saw. I cut it to be about 6 feet long. Here are some of my measurements:
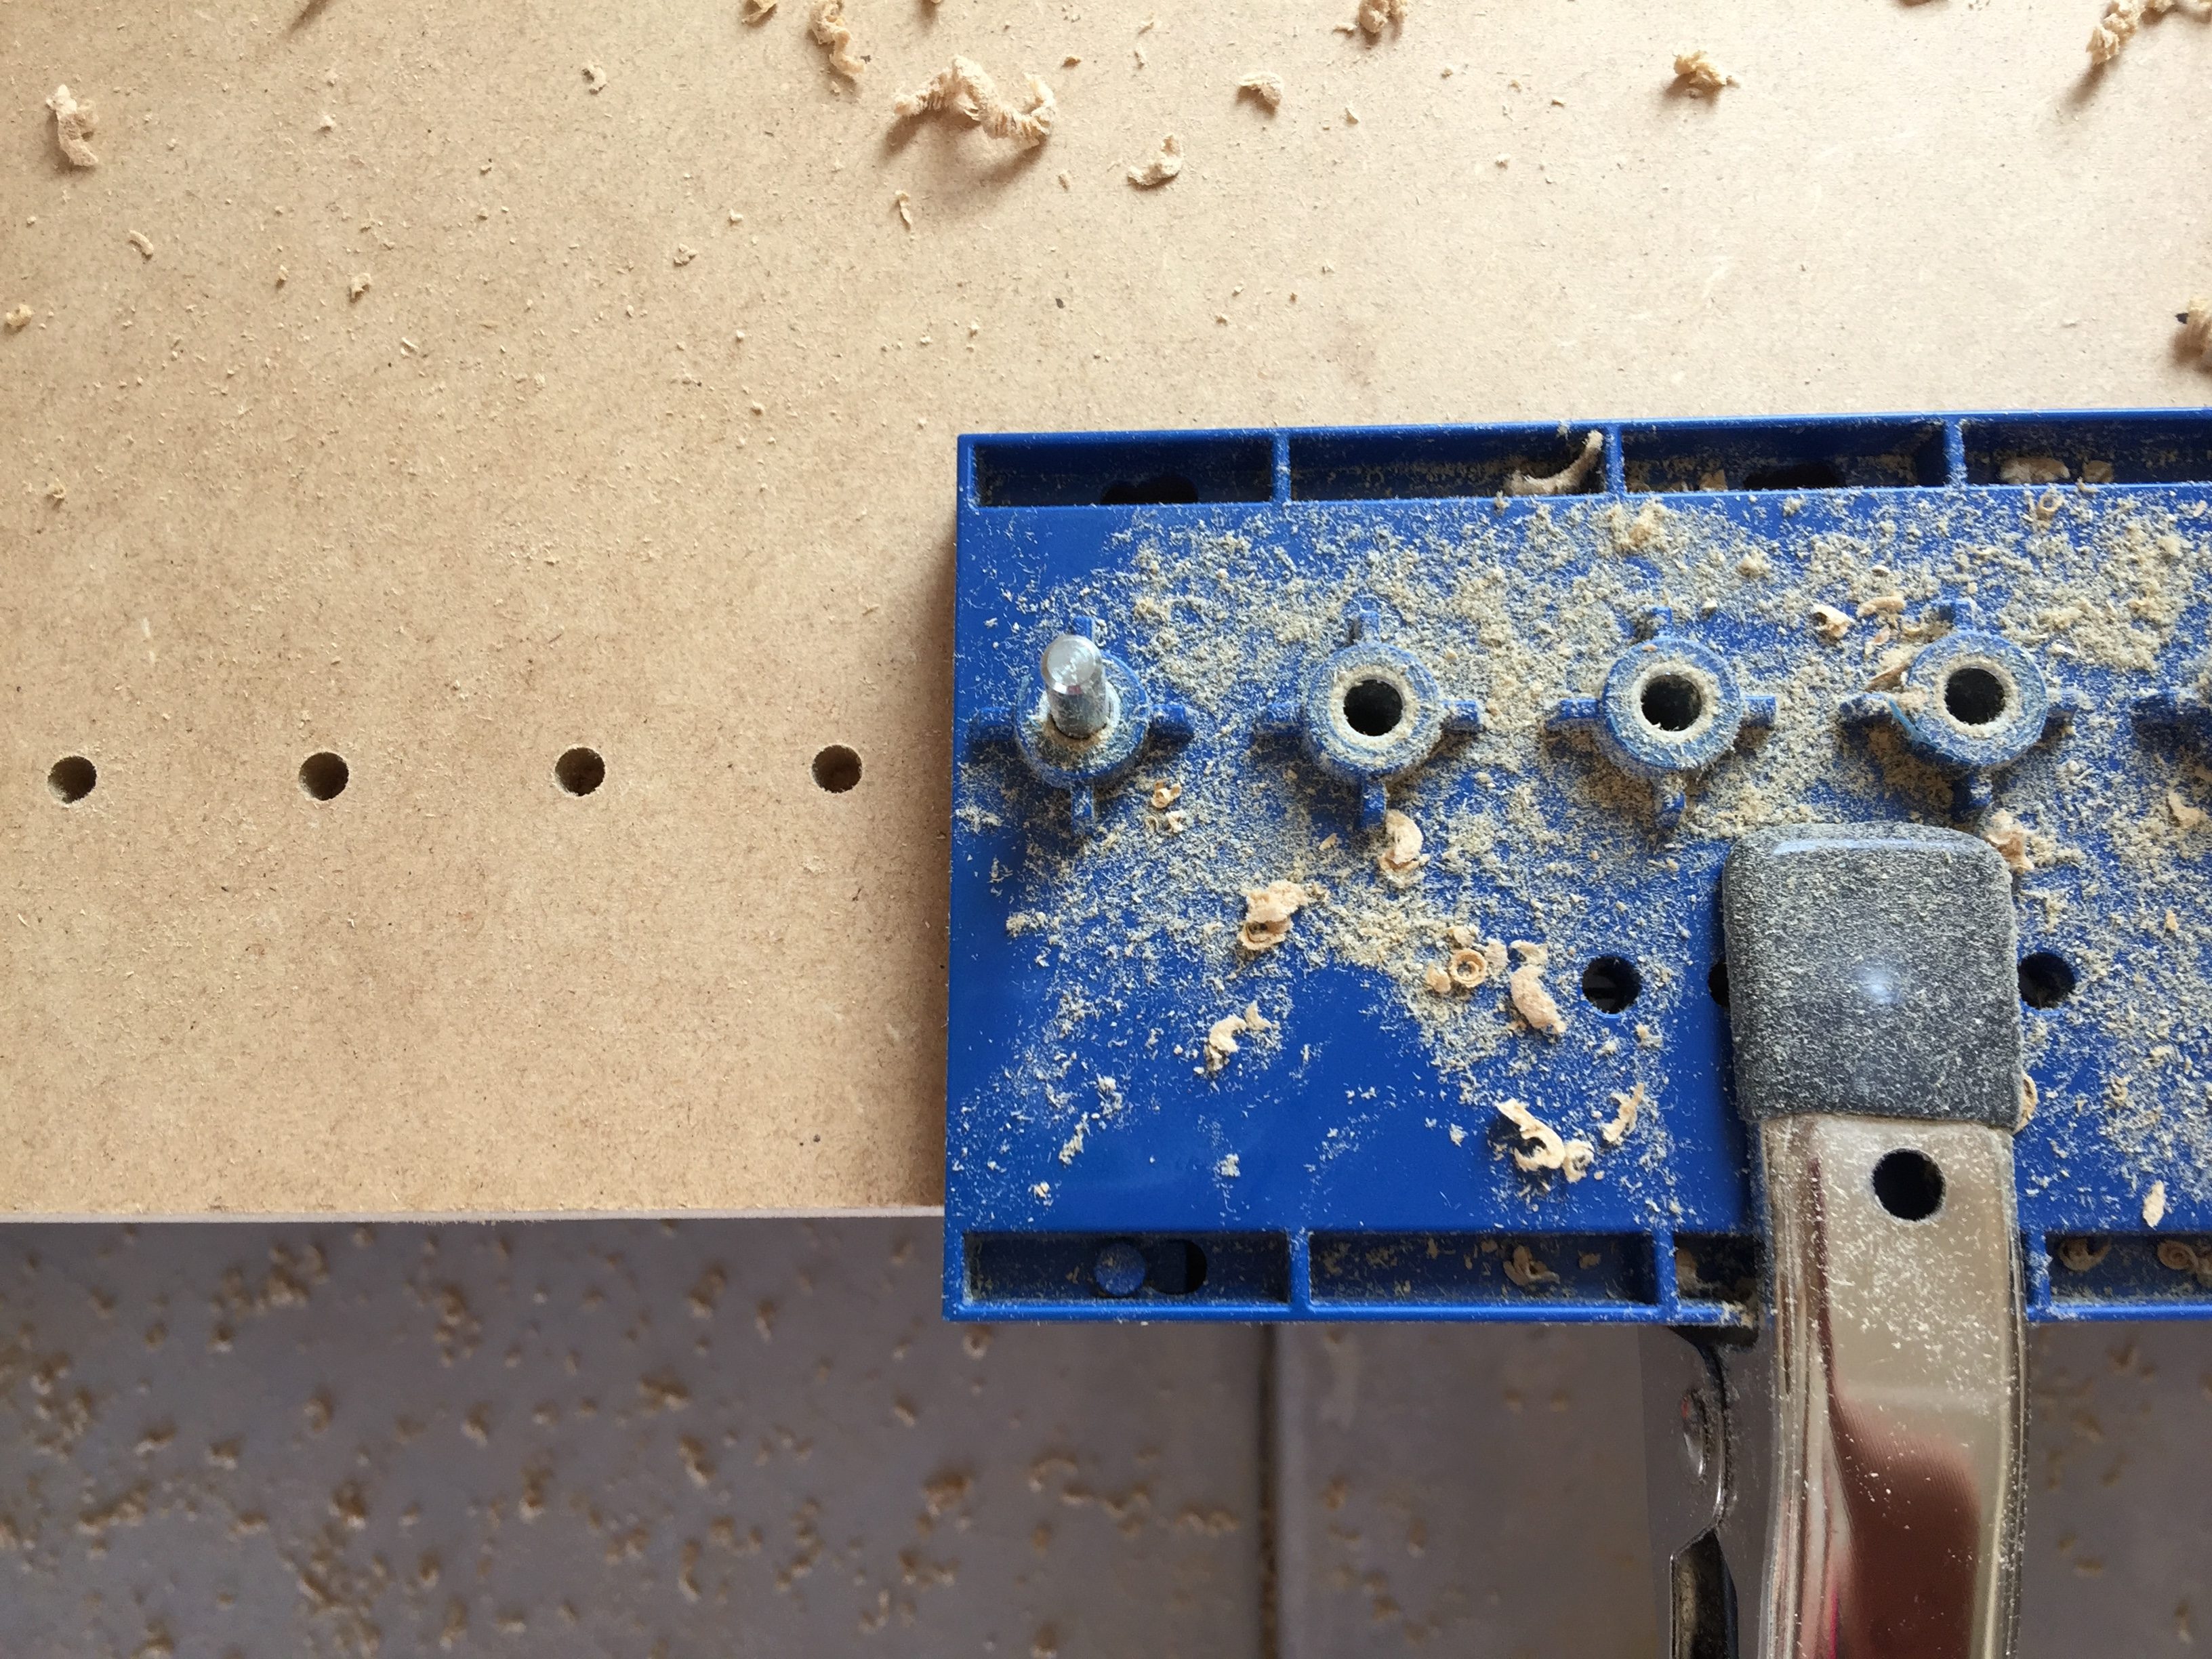
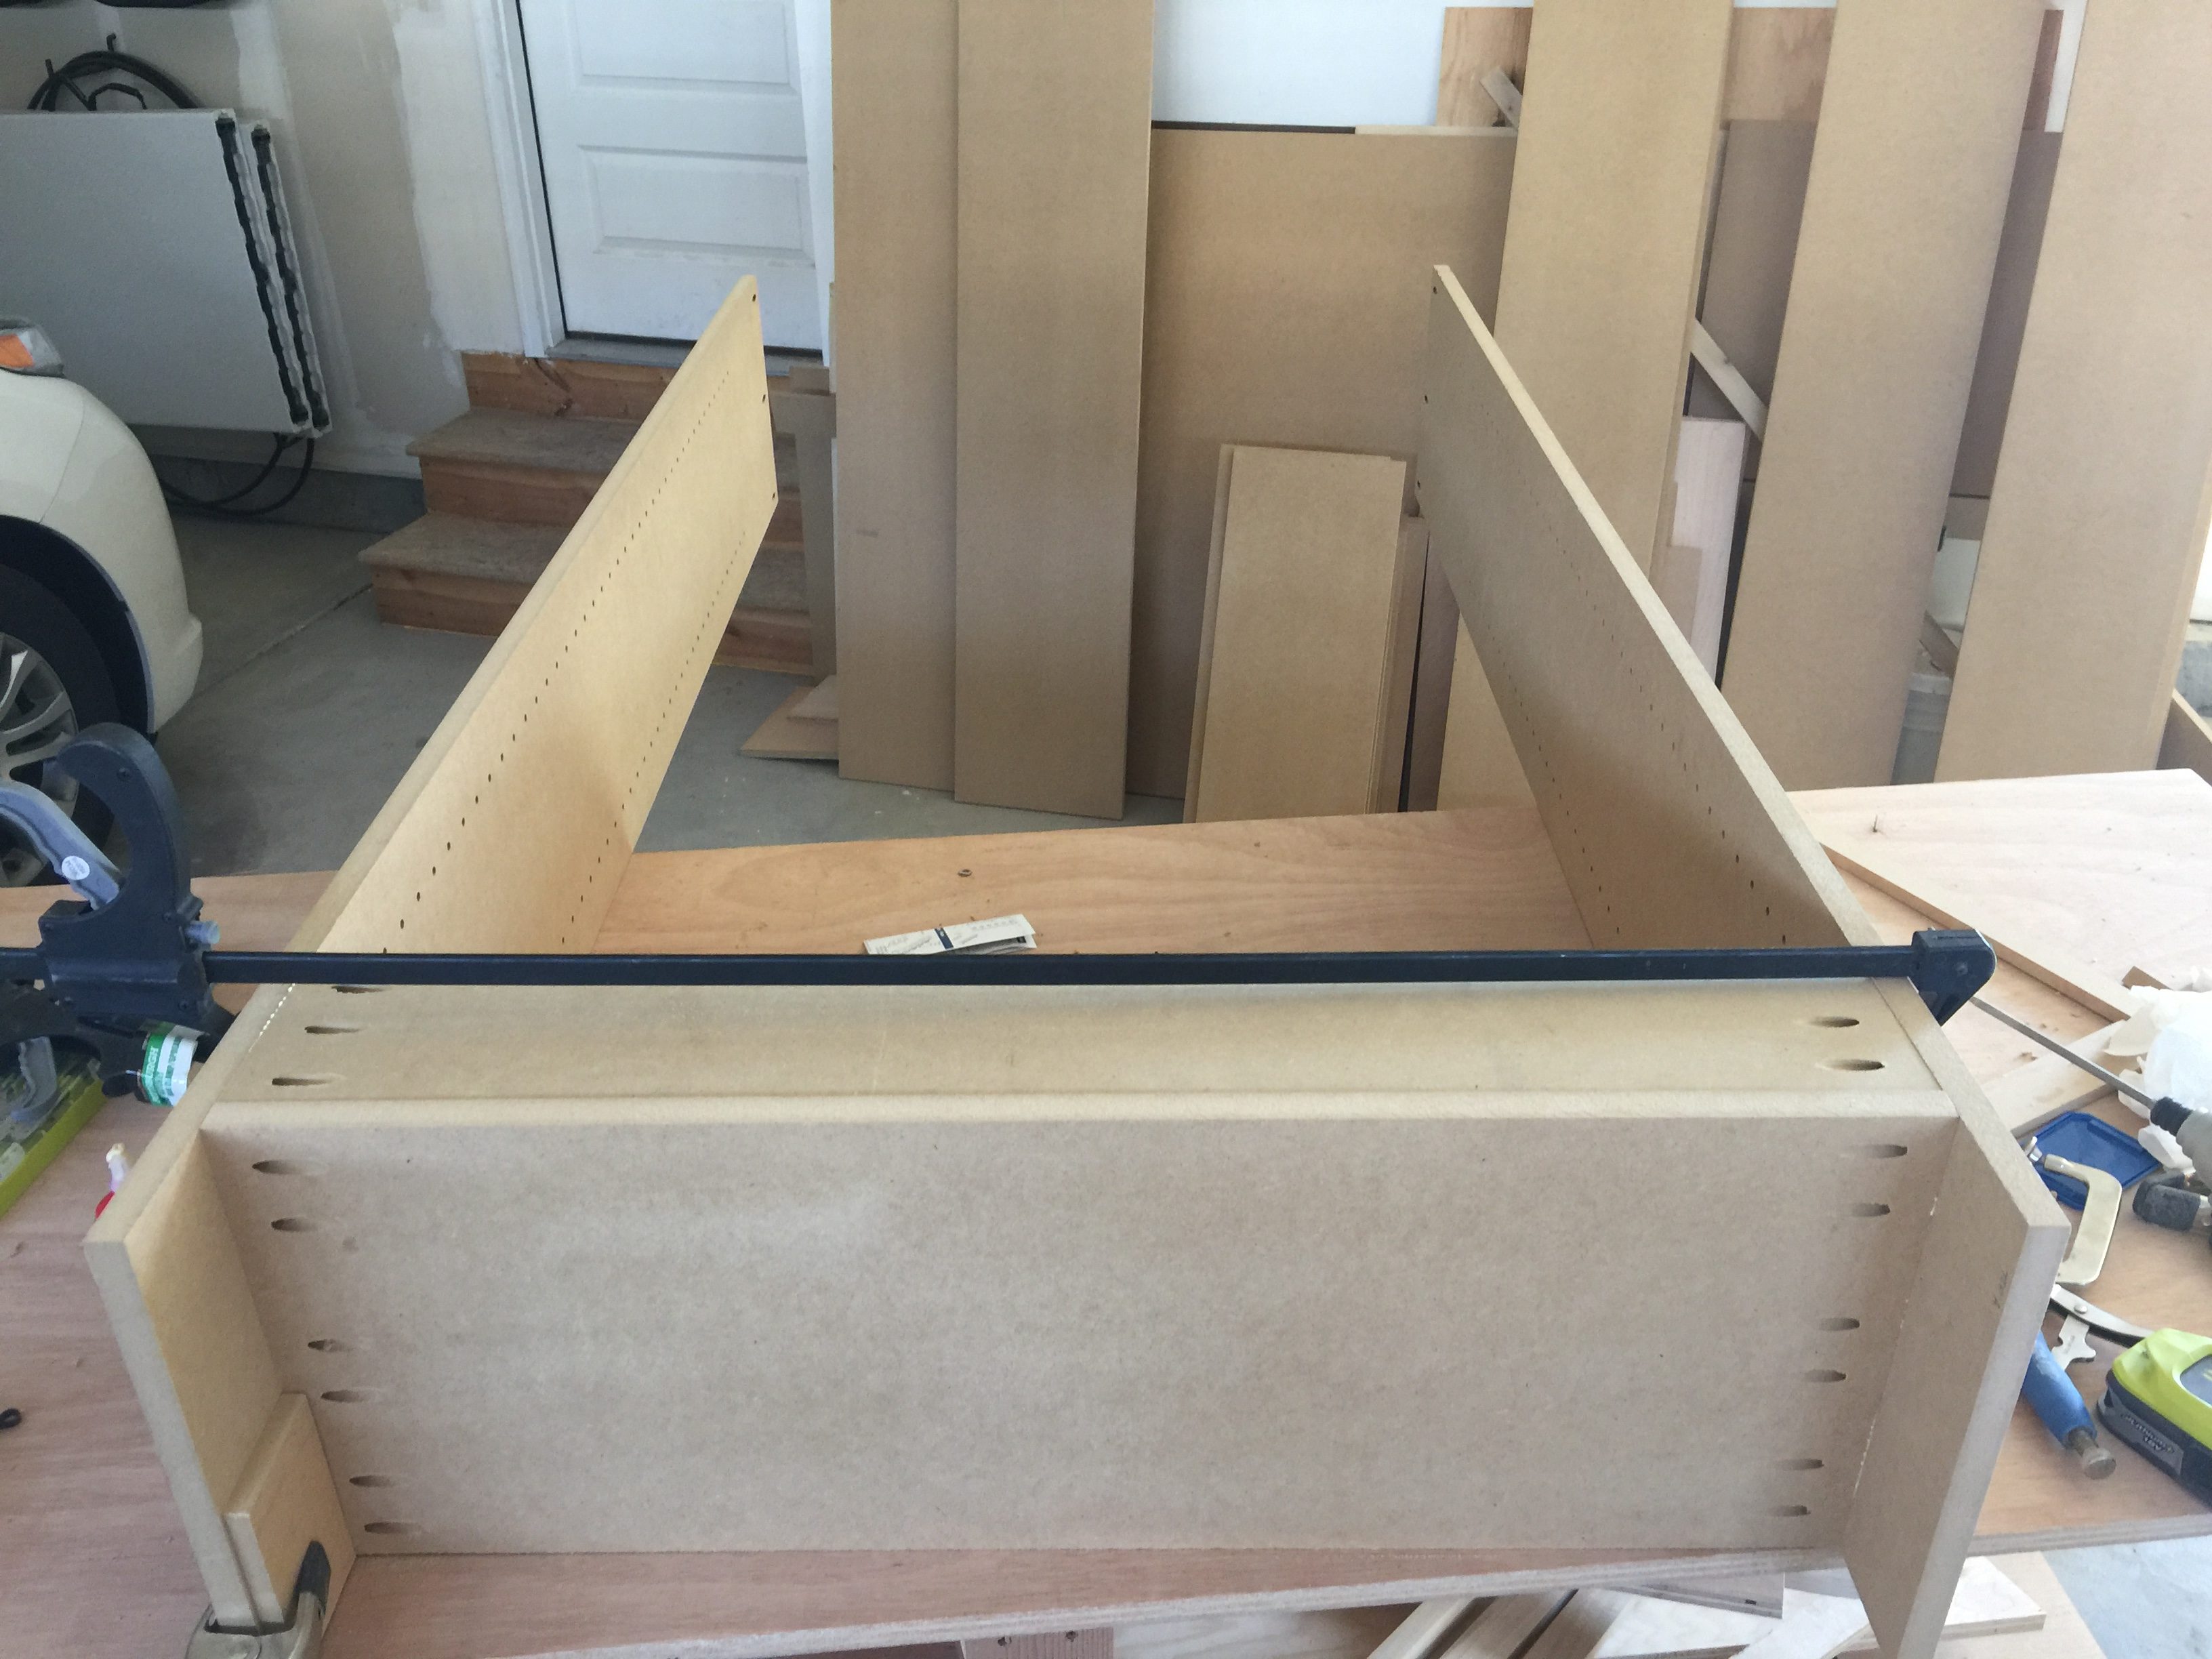
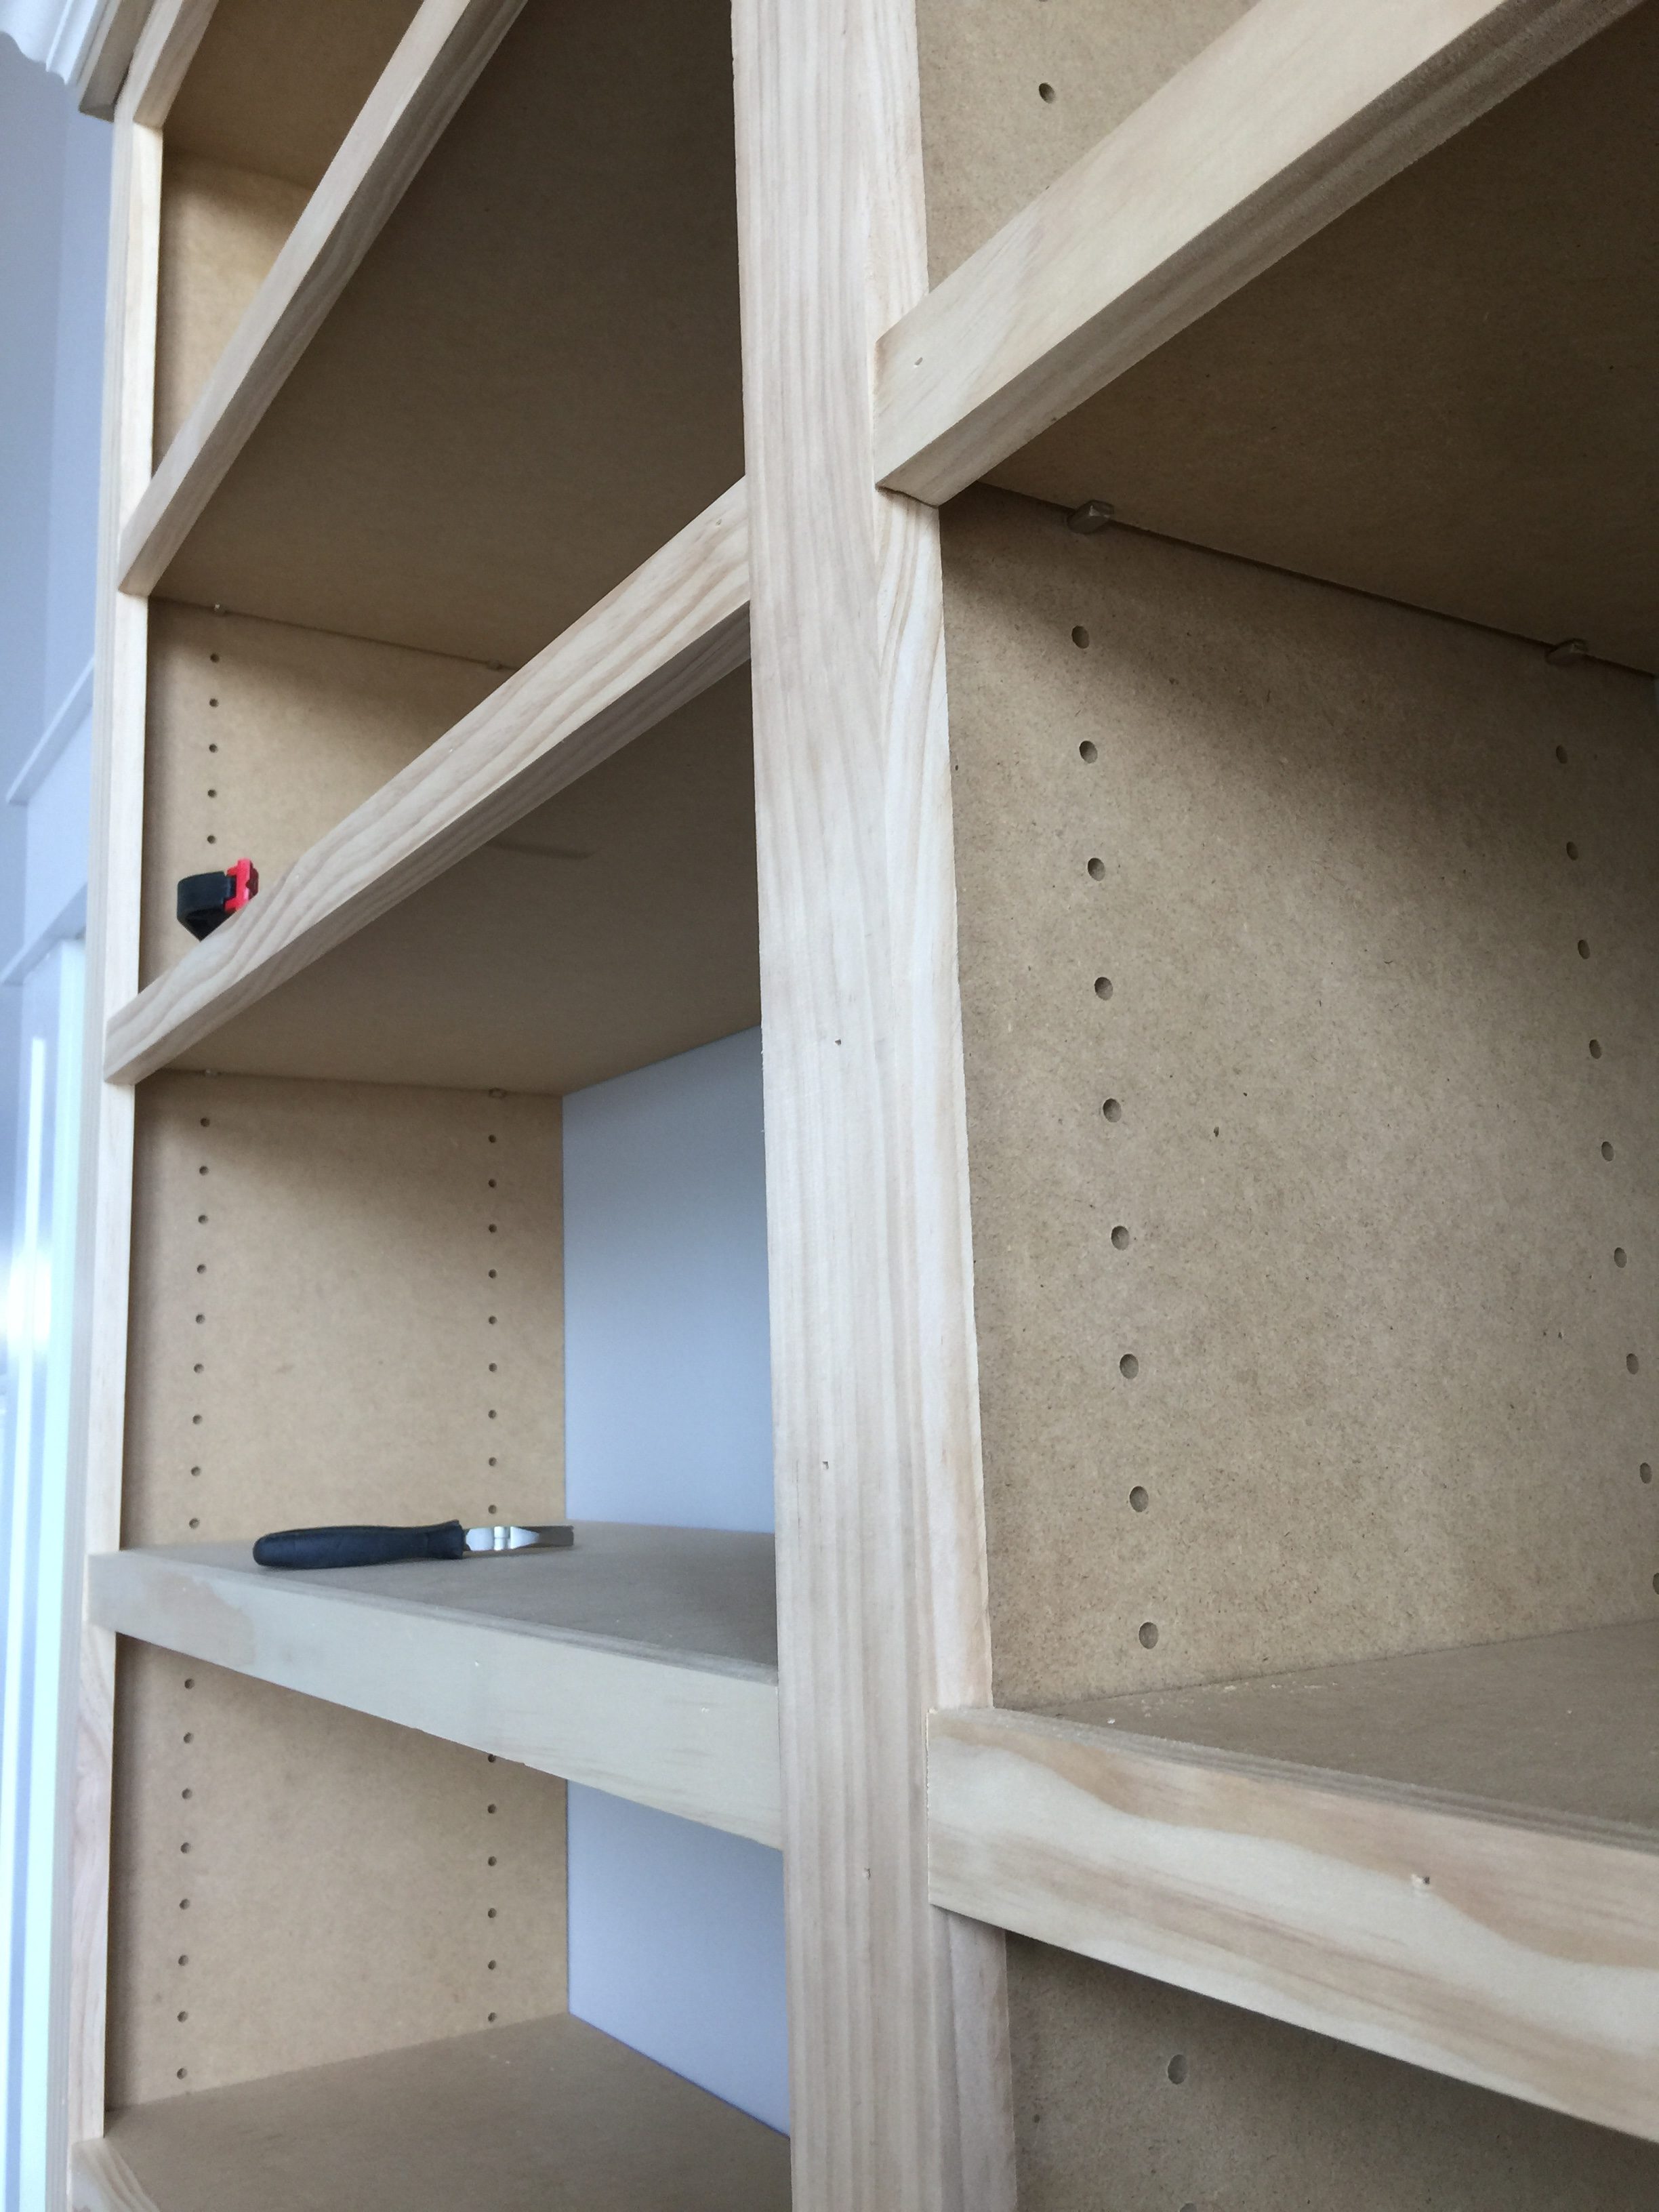
Before I could assemble the tops, I had to drill bookshelf peg holes in both sides of each case…meaning I had to drill TONS of holes. I had to do two rows on 8 different pieces, from top to bottom. I used my Kreg Bookshelf pin jig of course but it still took a long time. Make sure you have a spacer block to measure your starting point (you don’t need holes to go to the very top and bottom) and ensure you are drilling correctly so that each hole will match up.
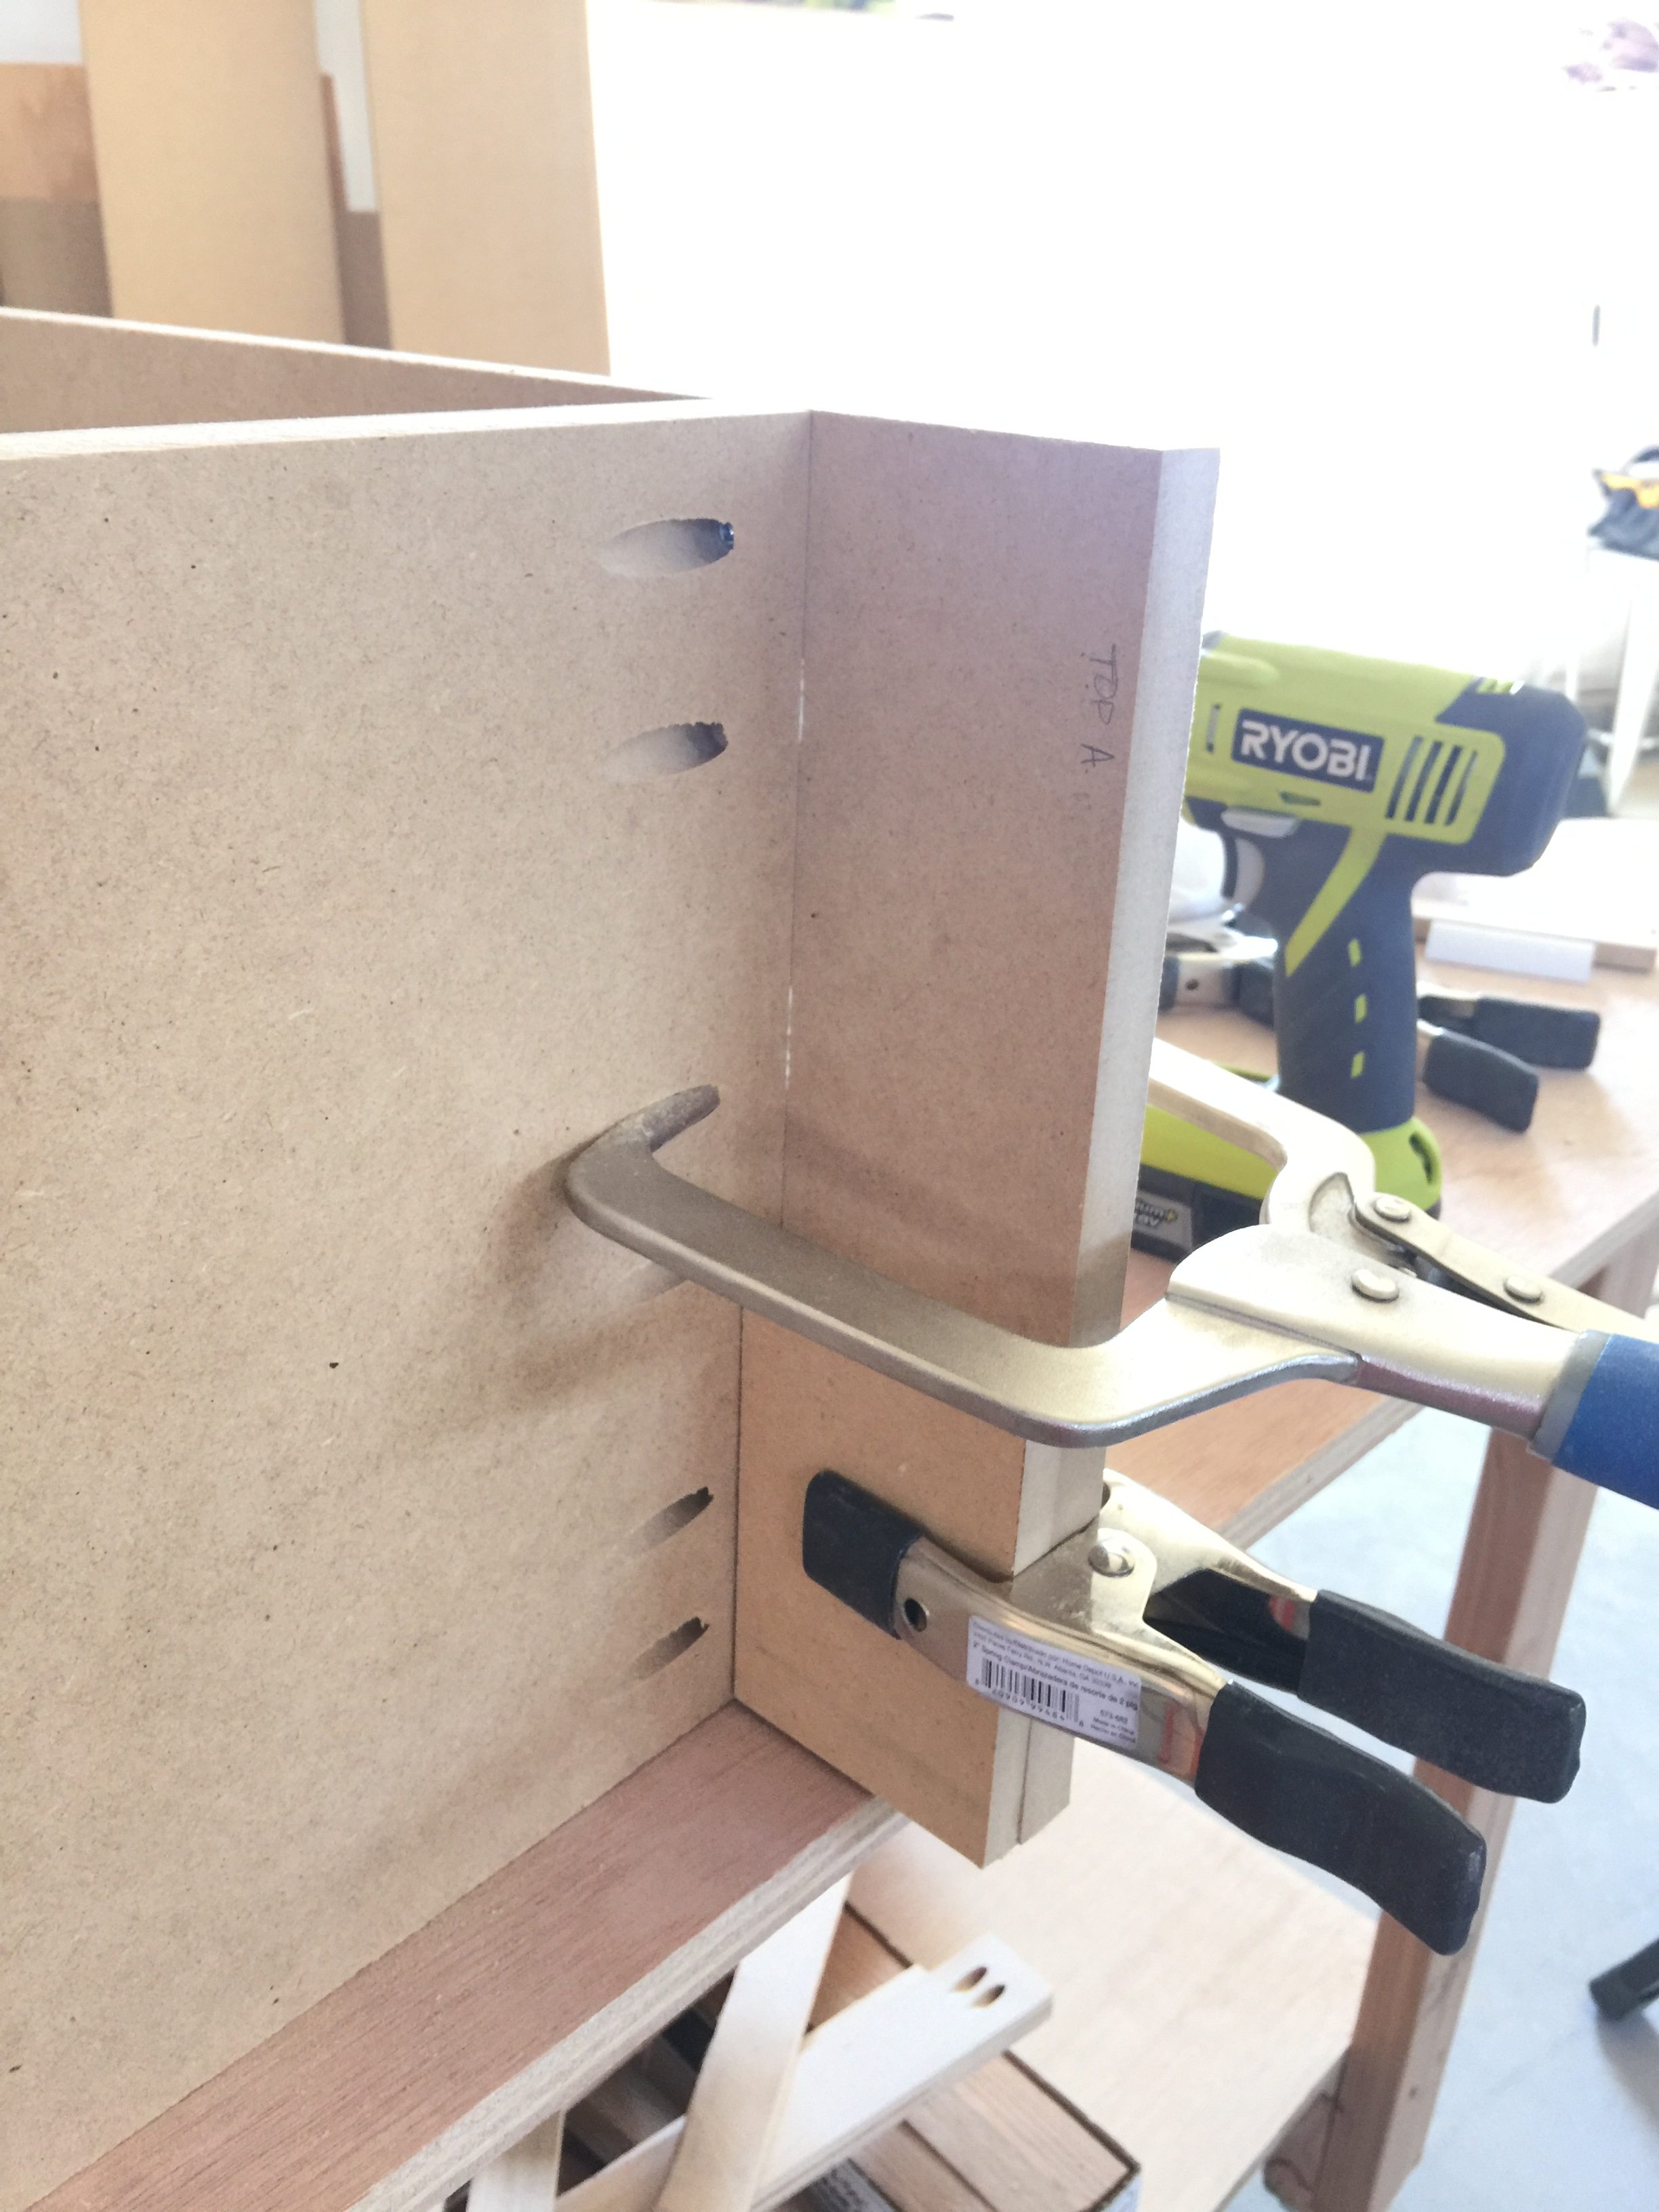
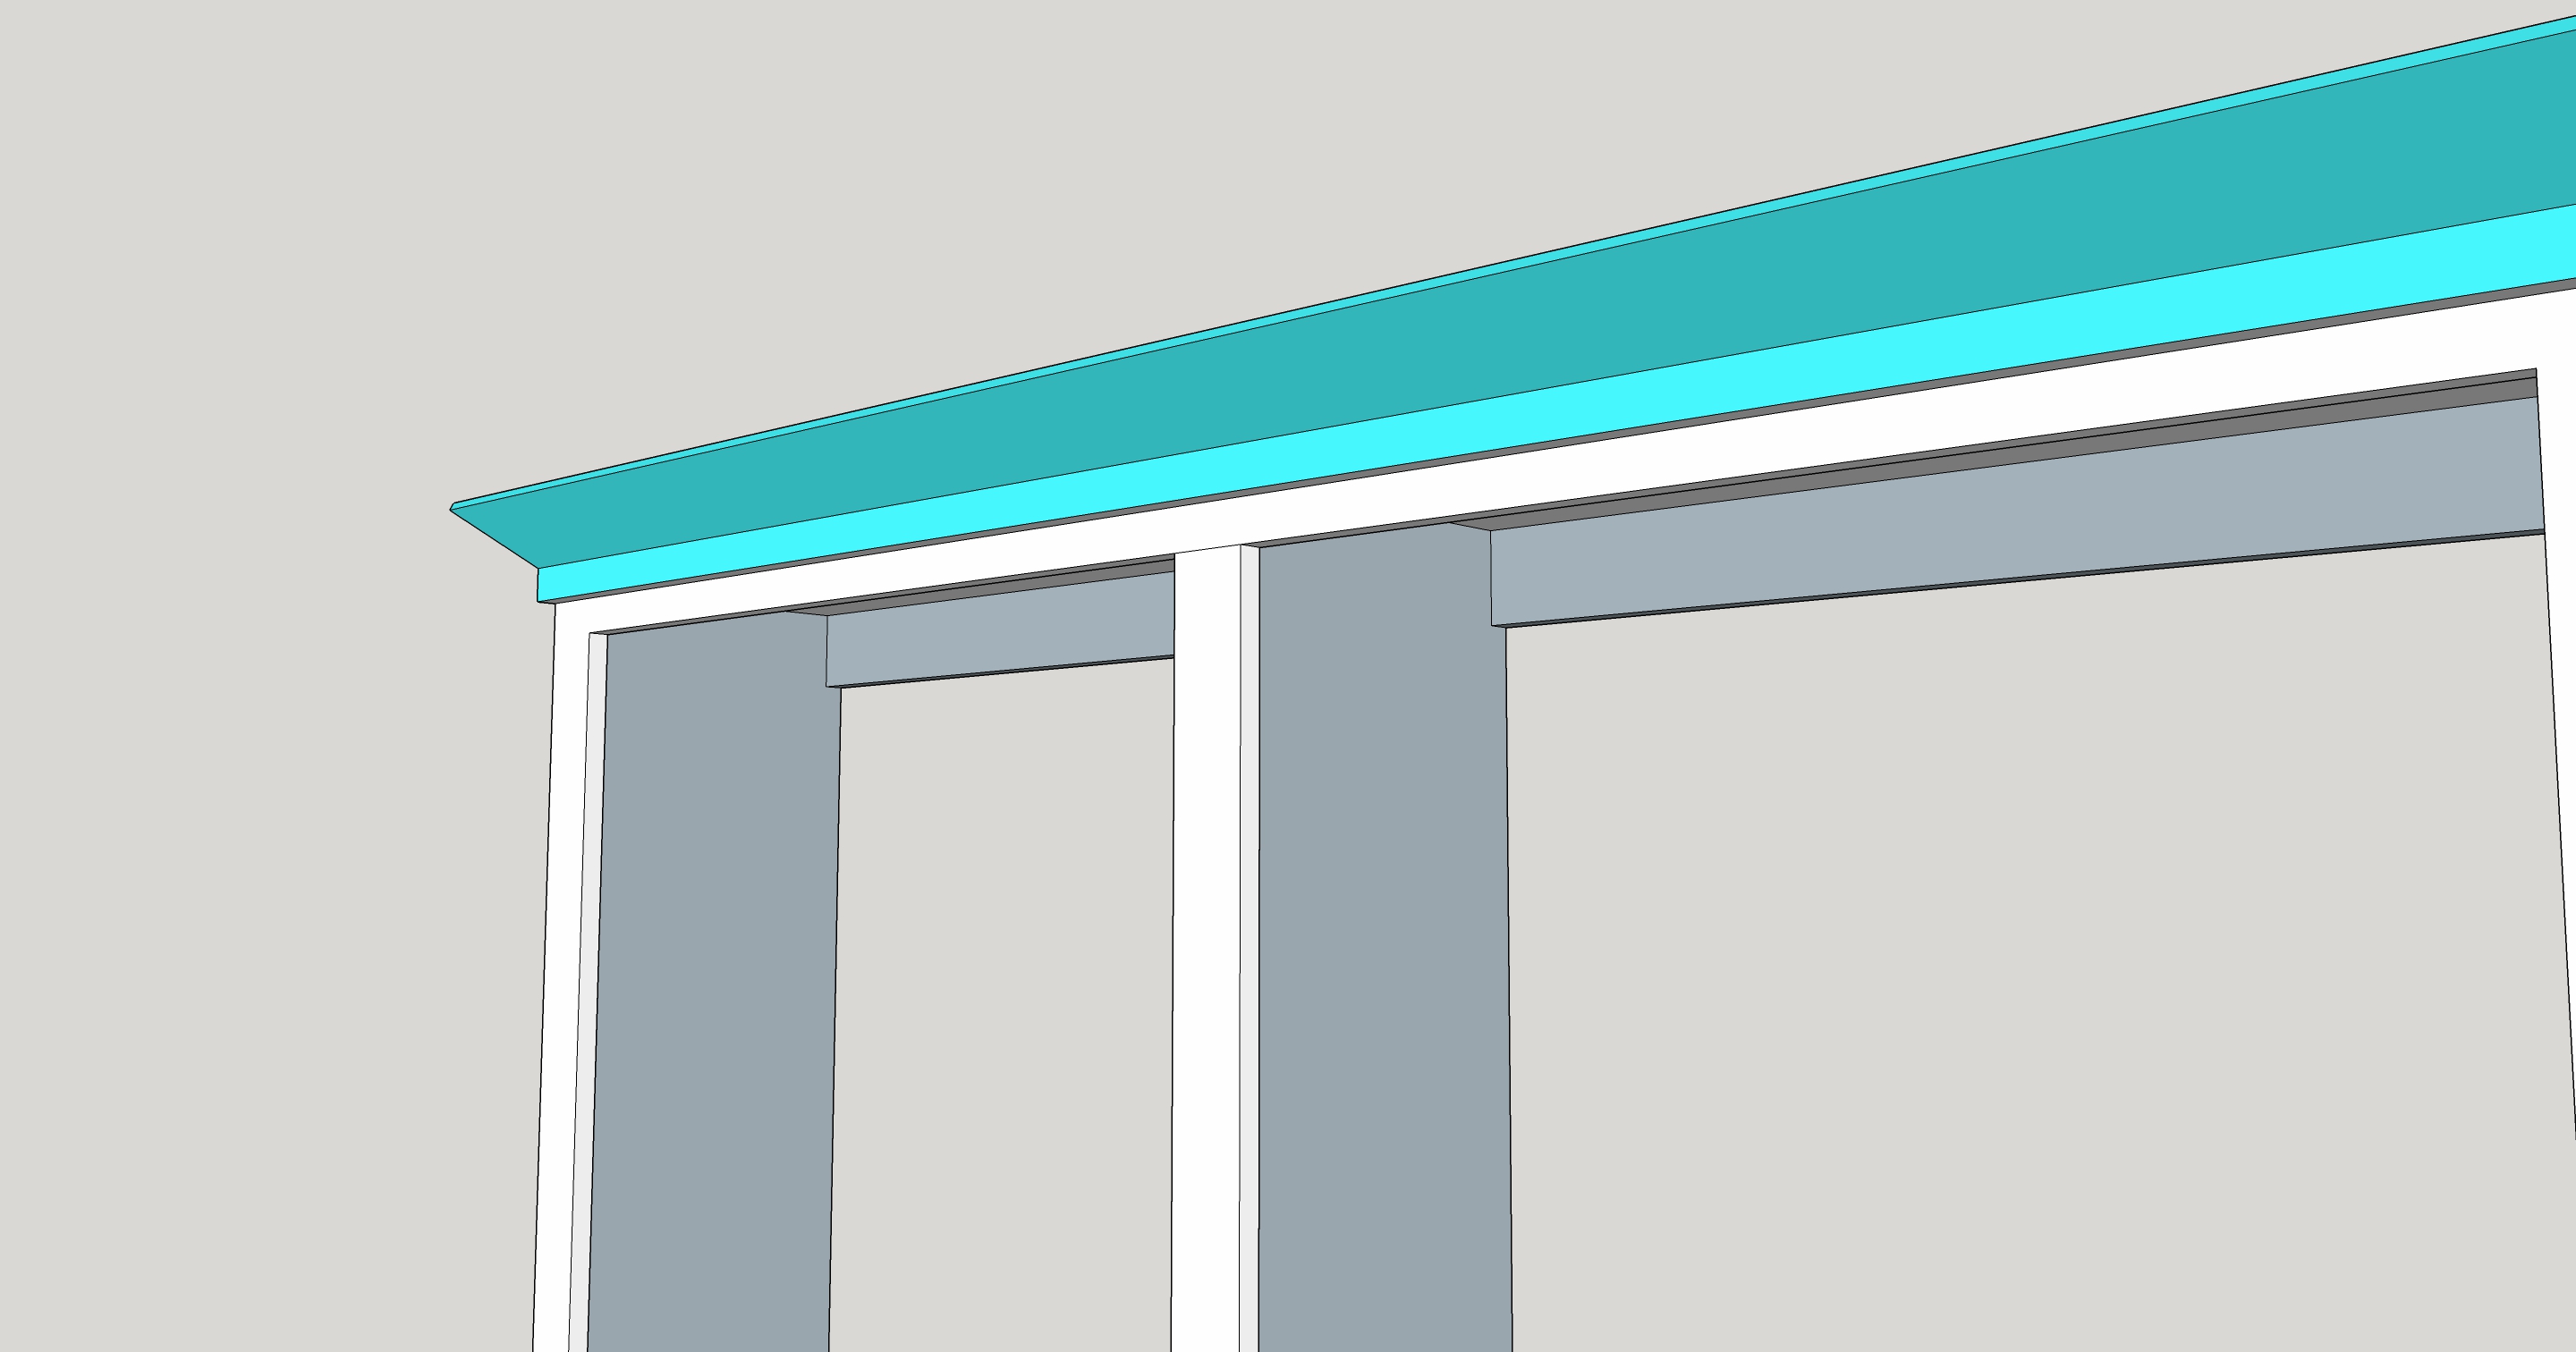
After that was done, I used pocket holes in the top 3″x33″ cleat board and the top shelf. To offset the top I used my right angle Kreg clamp with a spacer block to make sure it was 3″ in. Why did I do this? Because I wanted to have something to support my crown molding. I’m not 100% sure it was necessary though. However if I decide to put some board across the top to help hide the top (which you can see from the loft upstairs) later, this makes it easy.
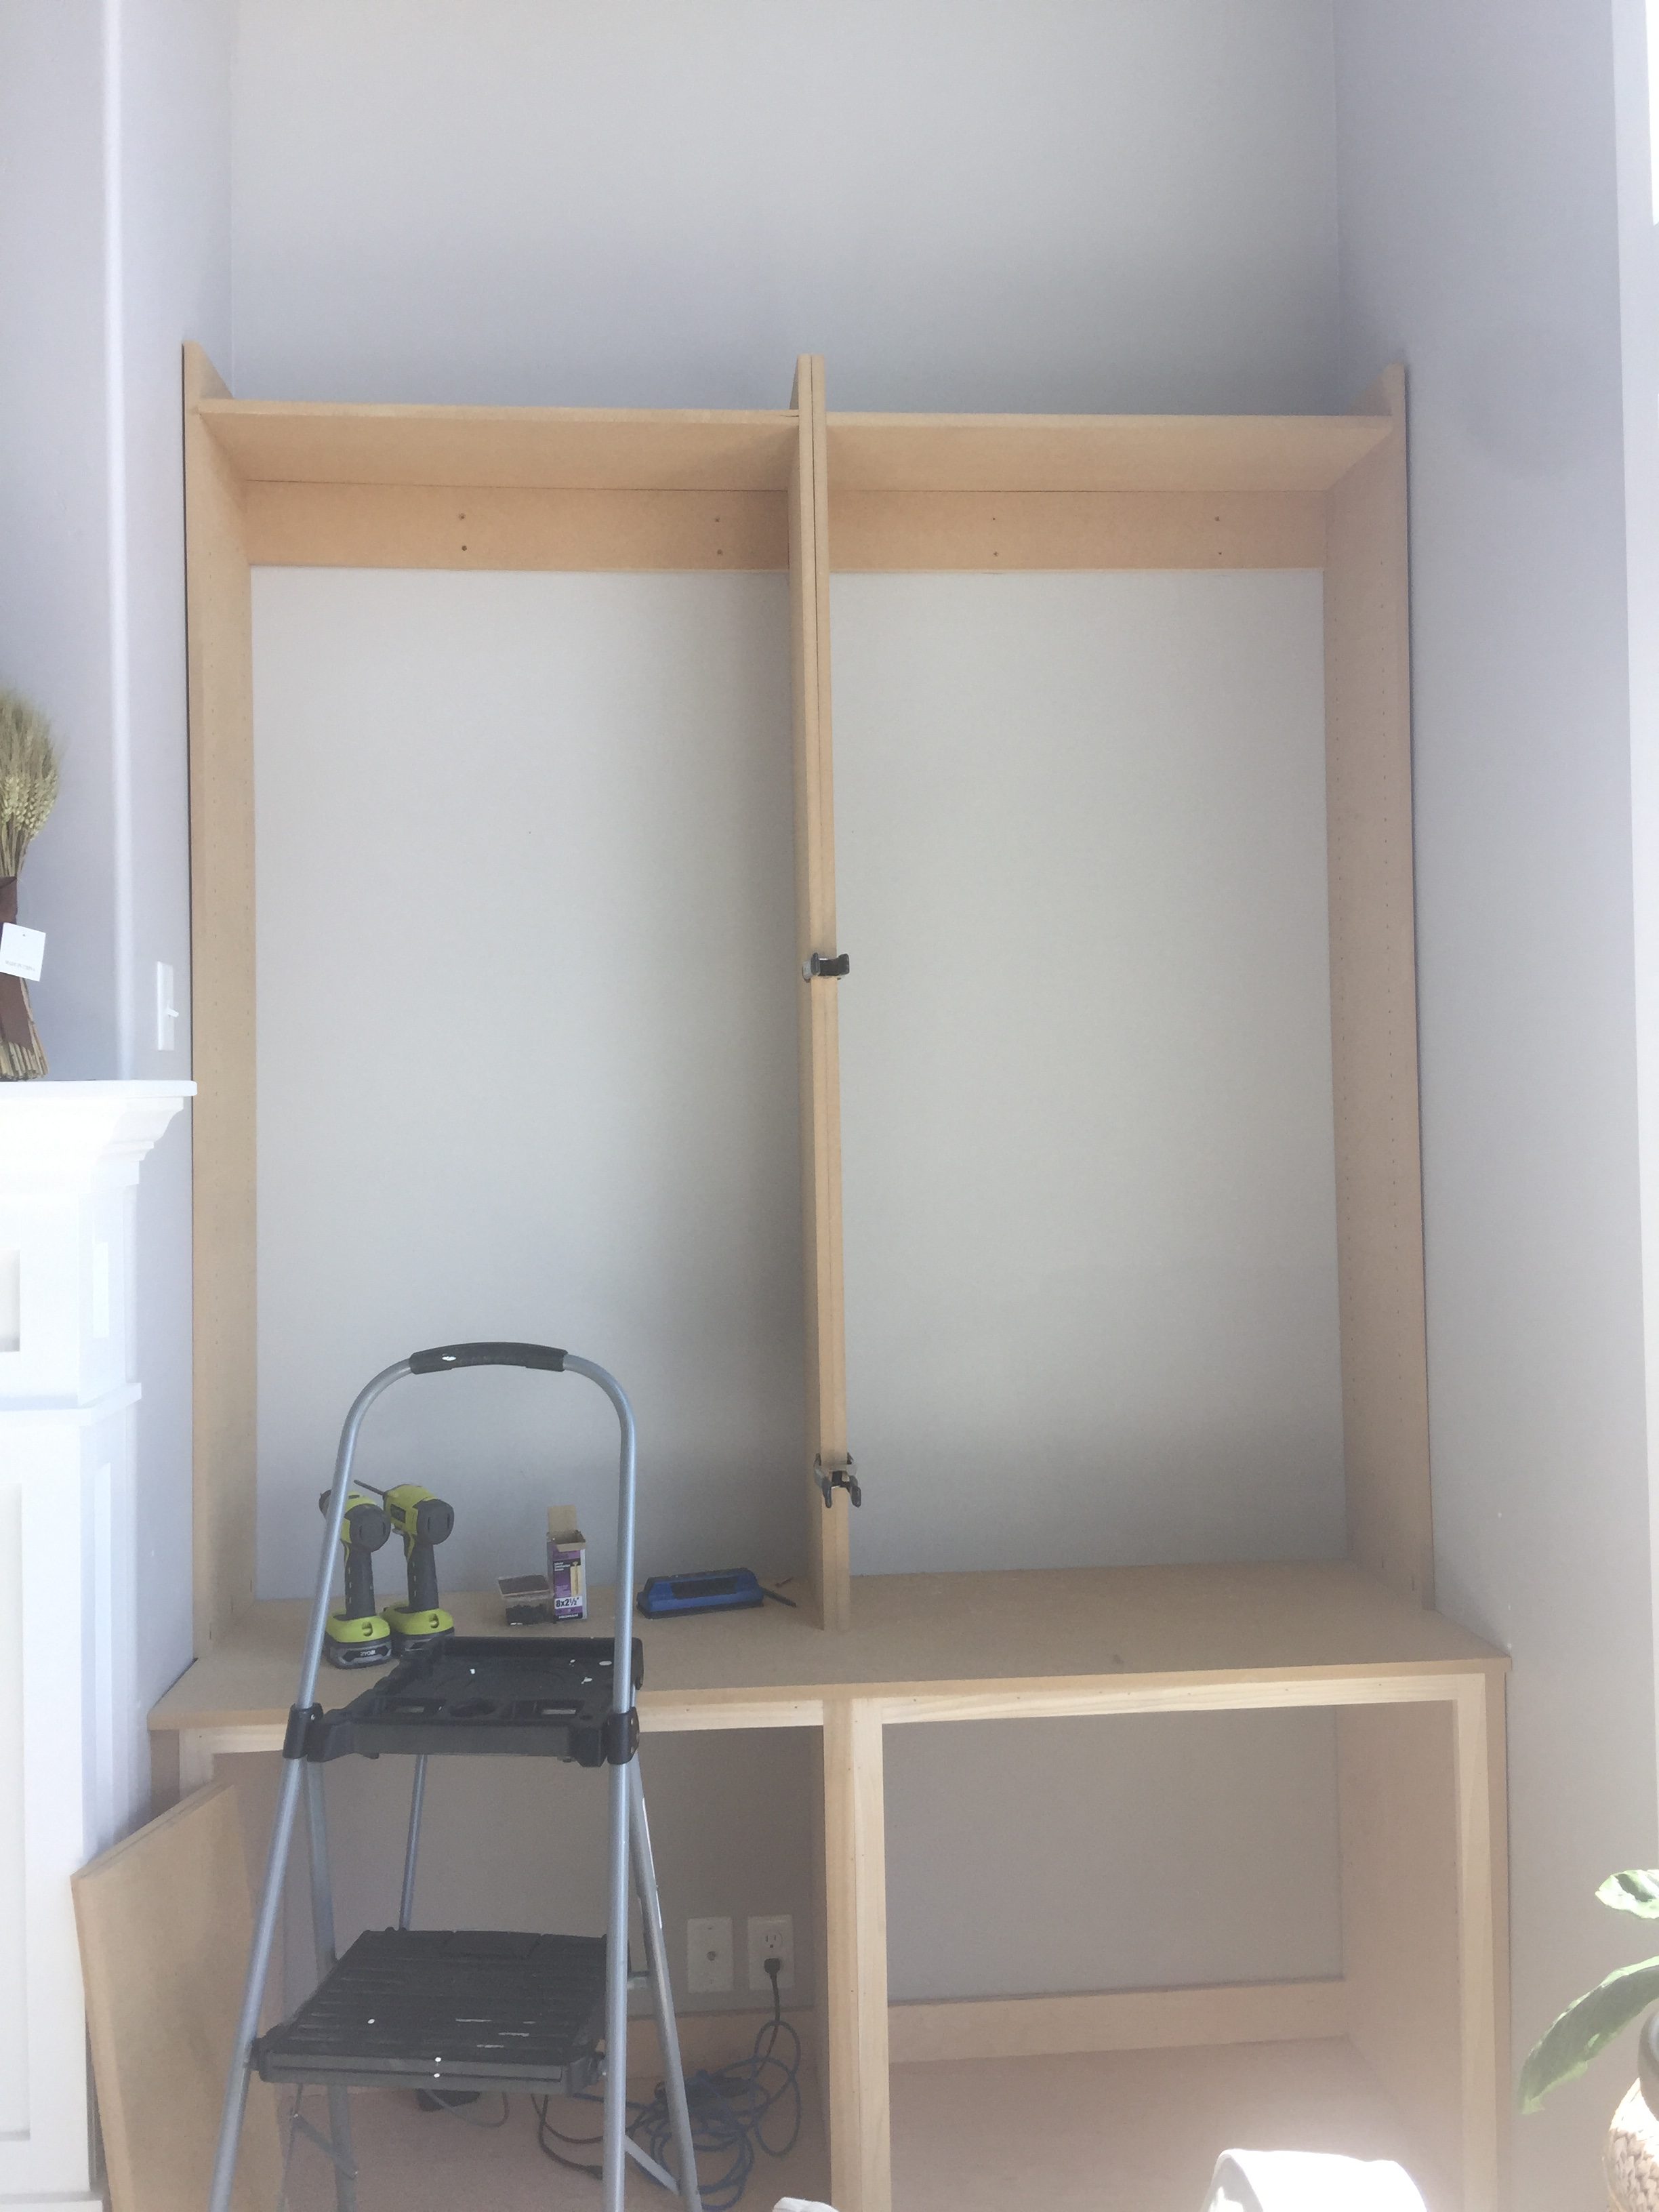
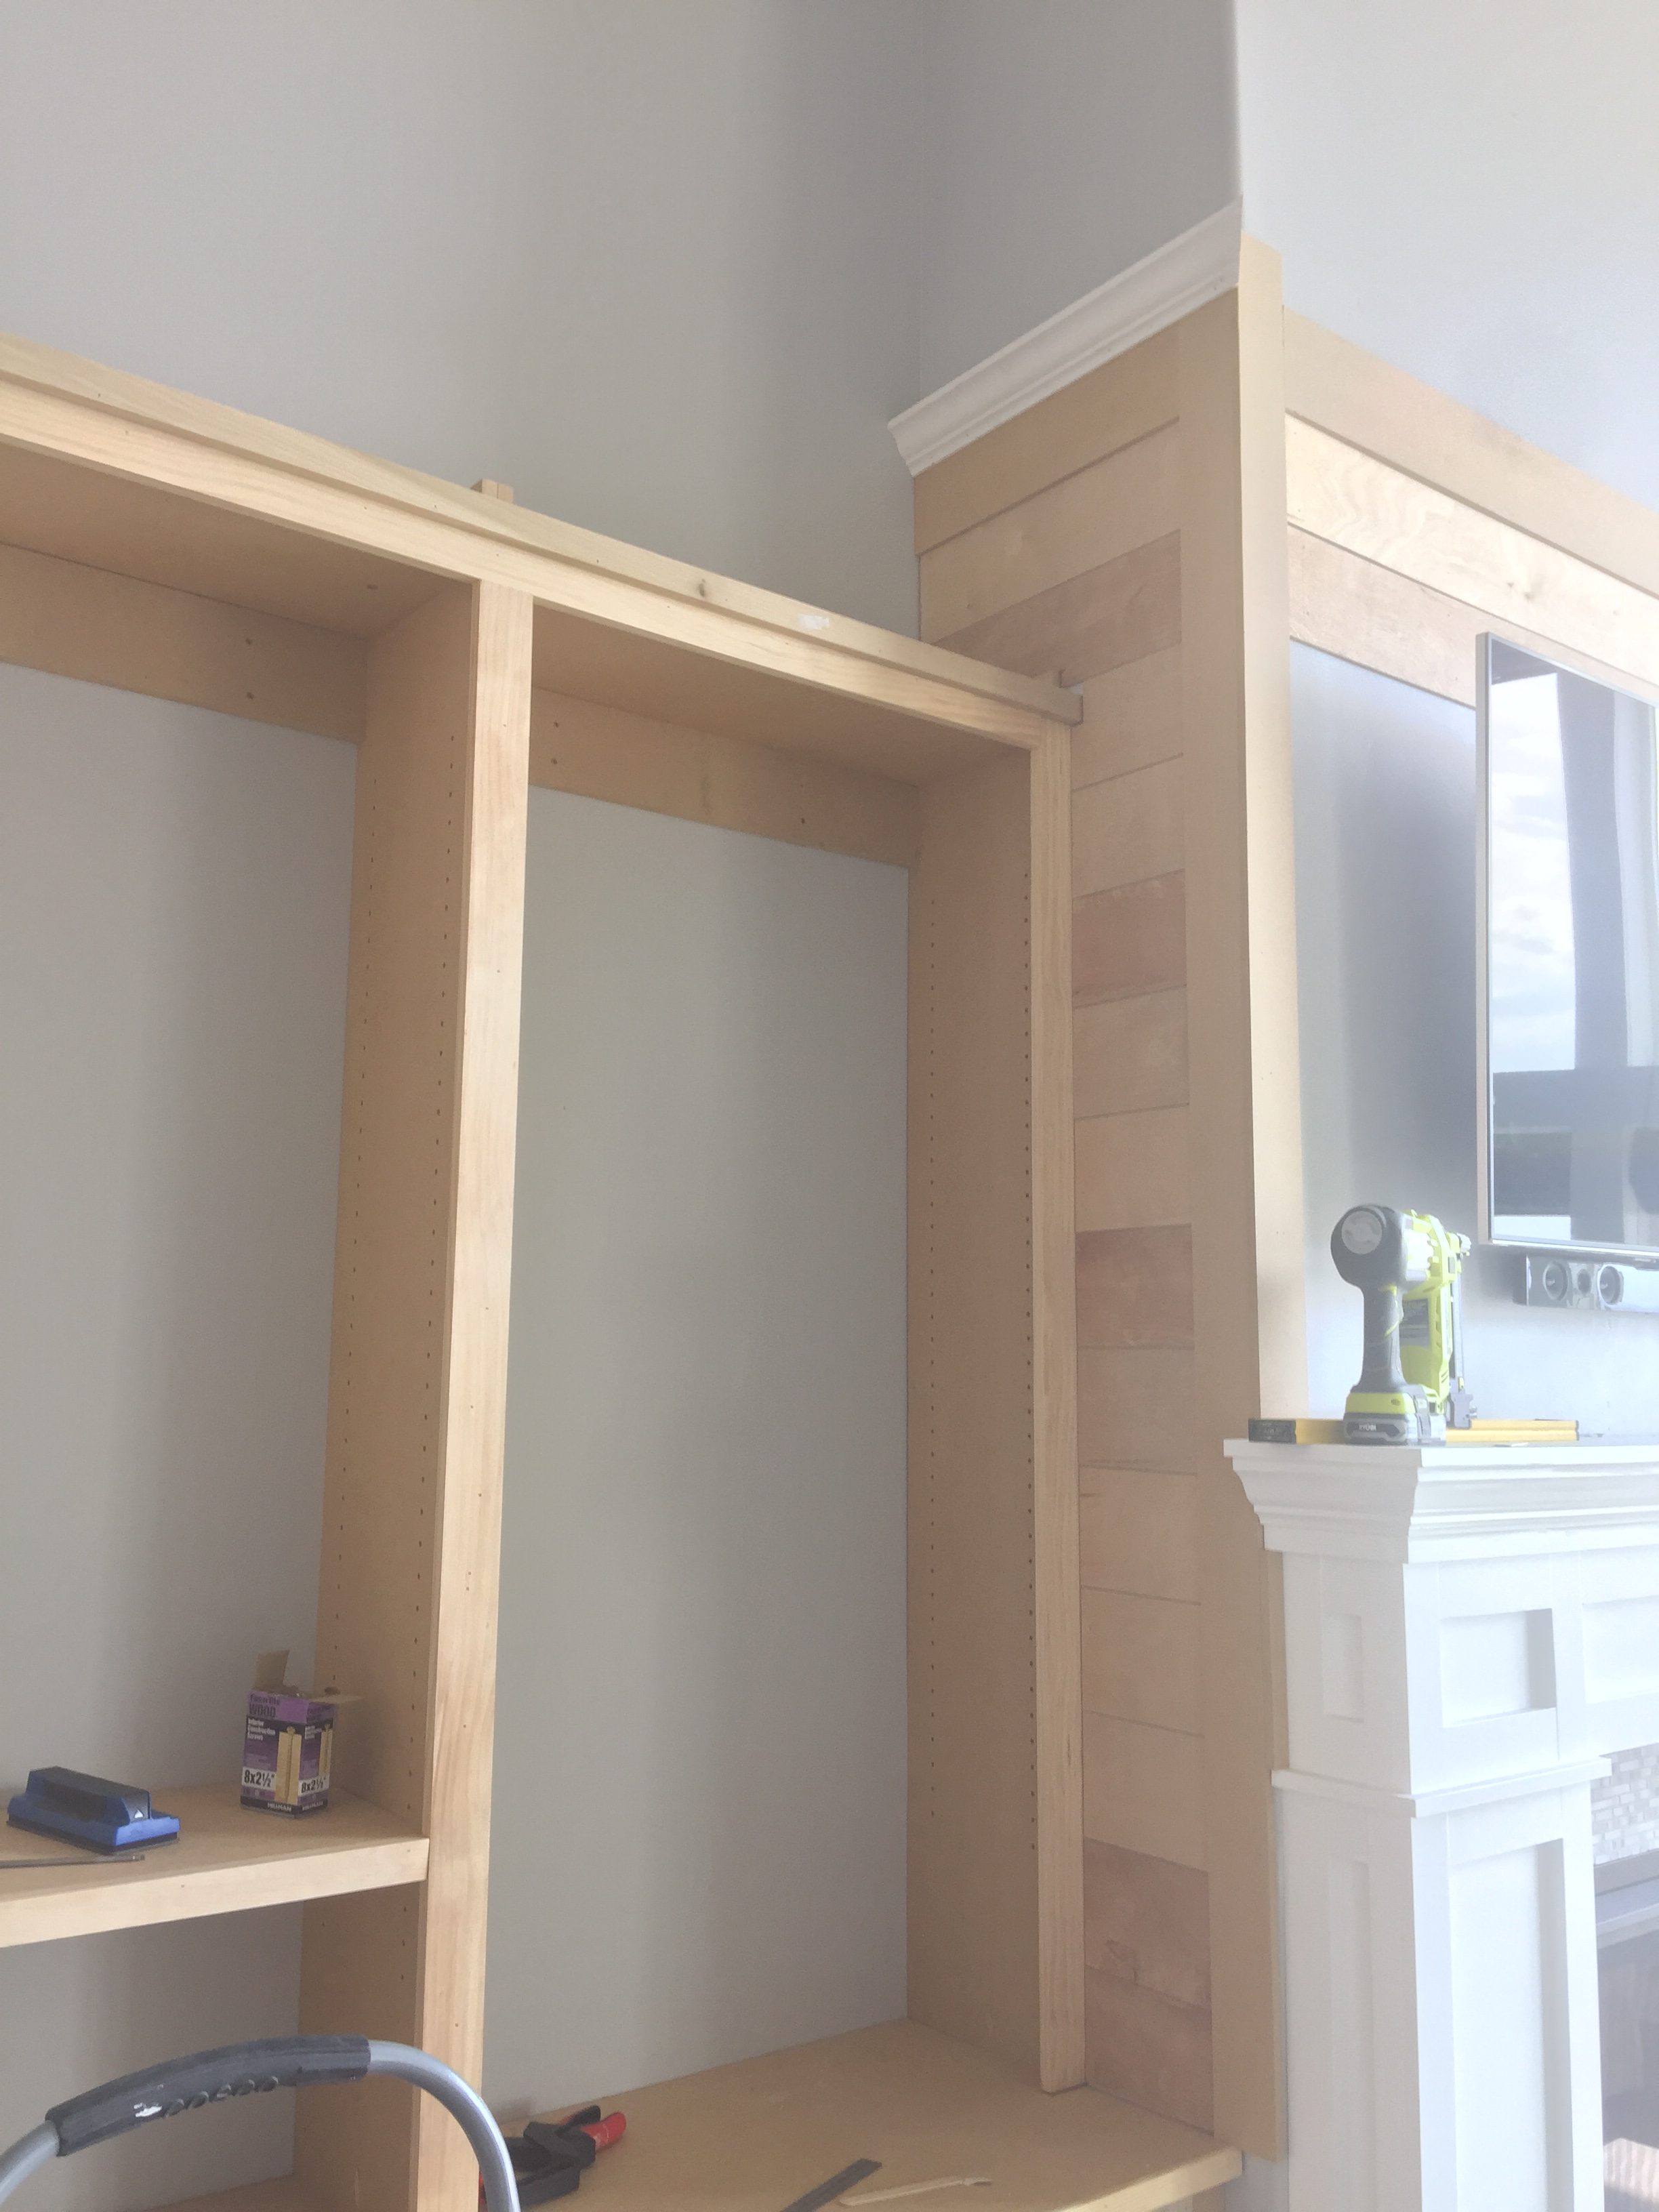
The trickiest part was carrying these heavy units inside and then getting them up on top of the cabinets. Use two people for this part and save your back! Once they were up and in place, I screwed the cleats into the studs in the wall. I also used pocket holes in inside of the bottom to attach the bottom to the cabinets. I used pocket hole plugs to cover these holes. You can see the pocket holes at the bottom inside of the sides in the photo above. Adding these bookcase carcasses really made a difference in my diy built in cabinets around my fireplace.
Face Frame
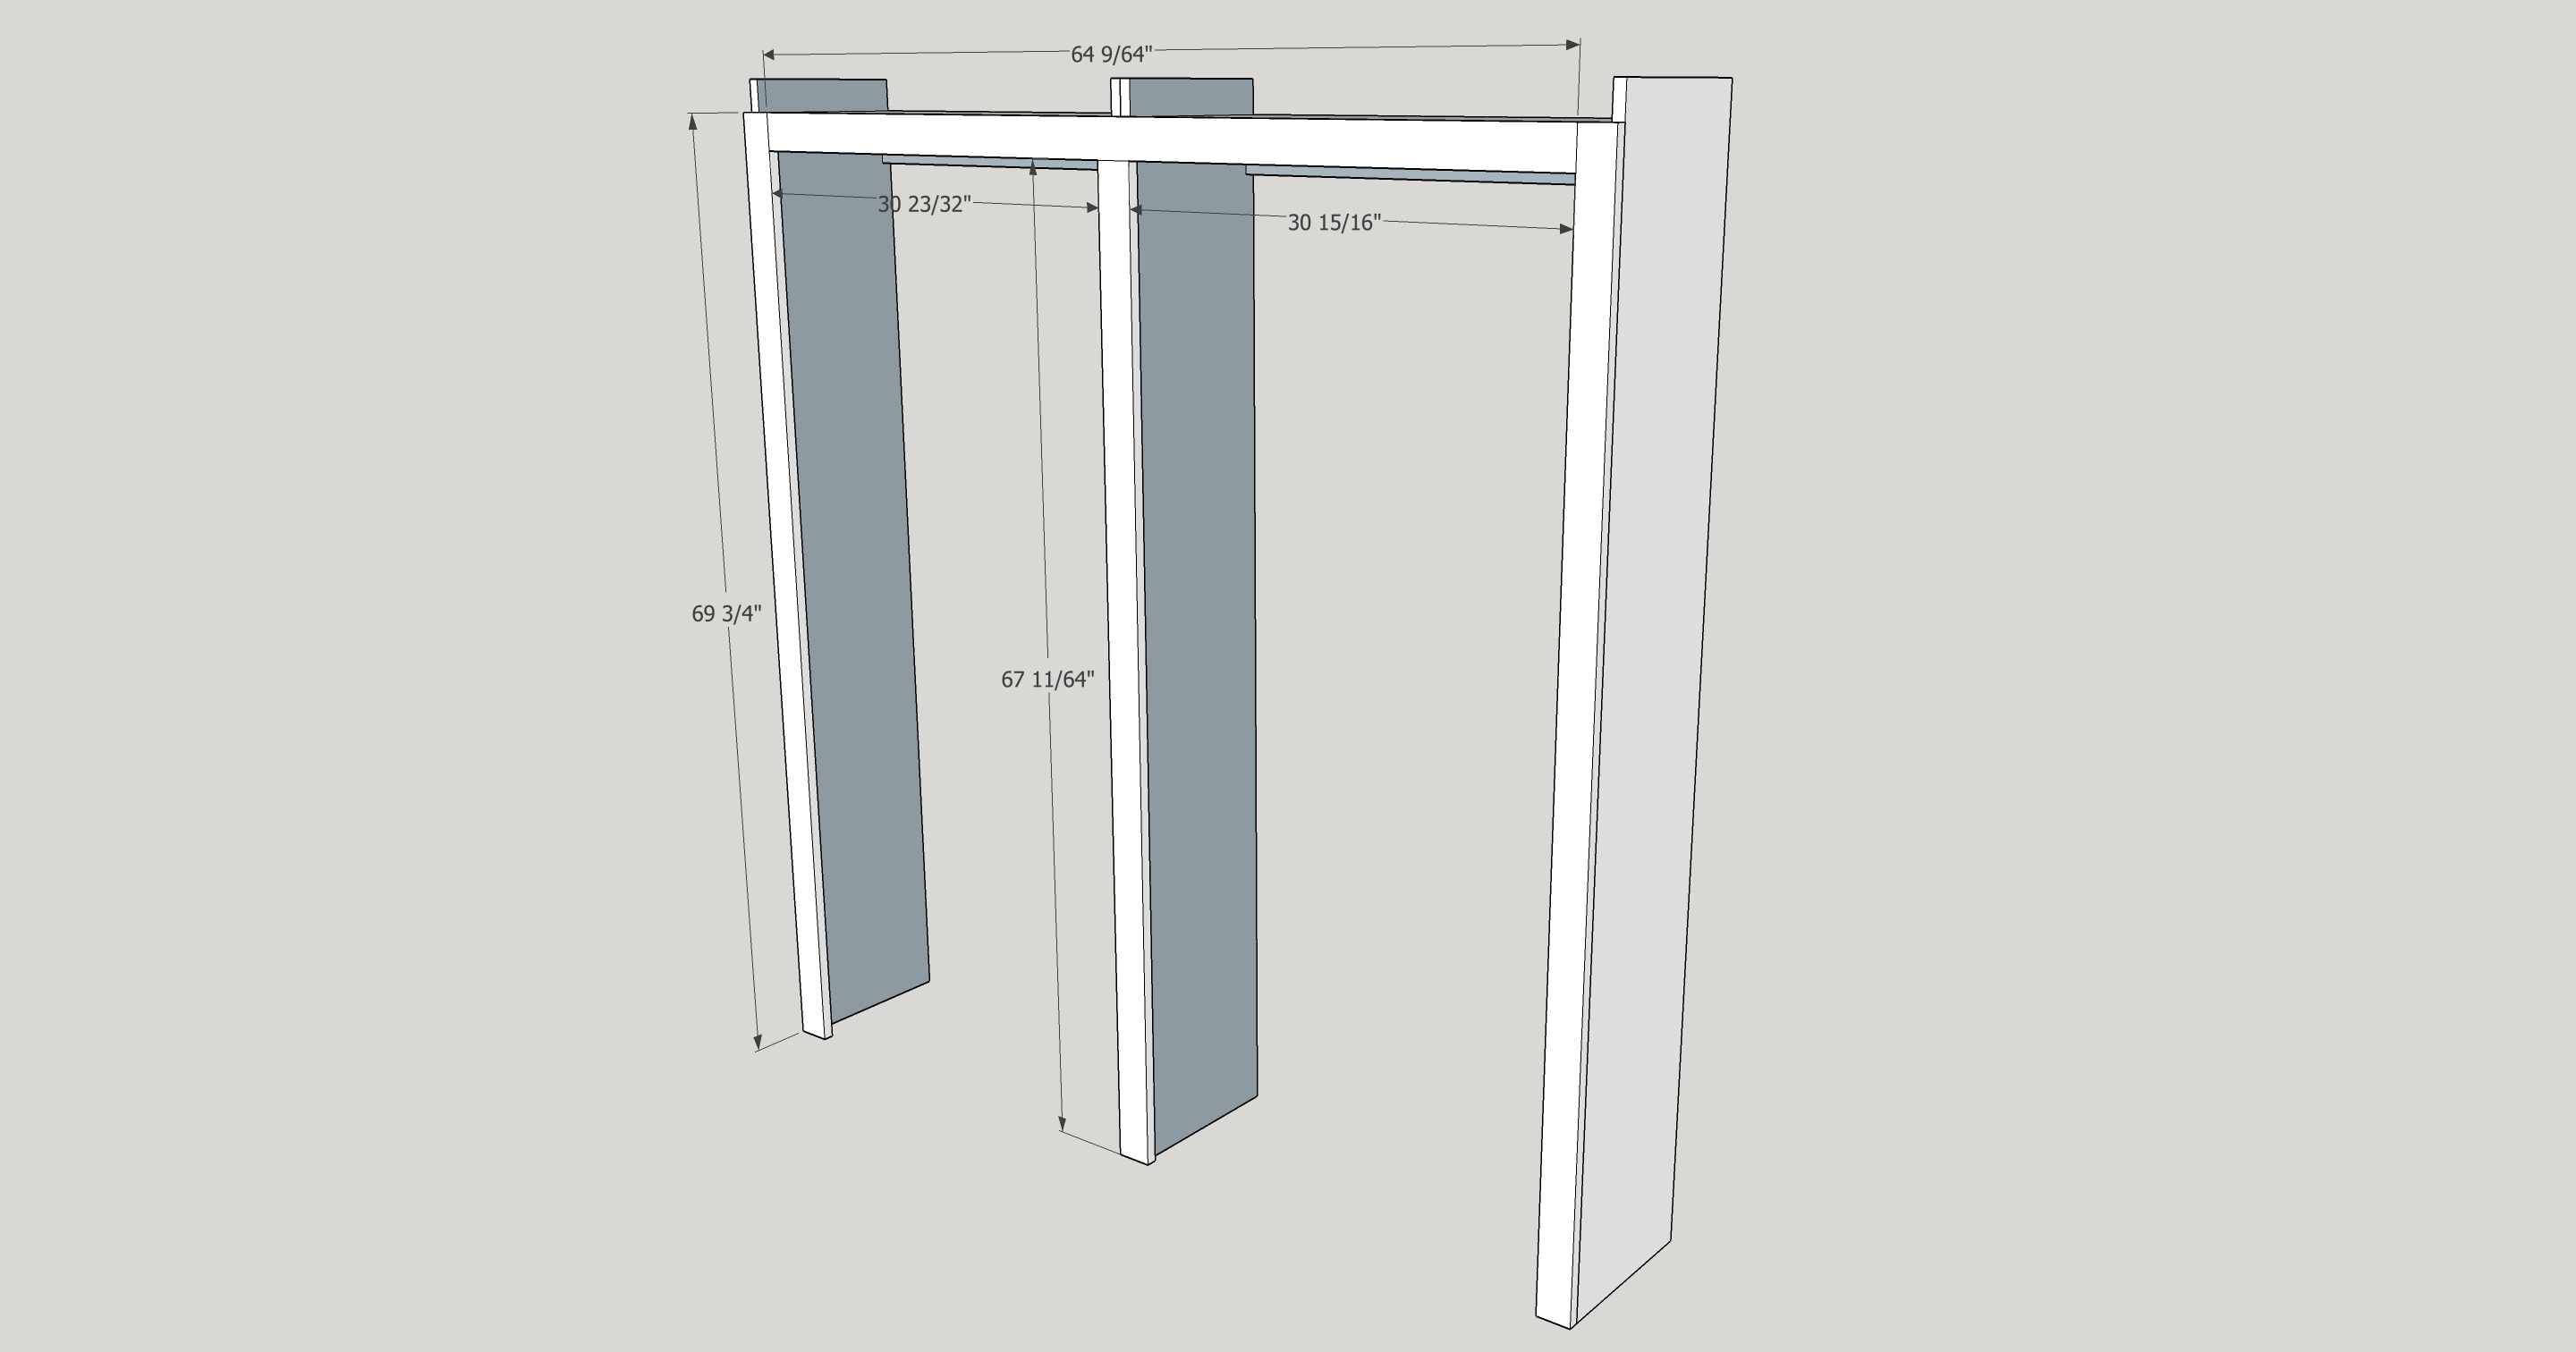
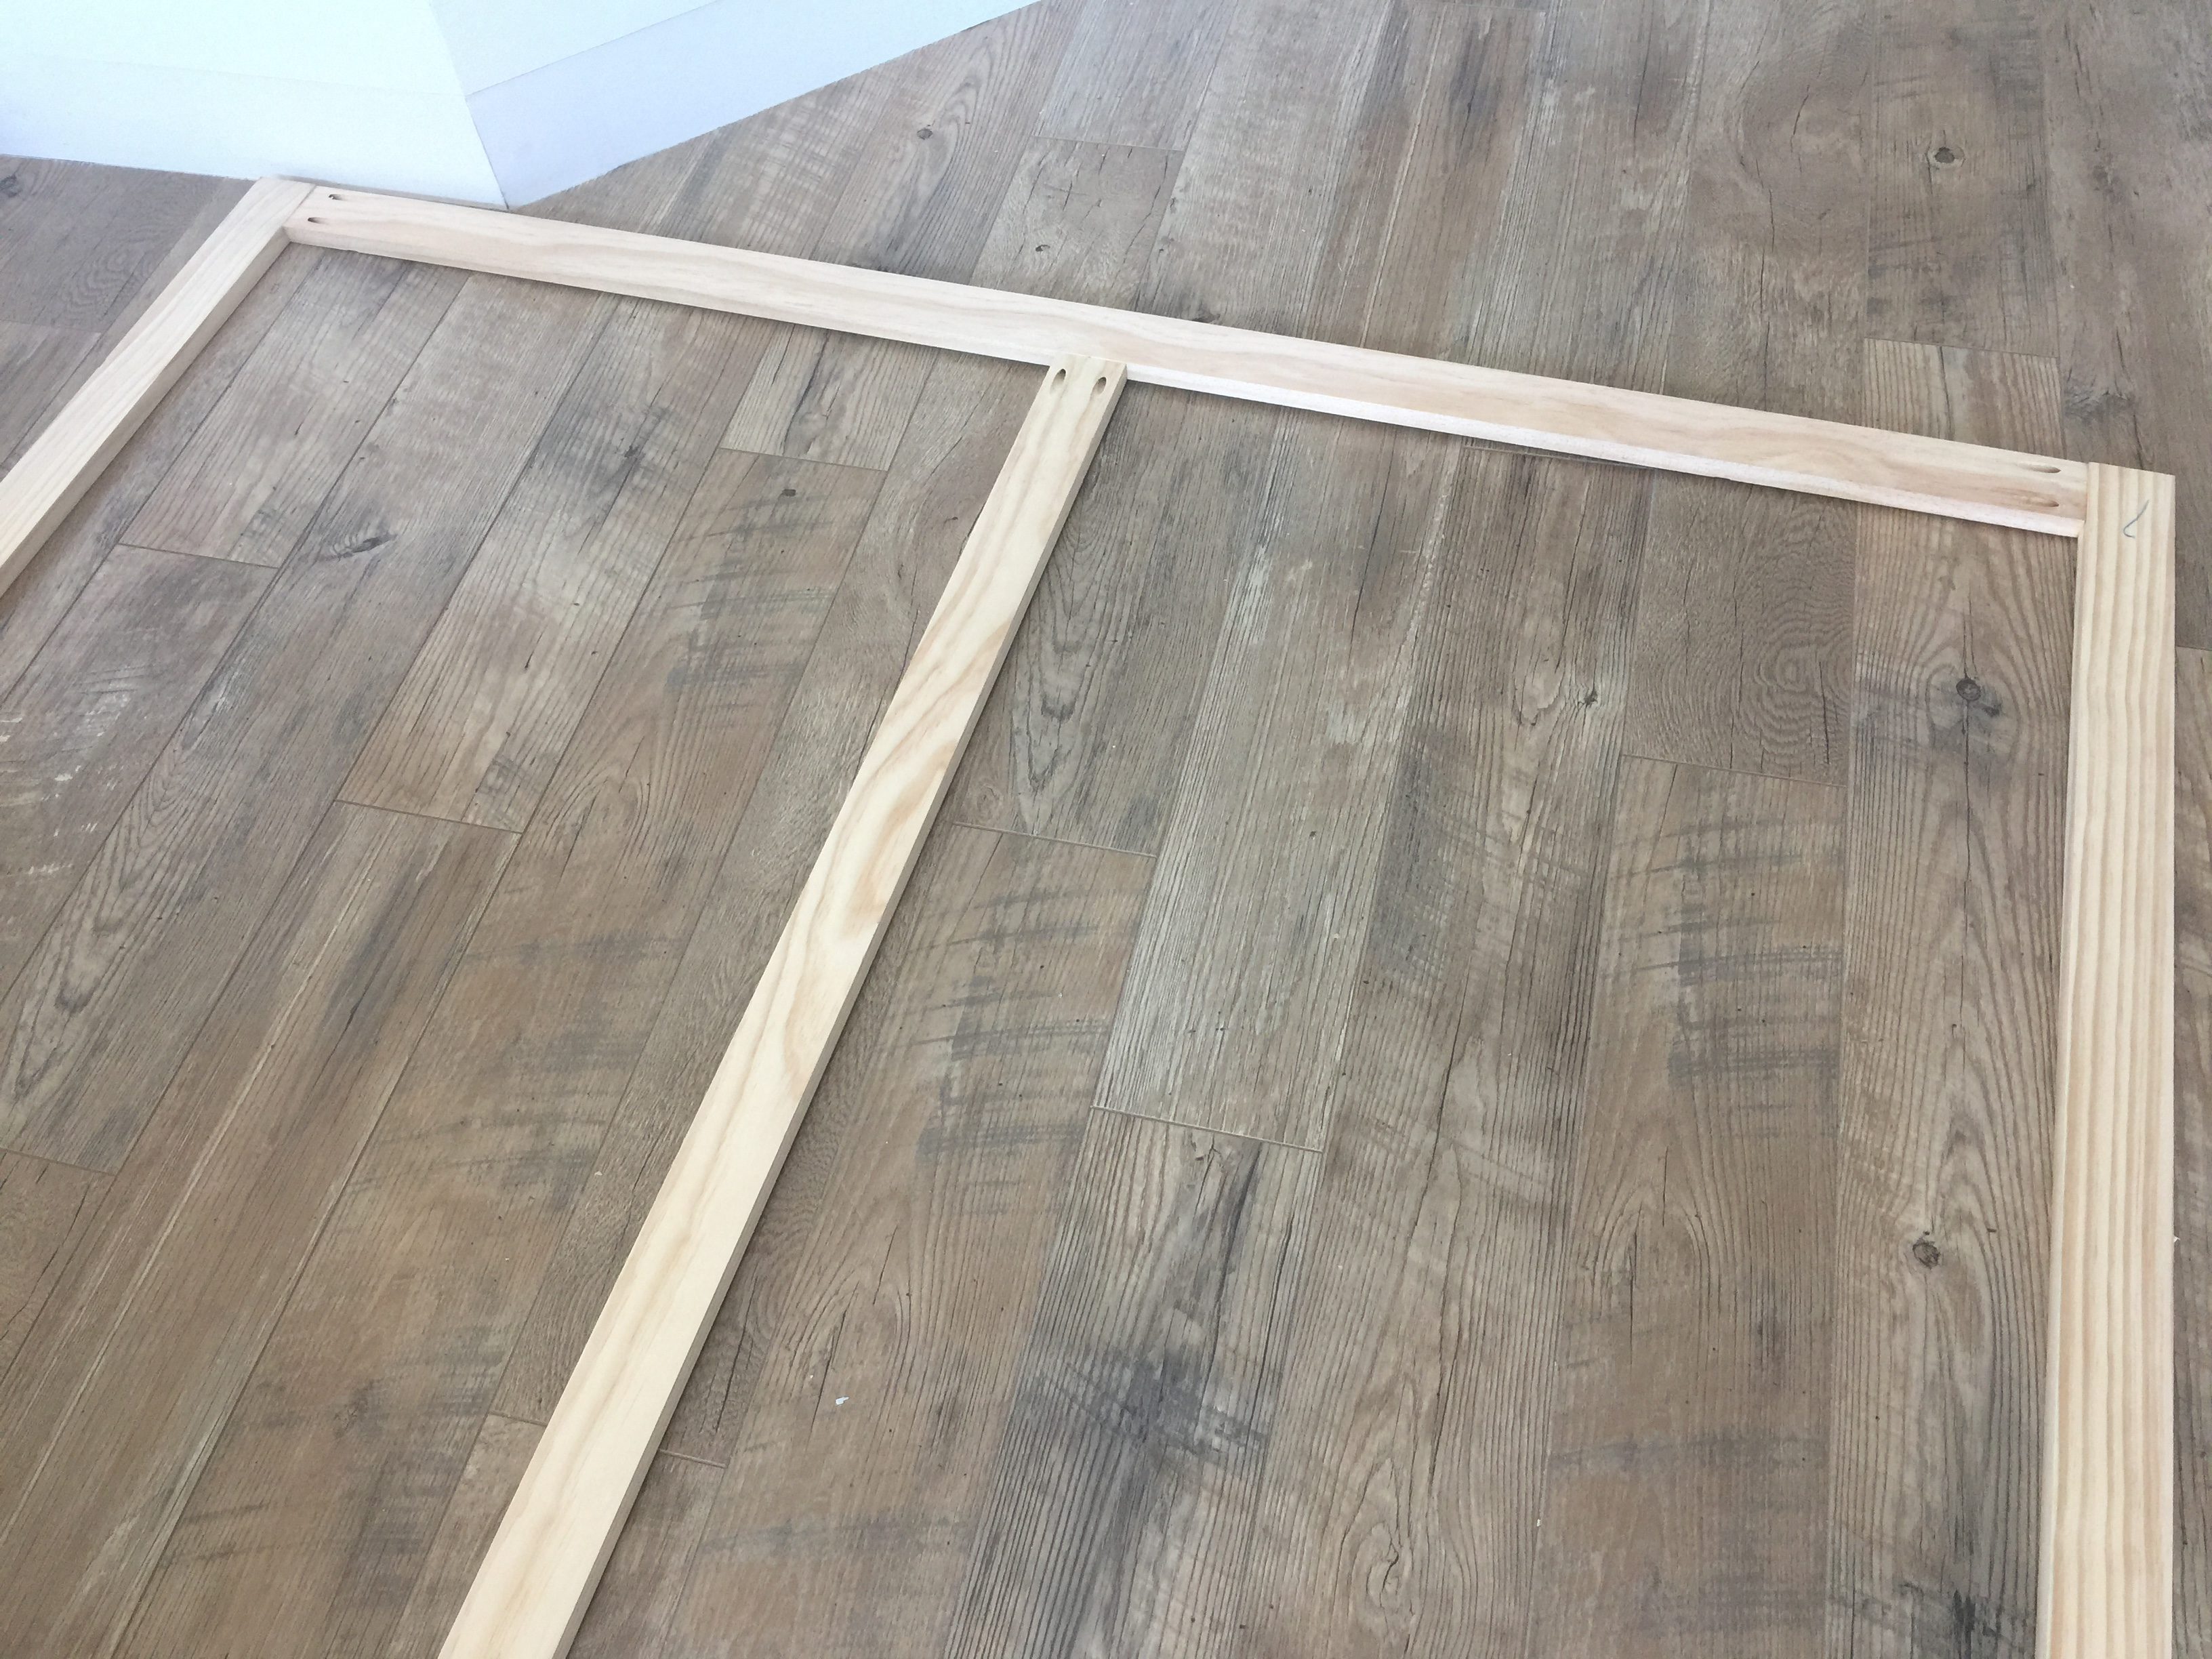
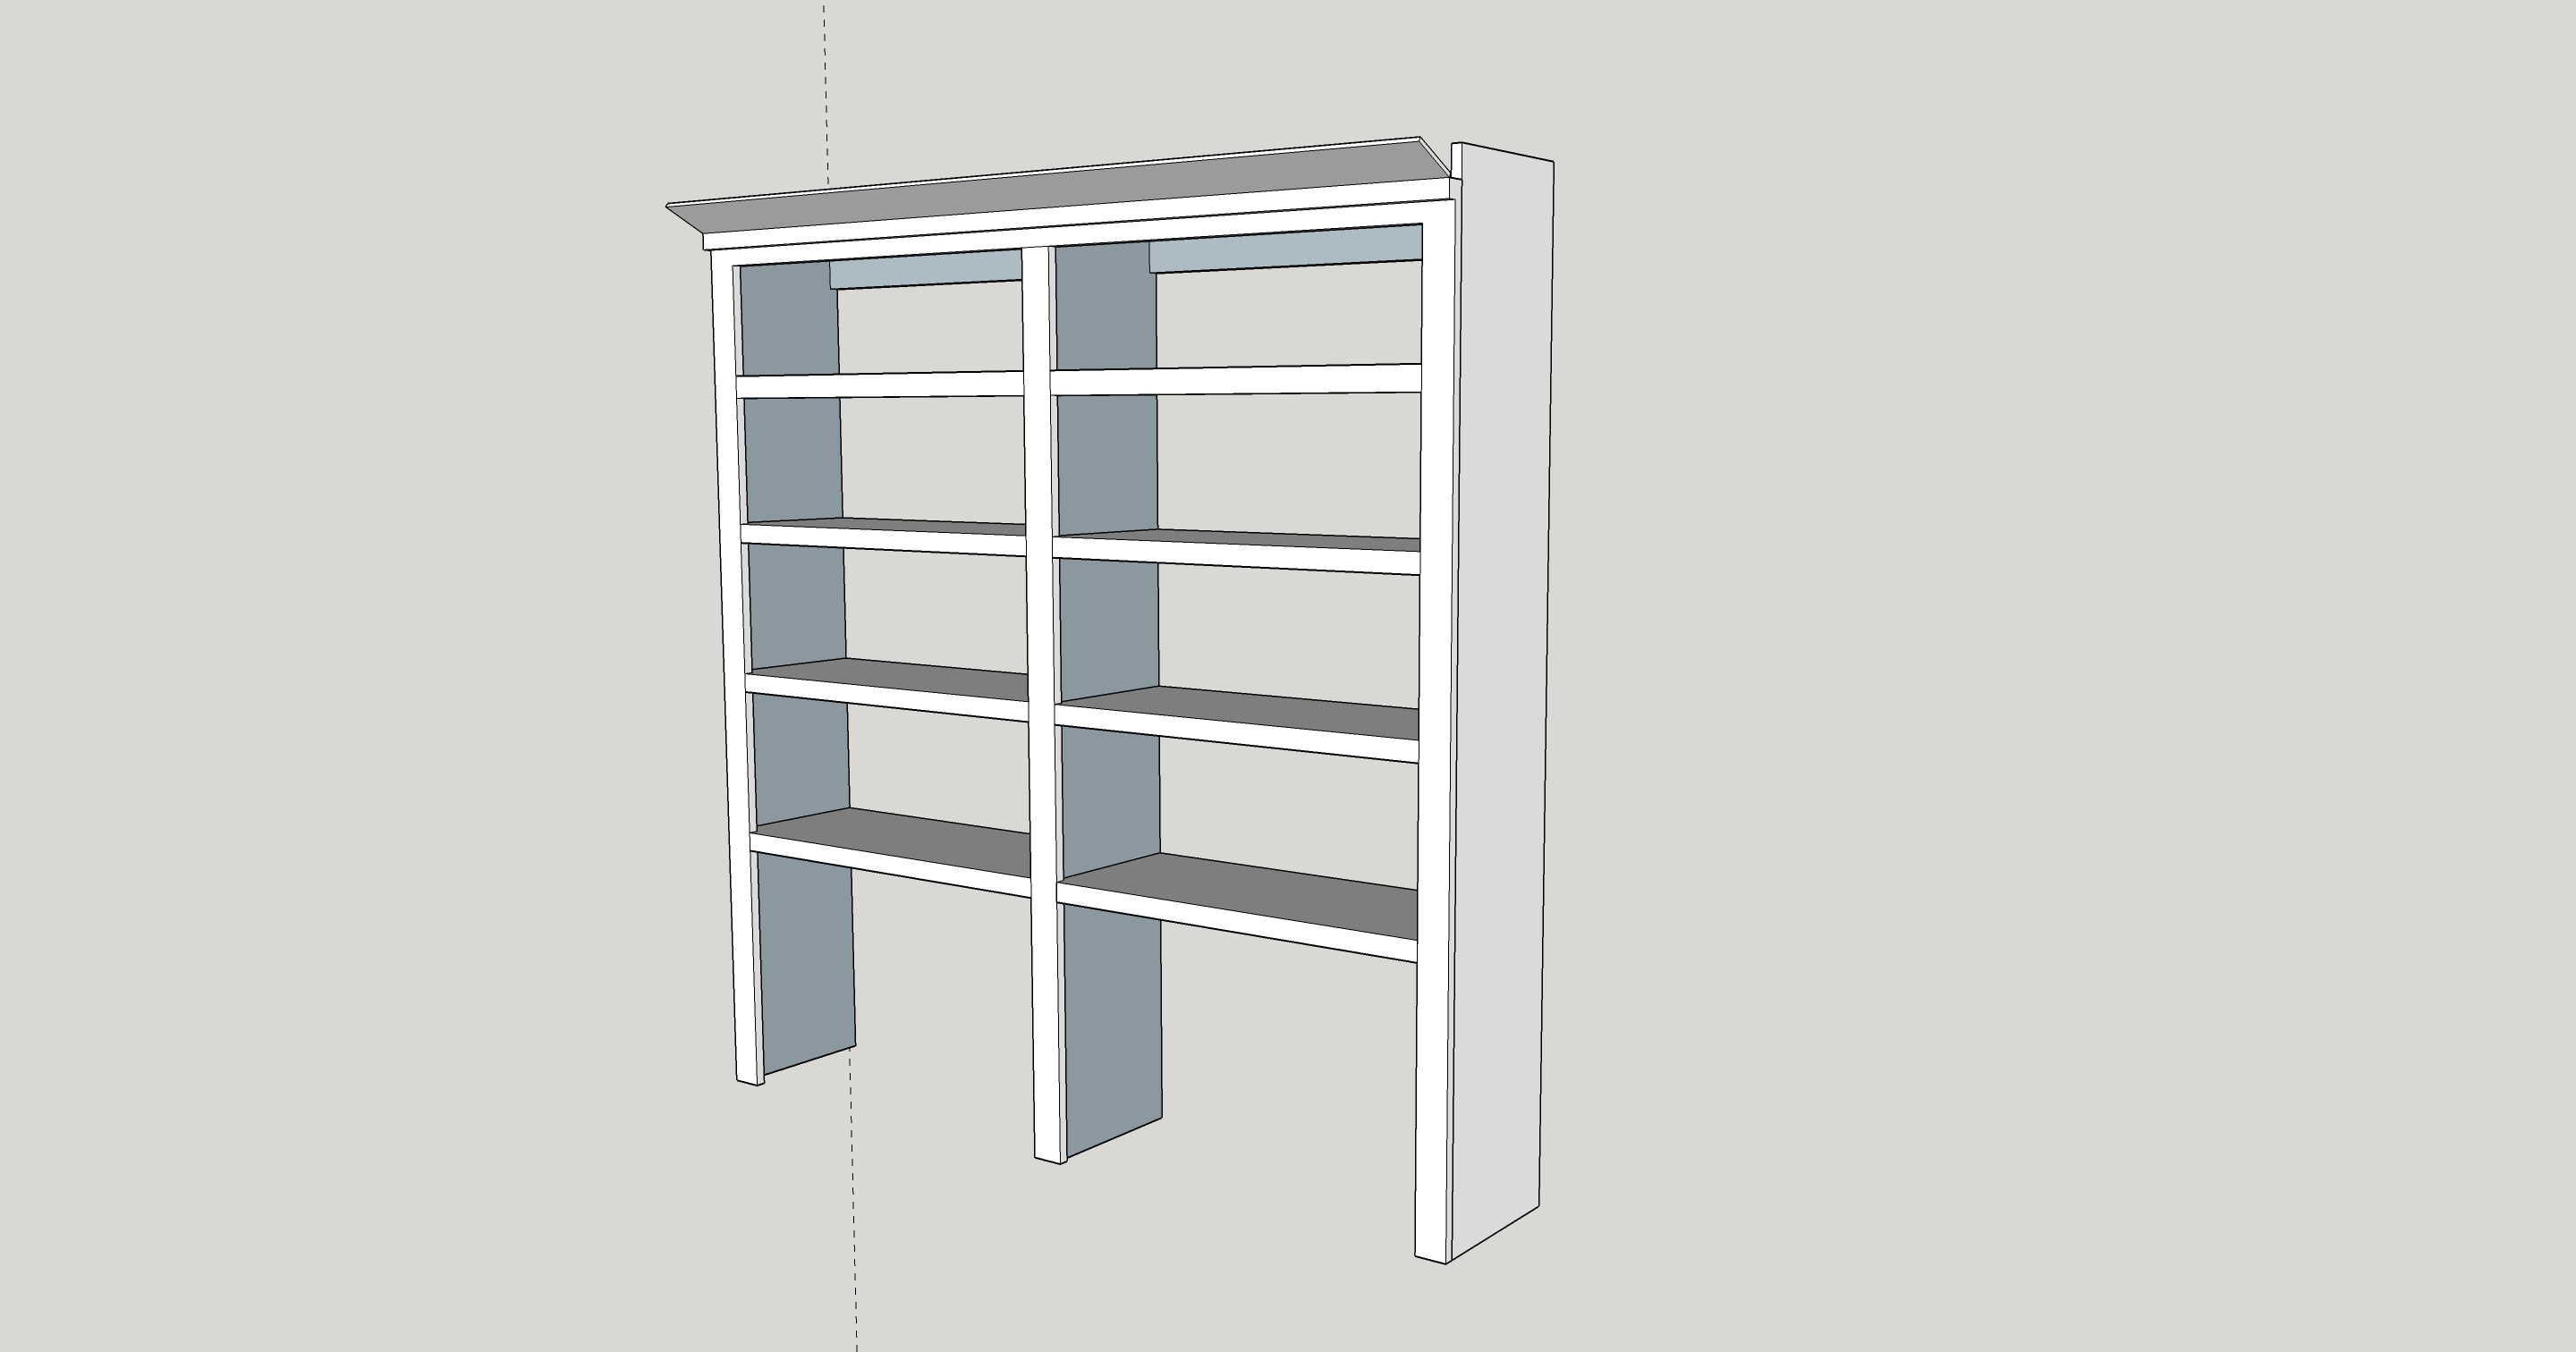
To build the face frame for the bookshelves, I used 1x3s made from poplar and pine (pine because they kept running out of poplar at the store.) I measured the distance from the top to the bottom and then the space in-between.
I actually put up the first three pieces (sides and top) and then marked the placement of the middle piece so I could find the exact center. It was easier than just dealing with measurements. I put together the face frame with pocket holes and glue. Careful not to drive the screws in too hard because it’s easy to split the wood. The measurements in the diagram above are pretty close but definitely use your own measurements and don’t go off these.
Crown Molding
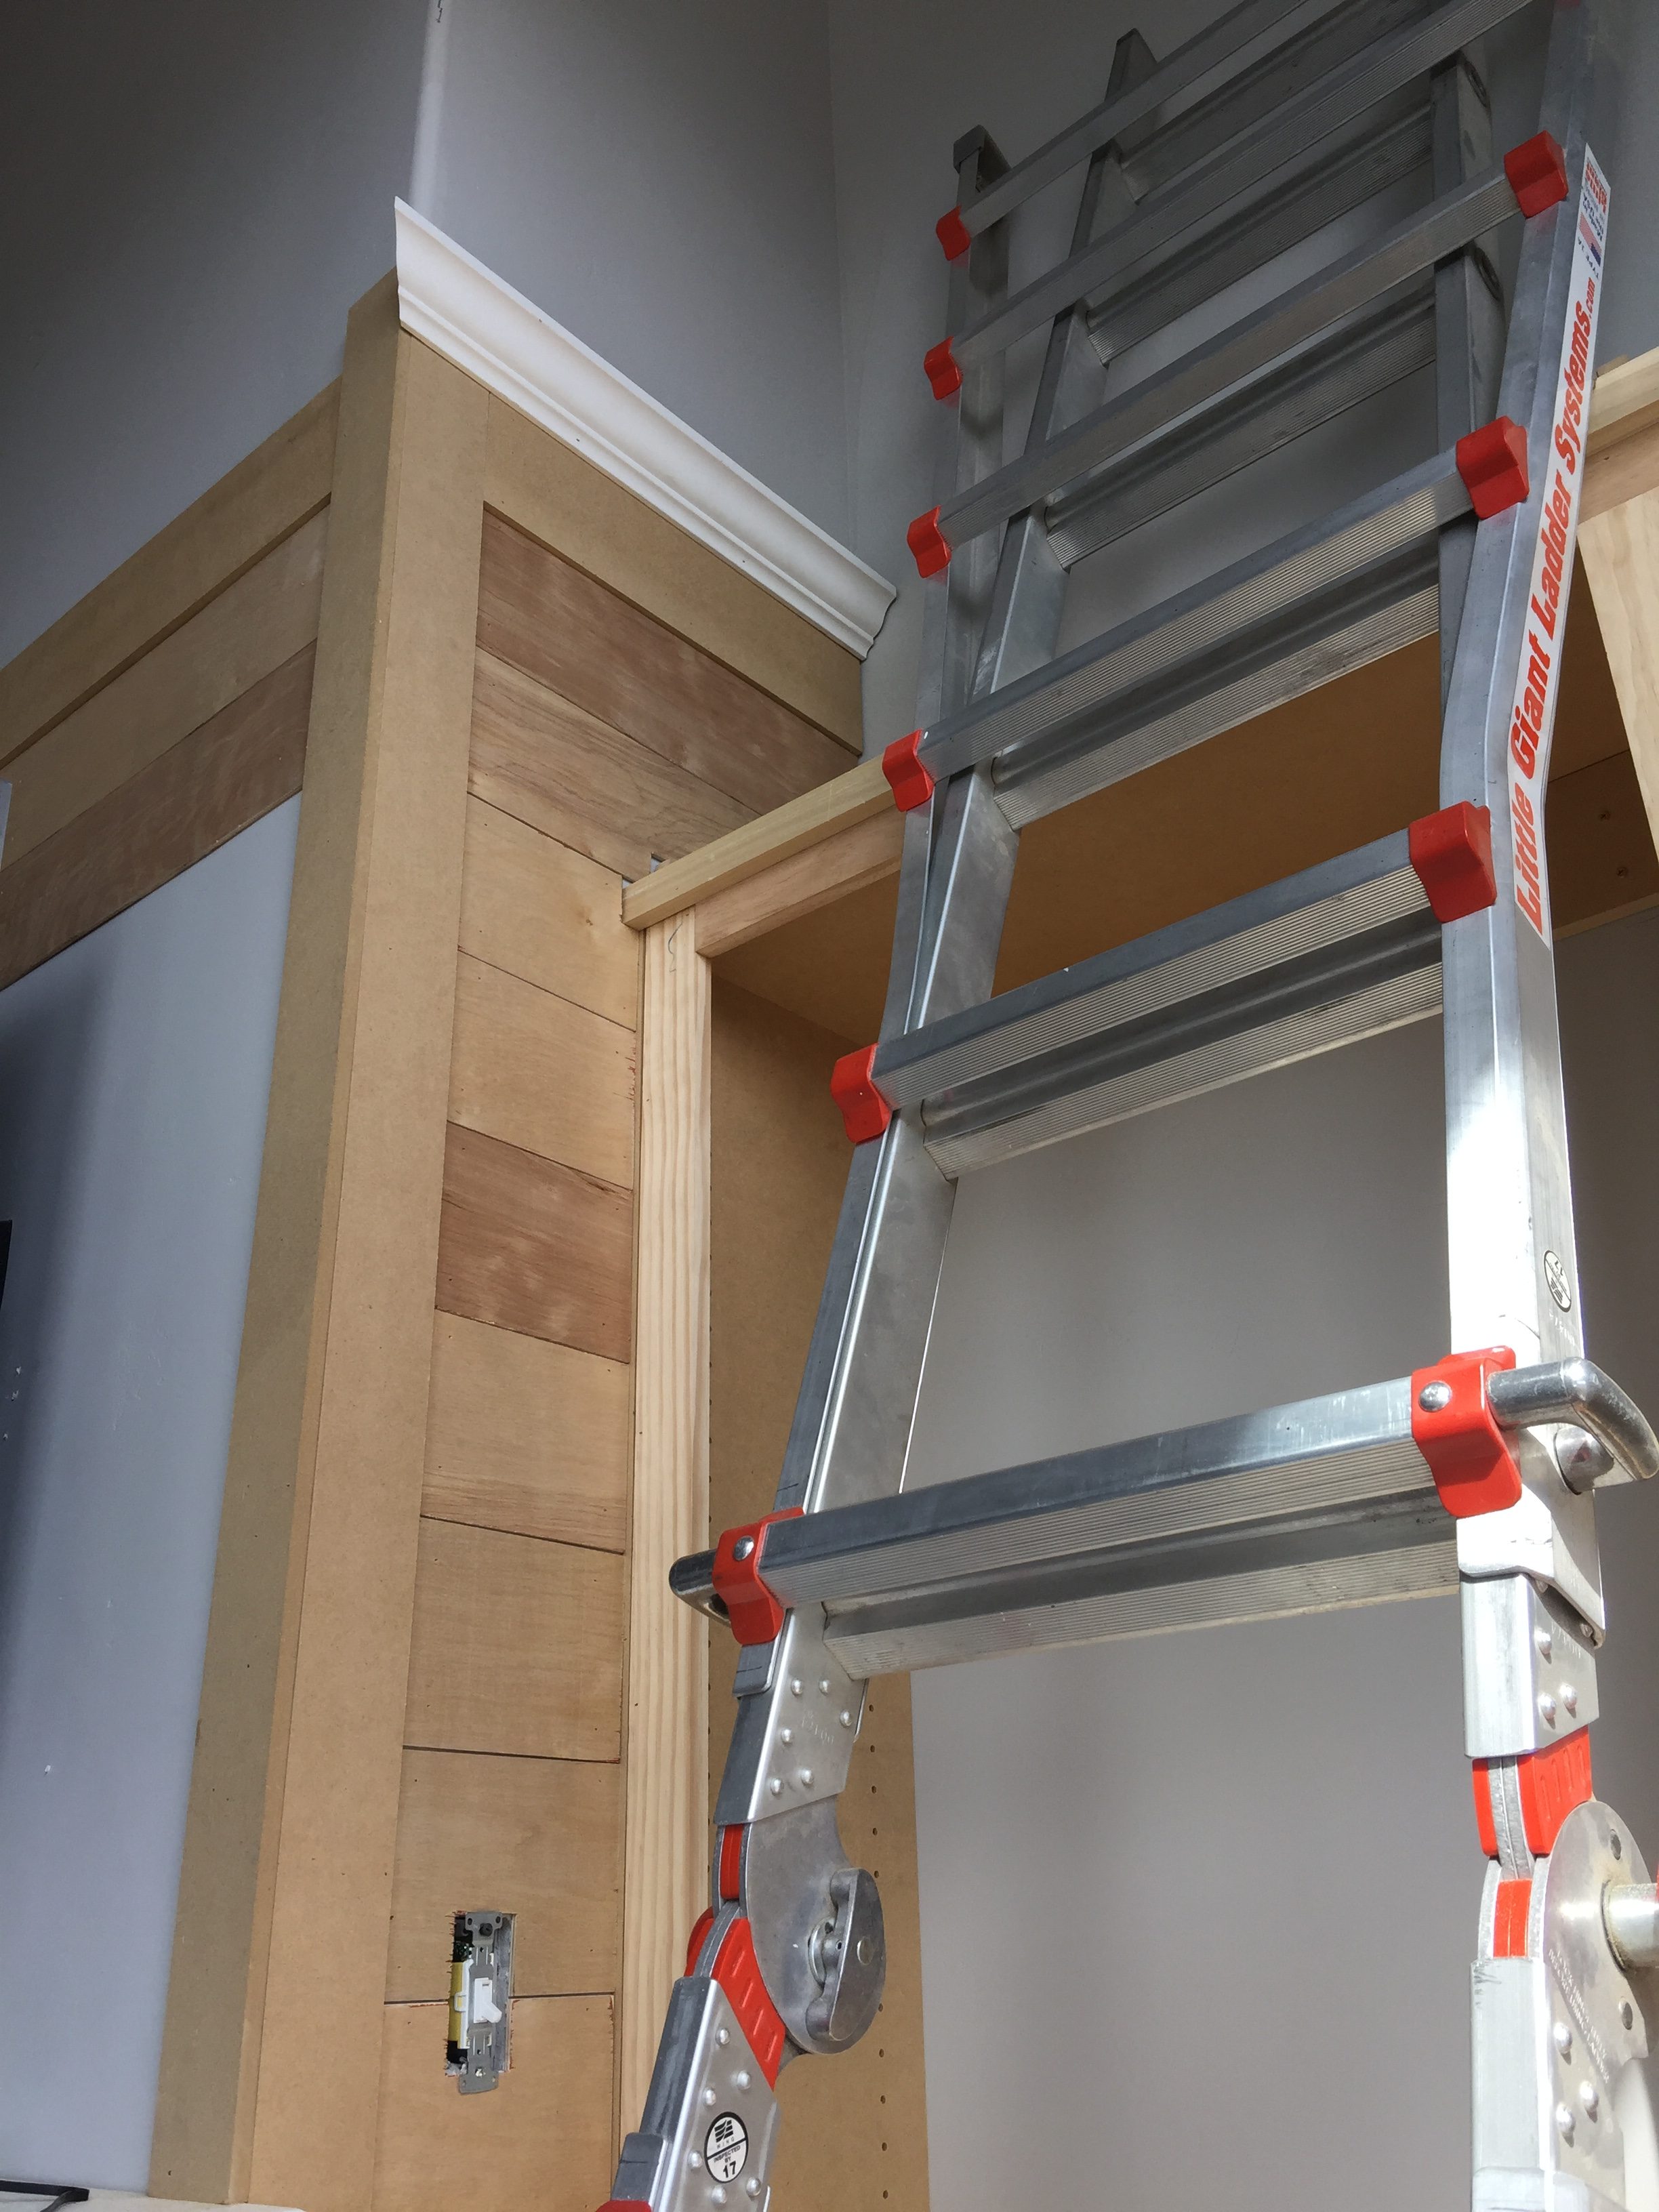
After these were up I added the top two pieces–a band of 1×2 and crown molding. I used the Kreg Crown Pro jig to cut my crown molding correctly–it saves SO much time and headache. I’m not great with crown molding so this thing made it easy and fast.
Shelves
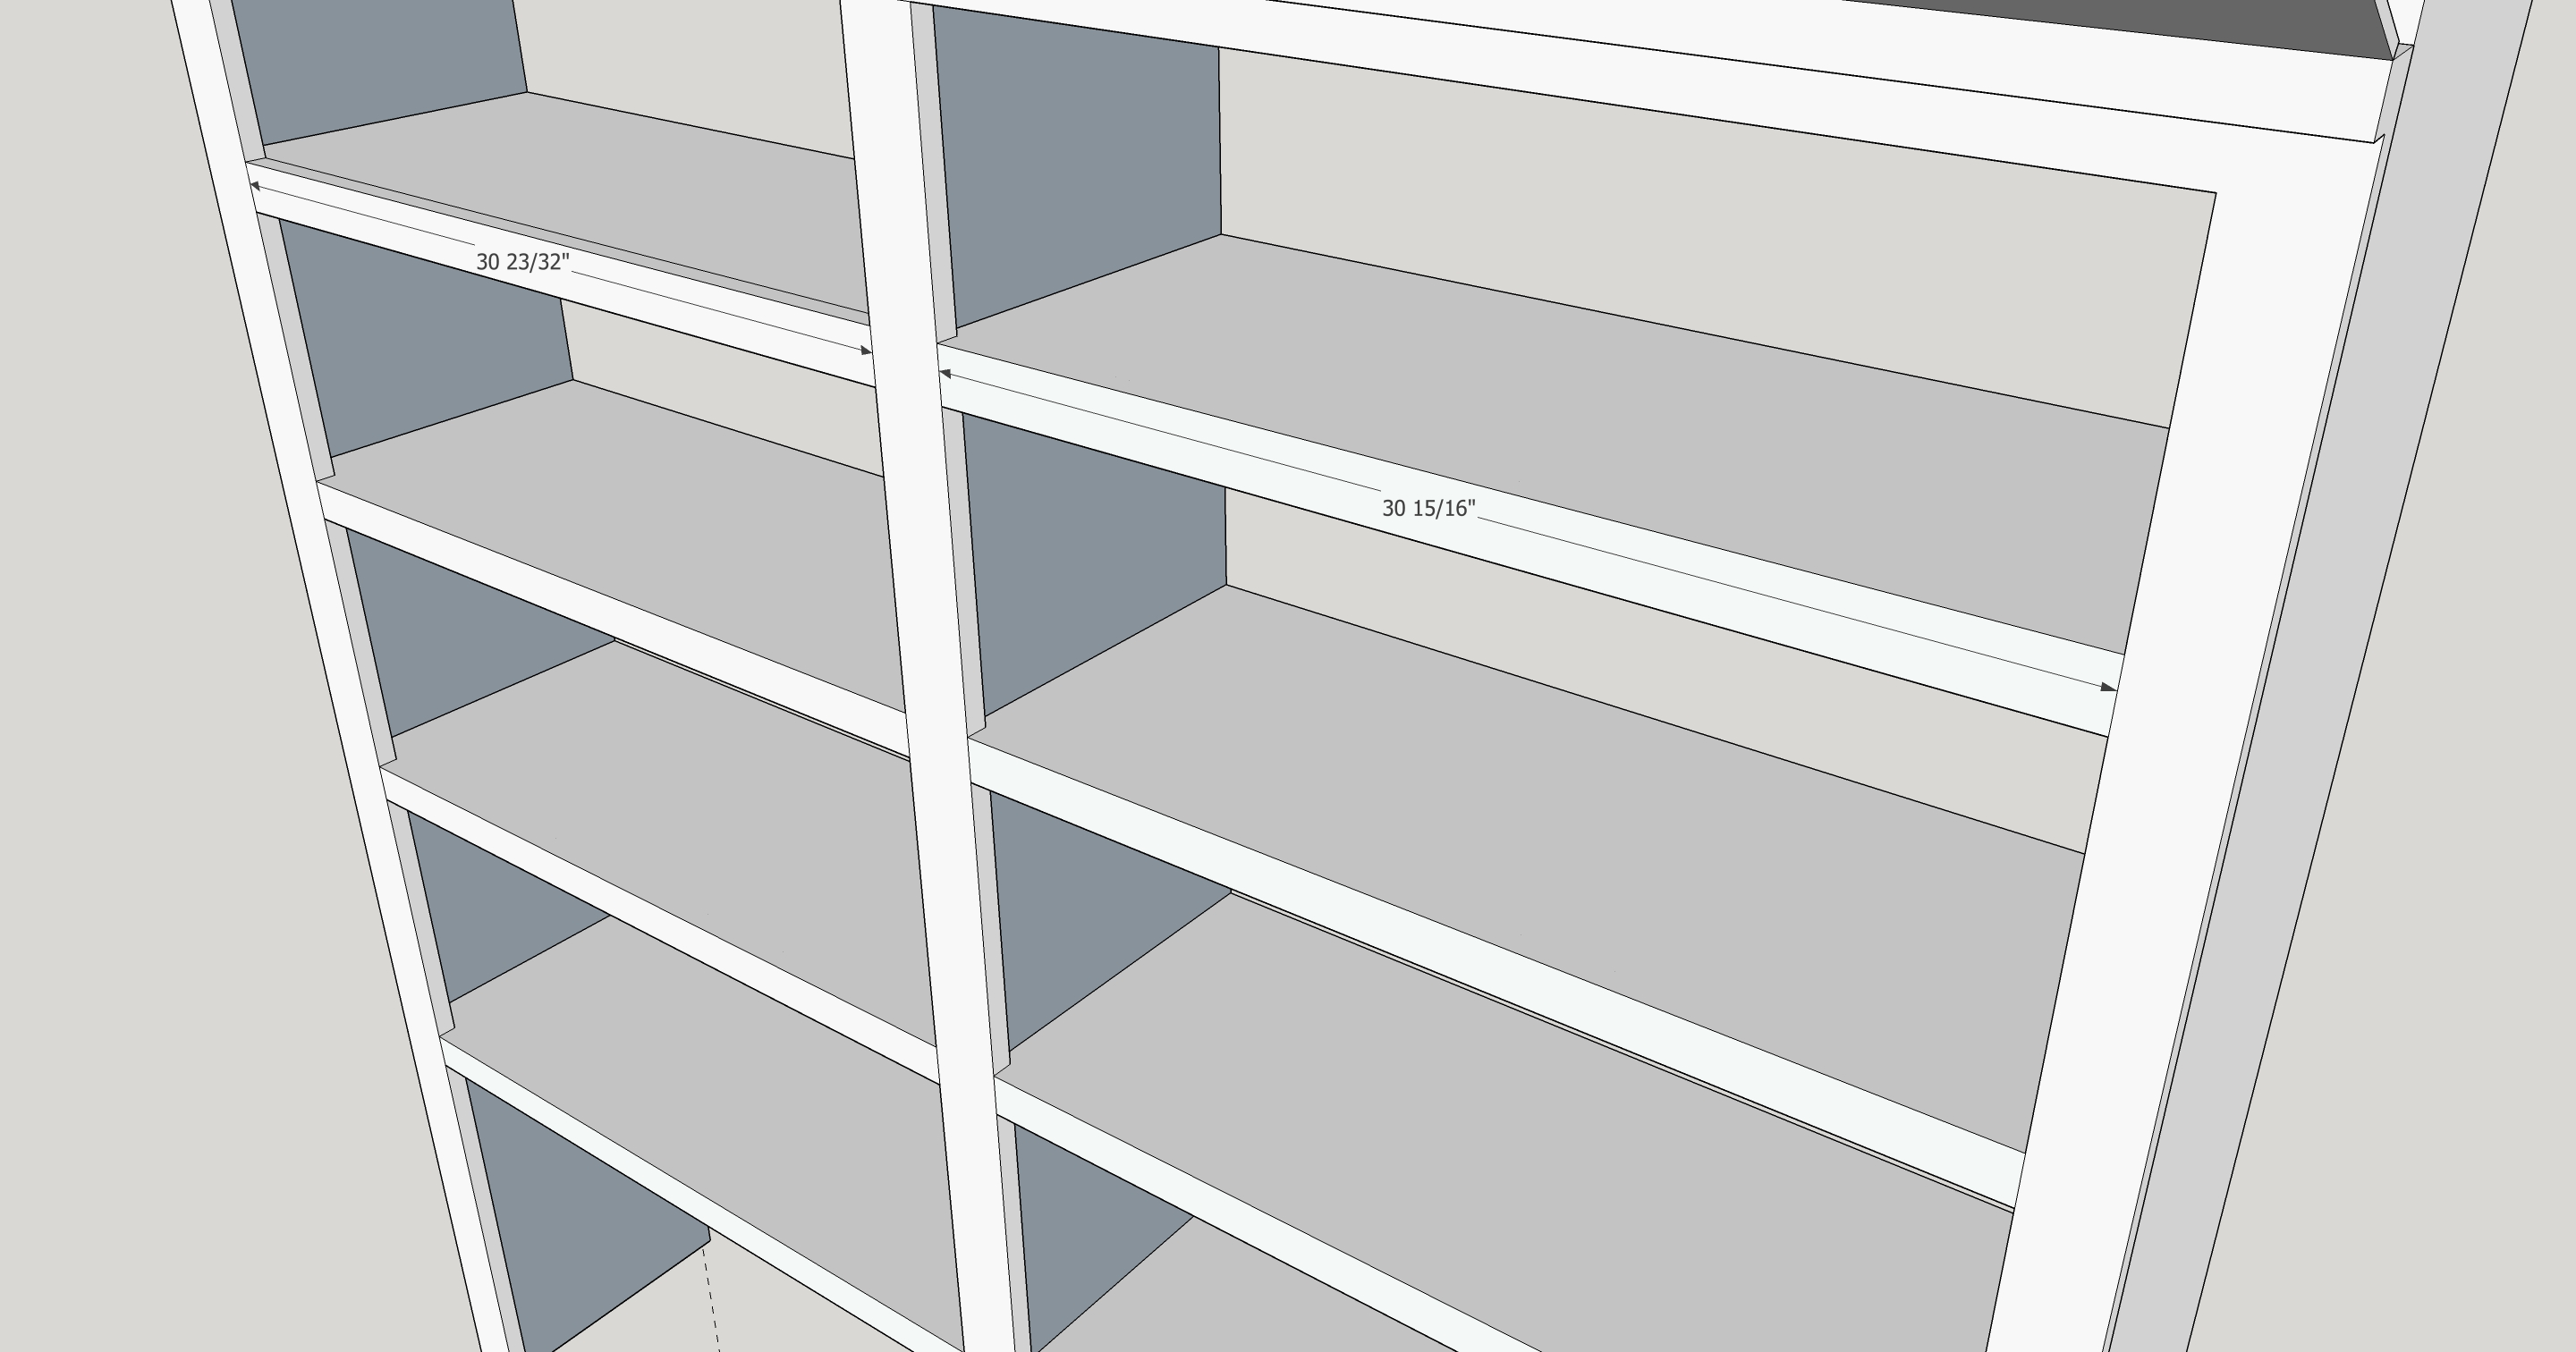
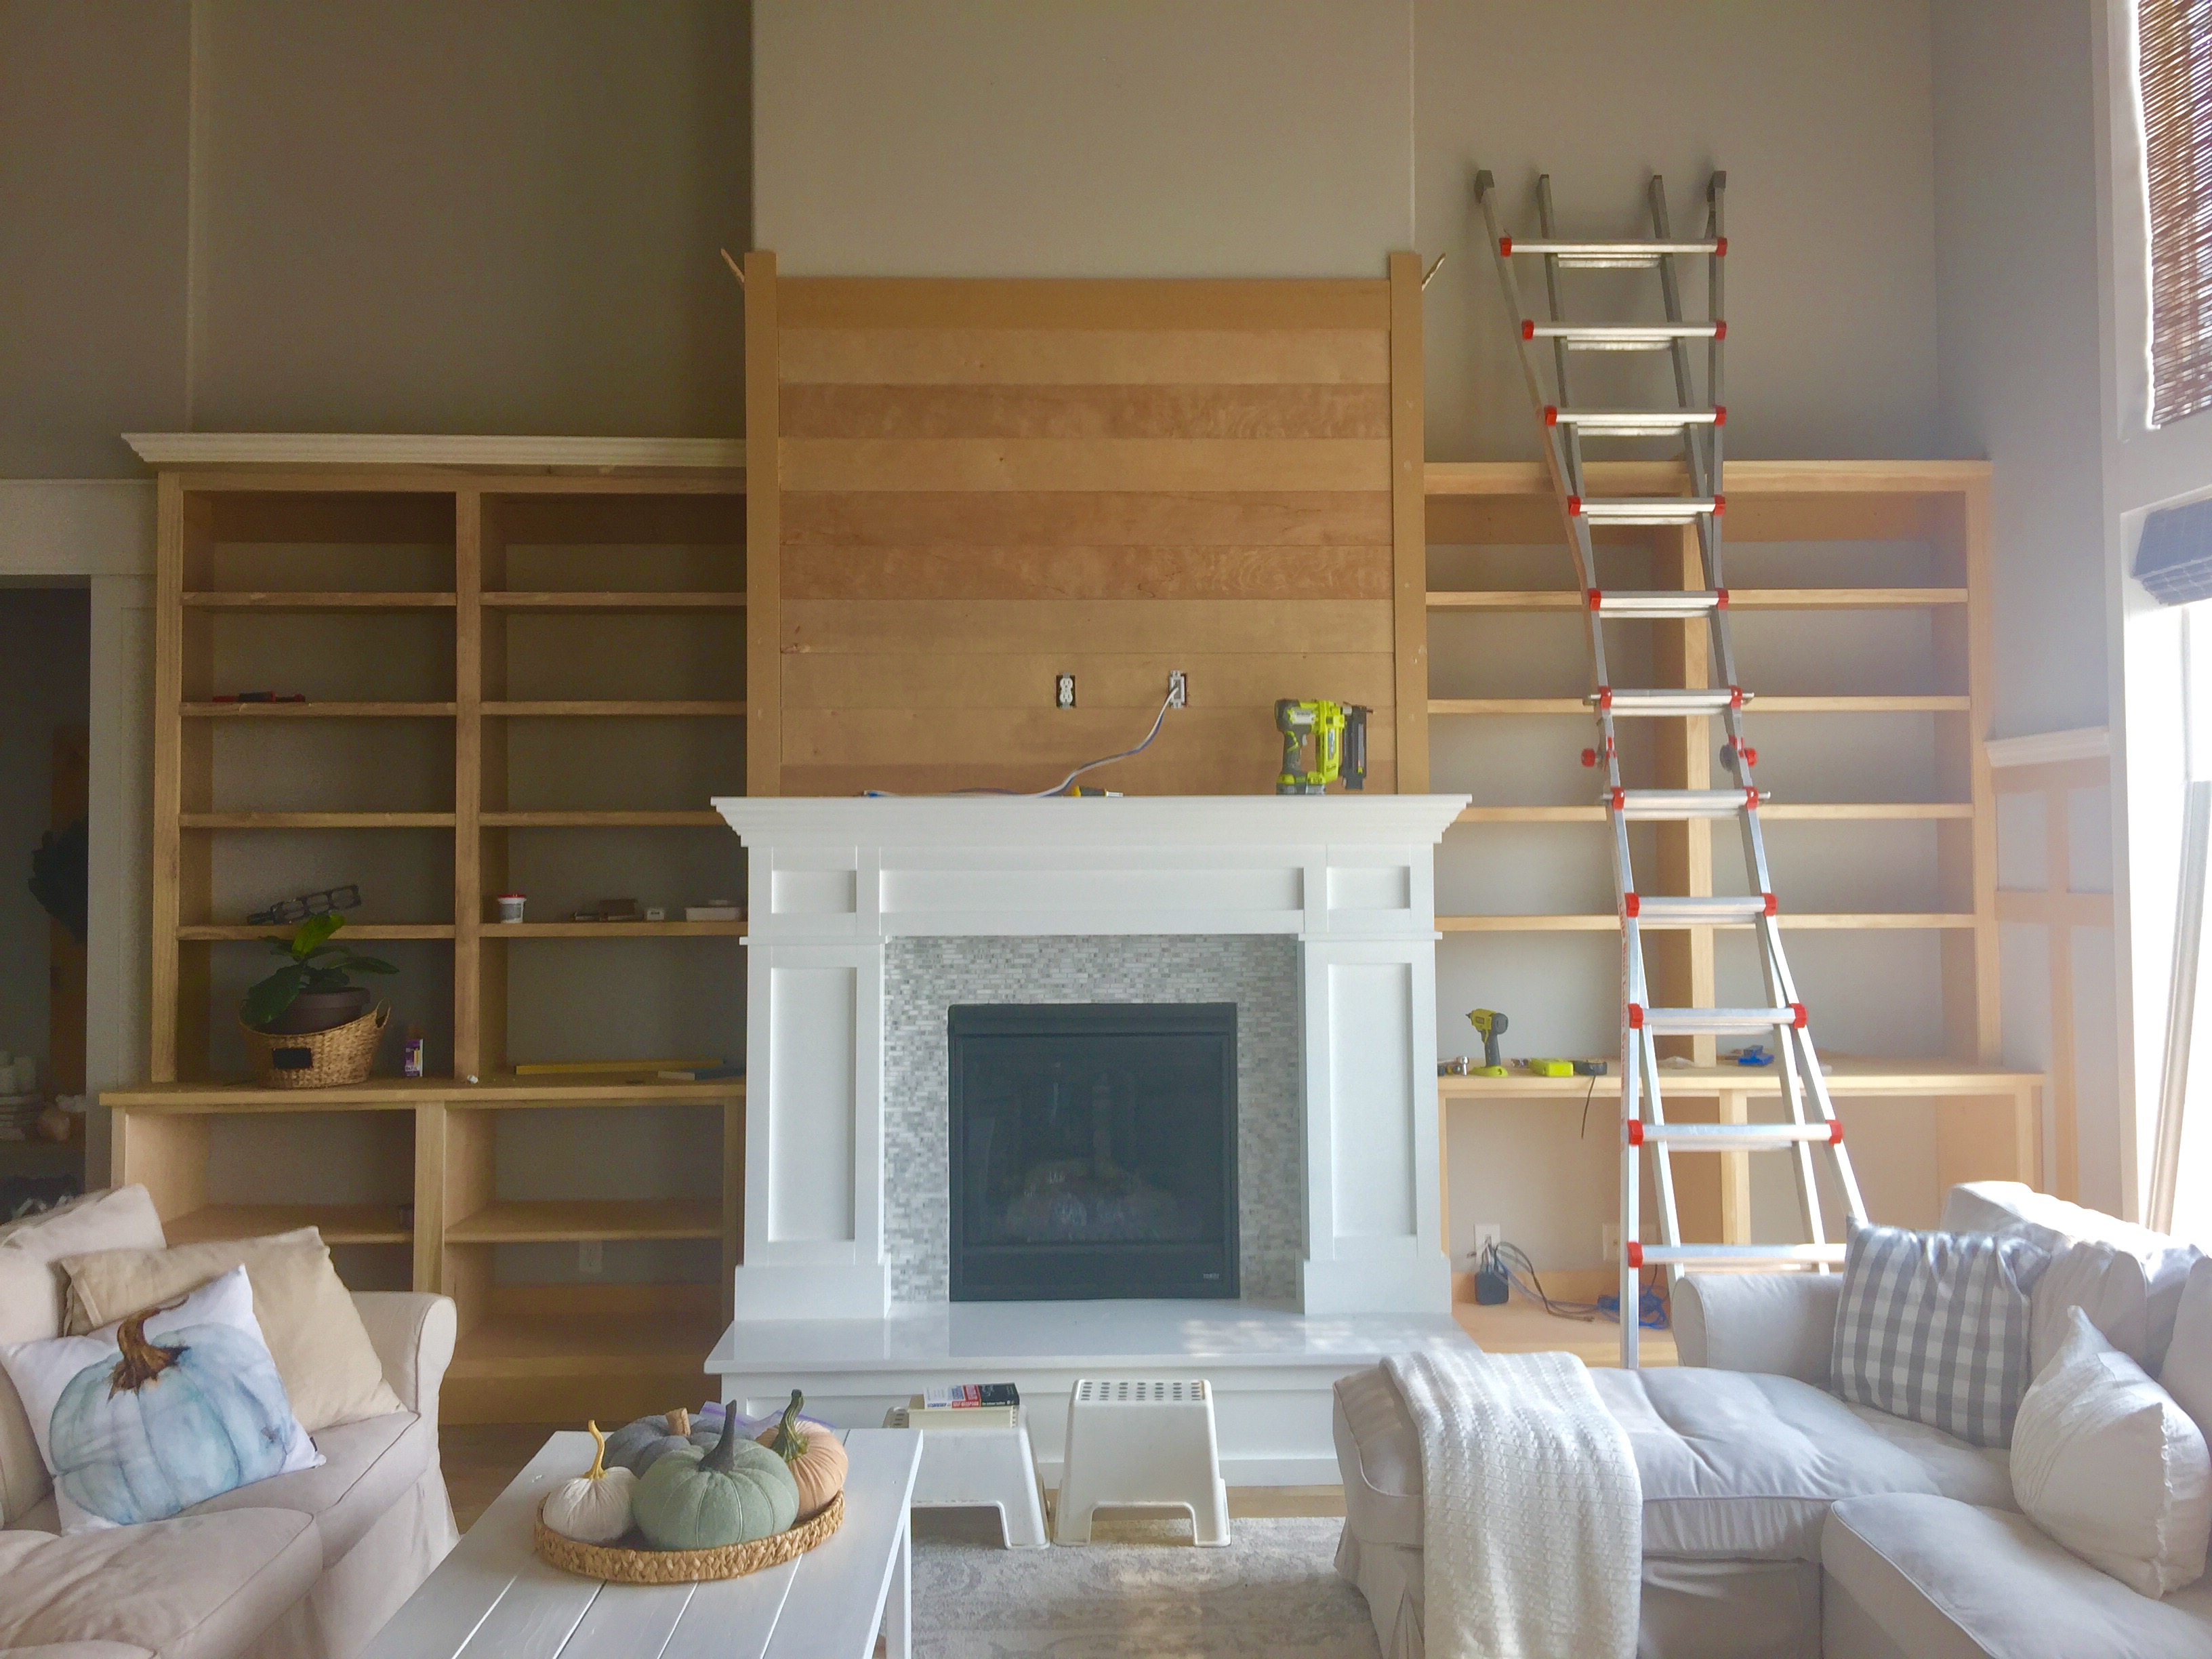
After that was done all that was left was the shelves. These were actually easier said than done–surprisingly tricky! You have to find the right measurement for the shelves and sometimes it was just a little too tight. After I hung all the shelves (using 1/4″ pegs which I got from Amazon) then I nailed a 1×2 to the front of each shelf.
It’s easiest if you measure each one individually because as you can see from my diagram, each shelf is slightly different. If you want a nice perfect fit, this is the best way to go.
After the built ins were done, I spent some time planking the center spot above the mantel. I first framed out the sides to make a right angle corner and then just fit in the planks. For a good shiplap tutorial, you can read this post and this post. When you are wrapping shiplap around a corner, be careful to line up all the spaces between planks. It’s the little details that take a project from amateur to professional. I also finished off the top with crown molding, although it was the last thing I did because it required moving the ladder which was a huge pain to do. I also had to do a little bit of jigsaw work and scribing to blend the mantel with the other trim work.
Painting the DIY Built in Cabinets Around the Fireplace
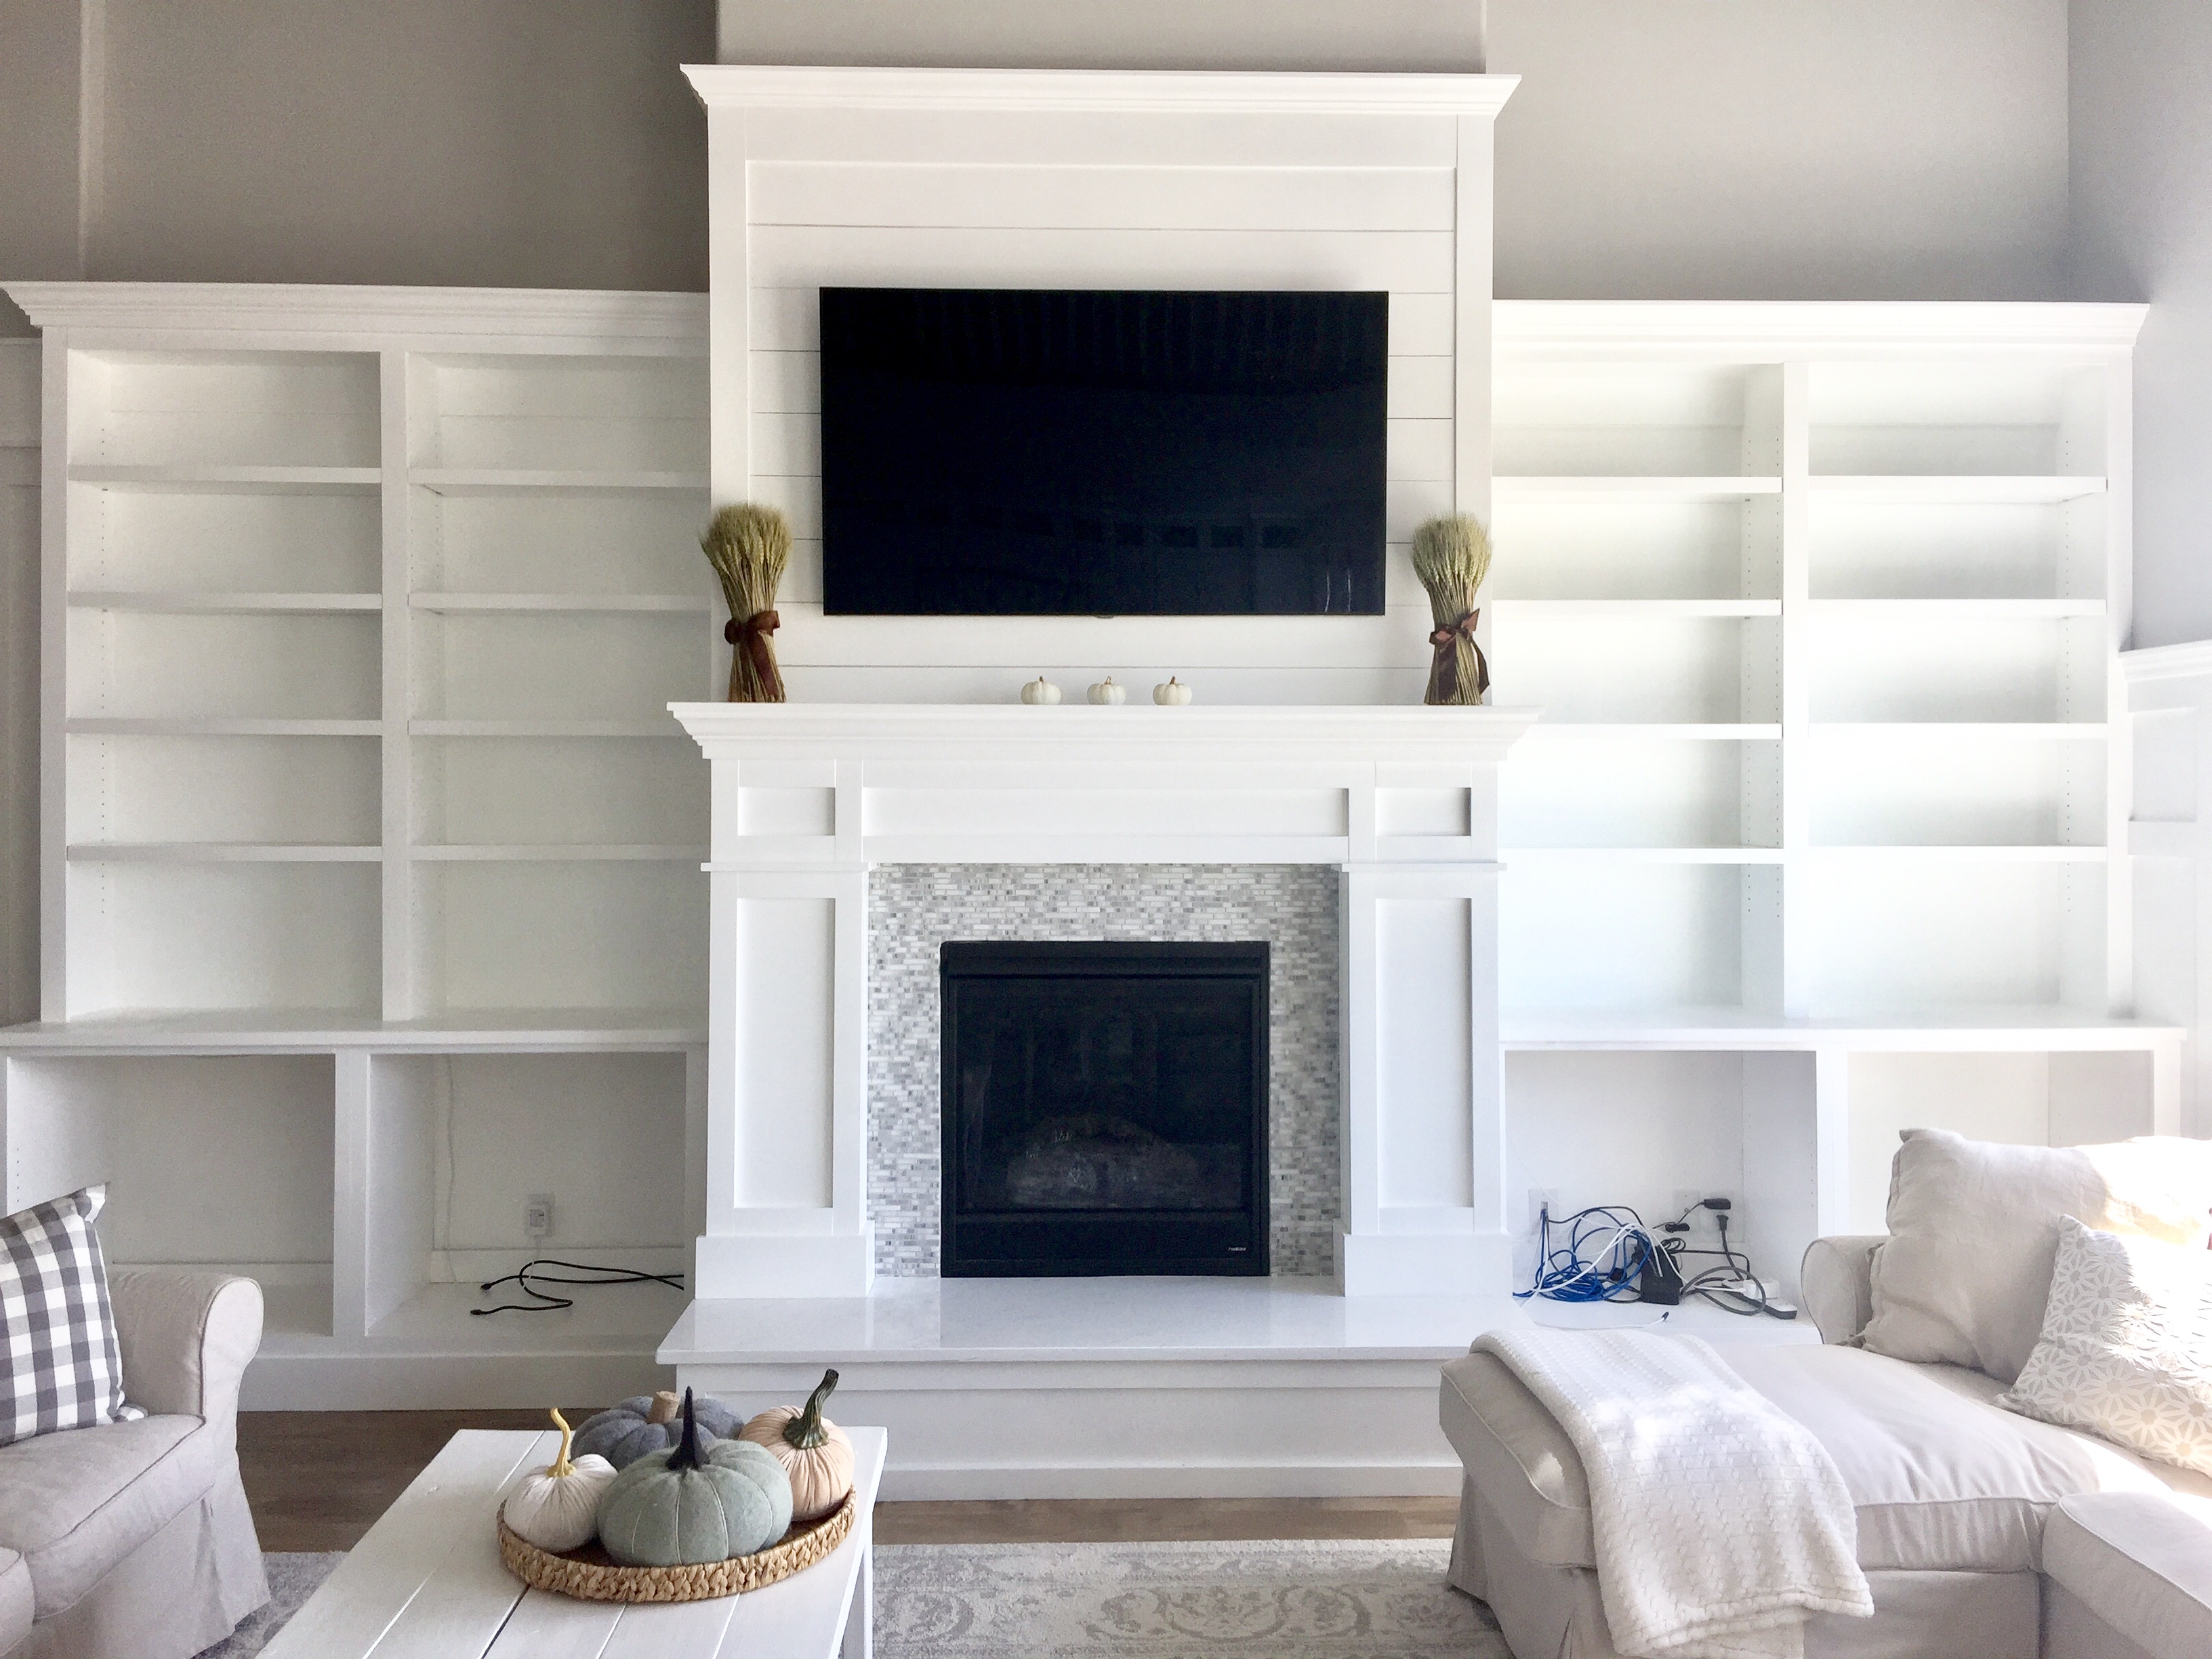
After all the woodwork was done (and I also finished off the board and batten around the rest of the room), I got everything ready for painting. I caulked and filled nail holes and sanded. Then I spent the next week painting, painting, painting!! Painting is definitely my least favorite part but it’s the most rewarding. I used two gallons of Behr Ultra White in Semi-Gloss. I used a combination of brushes–a thick nap wide roller, a 4″ foam roller, paintbrushes, and even my spray gun. You just have to do your best and try to catch all the drips. If you don’t catch a drip and it dries, you can scrape it off with a razor blade and sand it down. I did lots and lots of coats. I protected the floor with tape and contractor paper and used painter’s tape for other areas. Any questions on painting–just leave me a comment! Next time I make diy built ins I’m going to just invest in a high quality paint sprayer.
After the painting was done, my husband put the television back up and I got to work on building the doors. Our TV is 60″, just in case any of you were wondering. I think it’s a really good size for that space but my husband would argue with that. What is it with men and ginormous TVs?
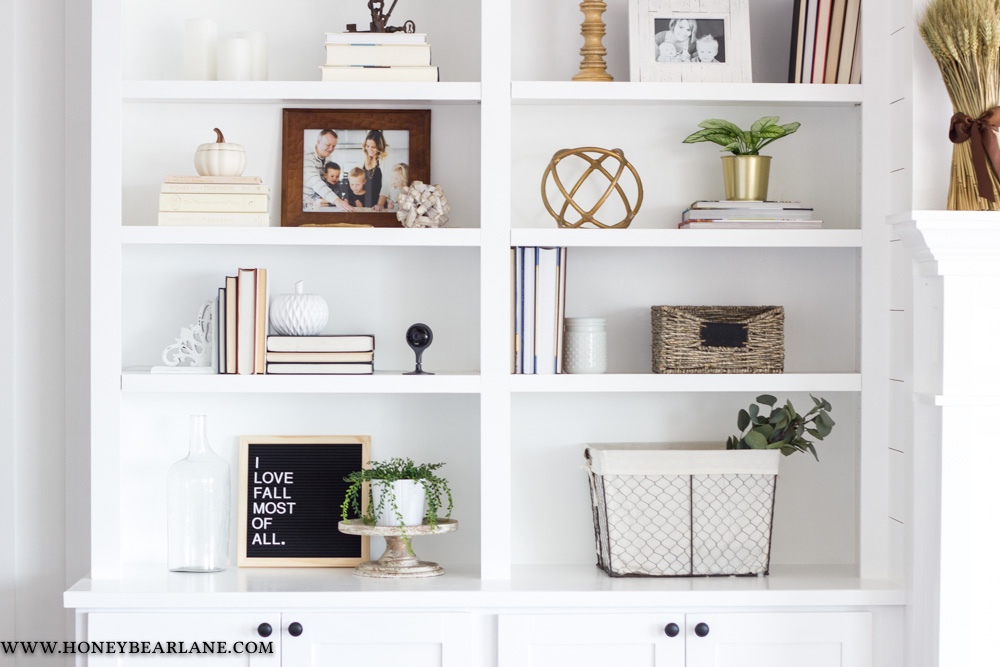
Anyway, I’m so happy with my diy built in cabinets around my fireplace and I can’t wait to decorate them and put stuff in the cabinets. However they still need doors!
Next up…How to Build Cabinet Doors and How to Install Built-In Lighting.
Updated! Check out all the posts in this series:

Your built in looks so gorgeous. I was wondering if you have wrote about how to built cabinet doors and installing the light yet. I am attempting to make my own built in.
That is SO awesome! So glad to hear you are trying to make your own! I am definitely writing posts about both and they will be up very soon, stay tuned! Good luck!
Heidi,
Thank you so much for the posts! I have read many DIY bookshelf projects on the web, yours is by far the best one. Well constructed, and looks just BEAUTIFUL. great photography skill as well!
Thanks so much!
Thank you for the phenomenal tutorial. I just finished installing new floors and redoing my fireplace wall with built-ins is next!
Hi. Love your tutorial. Just finished the cabinet portion. Are your mantel and shelving the same white color?
Thanks!
Yes, I always use ultra white.
Absolutely stunning! Were doing something similar – I was wondering how high your shelves go and what height the shelves are set at? Looks to be 15” on the lowest shelf and then 12” for the upper shelves? Appreciate your Tutorial!
That’s about right for the spacing. Good luck!
I am totally amazed with what you have done! I can’t wait to see what else you do!
These are beautiful! About how much did it cost you for everything?
It was around $1000 I think because I made everything from scratch, including the cabinet doors.
Could you tell me what the spacing is of the shelves?
About to start similar project, glad I can follow, somewhat. What did you use for the shiplap? Corners look smaller than the planks, planks look around 5″, curious?
I used ripped 1/4″ plywood. If I were to do it again, I would use real shiplap, which you can get at Home Depot now. It just looks so much nicer. It is more expensive though.