How to Build Cabinet Doors Like a Boss
When I look at the built-ins, I love telling myself “I did EVERYTHING.” I say that out loud because that just sounds braggy. But I brag about myself TO myself because that’s just building self-confidence right? Haha! To be honest, the biggest thing that scared me about the built-ins were doing my own cabinet doors. I wanted to make good doors and not take a shortcut. I looked into it and practiced and practiced and boom-I done made my own cabinet doors! And if I can do it, you can do it. Just read this post and you will know how to build cabinet doors like a boss.
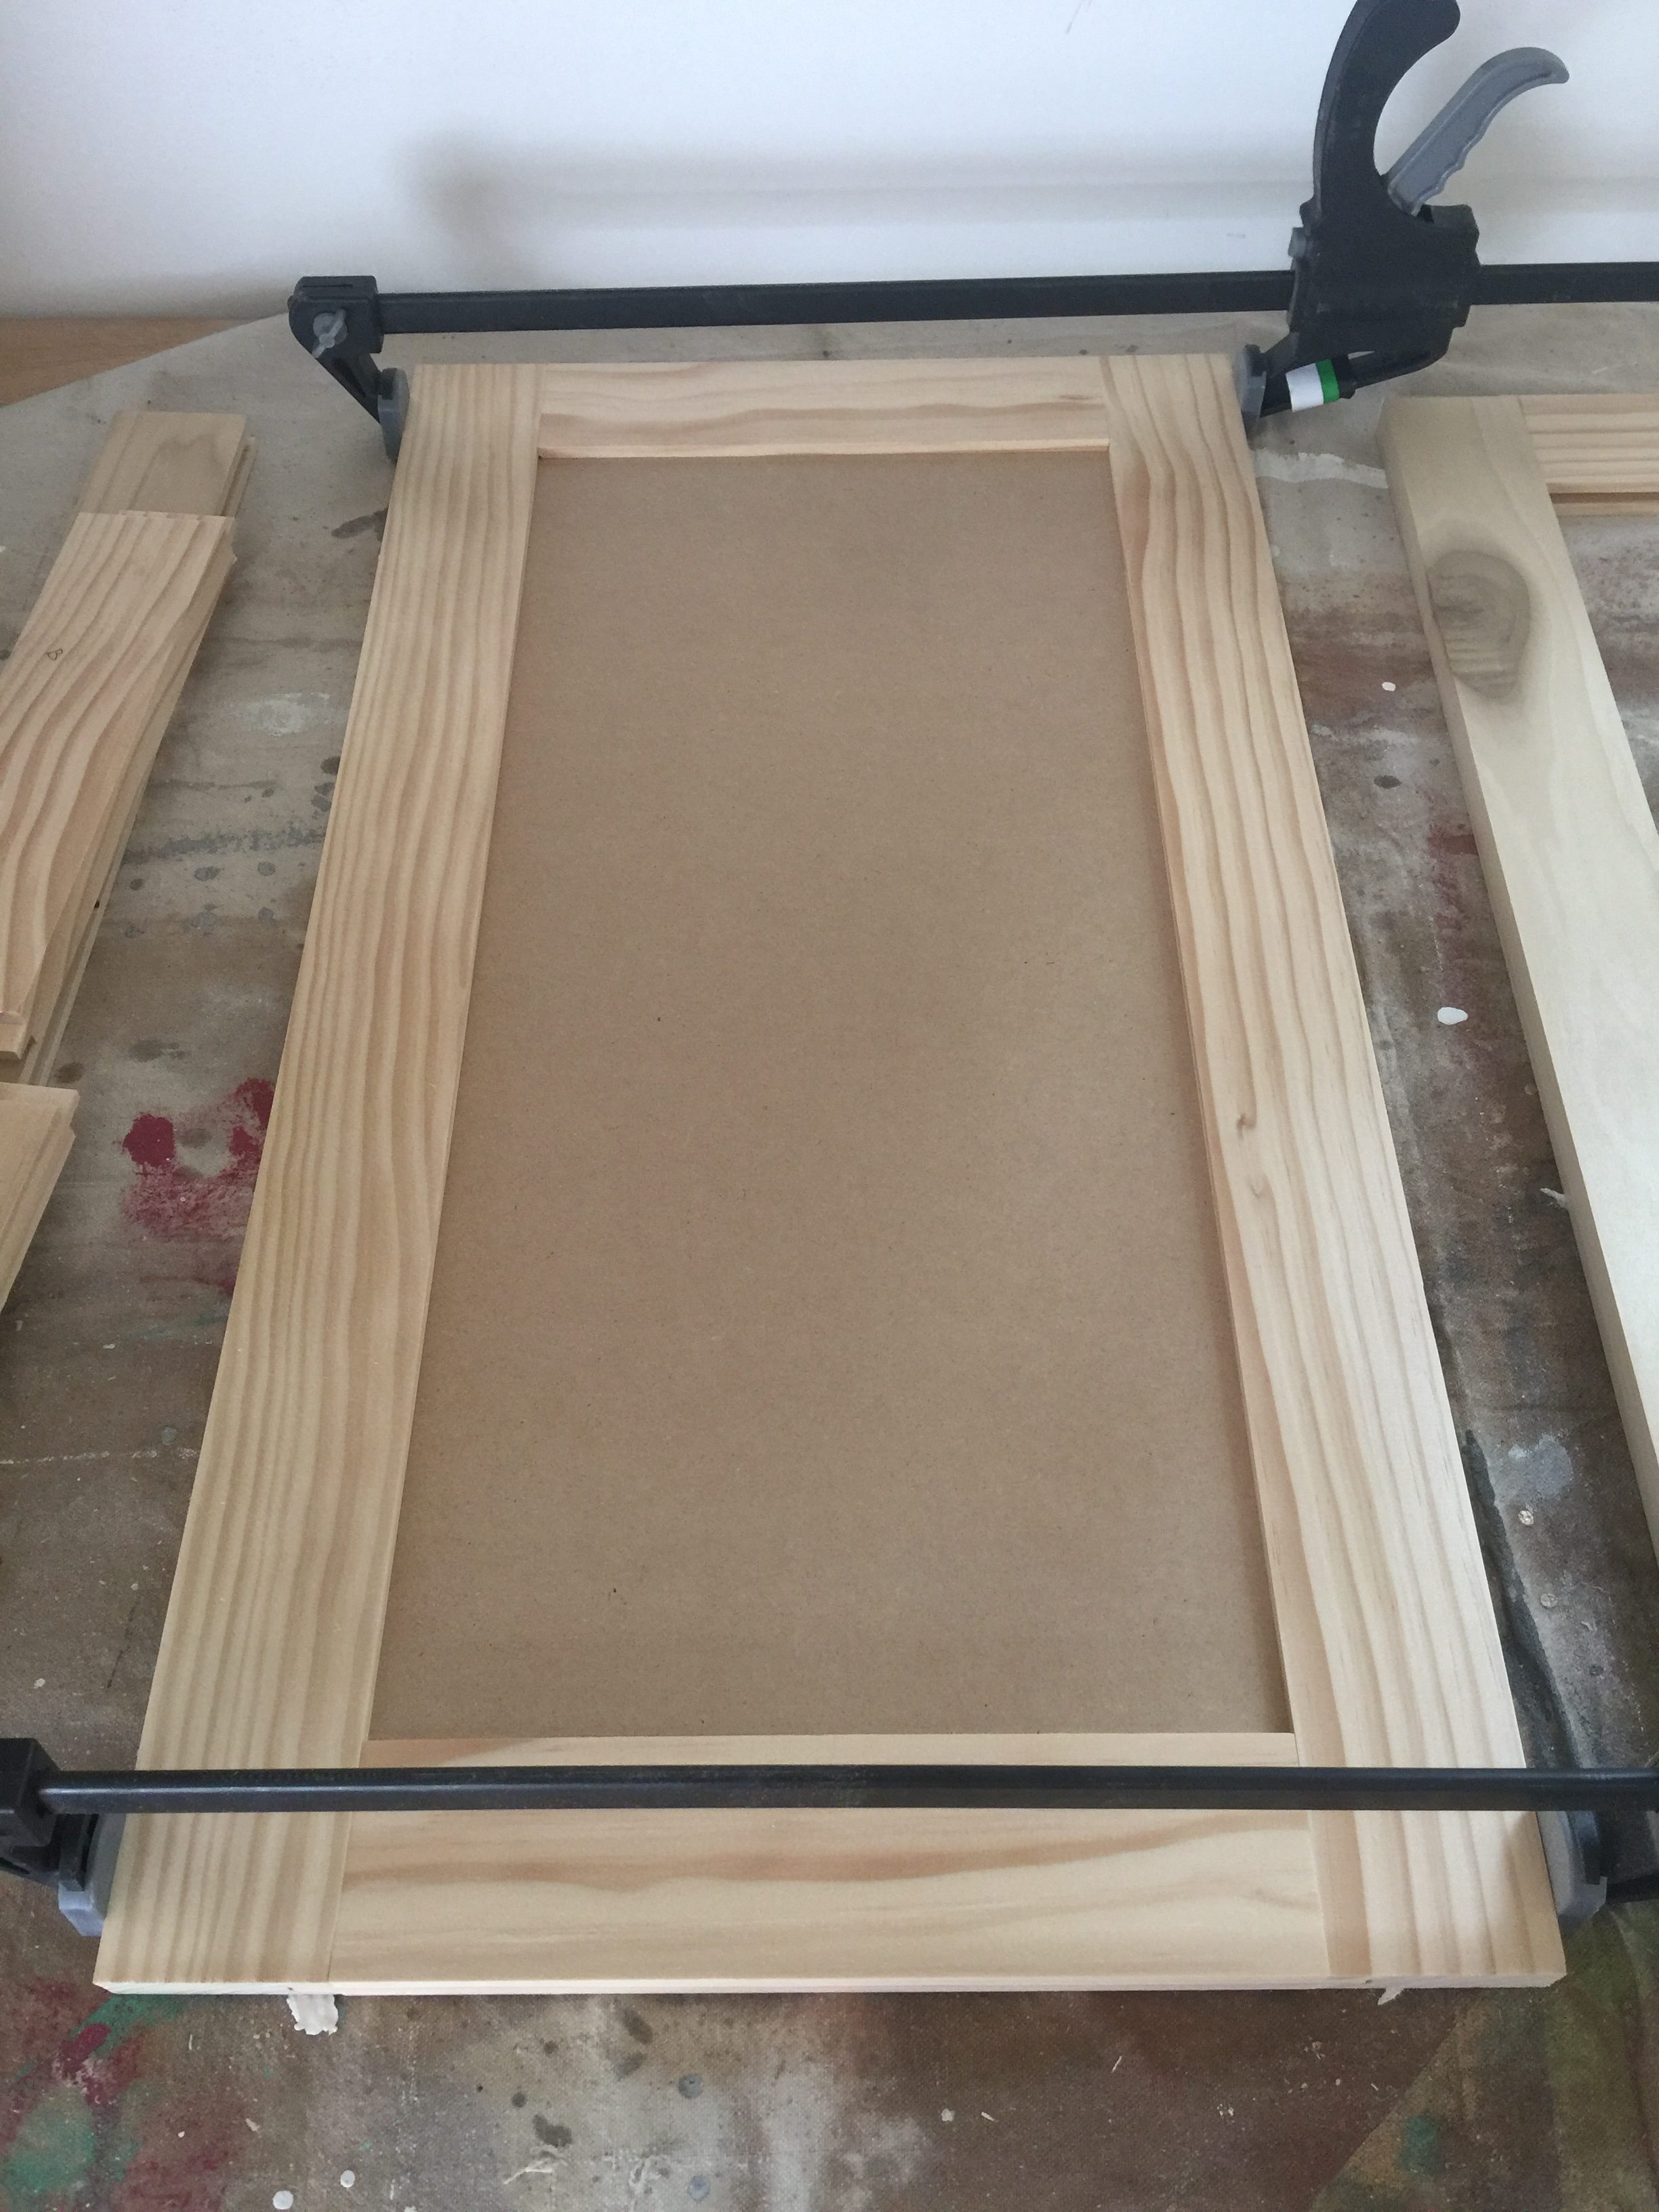
First let me explain about the cabinet door. The way a shaker style cabinet door is constructed is with five pieces of wood: two rails (the top and bottom of the frame), two stiles (the sides of the frame), and the center panel. Each of the rails and stiles have a dado cut into the center of them–a groove cut into the center of the edge of the wood. The ends of the rails get little notch cut out of it and fits into the dado.
Supplies:
(Affiliate Links, see my disclosure)
- 1x3x8s
- 1/4″ MDF panel
- Wood glue
- White paint
- Black knobs
- 1/2″ Overlay Euro Hinges (2 per door)
Tools I used:
- Table Saw
- Miter Saw
- Dado Stack
- Dado throat plate
- Large clamps
- Kreg Concealed Hinge Jig
- Kreg Hardware Jig
- Drill and Driver
Calculating the Size of the Doors
It took some seriously meticulous math to calculate the size of the door. First I measured the opening. Then I had to account for the fact that the opening is going to be covered by two doors, plus a 1/2″ overlay on three sides of each door, minus 1/8″ for the space between the doors. Once I got the size of the door, I needed to calculate the size of the rails and stiles. I had to subtract for the width of each rail from the overall door size and then add 1″ to account for the notch. I did my calculations and then went over them a couple times to ensure they were correct.
Making the Dado Cuts
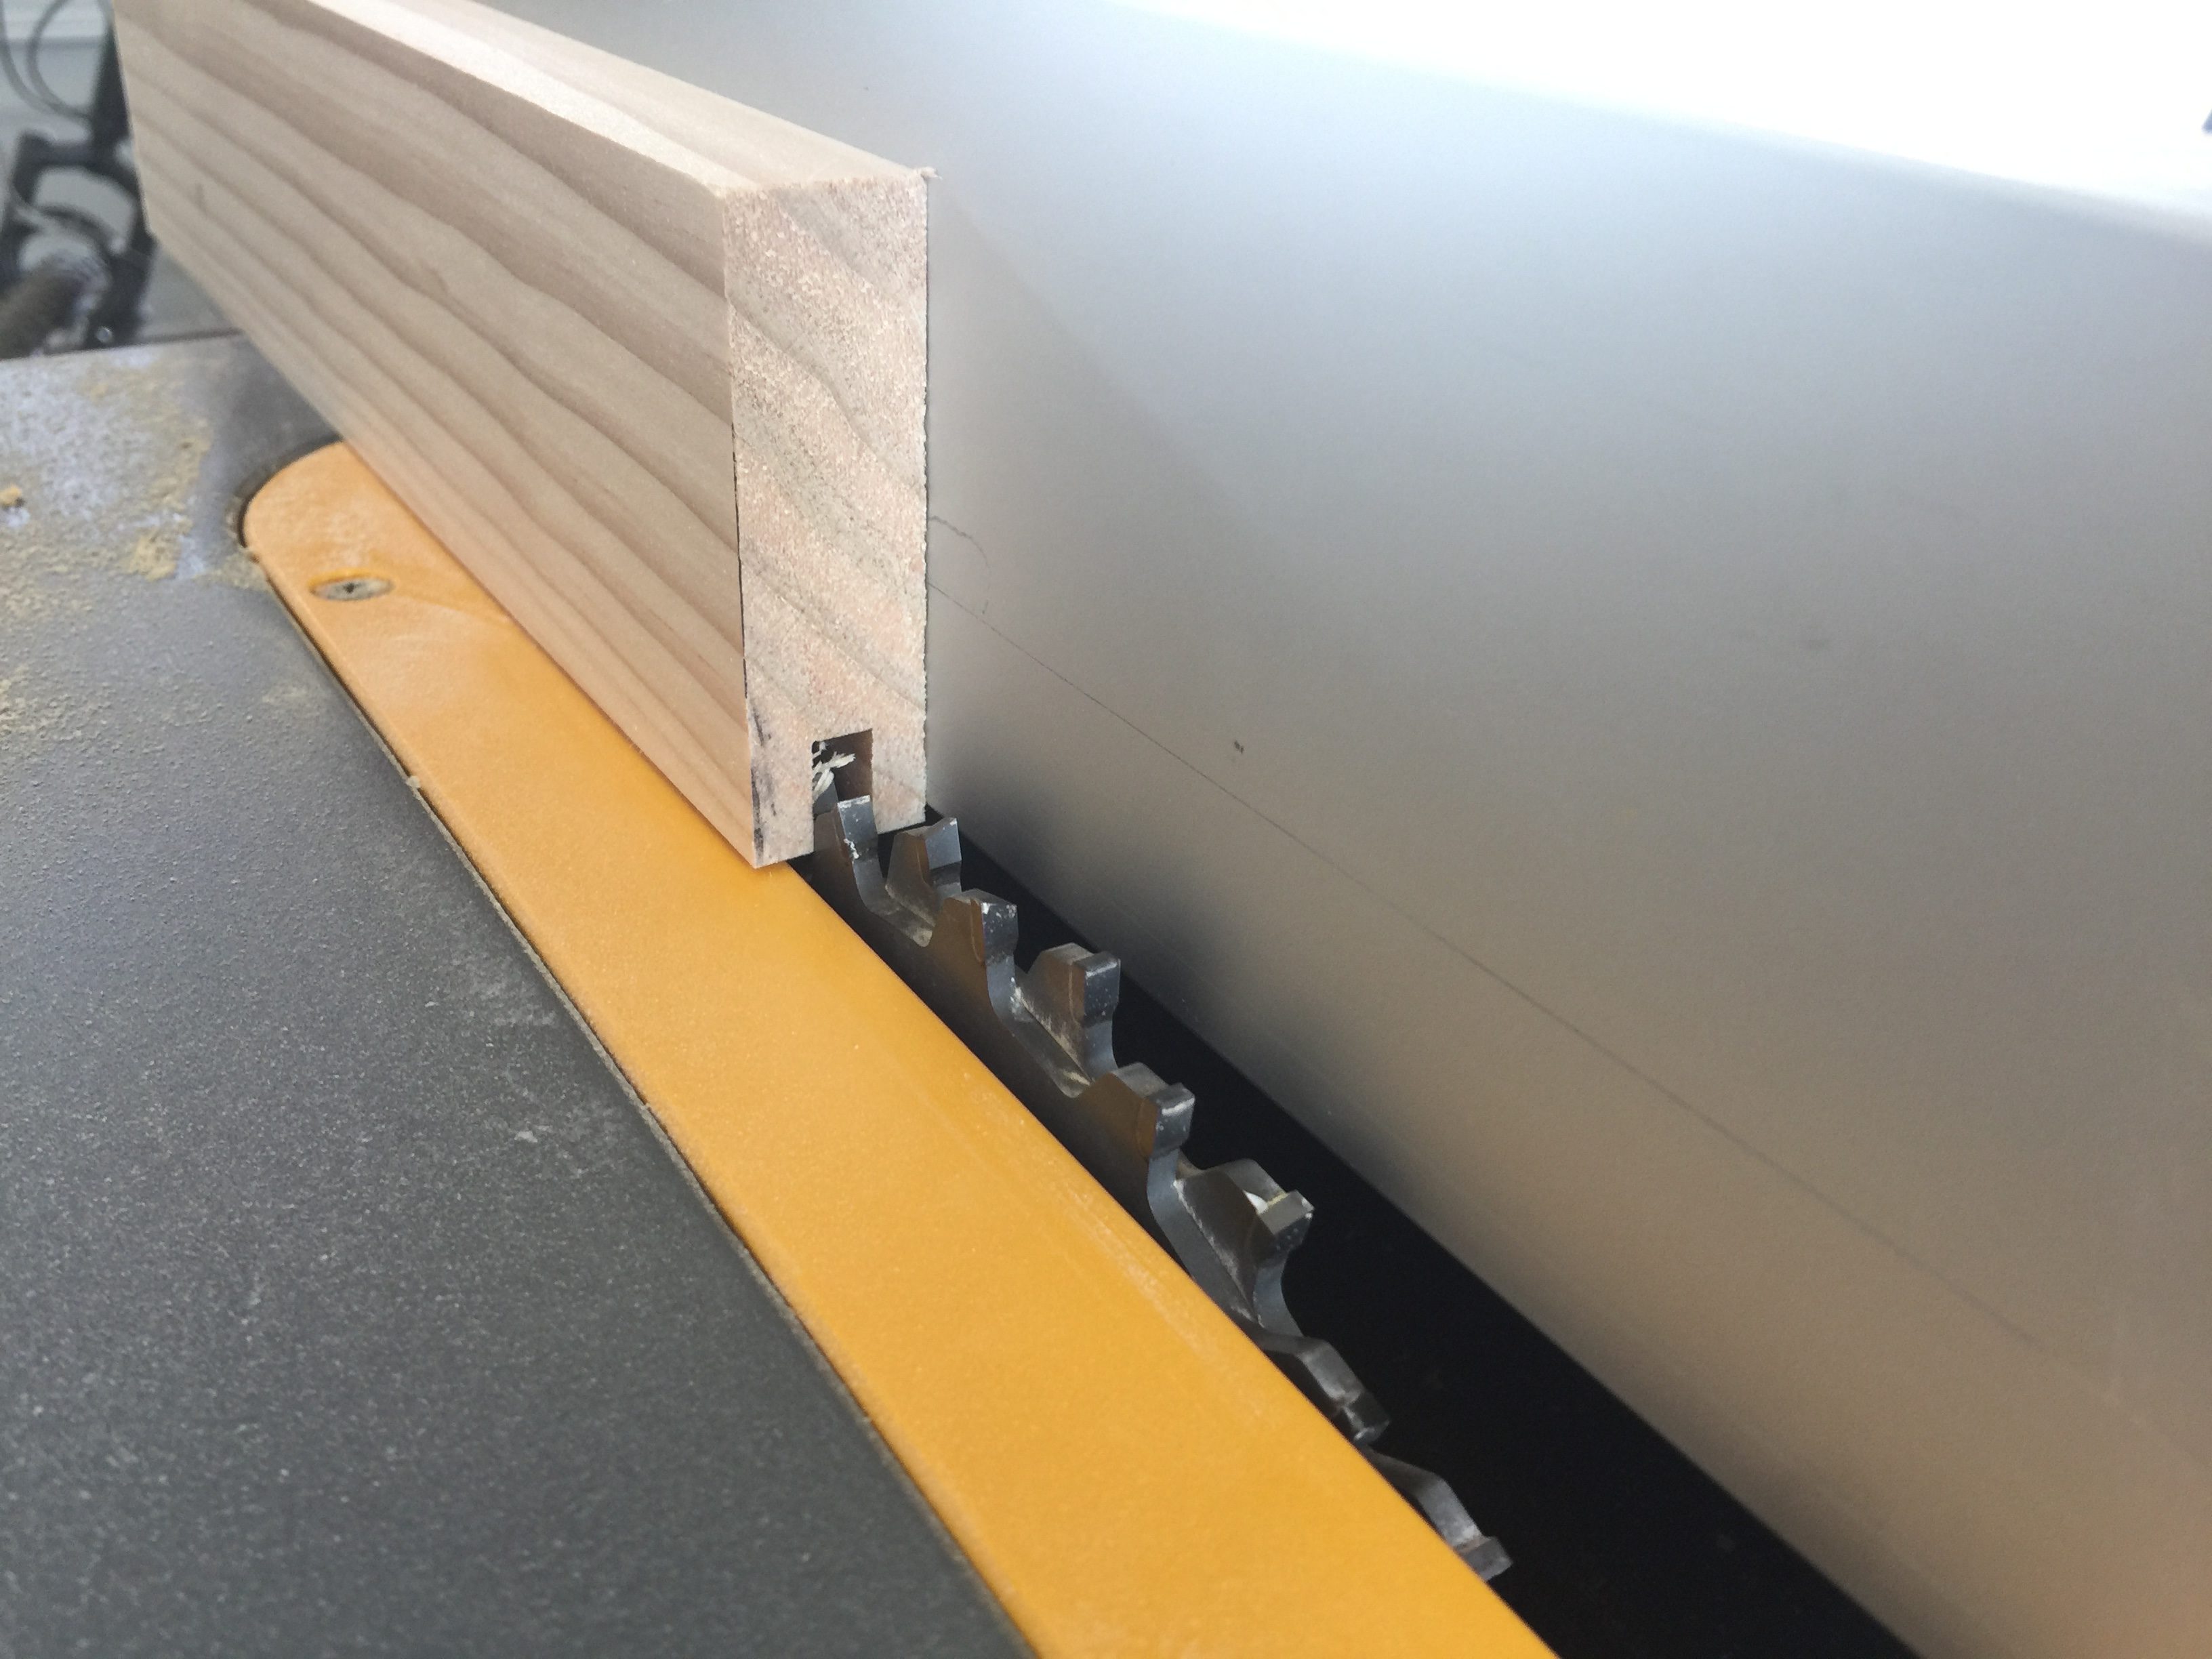
I first tried to cut the dados on my router. But I started to feel like it was pushing a lot of pressure on my router and wasn’t doing a great job. I actually had a dado stack sitting in the garage that I bought two years ago but had never used because it intimidated me. But after watching a couple YouTube videos on how to install the dado stack correctly, I got it working! And it was so exciting. I cut all my 1×3’s 1/4″ wide and 1/2″ deep. I did this by using the right stack (according to the guide included in the stack) and by measuring the height of my blades and adjusting accordingly.
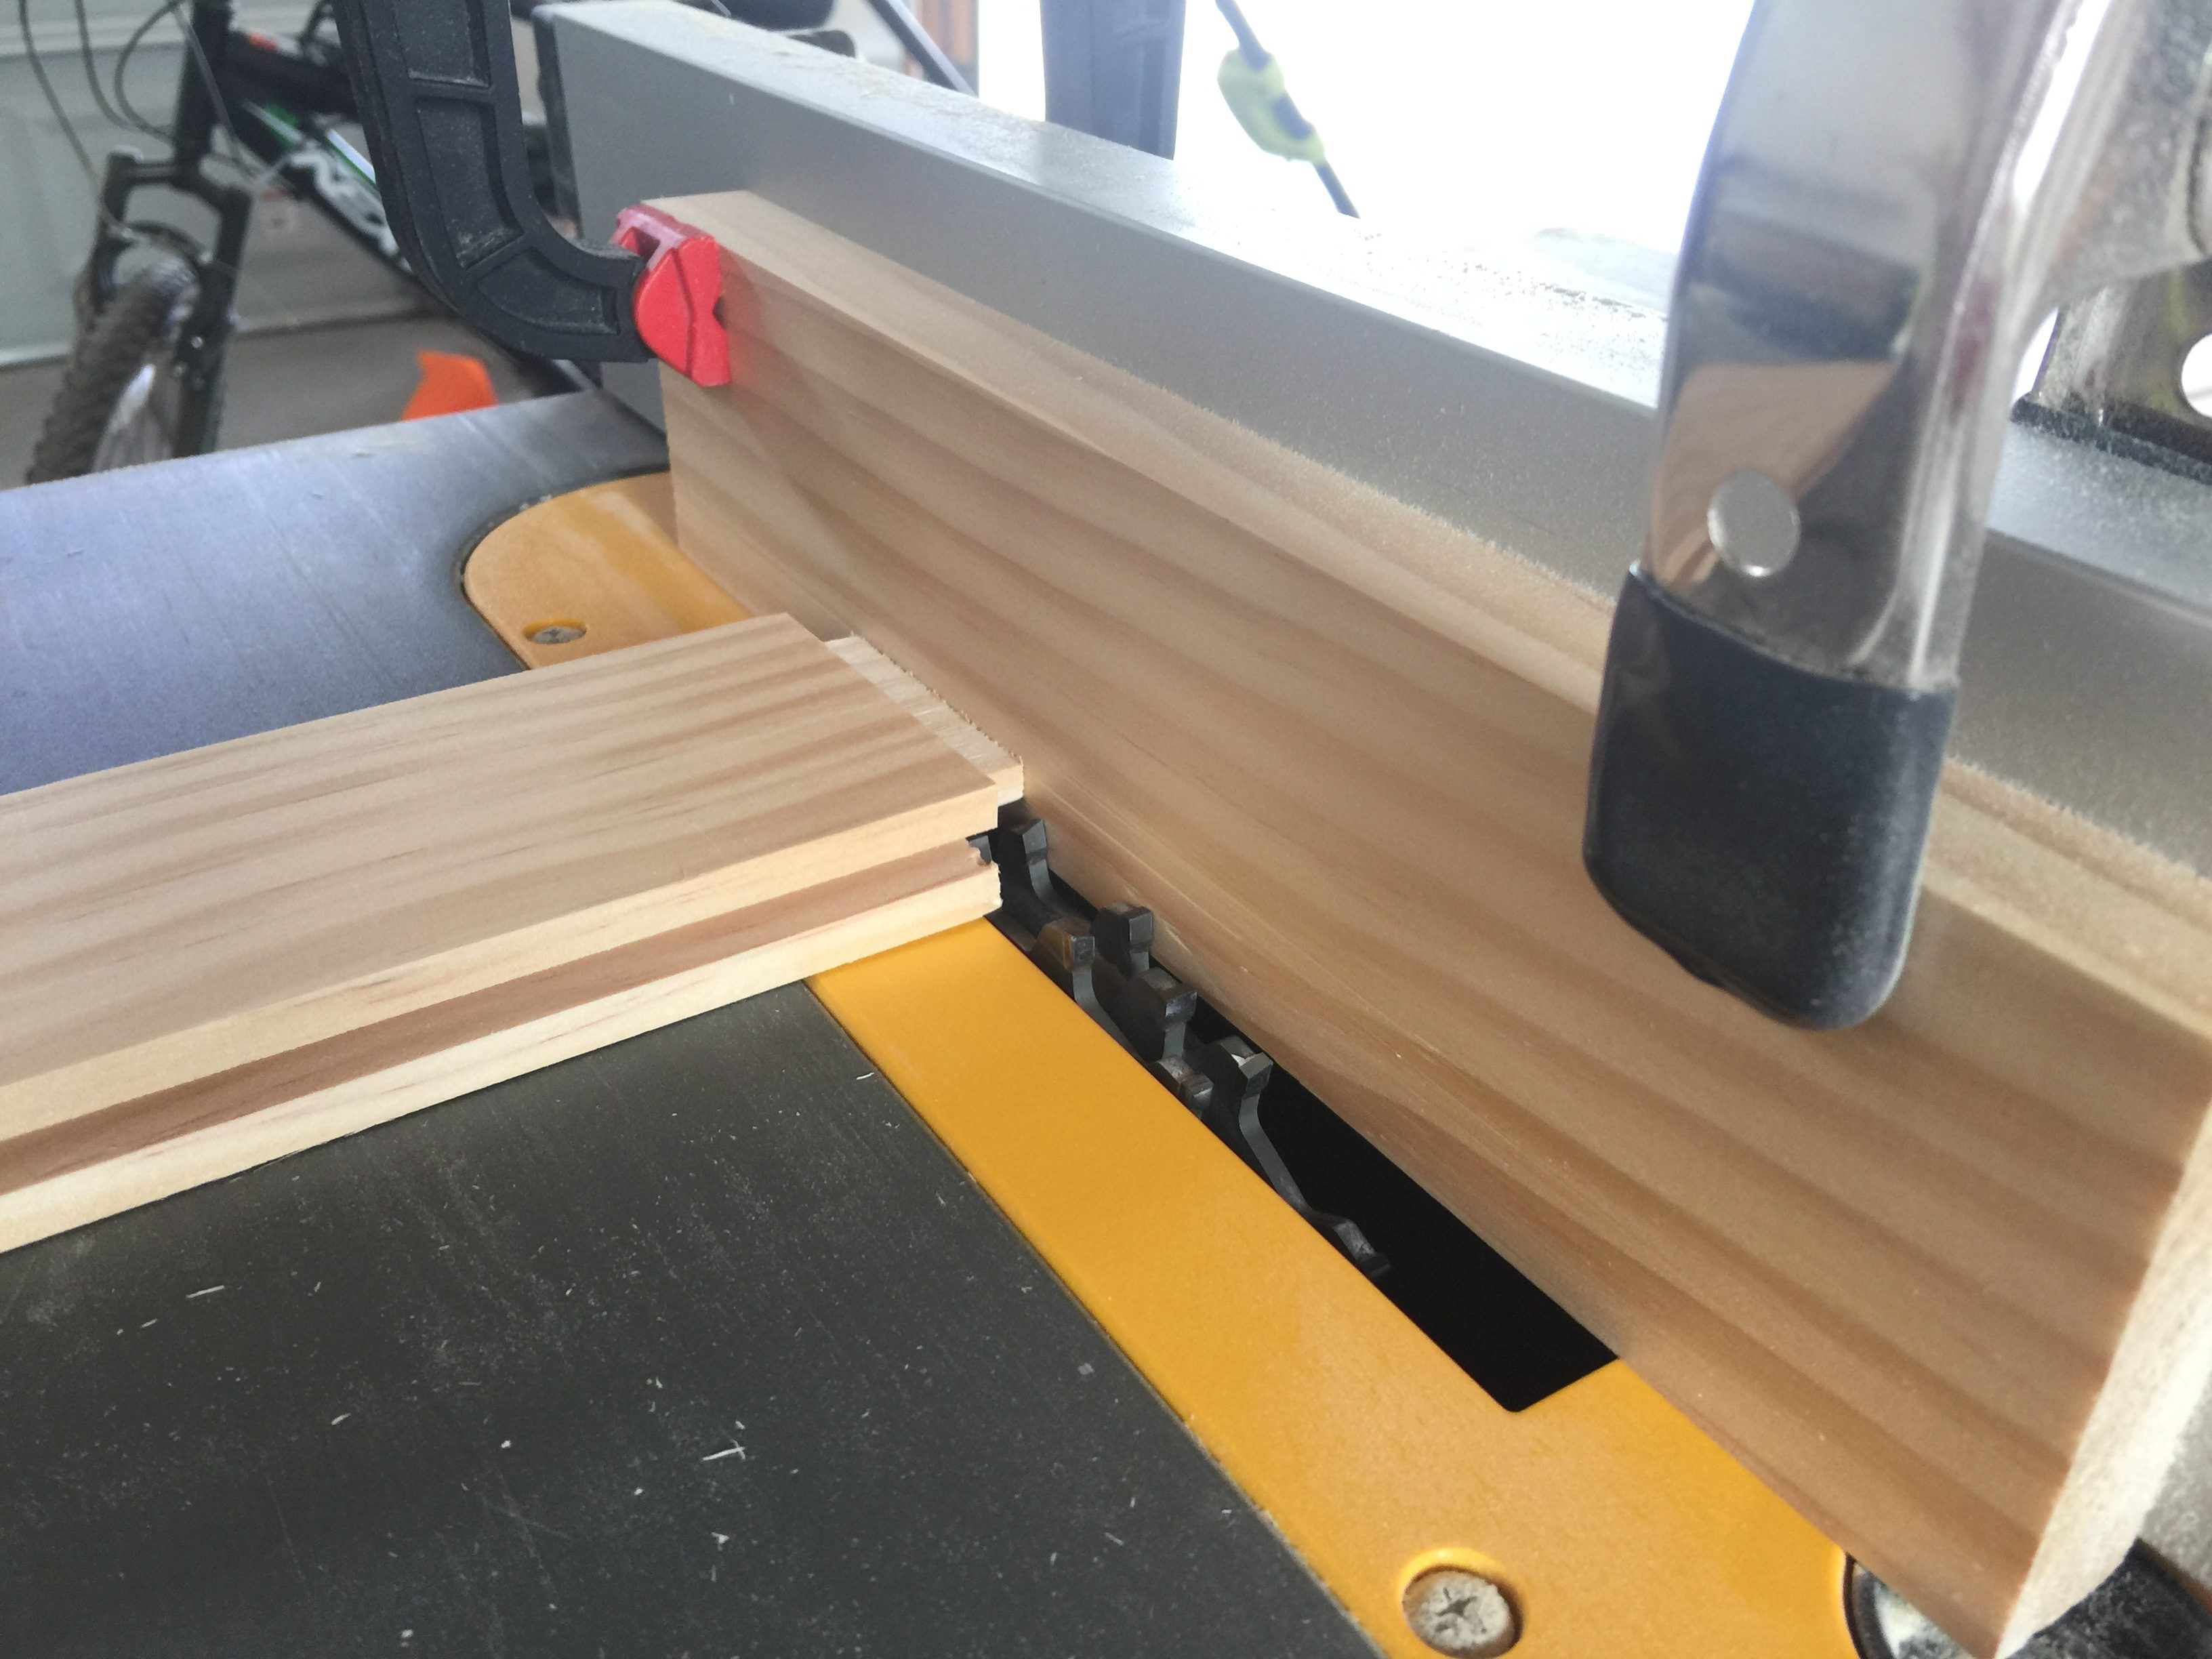
After I cut the 1/4″ dados in all of the 1×3’s, I added a more blades to my stack until it made 1/2″. Then I clamped a piece of scrap wood to the fence so I could put the fence right next to the blade (you don’t want your metal fence right next to the blade.) I lowered the blade to approximately 1/4″ and ran my rails through–one side, then flipped it over and ran the other side through, on both ends of the rail. This created the little tongue to fit into the groove.
Assembling the Doors
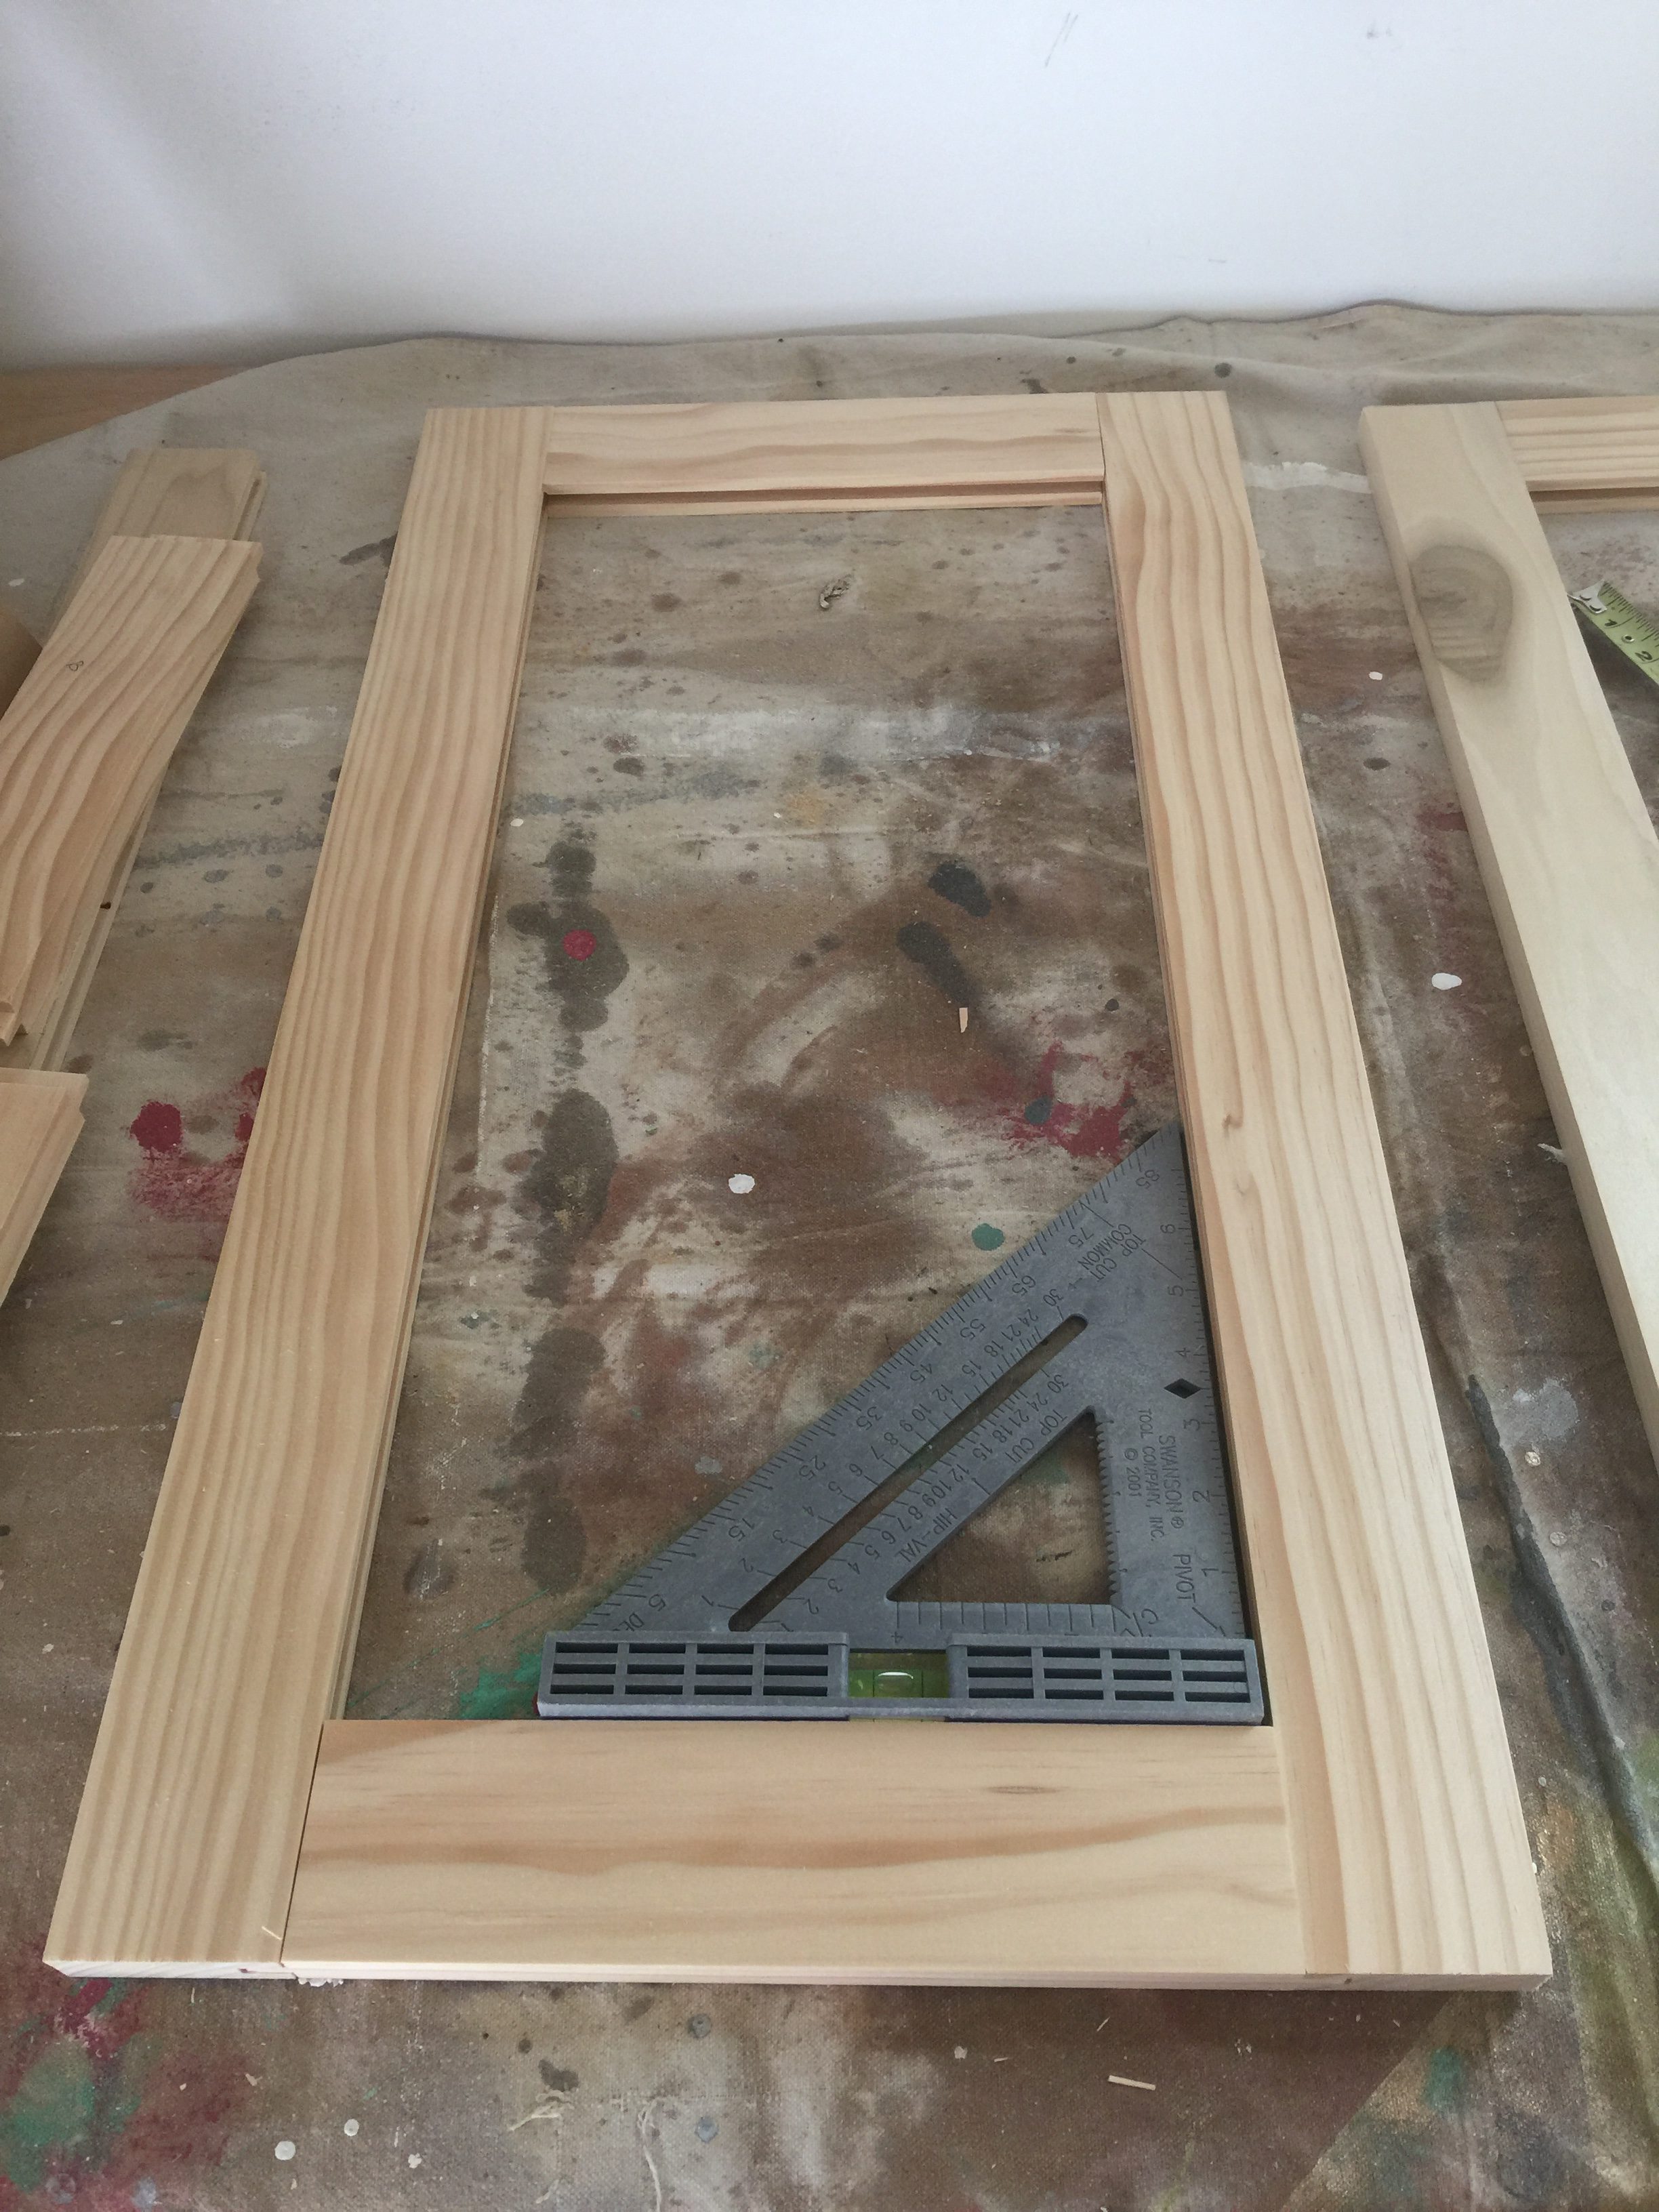
I had all the right cuts to make a perfect frame, so I dry fit it all together just to ensure it fit. While it was dry fit together, I measured the opening for the center panel. After I got the measurements I added 1 inch to each measurement so it would fit inside the frame. I ripped 1/4″ MDF on my table saw for the center panels. These paint up really smoothly.
I glued two of the joints and inserted the panel and added the final stile. It took a little wiggling around to get the joints to fit perfectly but once they did I clamped them in place. I didn’t squeeze too tightly, I wanted to make sure they were the same width, top and bottom. Otherwise you end up with a wonky door.
I let the glue dry for about 30 minutes, removed the clamps, then let them dry overnight. After they were dry, I sanded them down really well and filled any gaps with nail hole filler. To paint them I used a combination of my Home Right paint sprayer and a foam roller. I did several coats and sanded in between so they would be very smooth.
Adding the Hinges
After the paint was dry and cured, it was time to drill the 35mm holes for the Euro hinges. To do this precisely, I used the Kreg Concealed hinge jig. And after using it, I’m so glad I did! It ensures an evenly drilled hole in the exact right place. Watch this video to see it in action.
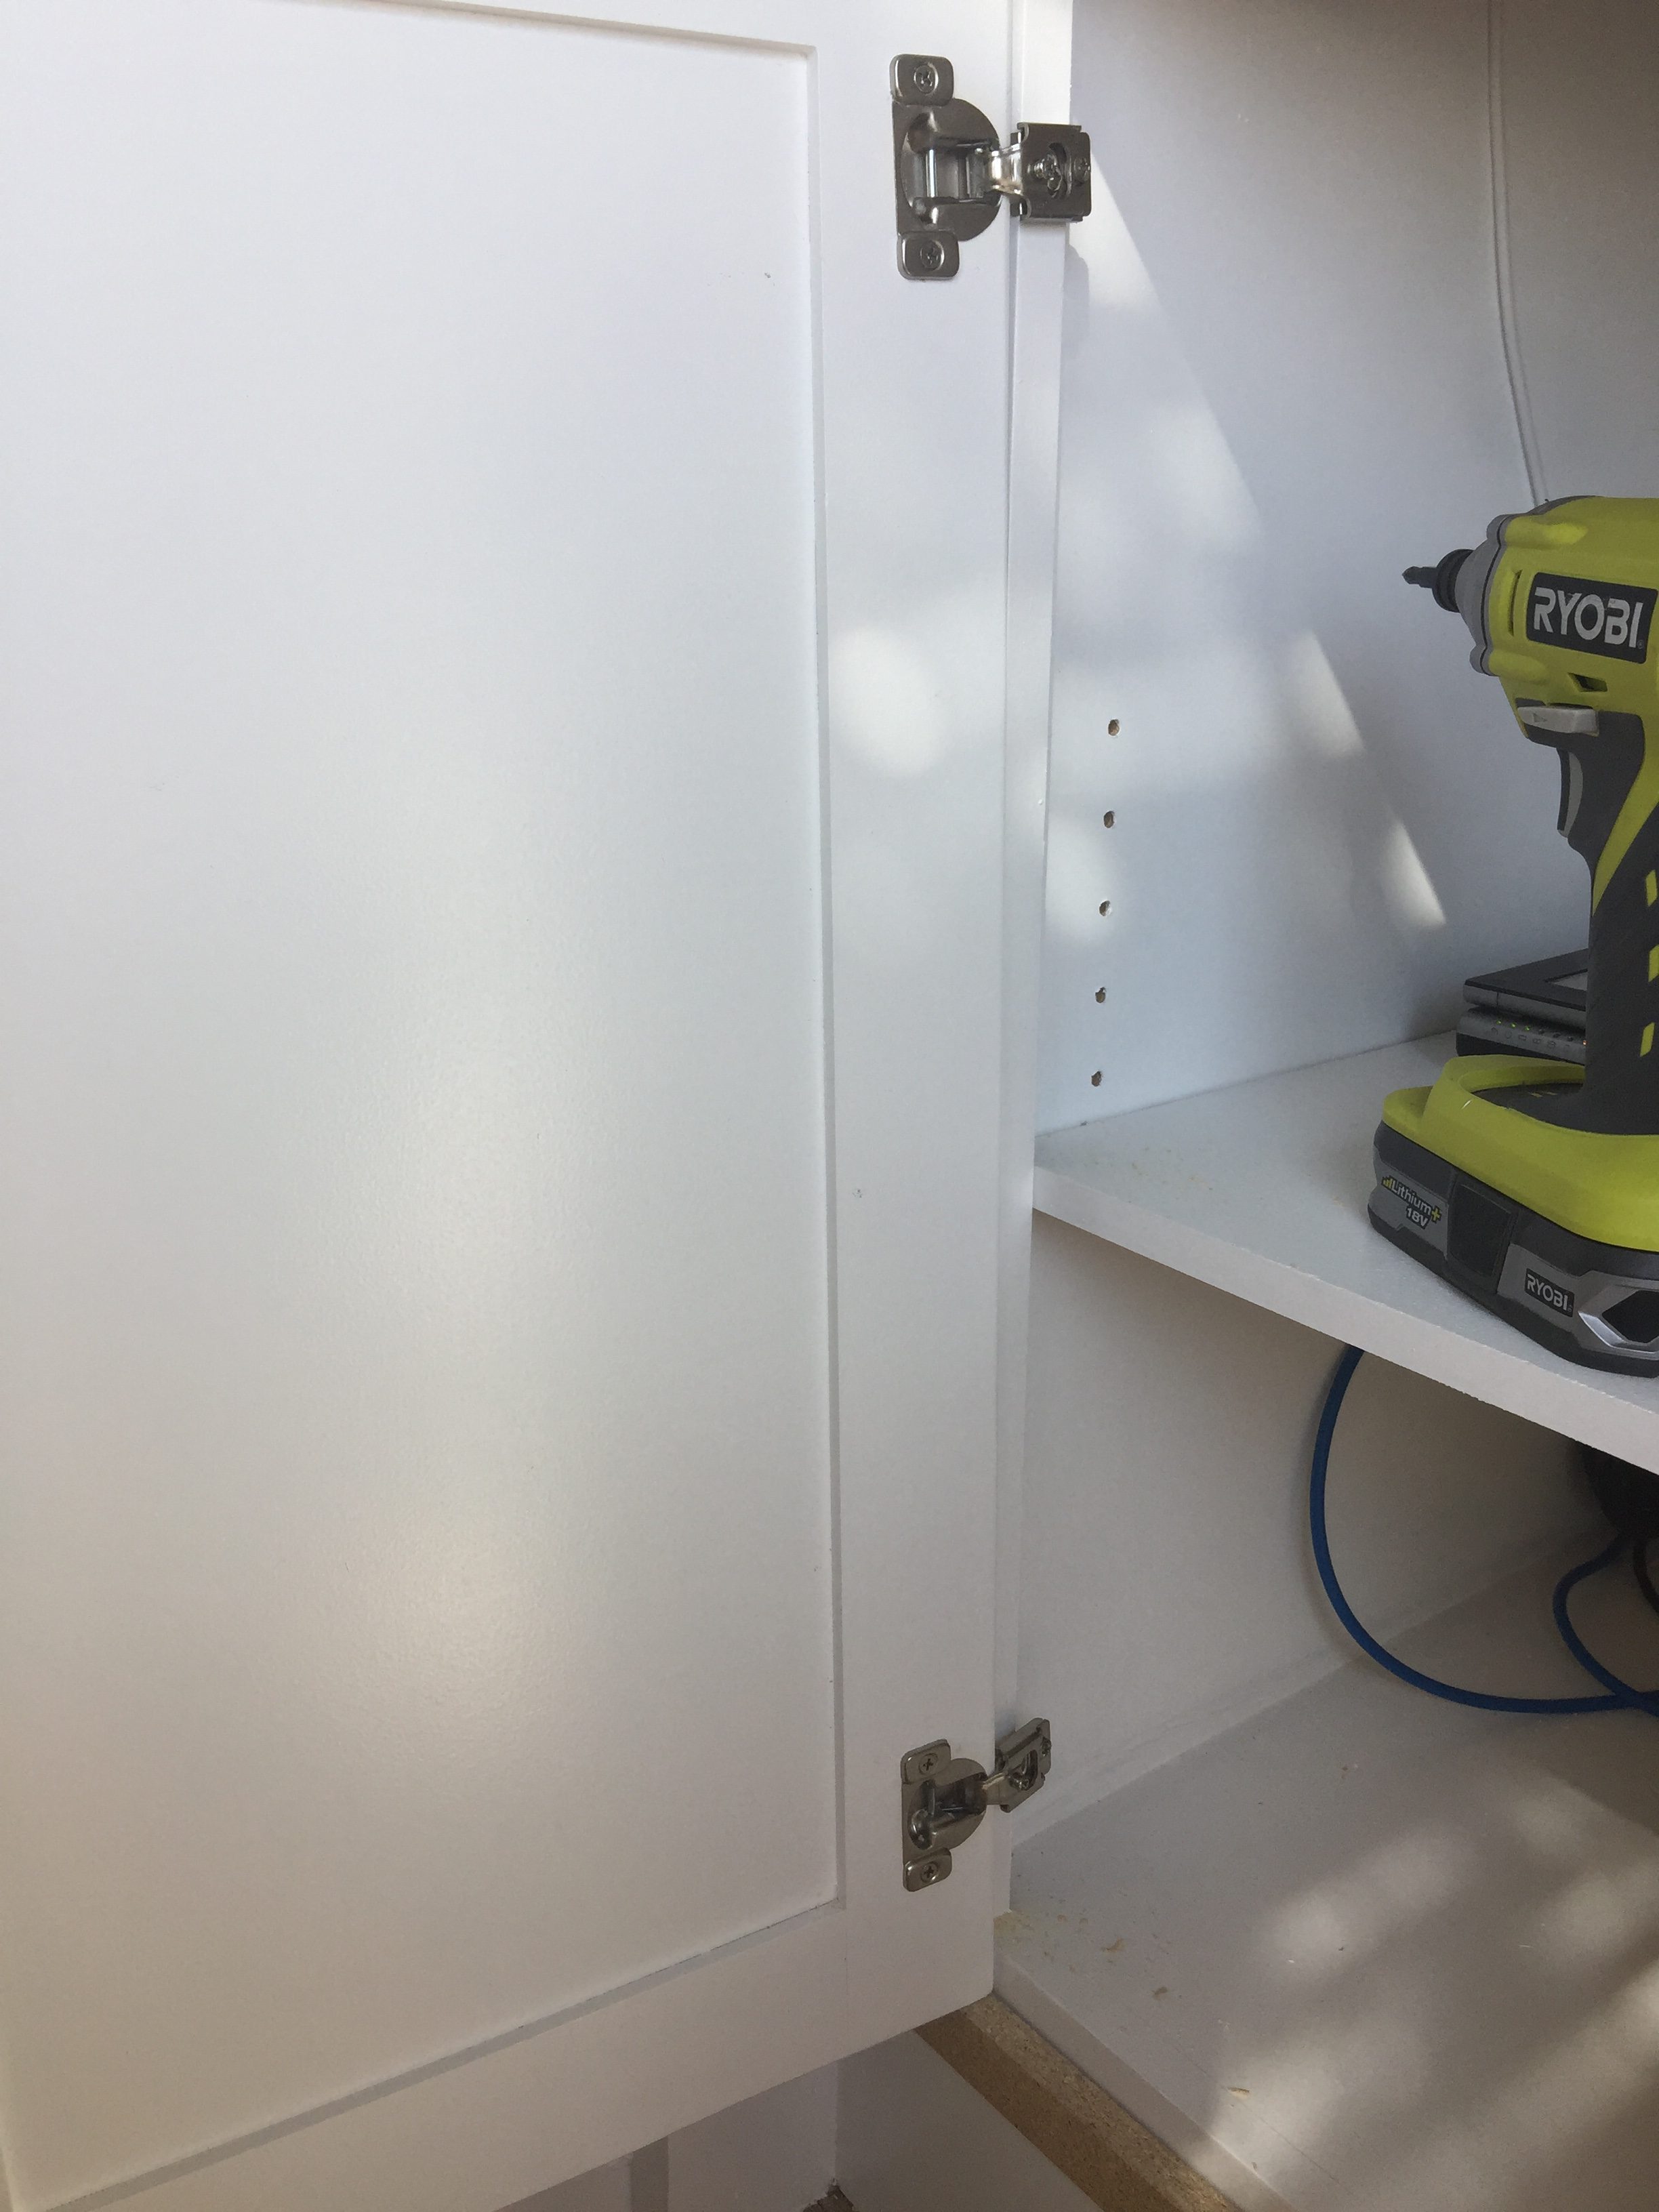
I screwed in the hinges and installed them to the cabinets. I used a piece of wood to sit the doors on while I attached them so they would all be in the same spot. And I’m a big fan of Euro hinges! They include a couple of screws that you can adjust so the door sits exactly right where you want it to…which allows for a little error in the door. That takes the pressure off a little!
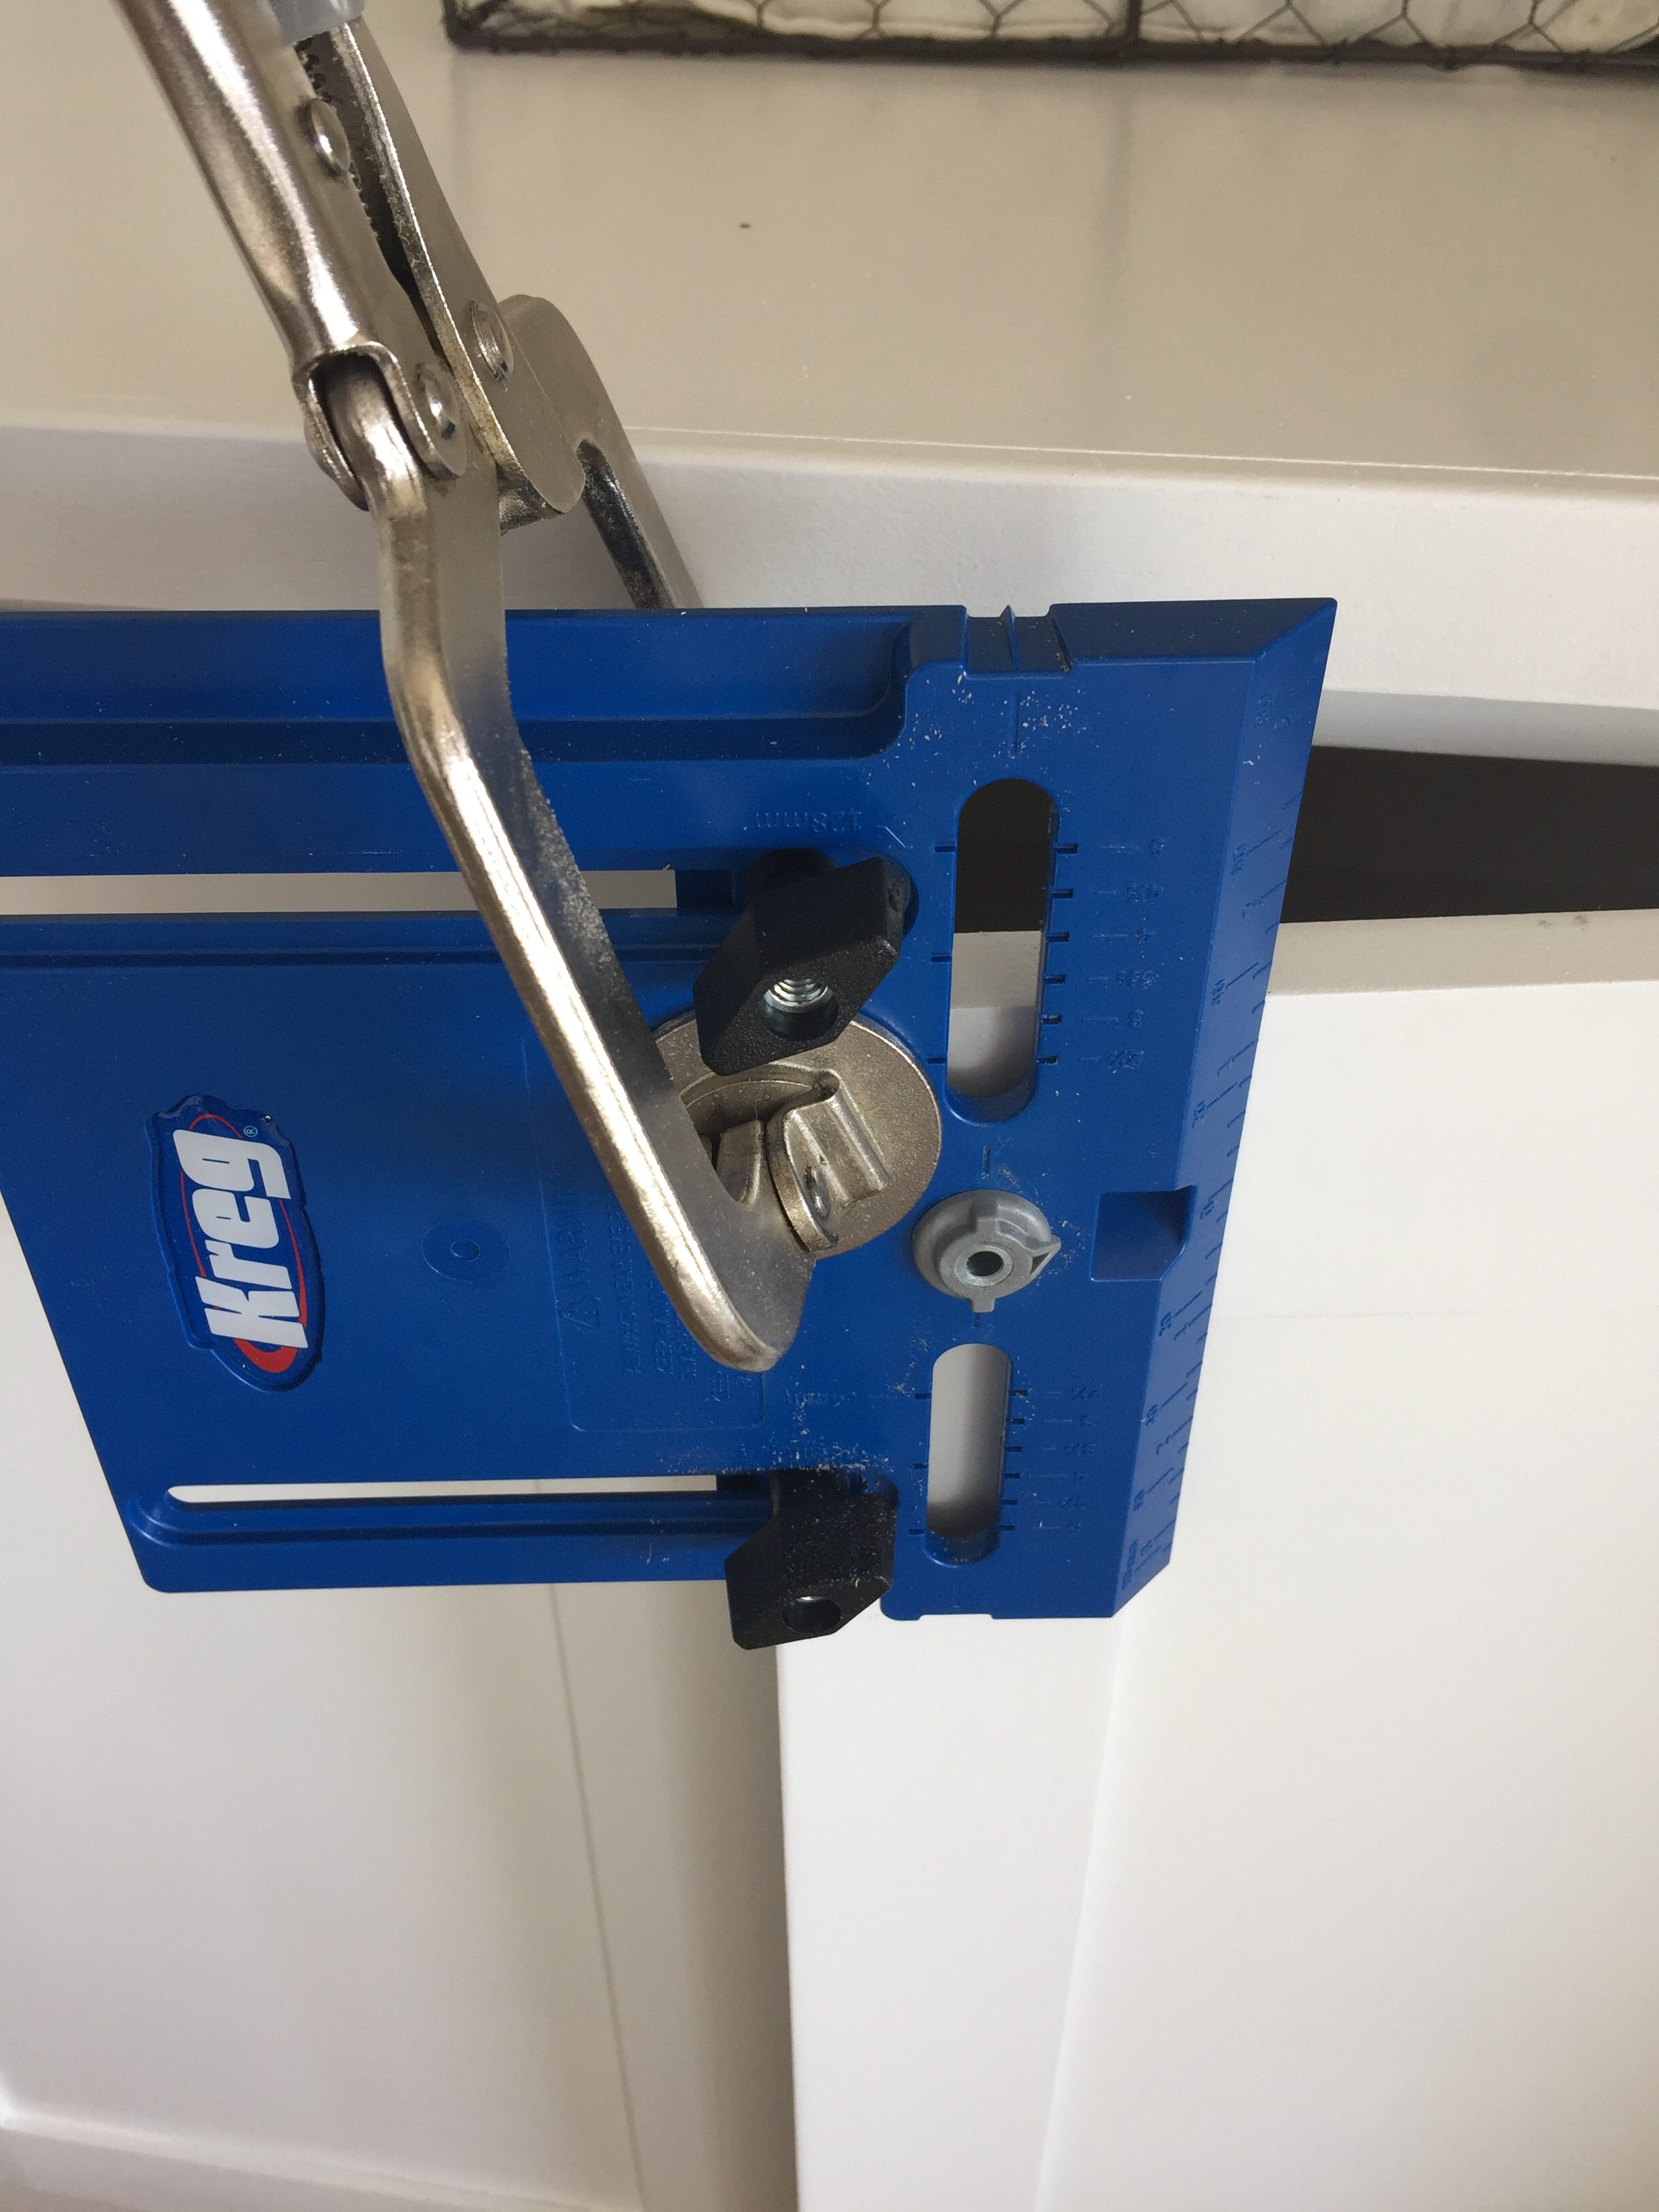
After the doors were on, I used the Kreg hardware jig to help me install the knobs in the exact right spot. I just love all the little jigs that Kreg makes. I have used five of them in the building of these built-ins! You don’t HAVE to have them of course, but I am a firm believer in that the right tools make the job easier.
I realize that this tutorial might still seem overwhelming to many of you, particularly if you’ve never used a dado stack before. And some of you might not have a table saw or a table saw that allows dados. You can still make doors though…there are some great tutorials out there for alternative methods. You could build a frame out of 1/2″ thick wood or MDF and use 1/4″ wood to go under the entire frame. You can use a router to do your dados or simply rabbet around the entire frame to drop in the center panel. Look around and find something that works best for you. I wanted to do my doors this way because this is the way the pros do it and since I’m planning on building many more cabinets in my years to come, I might as well build doors that last. That being said, do what works for you but don’t let scary things intimidate you. You CAN do it. I’m not going to say it was easy so maybe have a practice door. You never learn if you don’t try!
Be sure to see the other posts in my Built-ins Series:


Hi there! Having a hard time reading this post because the pictures are huge and they’re covering the words. I am forcing myself to read very light letters behind the huge pictures. Love your posts but can’t read this one. 🙁
Sorry about that! Not sure what is happening but I checked my site on several browsers and mobile and it was fine!
Thank you so much for sharing this tutorial! It’s going to make my kitchen remodeling way easier =)
I hope so! It takes some practice but good luck!
Can you do it with maple too,,??
I’m sure you can.
You’re instructions are fantastic, thank you! One question, how wide did your cabinet doors end up being? When I measure ours, if we do 4 I think they will be 12 inches, if we do two 25 inches. I feel like 25 is too big and 12 is too small. So I can’t decide. I’m just trying to get an idea for comparison.
Hmm…I’m sorry I can’t quite understand what it is you’re saying. I guess I’d have to see it. Hopefully you got it figured out!
Beautiful! May I ask: where do you prefer to buy your wood? Do you plane it?
Thank you for the motivation!
I always just buy it at Home Depot or Lowes because it’s the most affordable. I don’t plane it because I don’t have a planer. If I did, I would!