DIY Range Hood Reveal
It’s done! My DIY range hood is finished. I LOVE how it looks. It makes a world of a difference in my kitchen.
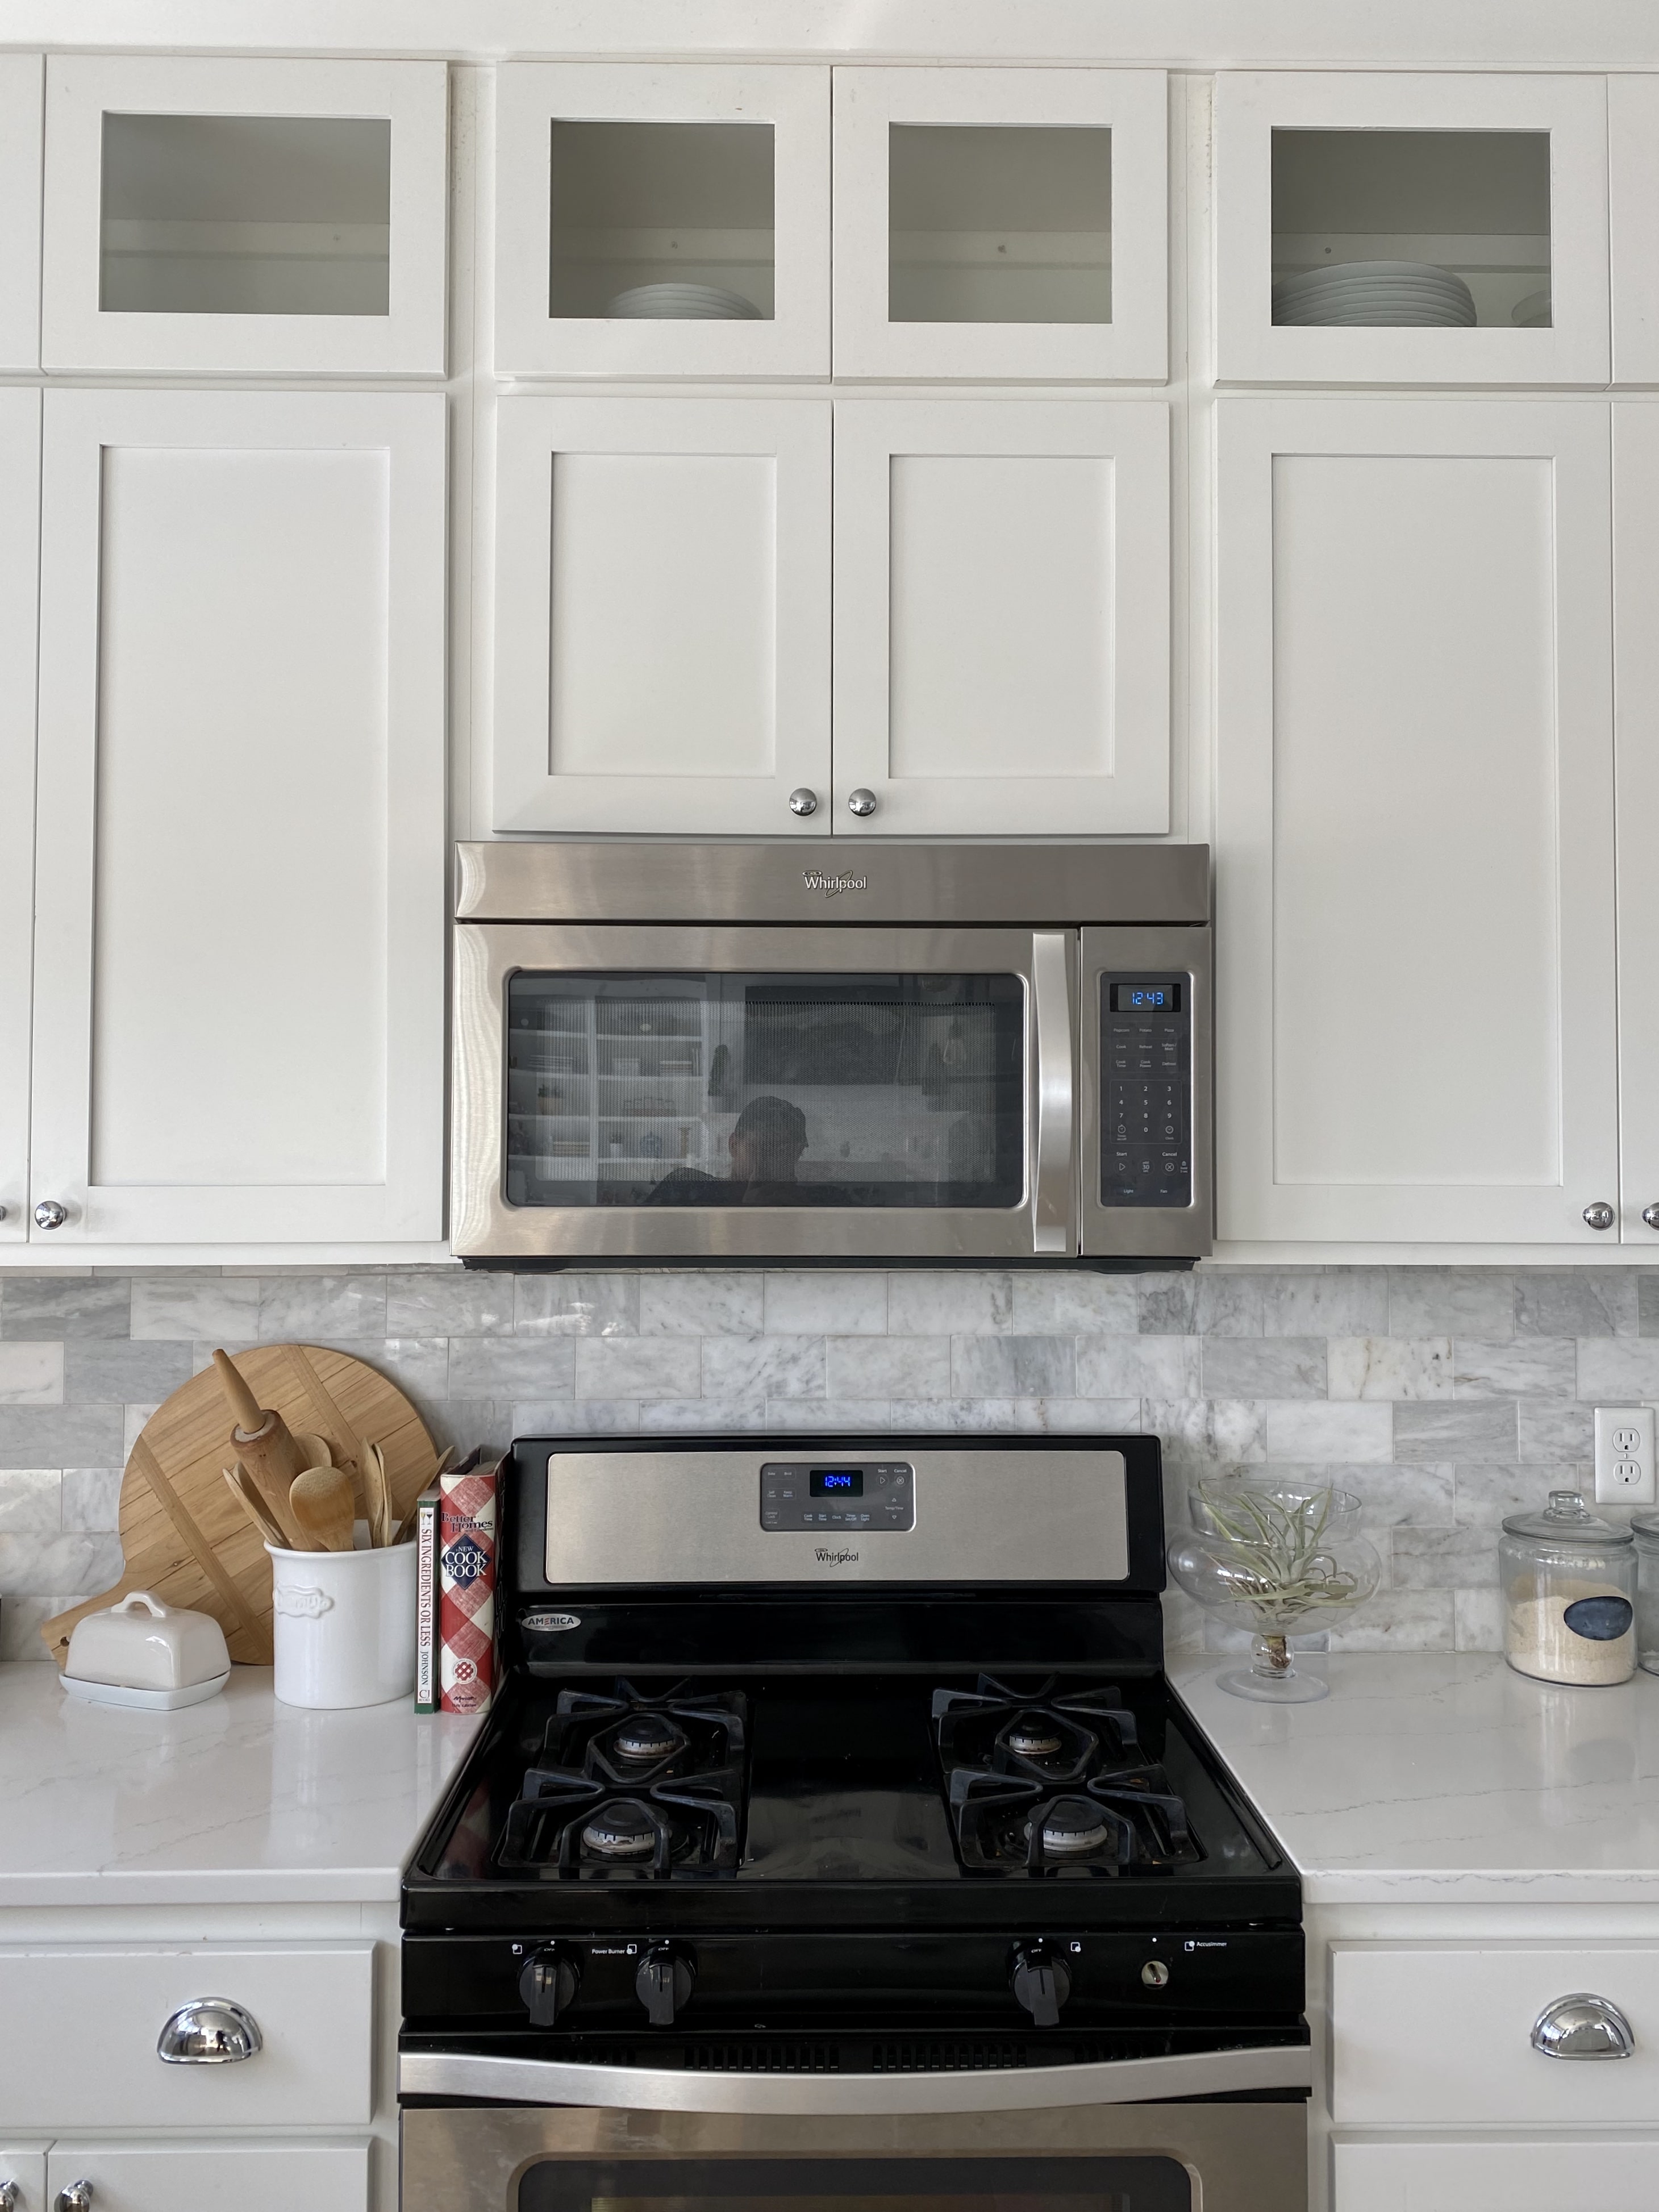
Here’s how it looked before:
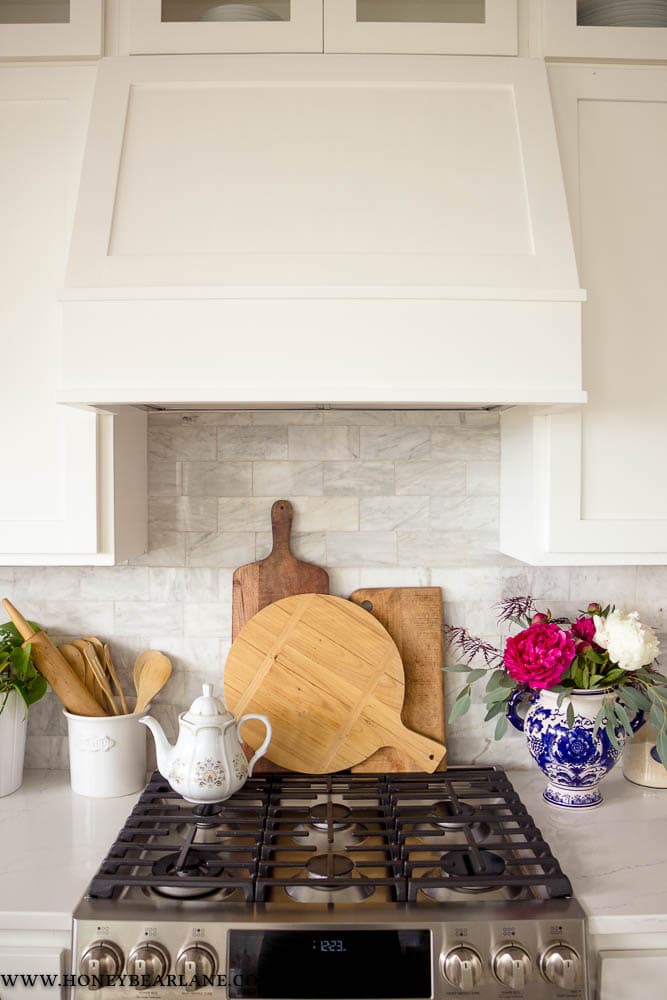
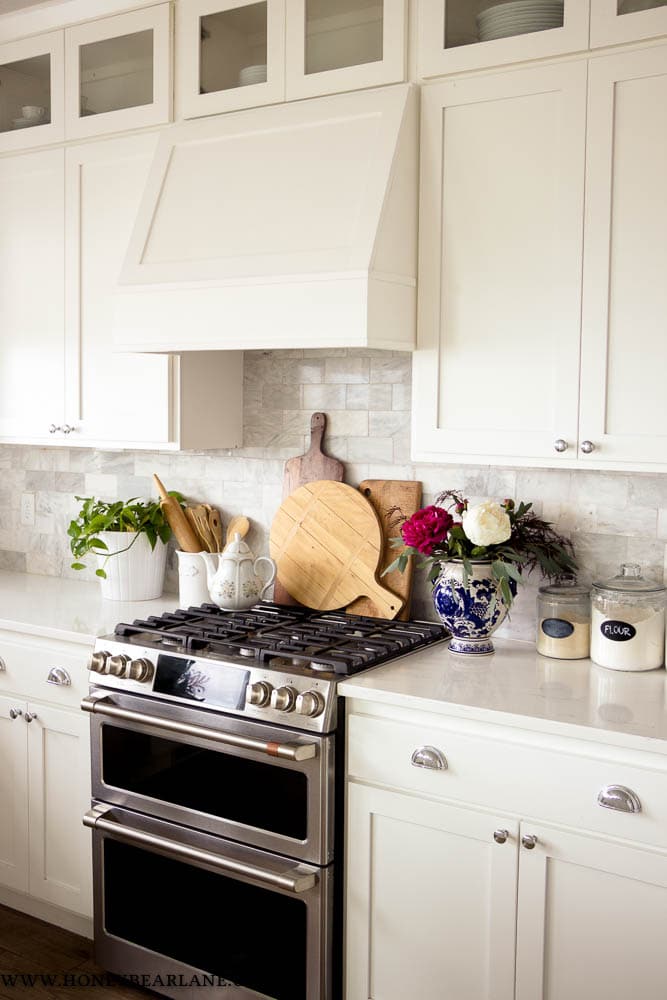
And after!
I removed the microwave, installed a fan, built the new hood and then screwed it into the existing cabinet above, then tiled the space behind the old microwave. I’m proud to say it looks pretty seamless, as if it were always supposed to be there. It’s not like a huge statement, but having a large fancy hood wasn’t doable without doing some serious cabinet reconstruction. I’m sure there will come a day when we remodel the kitchen and at that time we will be able to do it exactly like we always wanted. But that isn’t for at LEAST ten years. For now, we are both really happy with this little hood. And don’t my own garden-grown peonies just look so beautiful?!
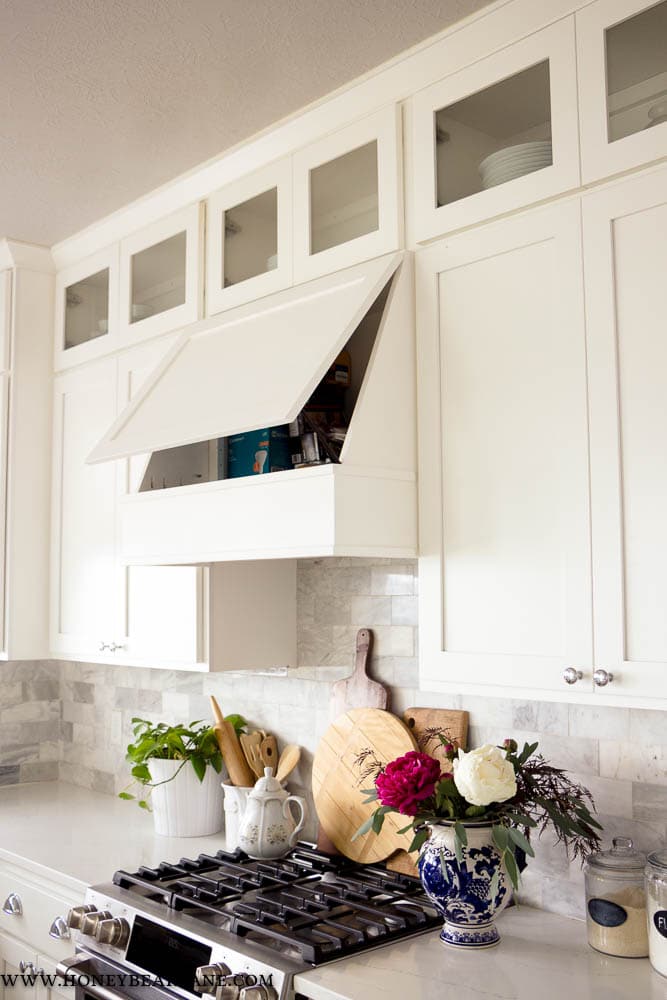
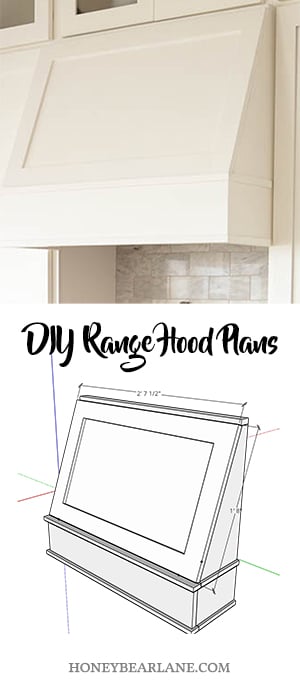
I wrote about my plans in this post. I’m so happy to say that the plans worked out perfectly and it was actually super straight forward. I designed it to have a moving door so we could access the cabinet behind it. We have storage there now but also we can access the outlet that is back there which we plugged in the hood fan and our smart cabinet lights. We made it easy to remove also so that if we ever need to replace the fan or want to vent it outside, we can do it pretty easily.
We also splurged on a new range. We always had the builder-grade stainless steel gas range which was fine, but it was actually starting to fall apart. We ended up purchasing the GE Cafe double oven dual-fuel and we found it at an appliance clearance center for $1500 off the original price! I really love this oven. The power burner currently won’t light so we will need that serviced, but I guess that’s what happens when you buy second-hand. It’s still under warranty though. We did HOURS of research on ranges and there were so many mixed reviews we ended up just taking a leap of faith. Hopefully this will serve us well for many years. I really like it so far!
Here’s what you need for this DIY range hood. It will work for most 30″ ranges in case you want to build this to replace your microwave or whatever.
Supplies for DIY Range Hood
- This range hood from Lowes
- (1) 1x6x6 poplar wood (best for painting)
- (2) 1x2x6 poplar wood
- (1) 3/4″ 2×4′ cabinet grade plywood
- (1) 1x3x6 poplar wood
- (1) 1/4″ 2×4′ plywood or MDF
- 3/4″ birch iron-on banding
- 2 pack simple hinges
- 1 1/4″ pocket screws
- 1 1/4″ nails
Cut List
1×6:
- (1) 31.5″ long
- (2) 8.74″ long
1×2:
- (2) 32.25″ long
- (4) 8.5″ long
- (1) 31.5″ long
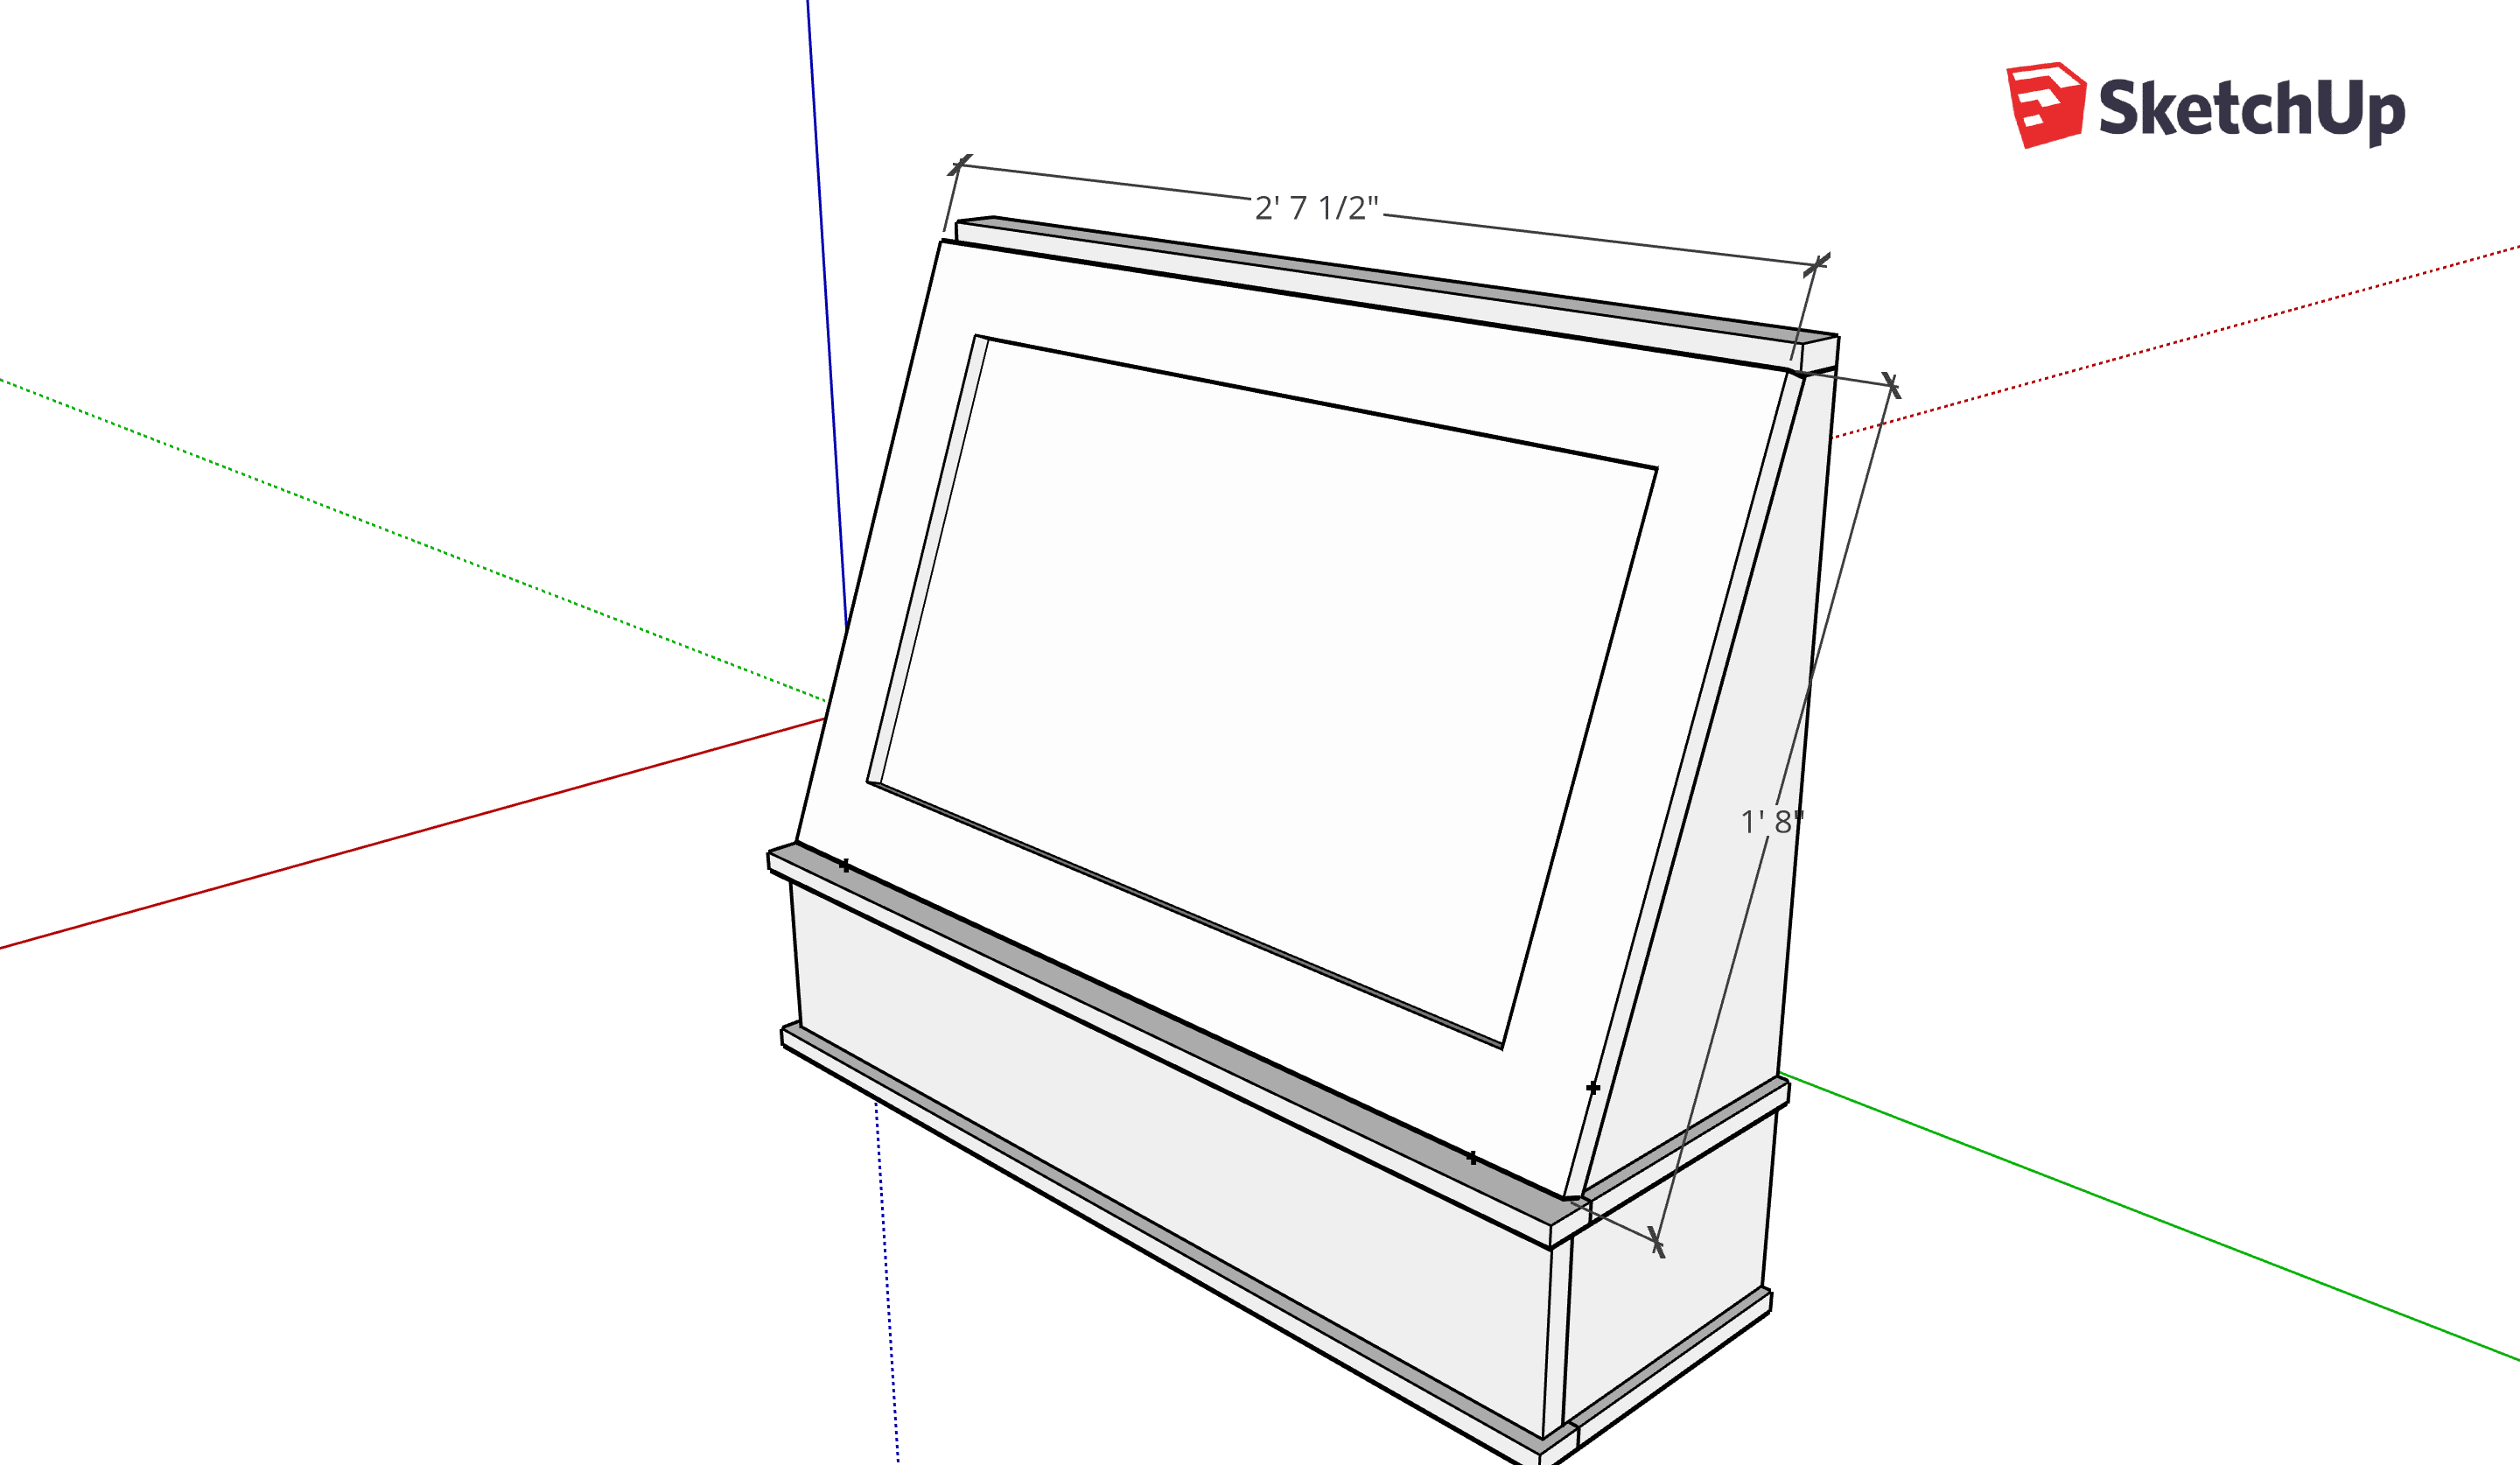
Sides: Draw out measurements on the plywood and connect the lines to get the angle. Cut with a circular saw.
Door:
- Stiles: (2) 20″
- Rails: (2) 27.5″
- Center panel: 1/4″ plywood cut to 27.5″x 21″
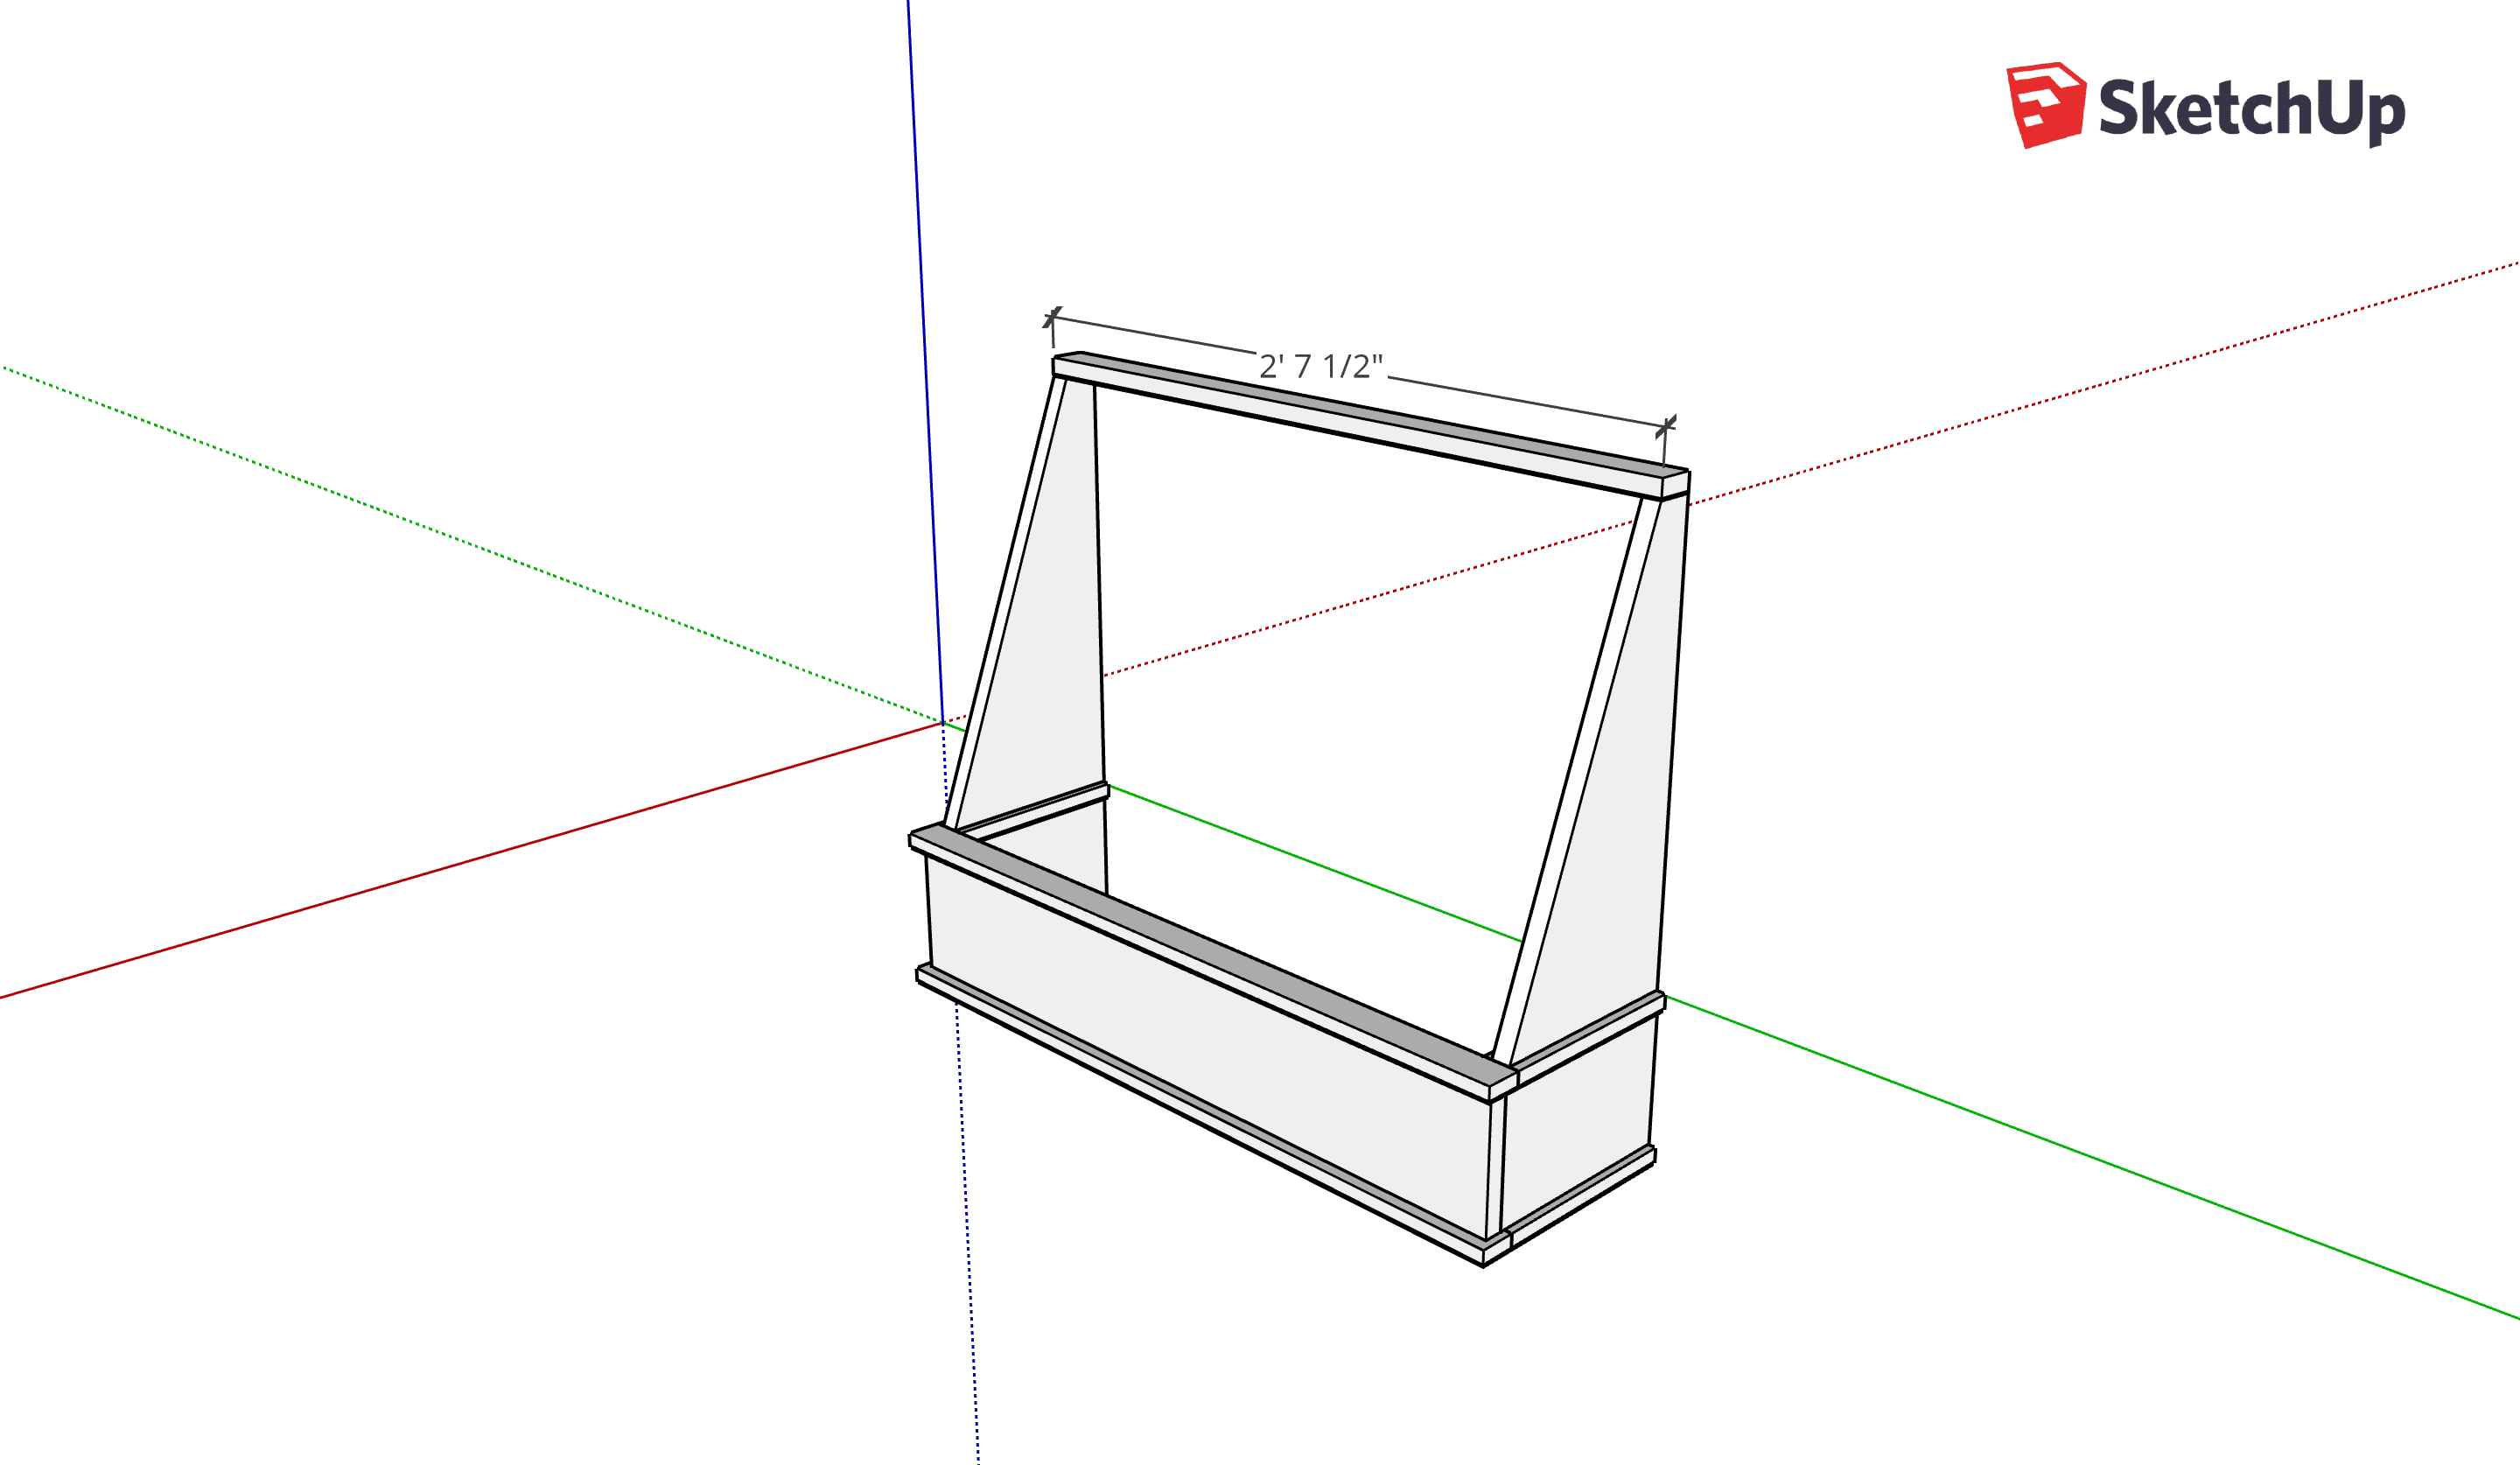
Step 1: Drill pocket holes into the two short side pieces and connect them to the long front piece.
Step 2: Trim out the base with the 1×2’s, centering them on the boards by leaving 1/4″ on each side. Secure with nails.
Step 3: Drill pocket holes on both the bottom and the long straight backside of the plywood (that’s how the entire hood will be attached to the wall.) Attach the sides to the base with the pocket holes. Make sure the sides are 1/4″ inset on the trim. Cover the rough edge of the plywood with the iron-on banding. It’s super easy to use, don’t be intimidated by it.
Step 4: Connect the sides to the top with nails and maybe 1-2 small screws. Be super careful not to split the wood when adding a screw. This is what I did and it did split the wood a little so I filled it with wood filler after.
Now that the base is done, all that is left is the door. For the door, I assembled it according to the way I did it in this post. I cut dados and tongues and assembled it with glue and clamps. I trimmed the bottom rail slightly at a 22.5 angle so it would sit flush to the base.
Next I painted everything, using the leftover lacquer that is the same color and paint they used on the rest of my kitchen cabinets. Then I attached the door with the hinges which I spray painted white. You can see the hinges a little from the top view but once we hung it up you can’t see it at all. We attached the unit by screwing pocket holes directly into the kitchen cabinet face frames.
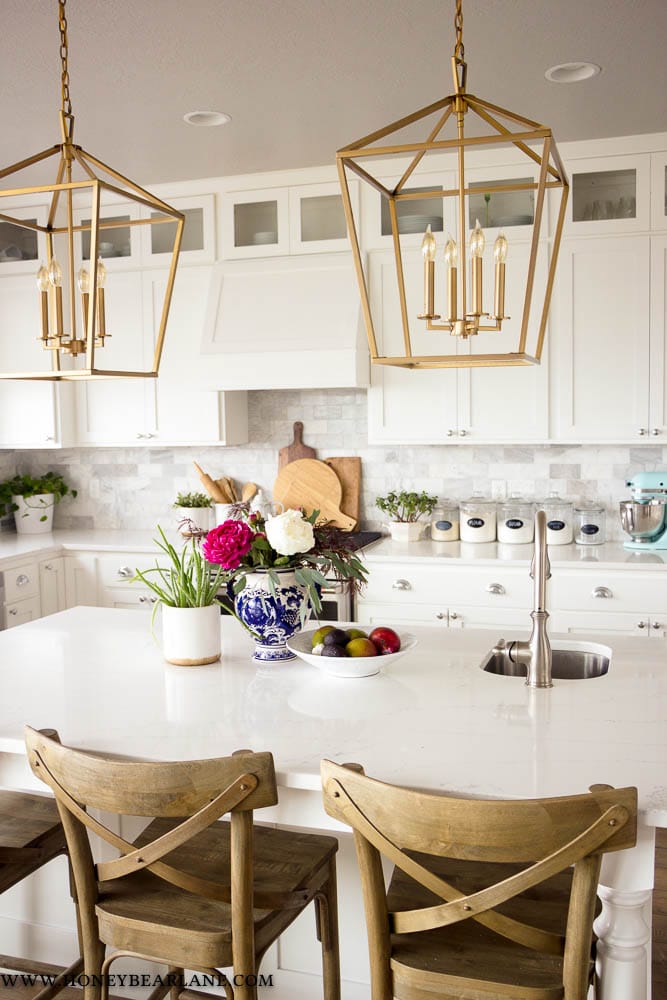
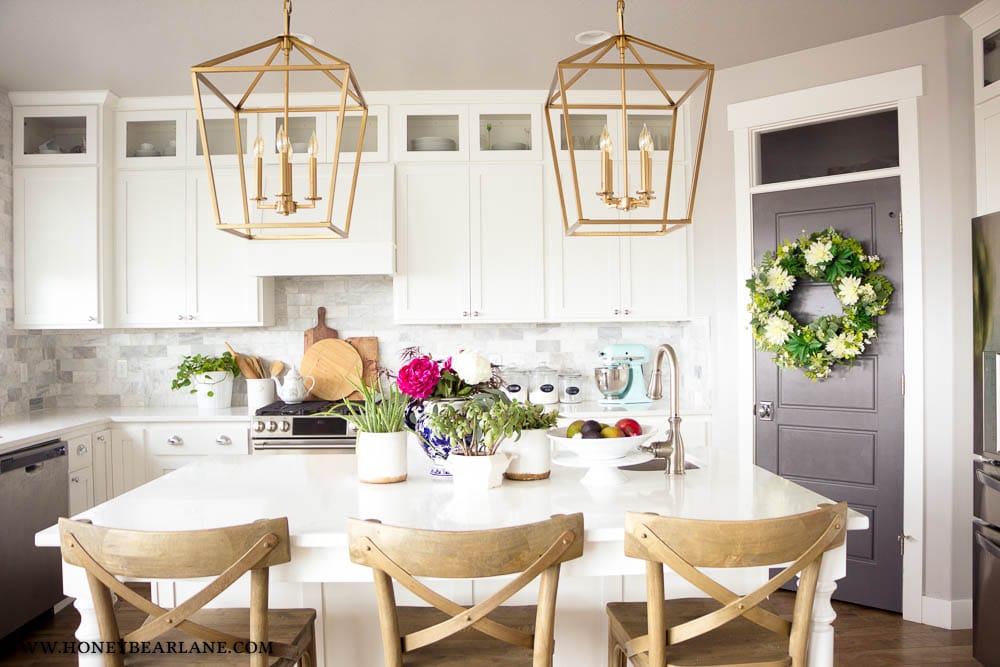
There you have it! It was great to be able to build it all in the garage and then just put it on after. I completed the backsplash in a couple hours the next day and it was all good to go. We also updated our pendant lights, and we ended up with these giant beauties! I confess, they were quite a bit larger than I expected, but I love the statement they make. So much so that we ended up replacing our dining room chandelier also so they would go together better. I got these lantern pendants from Lumens.com and they were on the open box sale so I got them for like $100 off each. Lots of savings happening on this little kitchen update!
I know a lot of you are thinking about doing this project, so let me encourage you by saying I wish I hadn’t waited as long as I did to do this! Be sure to pin it for later!



Hello,
I’m curious what range you used for this custom hood you did.
I wasn’t able to find it in the description.
Thank you,
The range? Or the fan insert?
Wow!!!! Love how it looks. Thanks also for the easy tutorial. What exhaust fan did you use?
It’s linked within the post.
Can you send me the link? I don’t see the link above. Knmorgan@gmail.com
I searched for the fan link also and could not find it. If it’s not a problem could you send it to me too please. S_tart415@yahoo.com
This is a great article! I’m attempting to build a version of it myself and this has been super useful. Just curious.. how would you go about building the sides on this for full overlay cabinet doors on either side? Our range hood/fan fills the entire horizontal space over the oven and with full overlay cabinet doors on either side, I don’t want just the cabinet door edges to be different. Is it even possible with full overlay doors?
I have thought about getting a smaller range hood/fan but we just bought and installed our current one!
I honestly don’t know if it’s possible. You could consider buying 1/2″ overlay hinges and altering your cabinet doors to allow for a little space for them to open. I can’t quite advise without seeing it in person. Sorry!
Very beautiful kitchen! You’ve done a fabulous job! Thanks for your inspiration! I would like to know about your chairs/stools. Where did you get them?
Thank you!
Stacy
They are from World Market–I love them!
What ventilation insert did you use?
It’s linked within the post.
What color paint on your cabinets? What brand of paint and sheen did you use?
I am wondering how the recirculated air gets back into the kitchen and not stuck in the cabinet. Do you open the door a little when you turn on the fan? I looked at the model you chose and for using it as a ductless fan, the louvers are on the top of the hood. Have you had any issues with that being inside the cabinet? I have the EXACT same issue where I took away the microwave from over the range. We added stacker cabinets above the regular cabinets. I don’t have room for a chimney type hood so this is perfect!
I don’t actually use the fan that often, and I probably should open the front door up when I do, but I don’t because I forget. Haha!
It looks like the link to the range hood is gone. Can you provide it?
Try thisL https://www.lowes.com/pd/Broan-30-in-Convertible-White-Undercabinet-Range-Hood-Common-30-in-Actual-29-87-in/1000166629
this is exactly what I was looking for. My kitchen cabinets with lights above are identical. My problem is that my cupboard doors cover the frames., leaving no space to attach the finished box.
Any suggestions how the box could be attached?
Its hard to make a good suggestion without actually seeing a picture of it. Maybe you could email me a picture directly?
How do I get help making pretty plans like you have?
Do you have a picture of how the hundred are connected to the cabinet door?
Such a brilliant project!! I have a cabinet setup very similar to yours and I’ve been dreaming of a more farmhouse-y look for months now. I showed my husband how you did your hood fan cover and he agreed to make me one! I’m so excited for the transformation, and I just know it’ll make my recently refinished cabinets stand out. Thanks for the idea!
What did you do with the microwave?
I LOVE this! What did you end up doing with your microwave? I prefer this look but microwave over the range is so practical.
We have an outlet in the pantry, so it went on a shelf in there.
Could I use these plans to cover a over range microwave?
I don’t think that would work unless you altered it quite a bit. The door slants down so that wouldn’t allow a rectangular shape to be inside.
In the picture that you tap to see your post it appears that trim pieces were added on the sides where it attached to the cabinet. I didn’t see that in the instructions on how to build so I’m just wondering if they were added later to have a more finished look! I love the way it turned out and want to do this in my kitchen.